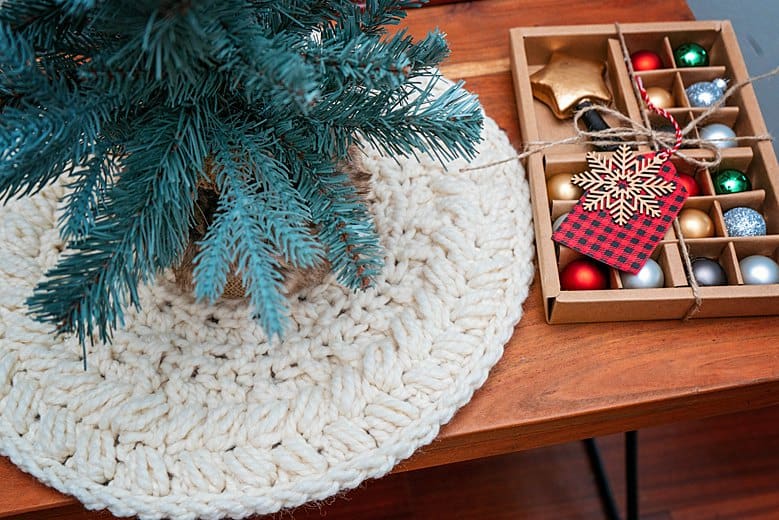
Macchiato Wreath Tree Skirt Free Crochet Pattern
For years I've meant to crochet a Christmas Tree Skirt. It's been on my wish list for a long time, but the inspiration just hadn't ever struck. This year I am so excited to knock this crafting project off my bucket list. And I hope you love the Wreath Tree Skirt Free Crochet Pattern too! I have also created a video tutorial to guide you through the steps. If you have a mini tree, or a large tree, this crochet pattern has got you covered with different tree skirt sizes. If you love the look of these crochet puff stitches, I've also created the Macchiato Crochet Beanie or the flat crocheted Autumn Wheat Hat.
Disclosure: This post contains affiliate links, meaning I get a commission if you decide to make a purchase through my links, at no cost to you.
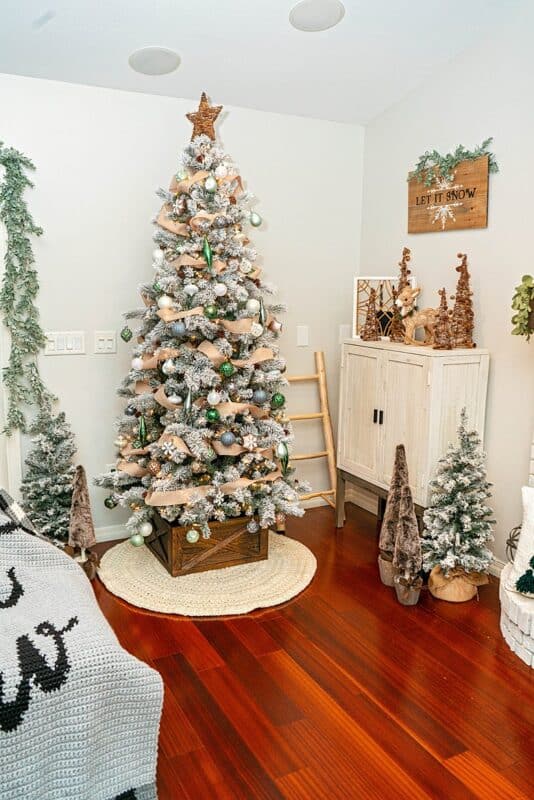
When you create the Crochet Wreath Tree Skirt. it's an opportunity to customize your holiday decor with color and a fresh look. And the stitches from the Macchiato Poncho and Macchiato Sweater have been so popular I decided to use them for a tree skirt, which ended up being neutral and elegant. If you wanted to mix up colors, I could see the bands of puff stitches being red or green or whatever matches your home decor.
The size of the tree doesn't matter, your festive spirit does. So if you have a small table top tree I've also included options for different sizes.
Looking for more tree skirt inspiration? Check out my other tree skirt pattern Pine Crochet Christmas Tree Skirt Free Pattern which uses fair isle crochet colorwork.
Crochet Tree Skirt Supplies
Crochet Hook:
Size P (10 mm) Furls Crochet Hook
Notions:
Removable stitch marker
Yarn needle to weave in ends
Scissors
Yarn:
Lion Brand Wool Ease Quick and Thick
Super Bulky Weight Yarn
80% Acrylic, 20% Wool
Yardage:
Large: 830 yds (759m), 8 balls
Medium: 460 yds (421m), 5 balls
Small: 100 yds (92m), 1 ball
Abbreviations/Stitches:
BLO -back loop only
Ch -chain
FLO -front loop only
Hdc -half double crochet
Inc. - increase
Lp(s) -loop(s)
St(s) -stitch(es)
Gauge:
7.5 sts by 4.8 rows = 4” square
in established stitch pattern
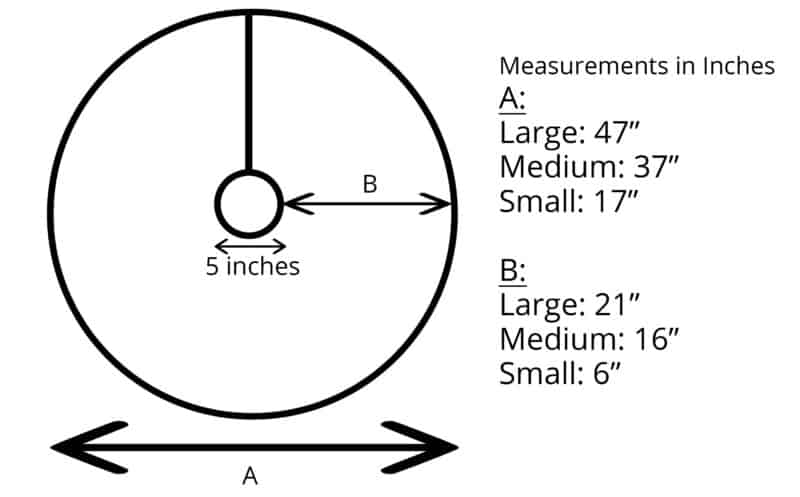
Measurements/Sizes:
Large Diameter: 47” (119cm)
Medium Diameter: 37” (94cm)
Small Diameter: 17” (43cm)
The schematic is below
Skill Level:
Skilled Beginner

Notes For Success
The Wreath Tree Skirt can be made to a variety of sizes. For a table top tree skirt stop on row 6. For a medium tree skirt st op on row 18.
The chain can be omitted from the beginning of each row if the first hdc is replaced with a Stacked Single Crochet.
Special Stitches:
Puff Stitch: Yo, insert hook in indicated st, yo, pull lp through st and make lp same height as previous sts in working row, (yo, insert hook in same st, yo, pull lp through st and make lp same height as working row) twice, yo, pull through all 7 lps on hook
Established Stitch Pattern for Even Rows: hdc in blo, hdc in flo; repeat from * to * aross increasing by placing two stitches in indicated increasing stitch.
Established Stitch Pattern for Odd Rows: hdc in flo, hdc in blo; repeat from * to * aross increasing by placing two stitches in indicated increasing stitch.
Join The Kindest Community
Join our vibrant community of crafters on Facebook today. Whether you enjoy crafting with others or simply have burning questions, we've got you covered - join us now!
Wreath Tree Skirt Schematic
Tree Skirt Video Tutorial
Macchiato Wreath Tree Skirt Instructions
To Unlock Exclusive Subscriber Content click the Box below and join for free by simply adding your email and creating a password! If you are having troubles, reset your password or login to the Grow Publisher Portal.
I'm thrilled to share this amazing crochet pattern with you, many patterns on my blog are absolutely free! I kindly request that you don't copy and paste or distribute this pattern. Prefer an ad-free experience? Buy a digital PDF pattern for a small fee from one of my online stores for a seamless crafting journey. I appreciate your support and readership. You are the reason I can keep doing what I love and sharing it with others. So, thank you from the bottom of my yarn-loving heart!
Disclosure: This post contains affiliate links, meaning I get a commission if you decide to make a purchase through my links at no cost to you.Join The Kindest Community
Join our vibrant community of crafters on Facebook today. Whether you enjoy crafting with others or simply have burning questions, we've got you covered - join us now!
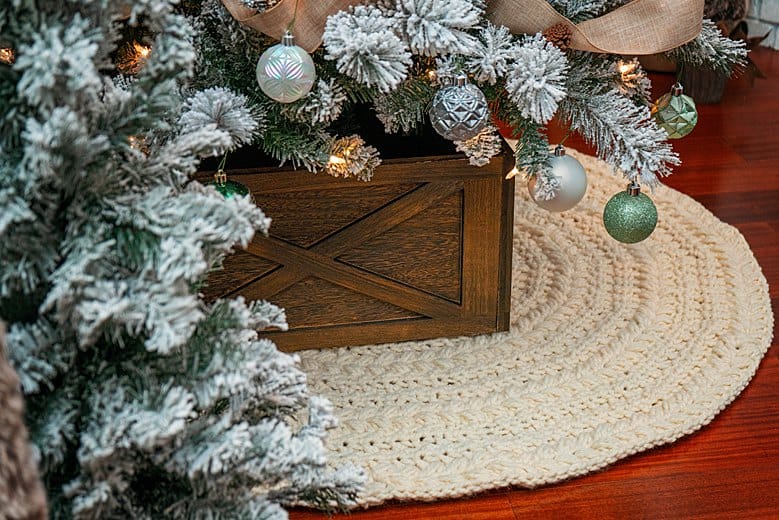
Finishing The Crochet Tree Skirt
Slip stitch around all edges, join and fasten off. Weave in all ends.
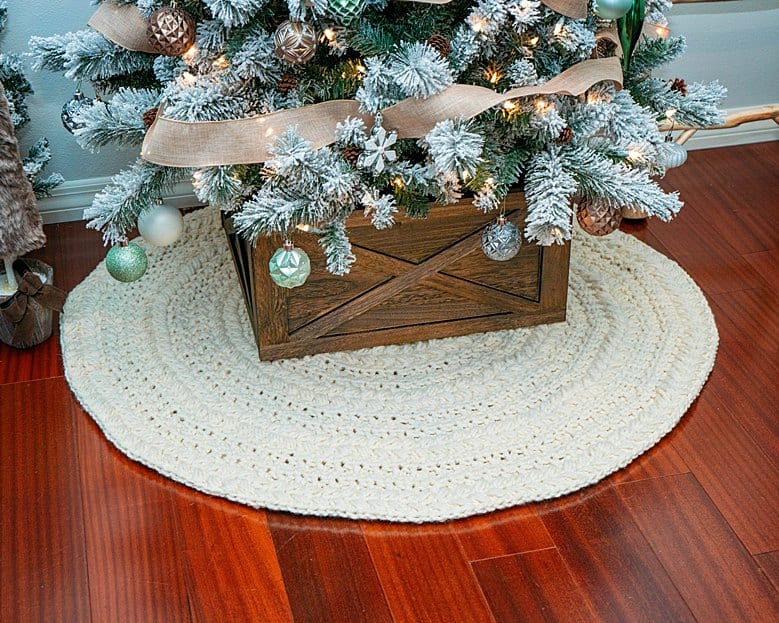
Now that your tree skirt is complete, let's ensure its longevity with a couple of handy tips for cleaning and storage. To keep it looking pristine, gently spot clean any stains with a damp cloth, avoiding harsh chemicals. For storage, fold the tree skirt carefully to prevent creases, and store it in a cool, dry place away from direct sunlight. Consider placing tissue paper between folds to minimize friction and potential damage. Following these simple steps will help preserve your crochet masterpiece, ensuring it brings joy to your holiday decor for seasons to come. Happy holidays and happy crocheting!
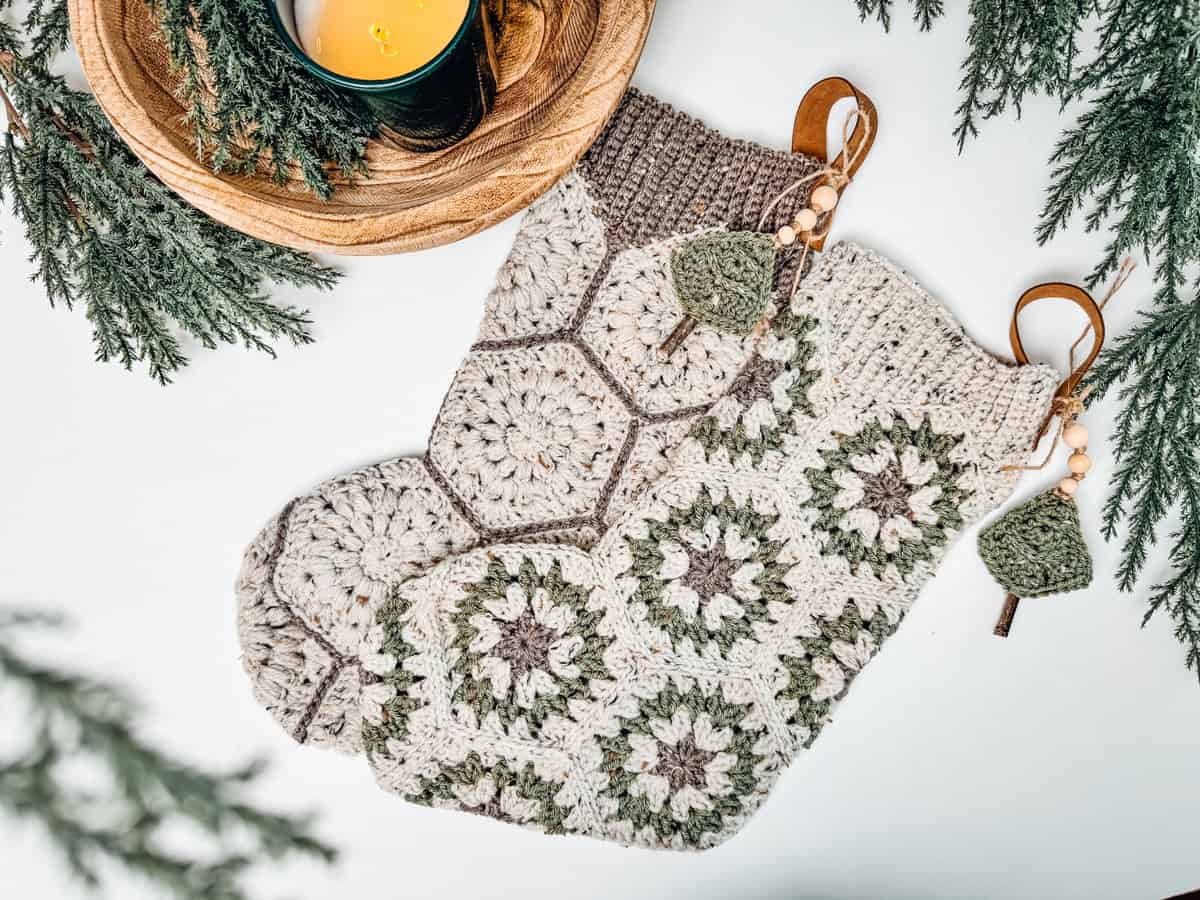
If you enjoy holiday decor, also check out How to Crochet A Christmas Ornament and the popular Crochet Granny Hexagon Stocking.
Well That Was Fun! What's Next?