Have you ever wanted to know how to crochet with beads? It may look complicated, but once you see the process you will know just how easy it is. And so many different weights and sizes of yarn and beads can be used.
Disclosure: This post contains affiliate links. Please read my disclosure for more info.
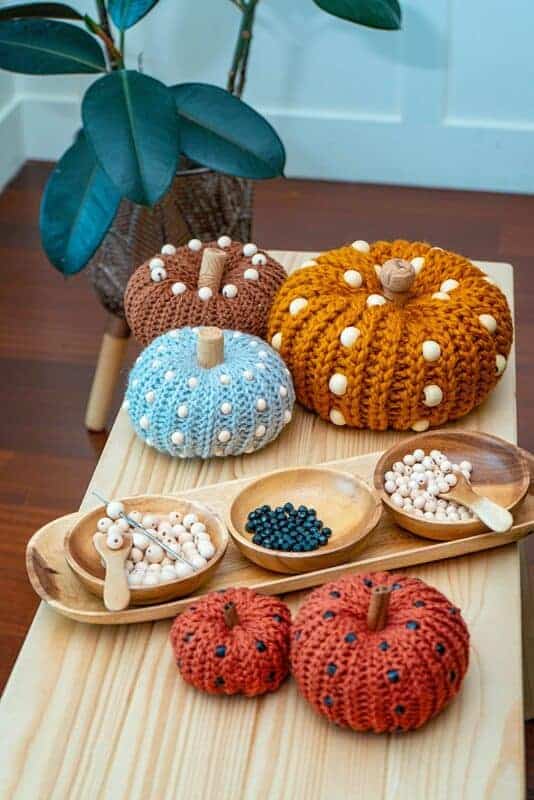
This year I really wanted to make some pumpkins for my fall home decor. There are a lot of pumpkin patters out there, but I wanted something a little bit different. I saw some wood beads at my craft store and bought them, not knowing exactly what I was going to do with them. It was one of those crafty impulse buys. Once I started using the smaller bead with a worsted weight yarn, I knew I wanted to go even bigger.

How to Crochet With Beads Supplies
Crochet Hook:
Notions:
scissors
yarn needle
Wood Beads 20mm (large)
Bean Bag Filling (optional)
Yarn:
Yardage:
Between 100-150 depending on pumpkin size
Abbreviations/Stitches:
ch – chain
pb – place bead
sc – single crochet
sl st – slip stitch
This will vary with the yarn; not critical for this pattern.
Measurements/Sizes:
These instructions made in a variety of sizes.
Skill Level:
Intermediate
How To Crochet With Beads Notes
The chain 1 does not count as a stitch.
When placing a bead use a smaller crochet hook for the bead.
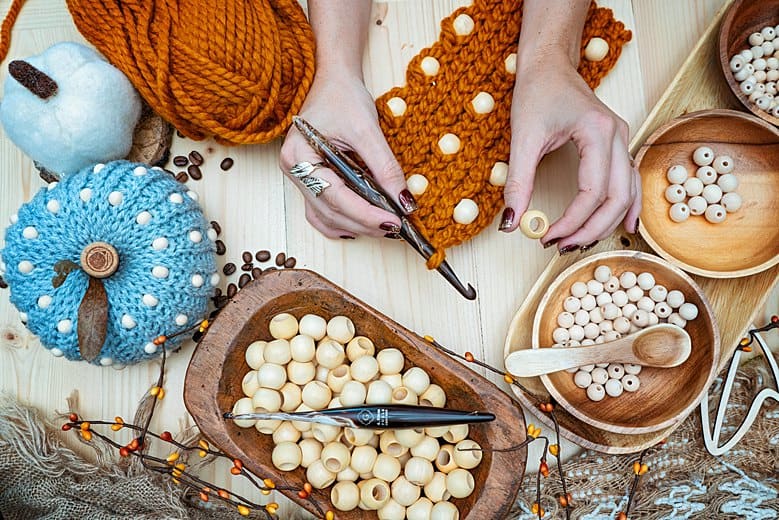
To place a bead (pb): Using the smaller crochet hook, place a bead onto the hook. pull up a loop through the next stitch and then pull the loop through the bead. Then place the loop onto the bigger crochet hook to complete the stitch. The video below is a great visual guide.
When working with a bulky yarn use the N-hook to crochet the fabric and the H-hook to help place the beads. When working with a worsted weight yarn use the H-hook to crochet the fabric and the small 1.75mm hook to place the beads.
The pumpkins are made in rows using slip stitches and then then seamed together. The Ends are then sewn closed after the stuffing is placed inside.
How To Crochet With Beads Video

How To Crochet With Beads Instructions
This is a unique pattern where you get to choose your yarn size and hook size. Watching the video above for how to place the beads is really helpful.
Small & Large Pumpkin
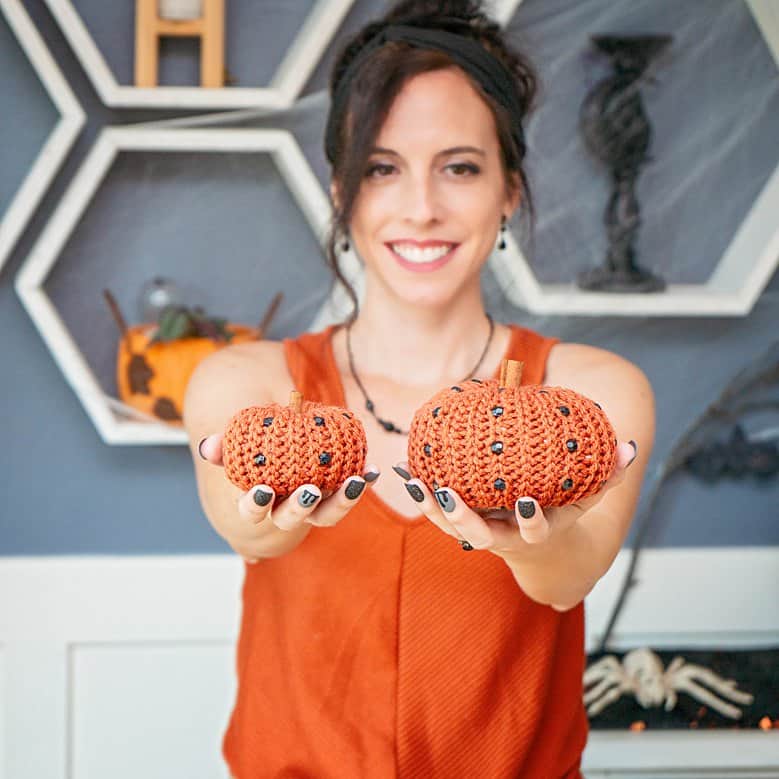
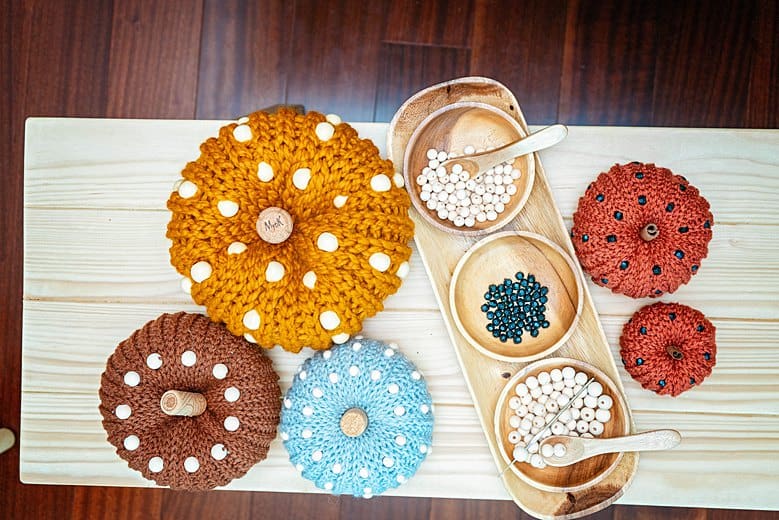
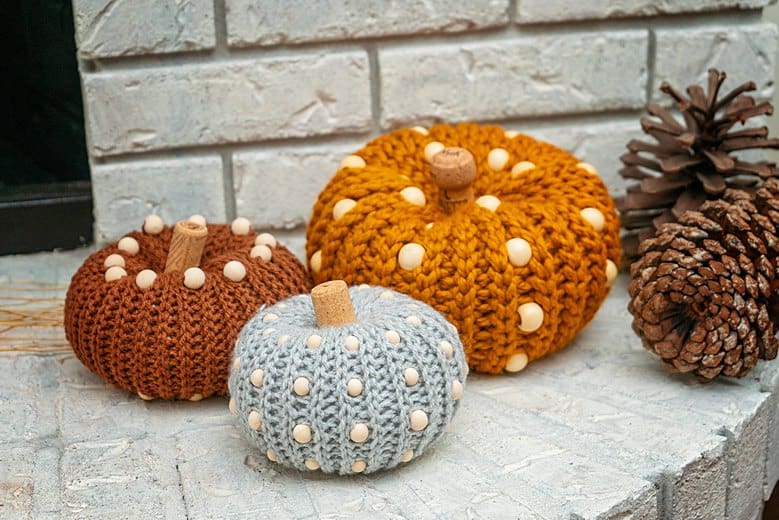
This size places 5 beads along the row. It’s the grey worsted weight pumpkin with the small wood beads, the large chunky weight pumpkin with the large wood beads, and the orange worsted weight pumpkin with the black beads.
Click the box below to unlock this exclusive subscriber content for free. Add your email and create a password. If you are having trouble, reset your password or log in to the Grow Portal.
I’m thrilled to share this amazing crochet pattern with you! Please don’t copy, paste, or distribute this pattern. Prefer an ad-free experience? Purchase a digital PDF file for a small fee from one of my online stores. I appreciate your support and readership. You are why I can keep doing what I love and sharing it with others. Thank you from the bottom of my heart.
To join:
Ch 1, st st through the blo of the first st of the current and through the loop of the first row. Repeat across for each stitch in the row. Fasten off leaving a long tail
Finishing:
At the end of the video above this process is shown. Using a tapestry needle, sew through the edge stitches along one side. Pull tail end to close. Stuff the pumpkin with fiberfill or beanbag beans and repeat for the other side to close.
If desired place a cinnamon stick or wine cork into the top hole before closing all the way. Weave end from the top of the pumpkin, through the pumpkin to the bottom, and back again to create the pumpkin shape if desired. Fasten off and weave in ends.
Mini Pumpkin
This size places 3 beads along the row.
Row 1:
Ch 16, sl st in the second ch from hook and across, turn. (15 sts)
Row 2:
Working in the blo for this row: ch 1, *sl st 3, pb*; repeat from * to until the last 3 sts, sl st in th last 3 turn. (15 sts)
Row 3-6:
In blo: ch 1, sl st in each st across, turn. (15 sts)
Repeat rows 2-6 until desired size. This will be the width of the pumpkin.
To join:
Ch 1, st st through the blo of the first st of the current and through the loop of the first row. Repeat across for each stitch in row. Fasten off leaving a long tail. To finish follow the instructions for the larger size above.
Feel free to experiment by placing beads in different ways!
Well, That Was Fun! What’s Next?