If you have wanted to try the crochet I-cord, I encourage you to jump in. After a few rounds of practice, you will become a pro at this method and know precisely how to crochet an i-cord.

About The Crochet I-cord
The knit I-cord was an accidental discovery by Elizabeth Zimmermann, which is why she originally named it the Idiot Cord. But what she discovered was nothing less than brilliant.
And now crocheters can also enjoy creating an I-cord with a crochet hook, although I’ve got a little hack for you to make it less stressful and a breeze.
How can an i-cord be useful? So many things! From bag straps to bonnet ties and more. I-cords are very useful.
I-cords are more flexible worked with this method than crocheting in the round. If you would like a stiff I-cord, adjust your hook size, possibly smaller, to get the desired tension.

Supplies:
• Crochet Hook: Any preferred size that works with your yarn choice.
I love the Furls Crochet Hooks (affiliate link) or the clover listed below.
• Yarn Needle
• Scissors
• A double-pointed knitting needle, or a chopstick (this is my secret tool)
Yarn Used:
• Bulky weight or yarn of choice.
Skill Level:
• Beginner
Video for Crochet I-Cord:
Step 1:
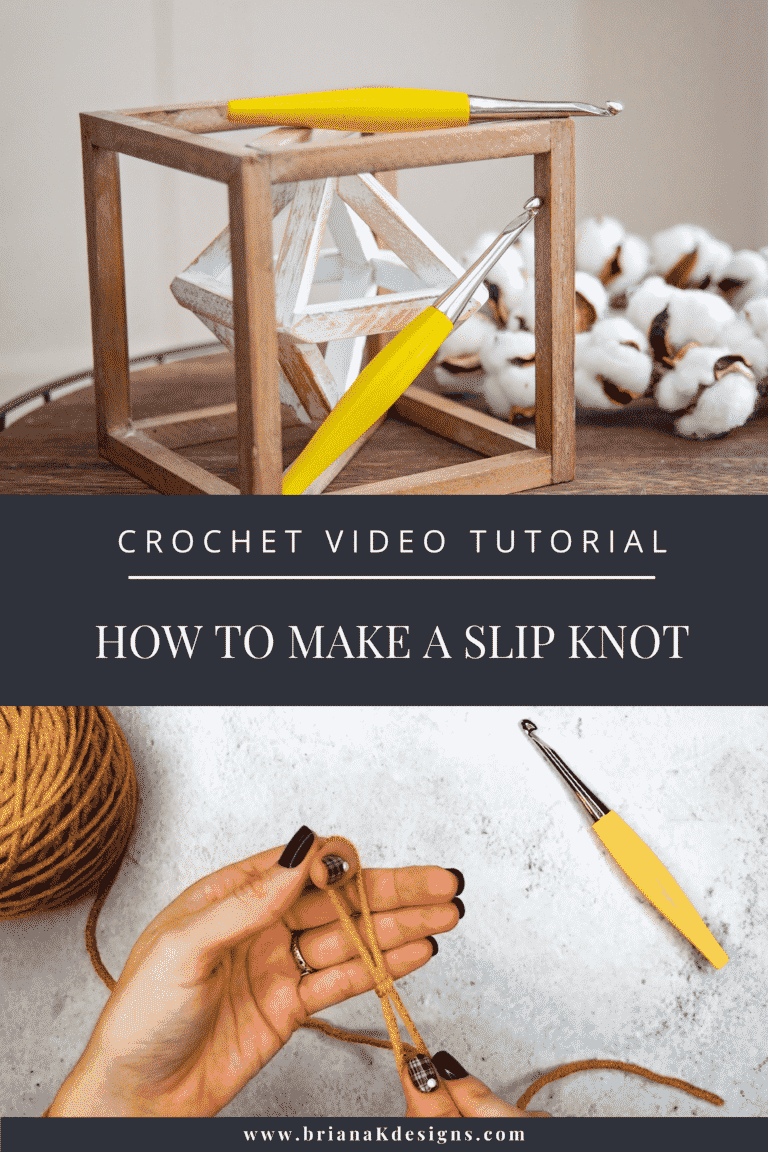
To begin, place a slip knot on your hook and chain 3.
For this example, we are only working with 3 stitches. If you would like to work with more stitches chain the same number of stitches desired for the I-cord.
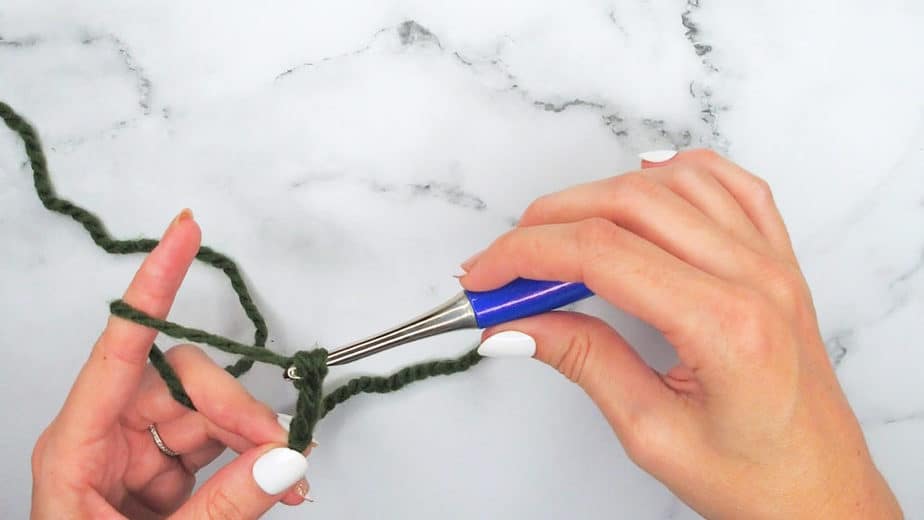
Step 2:
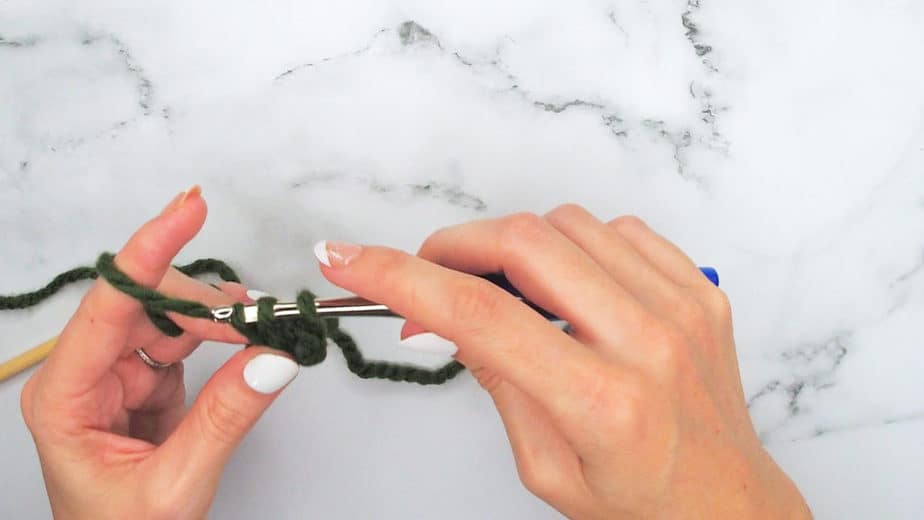
Insert your hook into the second chain from the hook, yarn over and pull up a loop (2 loops are on the hook).
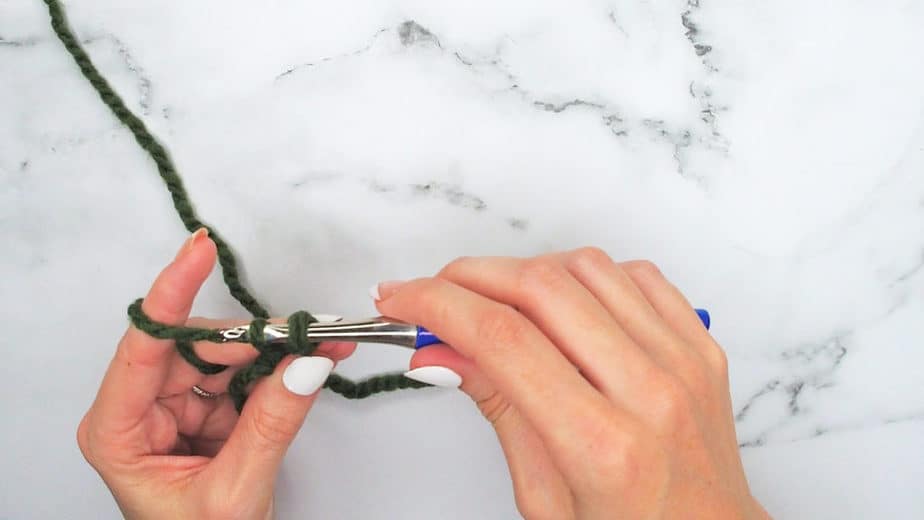
Step 3:
Insert your hook into the next chain, yarn over and pull up a loop (3 loops on your hook).
For this example we are only working with 3 stitches, repeat this step for remaining chains if you are working with more than 3 stitches.
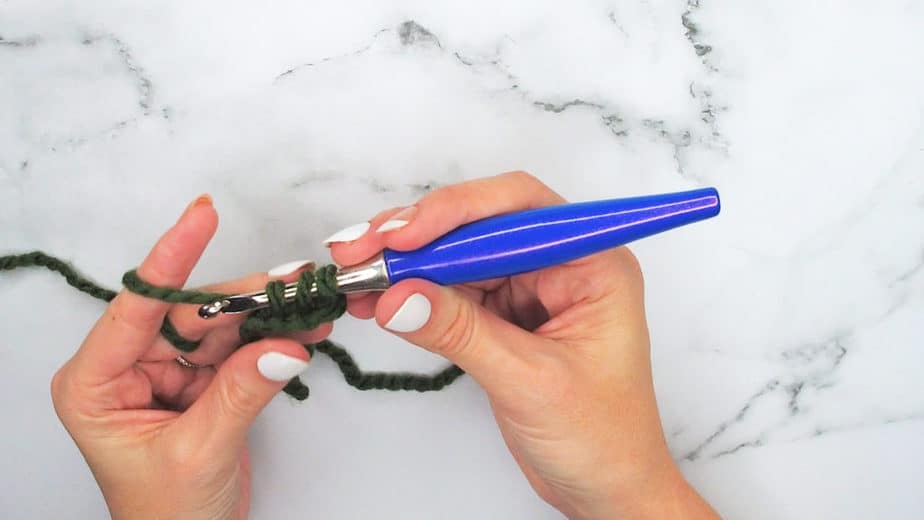
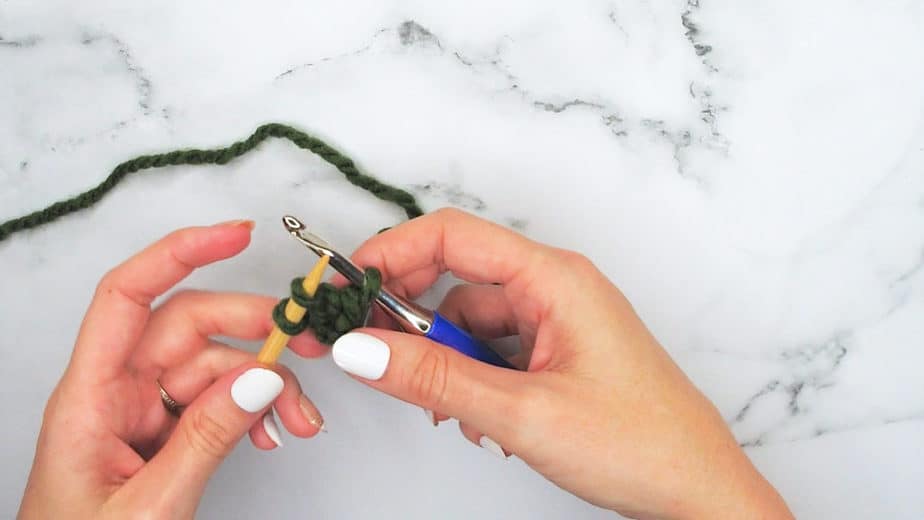
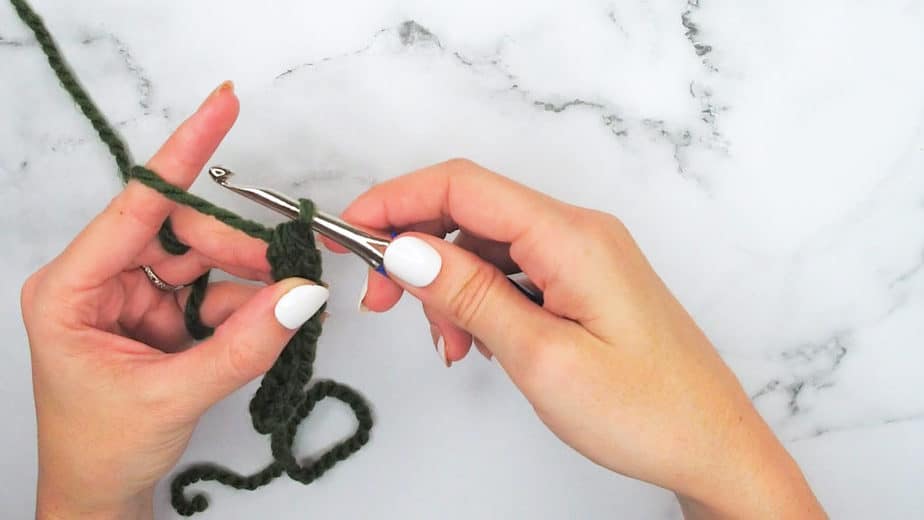
Step 4:
Here is where the nifty trick comes in! This can be worked without an extra tool, but if you are like me, I like to have a safety net when it comes to loose stitches. You can even use a chopstick from your kitchen if you do not have a double-pointed knitting needle.
Place the left 2 stitches on the hook onto your knitting needle or holder.
Step 5:
Yarn over and chain one for the stitch on the hook.
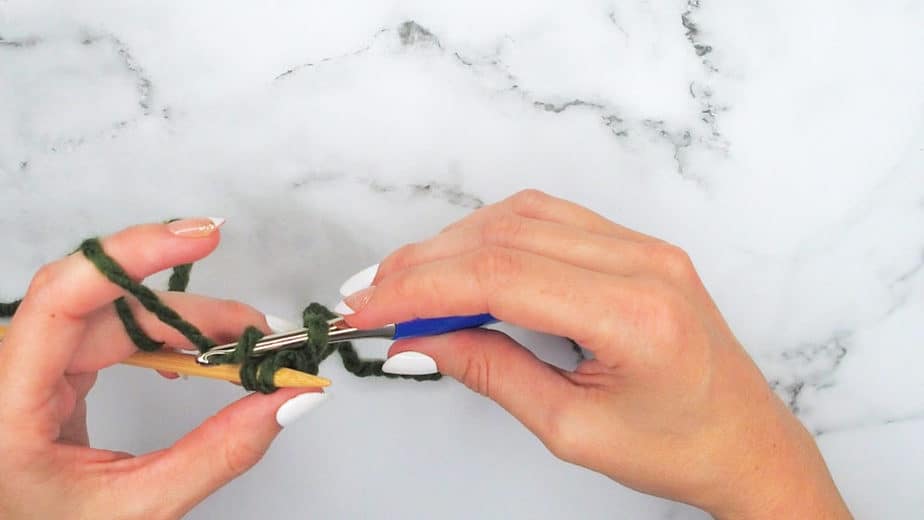
Step 6:
Repeat step 5 for the remaining stitches on the holder.
It can be helpful to insert your hook into the stitch before taking it off the holder so it doesn’t drop and come undone.
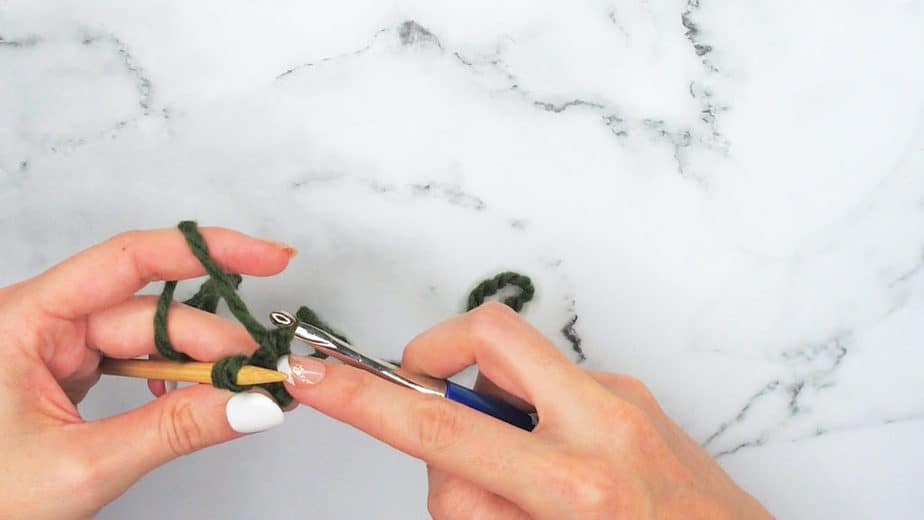
Step 7:
Once you have chained all of the stitches from the holder, repeat steps 4-6 until the i-cord is the desired length.
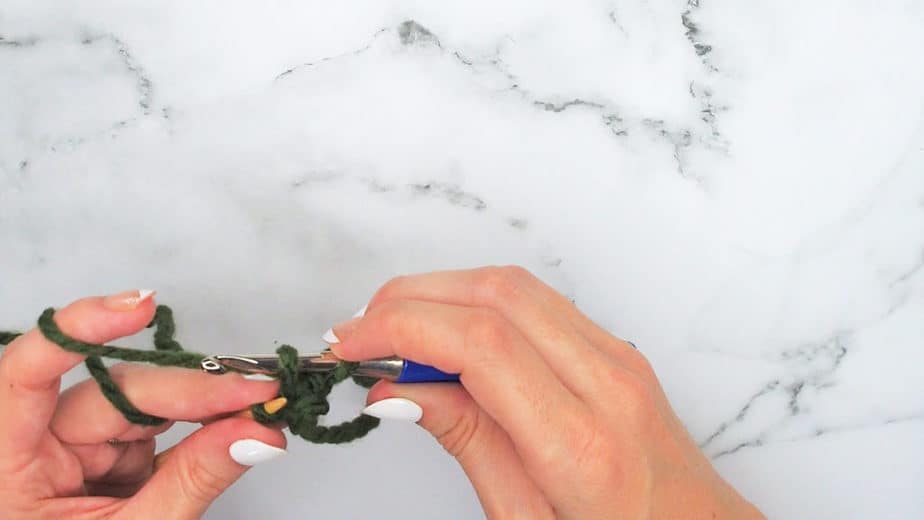
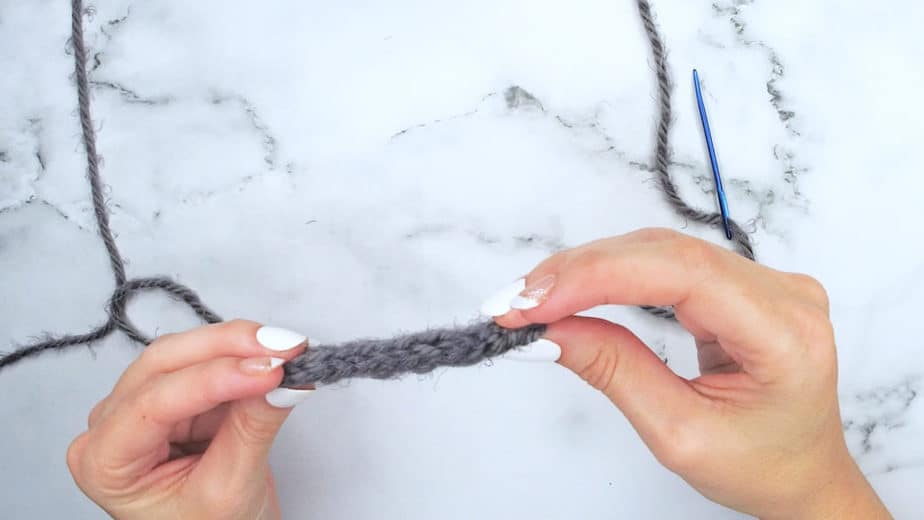
Step 8:
To finish off the i-cord, yarn over and pull through all three loops on the hook. Cut yarn leaving a tail to weave it into the center of the i-cord. And that’s it! You did it and can now crochet all the i-cords to your heart’s desire.
Enjoy making lots of I-cords! They have so many uses and can become a staple in your knitting adventures.
Try it out:
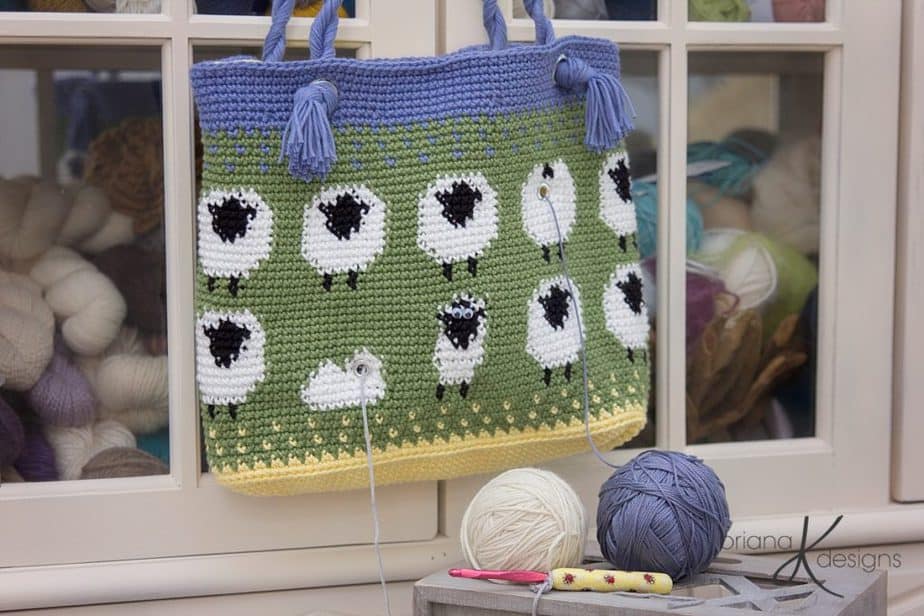
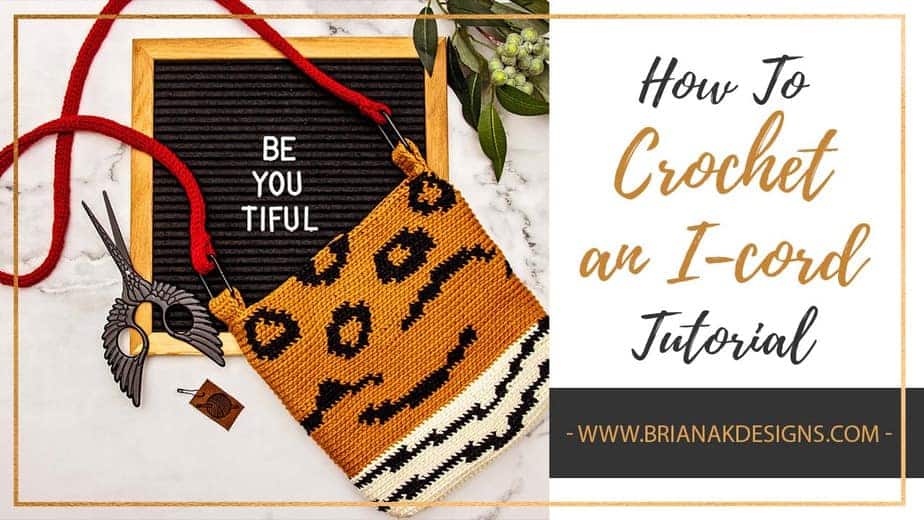
Want to give it a try with a fun project? The Animal Print Crochet Bag Pattern uses an I-cord for the fun red strap.
Click on image to be taken to the Animal Print Crochet Bag Pattern.