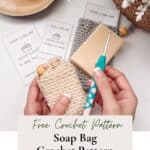

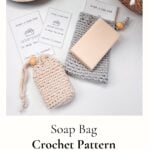
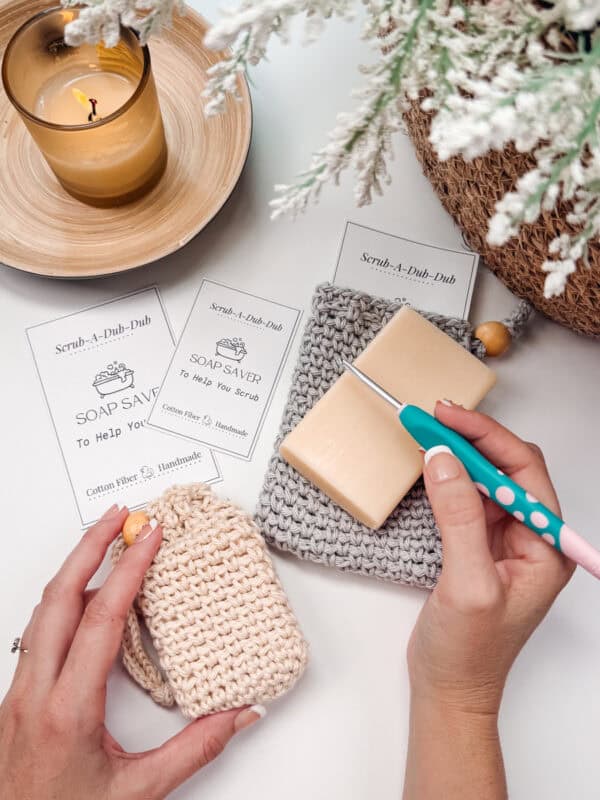
Have you ditched your loofah yet for a cotton soap saver crochet bag? You should. Let’s focus on a practical and charming project: the Soap Saver Crochet Bag. This crochet pattern is a perfect blend of style and utility. If you’re an avid crocheter looking for a fun and useful project or a beginner eager to try a new stitch, this pattern offers a step-by-step guide to craft a beautiful and functional accessory that not only showcases your crochet skills but also serves a practical purpose in your daily routine.
Disclosure: This post contains affiliate links. Please read my disclosure for more info.
If you like patterns that combine creativity, craftsmanship, and functionality, then you might also want to check out the Crochet Pumpkin with Leaf Coasters, the Hexagon Granny Square Bag Pattern, and the Circle Leaf Water Bottle Holder.
6 Reason to use a Crochet Soap Saver Crochet Bag
1. More and more research is showing that plastic bathroom items are bad for our skin. Dermatologists recommend getting rid of plastics.
2. A crochet soap bag will extend the life of the soap bar.
3. Are you tired of the goop that collects in your soap dish? It’s quite gross because your soap is sitting in a puddle of skin filth and water ew.
4. Extend the life of your soap! Especially if you purchase handmade soaps, you’ll want to get the most out of them. Using less soap or shampoo is good, so in this case, less is more.
5. Exfoliation! As your soap lathers, it will add additional exfoliation for your skin, which is a nice bonus.
6. Not sure what to do with that small amount of soap before trading up to a new bar? Take it out, toss your crochet soap bag into the washing machine, and then pop the old small amount of soap with a new one. They will meld together. Isn’t less waste nice?
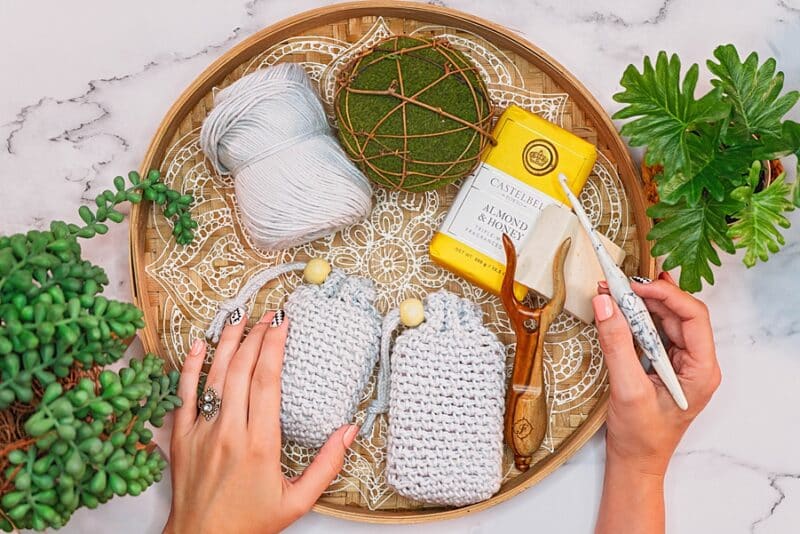
Supplies for Soap Bag
Crochet Hook:
5.5mm (I hook), or hook to obtain gauge


Notions:
Lucet Fork for i-cord
Optional Beads (20mm)
Removable stitch marker
Yarn needle to weave in ends
Scissors
Yarn:
WeCrochet Dishie
100% Cotton, 190yds/100g
Colorway: Silver
Yardage:
65 yards or less
Abbreviations/Stitches:
ch -chain
sc – single crochet
st(s) -stitch(es)
Sl sp – slip stitch
Gauge:
4 sts by 16 rows = 4×4” in moss sts
Skill Level:
Beginner/Easy
Size:
Adjustable for handmade soaps.
Approx 2-3 inches wide and 4-5 inches tall.
Notes:
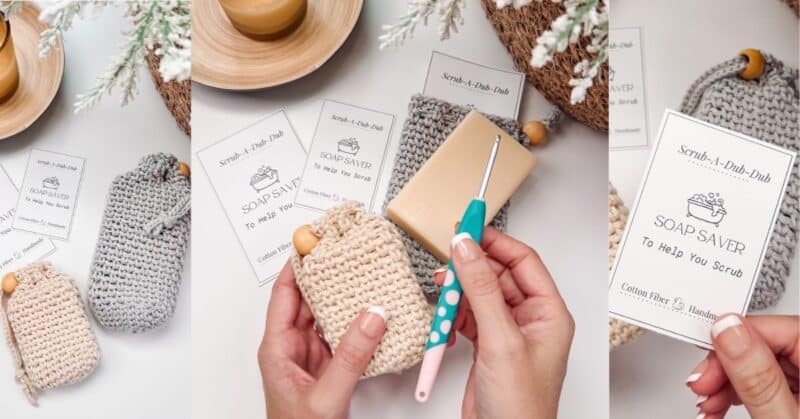
It’s time to ditch the plastic loofah and go with an ex-foliating soap bag that’s healthier for your skin!
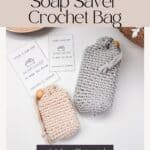
This soap saver crochet bag will extend the life of your soap. It is worked from bottom up and in the round.
This can be created in several sizes depending on how many increasing rounds you begin with.
The chain 1 at the beginning of the round does not count a stitch.
Video for the Soap Saver Crochet Bag

Relax & Crochet
Upgrade to the Printable PDF
Beautifully formatted to print and relax while crocheting. The paid pattern includes:
Get the ad-free Printable on Etsy or Ravelry.
Written Pattern Instructions
Click the box below to unlock this exclusive subscriber content for free. Add your email and create a password. If you are having trouble, reset your password or log in to the Grow Portal.
I’m thrilled to share this amazing crochet pattern with you! Please don’t copy, paste, or distribute this pattern. Prefer an ad-free experience? Purchase a digital PDF file for a small fee from one of my online stores. I appreciate your support and readership. You are why I can keep doing what I love and sharing it with others. Thank you from the bottom of my heart.
Soap Saver Bag Base
Rnd 4:
Ch 1, 2sc in the first st, sc in the next 10 sts, 2sc in each of the next two sts, sc in the next 10 sts, 2sc in the last st, join with a sl st. | 28 sts
Stop here and go toBbody for large-size soap.
Rnd 5:
Ch 1, 2sc in the first st, sc in the next 12 sts, 2sc in each of the next two sts, sc in the next 12 sts, 2sc in the last st, join with a sl st. | 32 sts
Soap Saver Bag Body
Note:
The stitch count no longer increases and will remain the same stitch count as last round worked.
Rnd 1:
Ch 1 (does not count as a stitch), sc in the first st, ch 1, skip 1, *sc in the next st, ch 1, skip 1; repeat from * around, join with a sl st.
Rnd 2:
Ch 1, *ch 1, skip 1, sc in next; repeat from * around, join with a sl st.
Repeats:
Repeat rounds 1-2 until desired height.
For travel size approx 10 rounds.
For medium size approx 18 rounds.
For large size approx 22 rounds.
Fasten off and weave in ends.
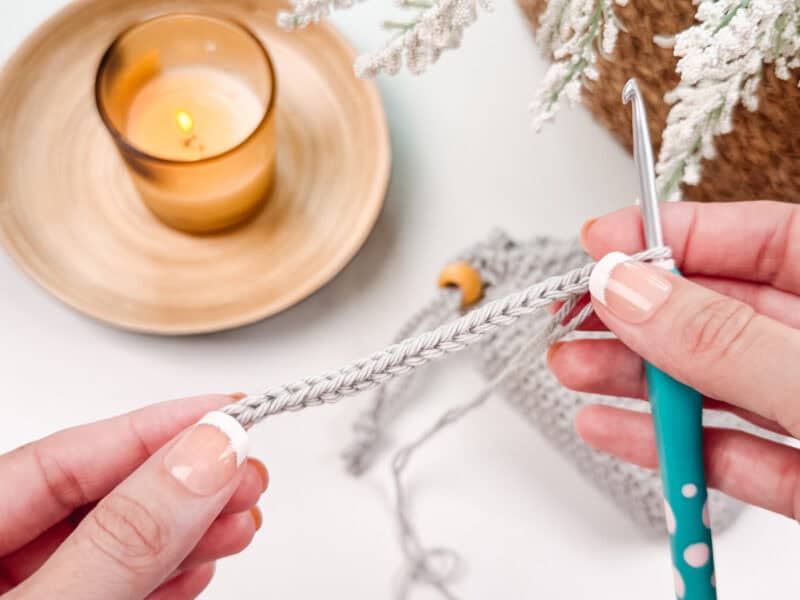
How to Crochet an I-cord
A quick an easy crochet i-cord that doesn’t require any special tools can be found at this Easy Crochet I-Cord video tutorial.
For instructions on how to use the Lucet Fork to create an i-cord visit the soap saver video tutorial.
If an i-cord tool isn’t accessible, then a simple crochet chain can be a great substitute.
Create the cord approximately 13 inches long.
Finishing
Weave the i-cord through the second to top row. Place both ends through the optional bead. Tied the ends in a knot together to prevent the bead from coming off. Weave in any ends and enjoy!
Well, That Was Fun! What’s Next?