Tips for Successful Colorwork in Crochet
Crochet colorwork can be such a gratifying technique, but often intimidating to work with lots of strands of yarn at once. I have some tips and tricks to help you tackle any colorwork in crochet project.
In just one small swatch we will work through three techniques to achieve the look we are after.
Let’s start by understanding some of the best crochet colorwork tips and terms.
Stay tuned until the end of the post where there is a FREE Crochet Sheep Bobbin to make your own!
Disclosure: This post contains affiliate links. Please read my disclosure for more info.

Helpful Video on Colorwork
You can also view the written pattern for the Holiday Mug Rug Free Patterns

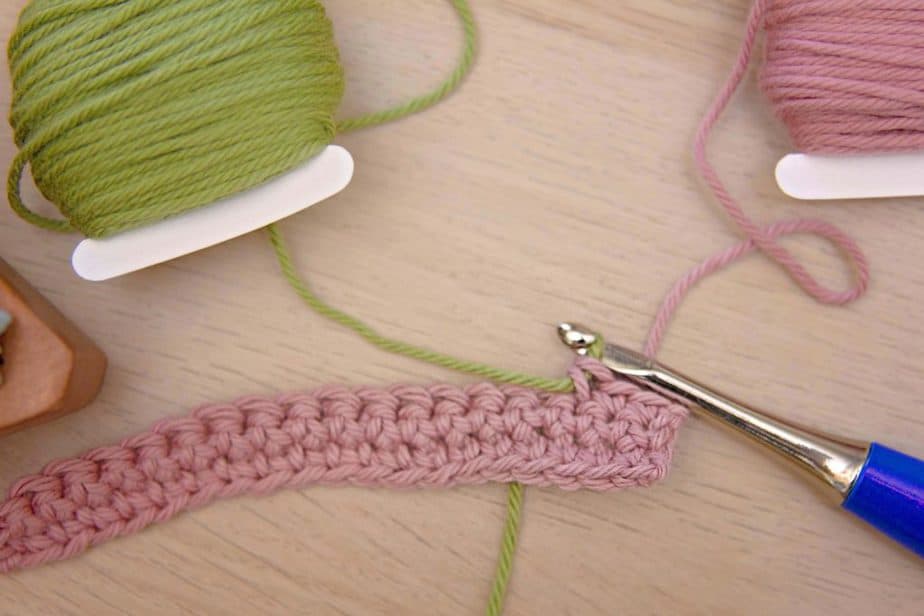
How to Change Colors in Crochet Colorwork
This by far is the most important step to successful colorwork. In all of the crochet colorwork techniques, I use the same method for changing color.
To do this clean color change work the last stitch before the color change as regular single crochet right up until the very last step.
Step 1:
Single Crochet- Insert hook into the next stitch, yarn over and draw up a loop, there will be two loops on the hook, now we will STOP.

Step 2:
For carrying yarn: If working in the round move the working yarn to the back of your work and toward the stitches just completed.
If working in rows move the working yarn either to the back of your work on right side rows and to the front of your work on wrong side rows. Now yarn over with the new color and draw up a loop working through the two loops on the hook.
For Intarsia or Tapestry: Now yarn over with the new color and draw up a loop working through the two loops on the hook and continue to sc over the yarn strands not currently in use.
Step 3:
Tighten up any slack from your previous color and continue with the new color until your next color change.
What is Fair Isle Crochet Colorwork?
This technique originates from a tiny island just north of Scotland and is included in the Shetland Islands. This island, and yes it’s called Fair Isle, is known for this traditional style of colorwork.
This technique is most commonly used in the round, in items such as sweaters, hats, and socks. Usually, there are no more than 3 to 4 stitches in the same color.
The patterns are built out of alternating colors in the stitches. Often the color strands are carried along the back of the work when not in use. By carrying the yarn on the back of your work it creates a fabric with a flexible drape. It can be less stiff than other crochet colorwork techniques.
Below you can see areas of the Rumplemintz hat pattern worked fair isle in both crochet (on the left) and knit (on the right). While this method is more traditionally knit, it can also be used for crochet, especially when utilizing the crochet Split Stitch.


What is Tapestry Crochet Colorwork?
This technique works multiple colors in one row or round, but there is less of a need to weave in ends. The yarn colors not in use are worked over by the current color and they will sit within the stitches being worked.
The colors will not be fastened off after each color change. While this method may sound complicated, it’s actually quite simplistic. It’s a great way to create graphic designs and pictures.
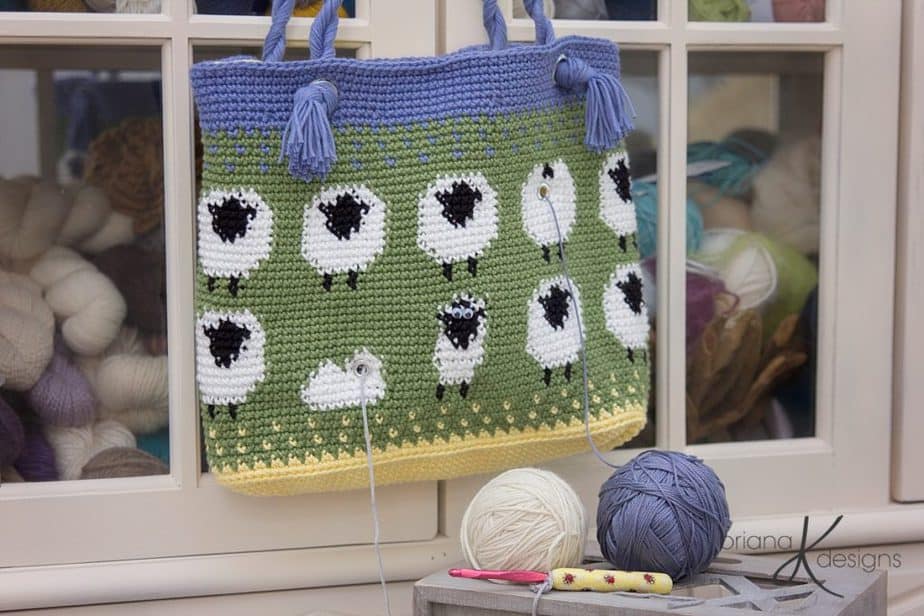
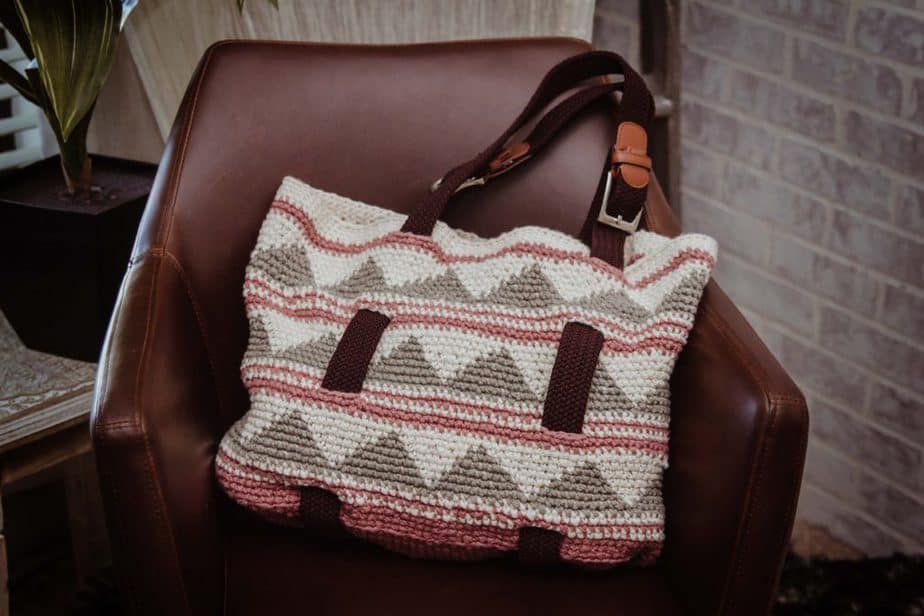
The Tapestry Crochet Colorwork method is used on patterns like the crochet Sheep Crochet Project Bag or the Alp Tote Bag Pattern.
What is Intarsia Crochet Colorwork?
This method is used when working blocks of color together and can be reversible. Individual balls or sections of yarns are used and kept in each section.
Bobbins are very handy for this type of crochet colorwork. Each color is worked across an area and then that color is dropped as the next color is picked up.
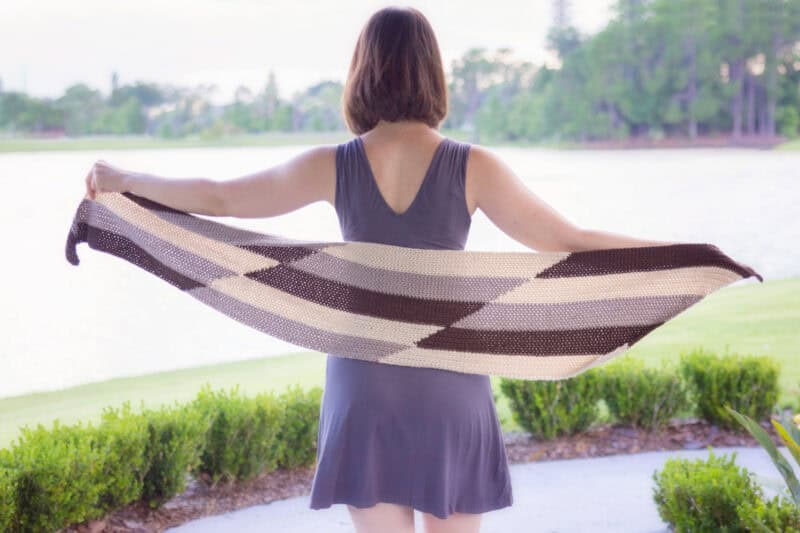
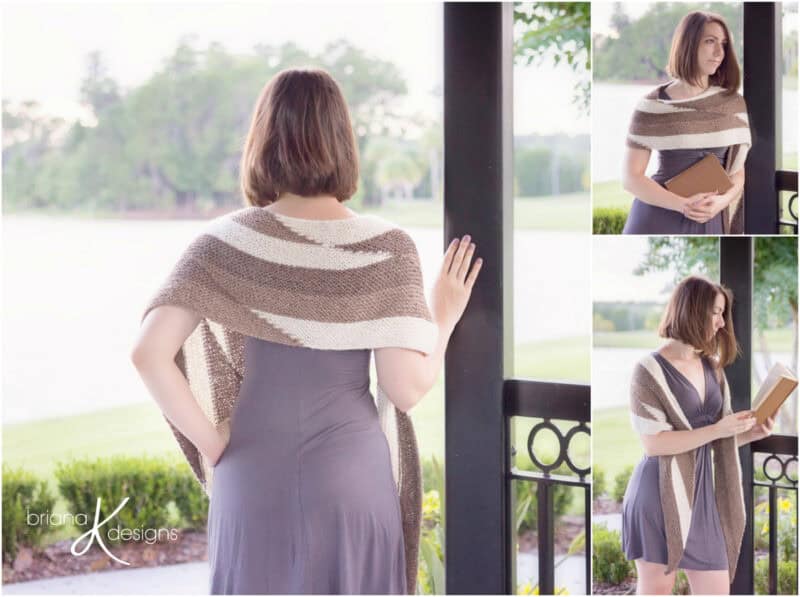
The Intarsia Crochet technique will not be as limited to single crochet as other methods tend to be. Here are a couple of examples of Intarsia in the Parallel Crochet Wrap and the Knit Parallel Wrap. It’s a fantastic method for geometric shapes.
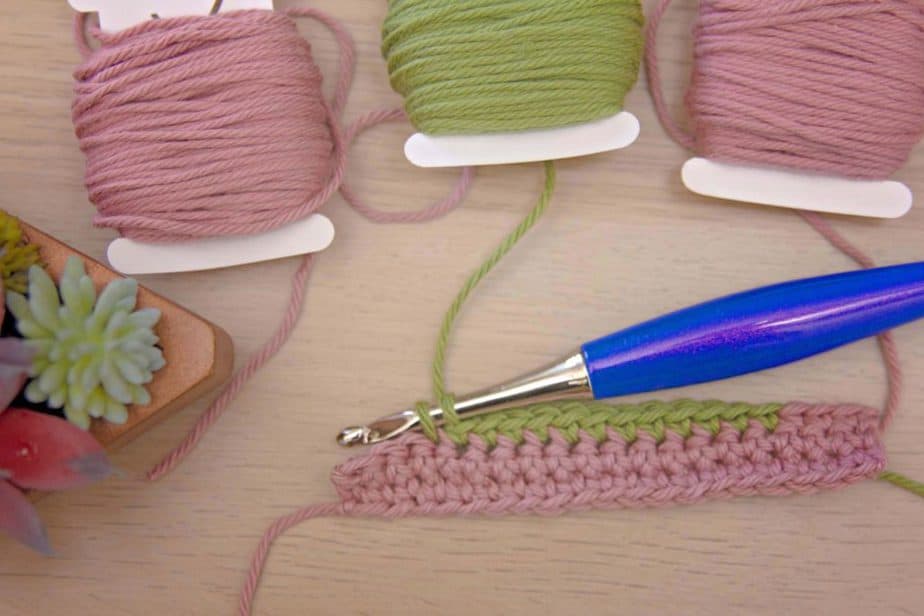
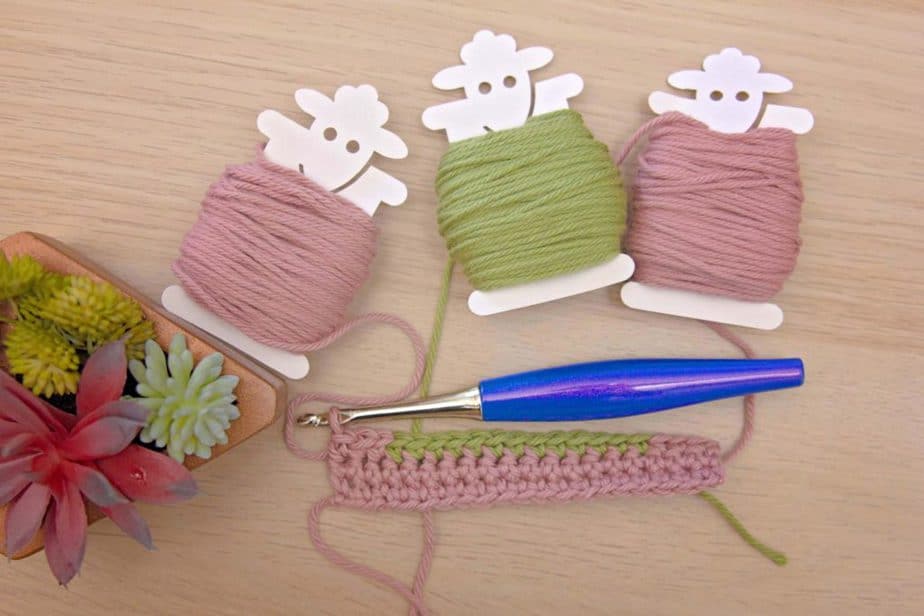
Now that we have a little bit of colorwork knowledge it’s time to pick up the yarn!
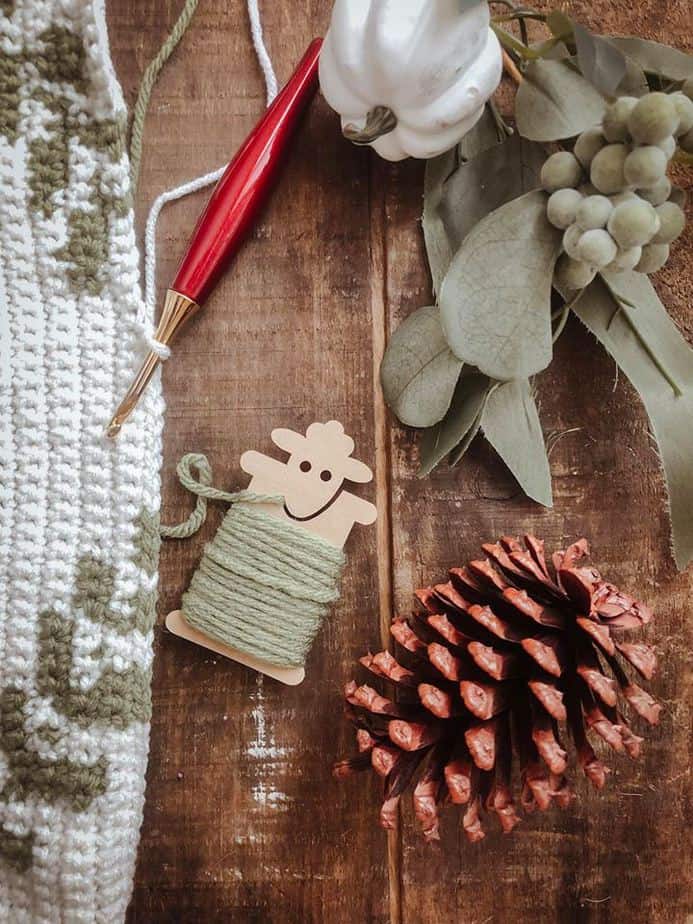
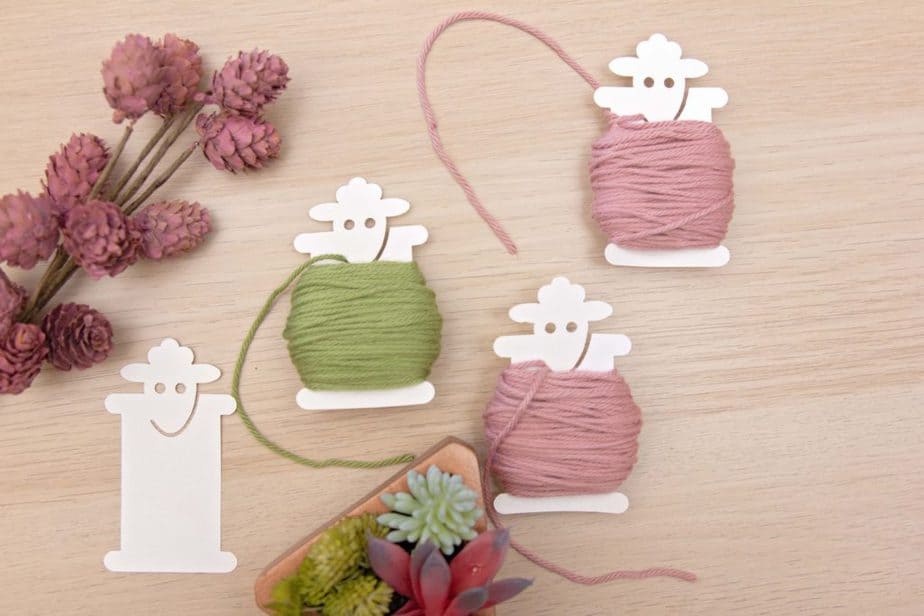
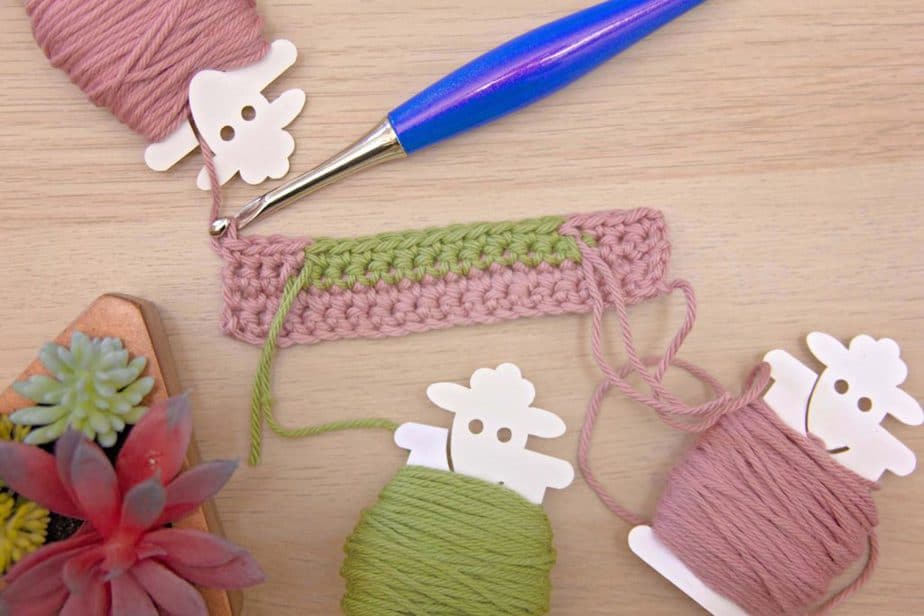
Grab the FREE sheep bobbin printable below, a crochet hook, scissors, and two colors of yarn.
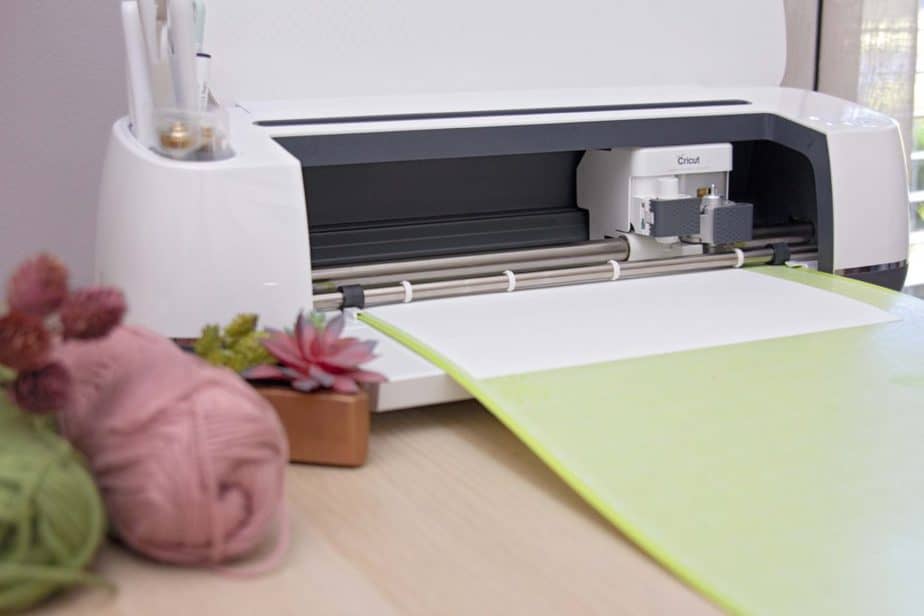
Use a Cricut or Silouette Cutting Machine
The best option for the sheep bobbin image is to upload it into your Cricut or other styles of a cut machine.
Set the dimensions of the image to 3 1/2 inches by 2 inches and cut out several!
They are so great to have around and easy to use.
When the yarn isn’t in use it can be tucked under the sheep’s head so it doesn’t unravel everywhere and cuts down on tangles.
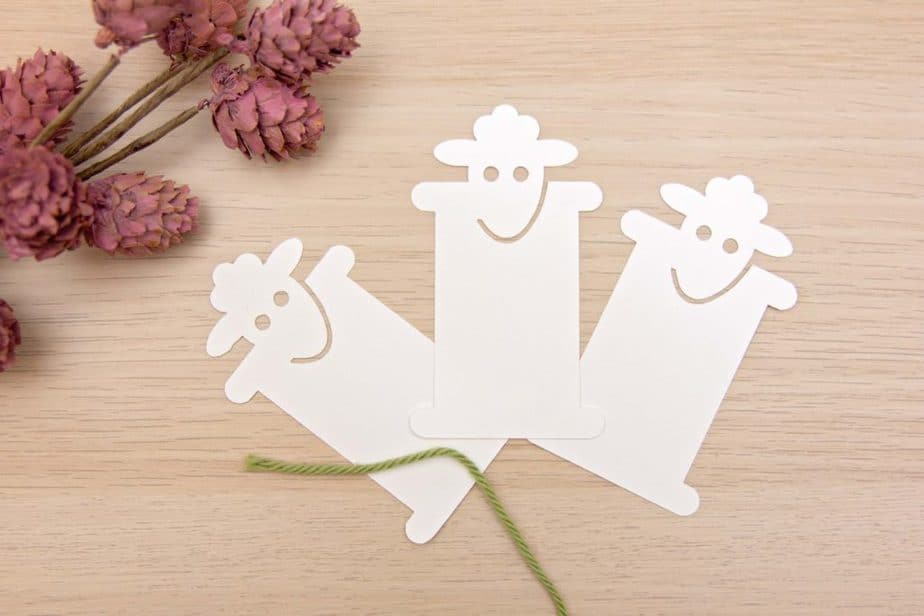
Here is another look at the FREE Yarn Sheep Bobbin.
Simply click to download and print on your cutting machine or by hand. And lastly, I want you to go seize the day!!! Remember to enjoy your craft and your crafting friends.
Creativity should be fun and comfortable every day!

Crochet Colorwork Practice Chart
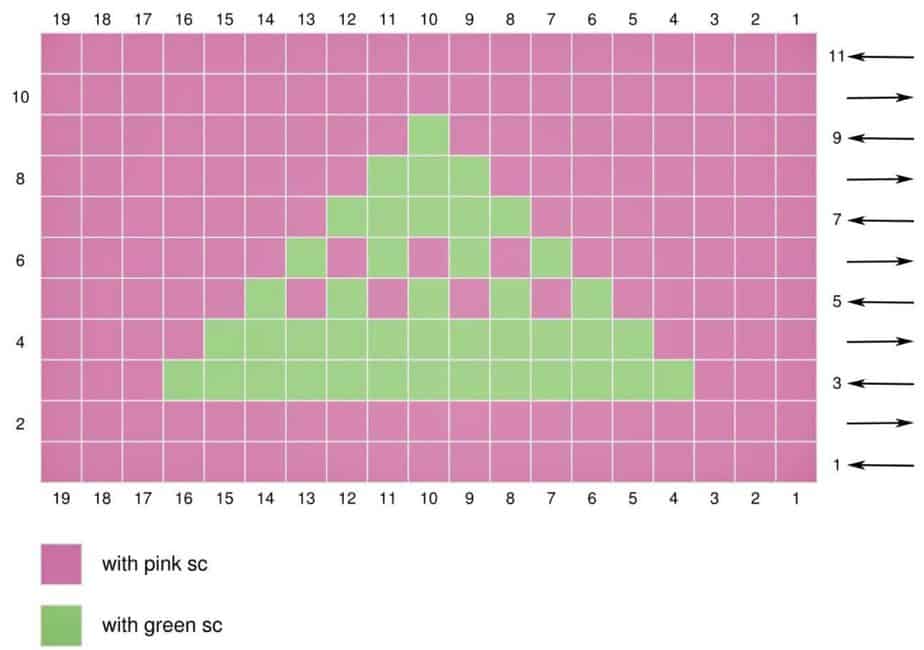
We will be using the following visual chart and different techniques to create a small crochet colorwork swatch. Scroll down for the written instructions.
Colorwork Crochet Practice Notes
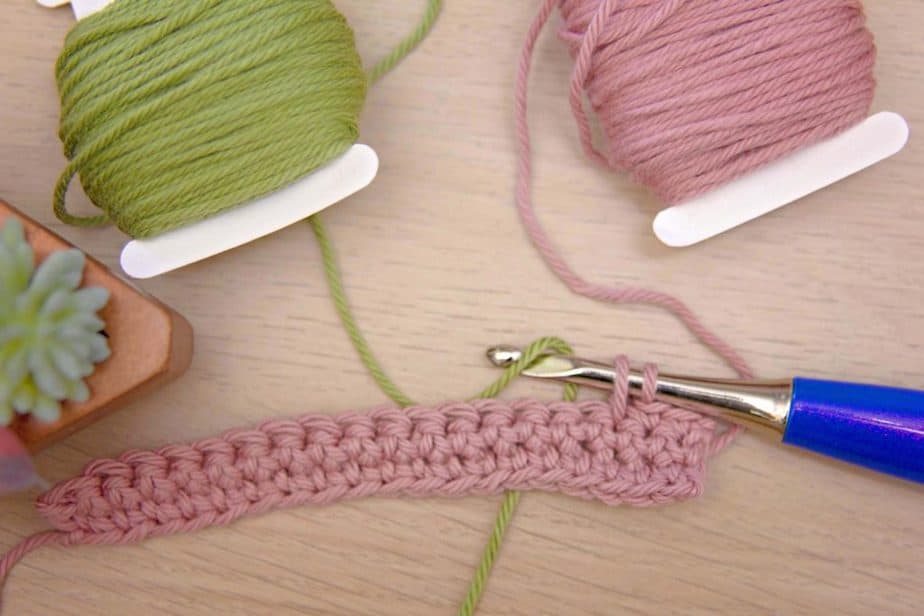
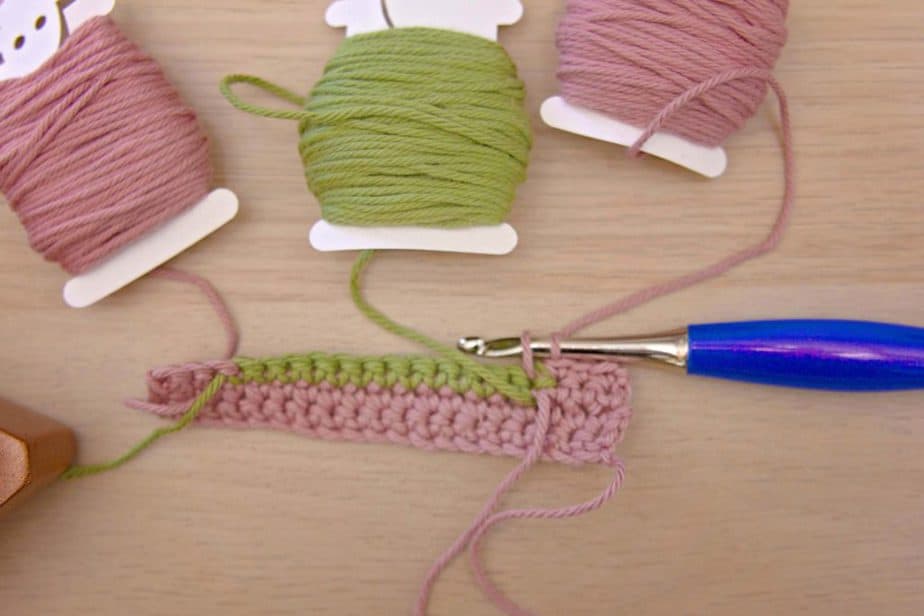
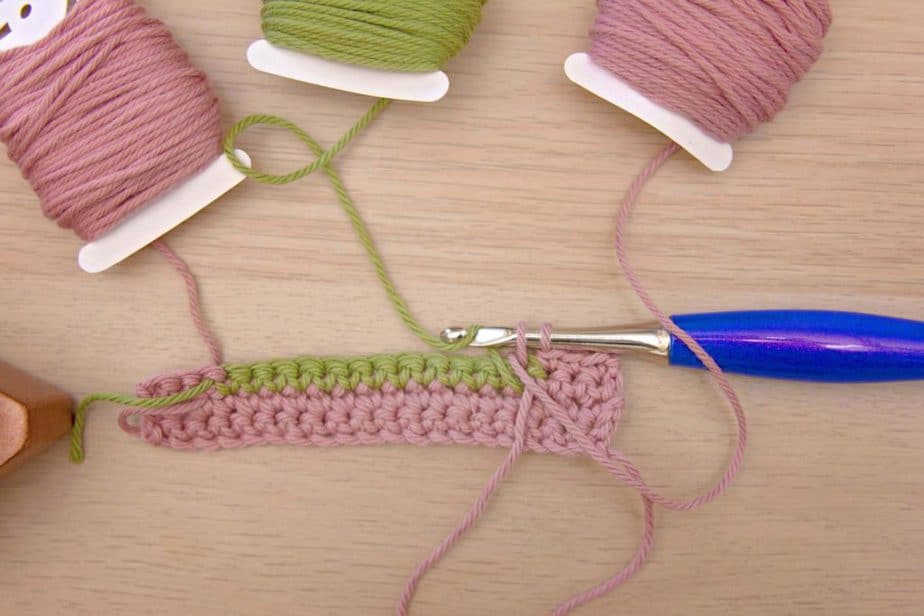
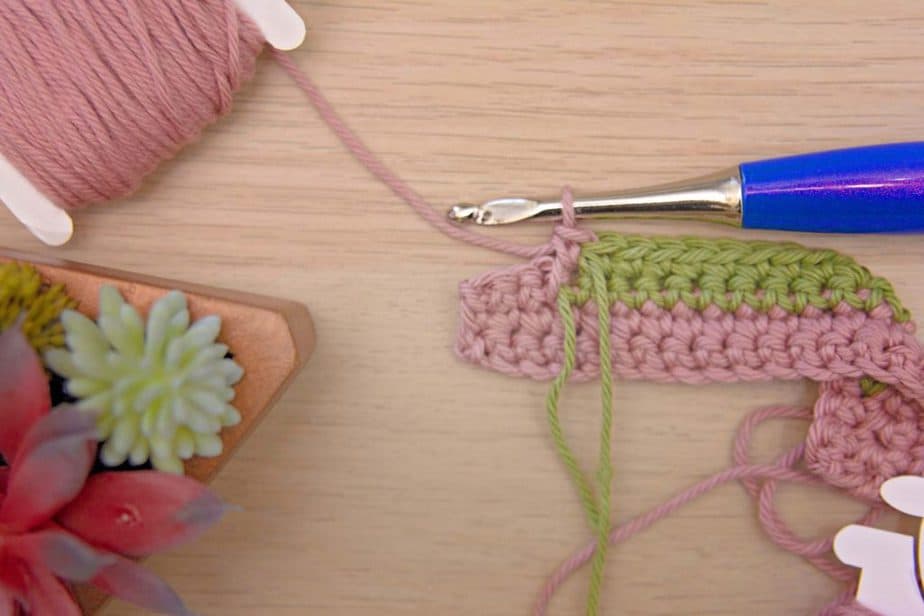
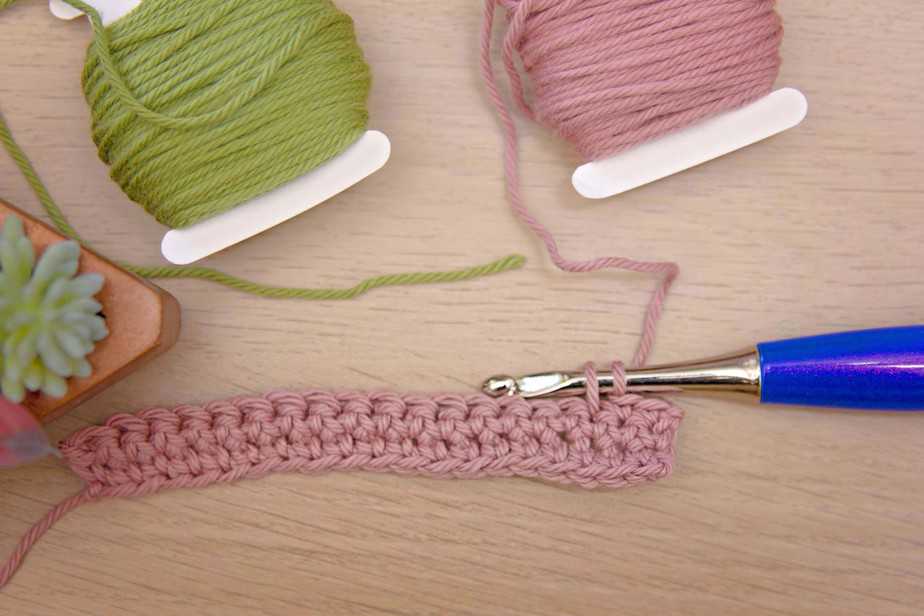
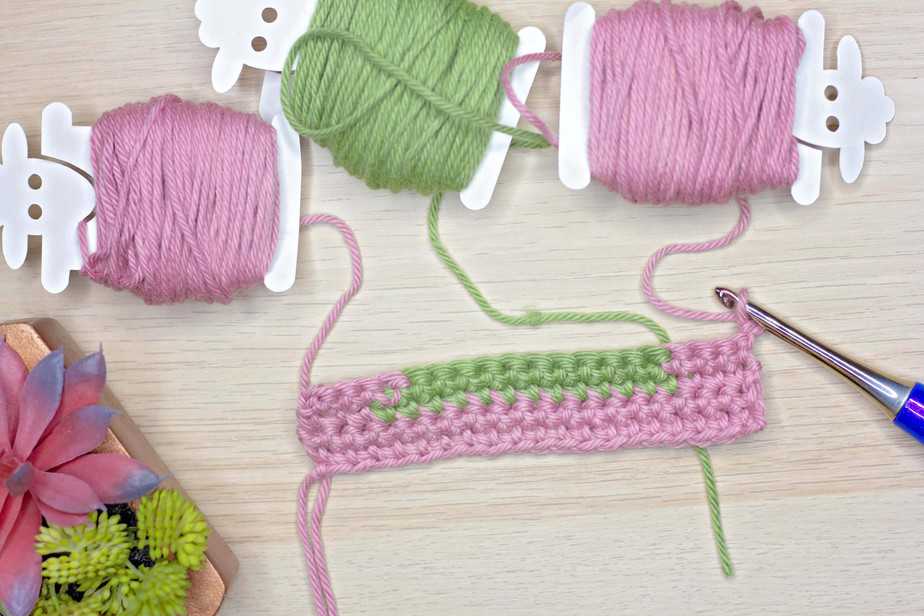
Begin working Rows 1 & 2 with the main color pink yarn.
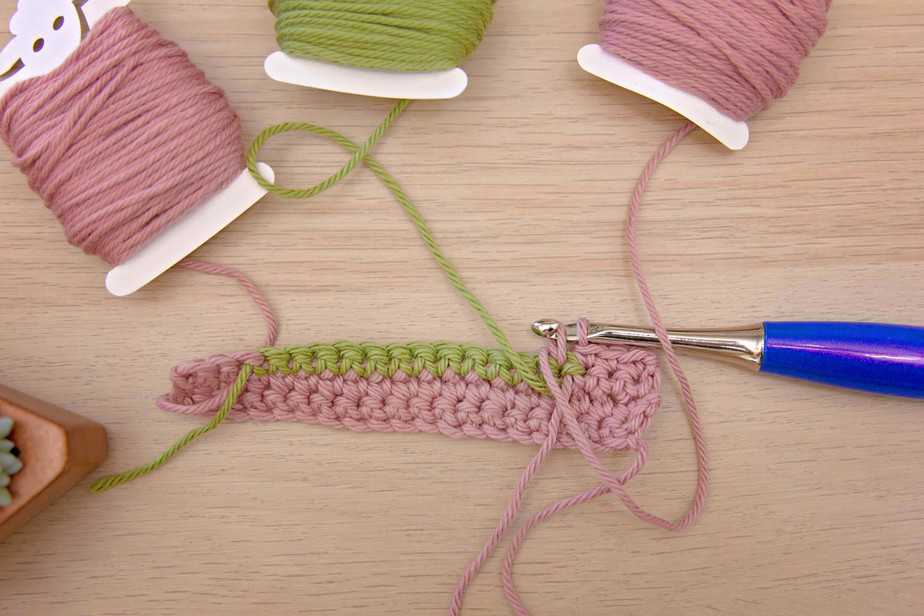
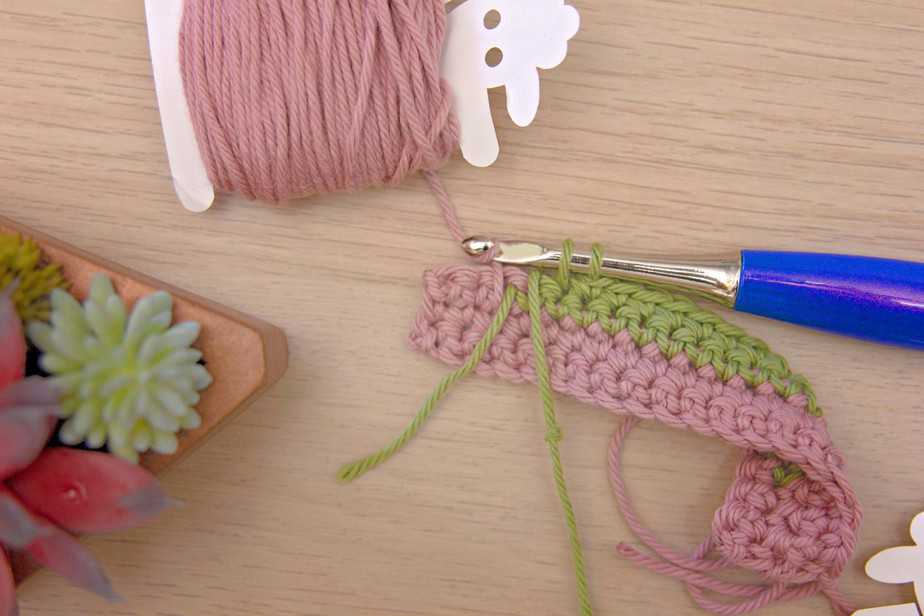
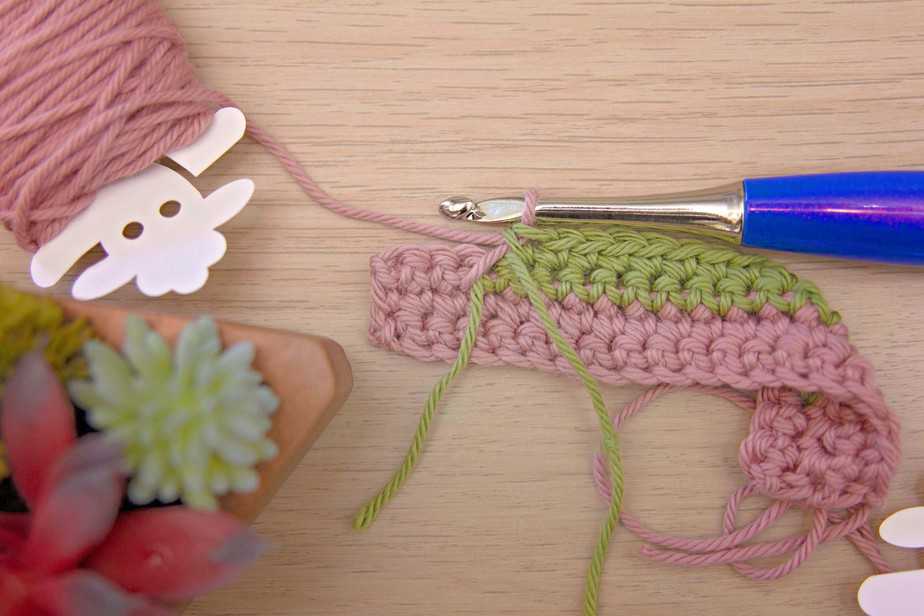
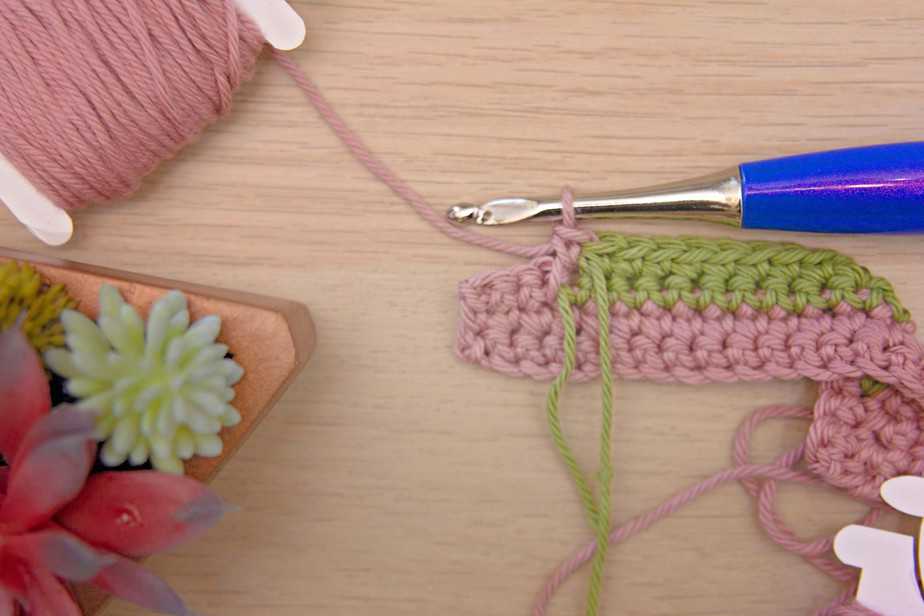
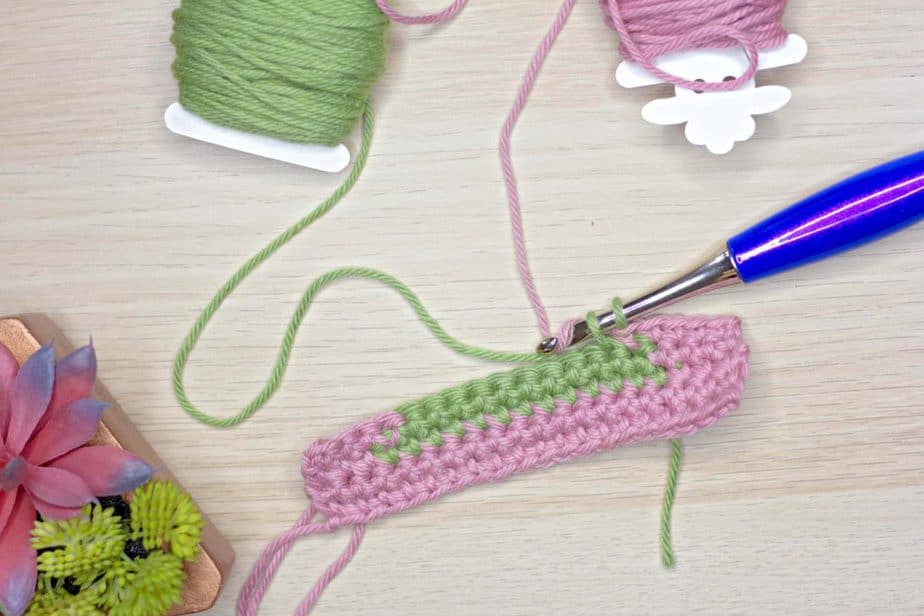
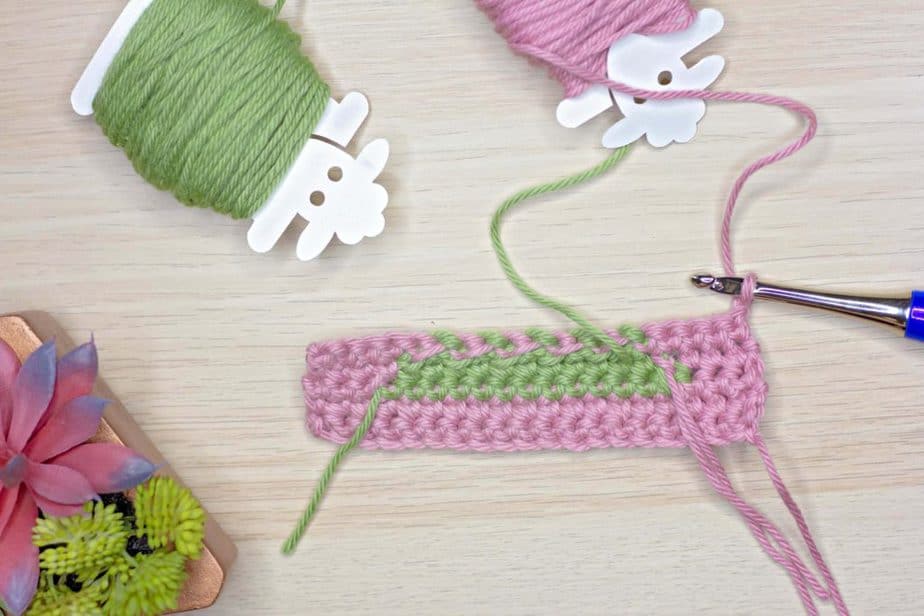
For the colorwork Rows 3 & 4 we will be using the intarsia technique. this means you will need a bobbin of green and pink.
As you work rows of intarsia remember to keep the tails on the wrong side of your work. For this exercise, the wrong side of the work is the even rows.
Colorwork Crochet Written Instructions
← Row 1 : (with pink sc) x 19
→ Row 2 : (with pink sc) x 19
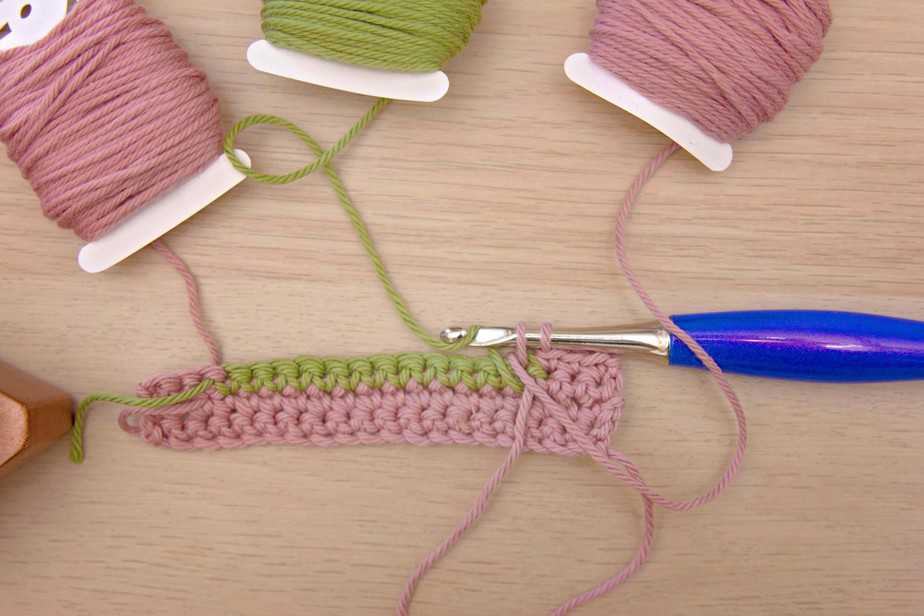
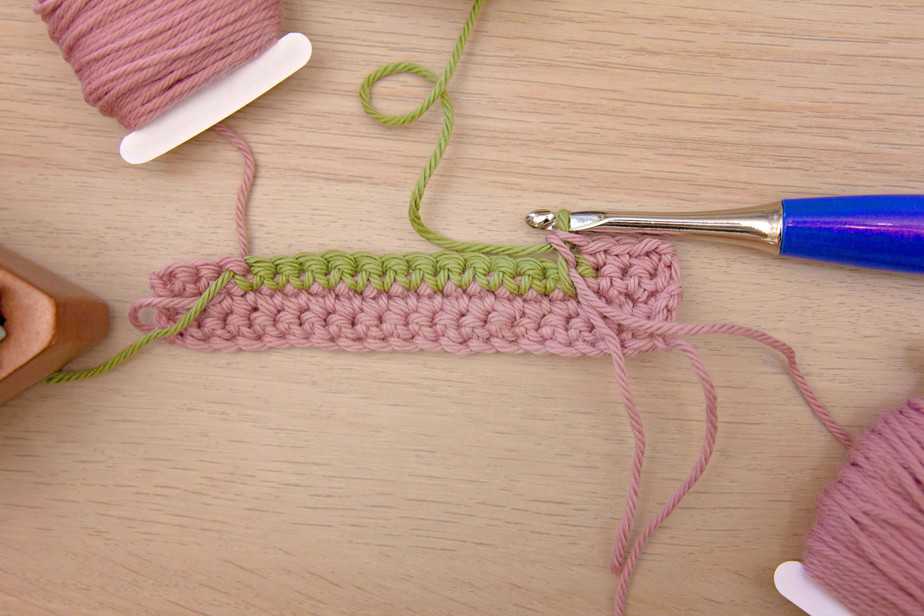
← Row 3 : (with pink sc) x 3, (with green sc) x 13, (with pink sc) x 3
→ Row 4 : (with pink sc) x 4, (with green sc) x 11, (with pink sc) x 4
← Row 5 : (with pink sc) x 5, with green sc, with pink sc, with green sc, with pink sc, with green sc, with pink sc, with green sc, with pink sc, with green sc, (with pink sc) x 5
→ Row 6 : (with pink sc) x 6, with green sc, with pink sc, with green sc, with pink sc, with green sc, with pink sc, with green sc, (with pink sc) x 6
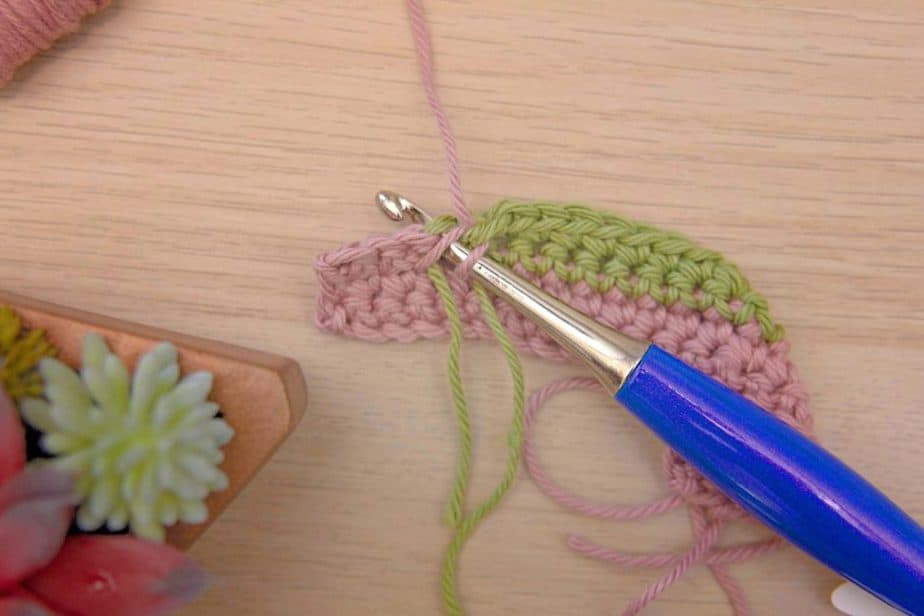
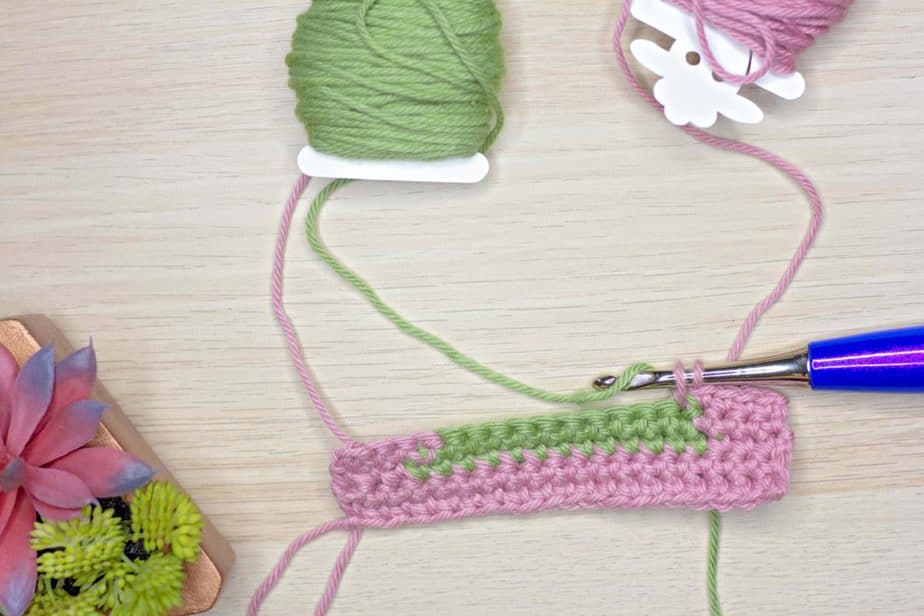
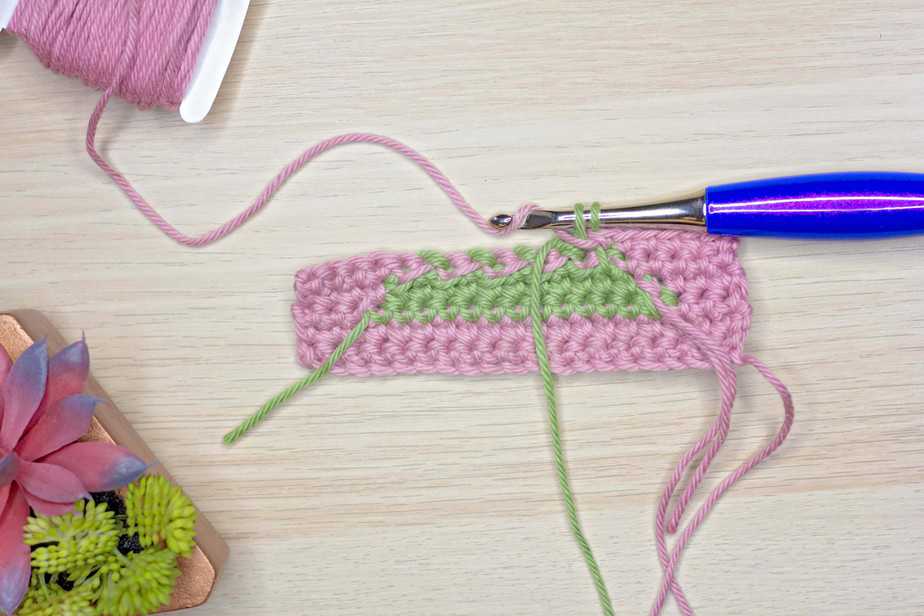
← Row 7 : (with pink sc) x 7, (with green sc) x 5, (with pink sc) x 7
→ Row 8 : (with pink sc) x 8, (with green sc) x 3, (with pink sc) x 8
← Row 9 : (with pink sc) x 9, with green sc, (with pink sc) x 9
→ Row 10 : (with pink sc) x 19
← Row 11 : (with pink sc) x 19
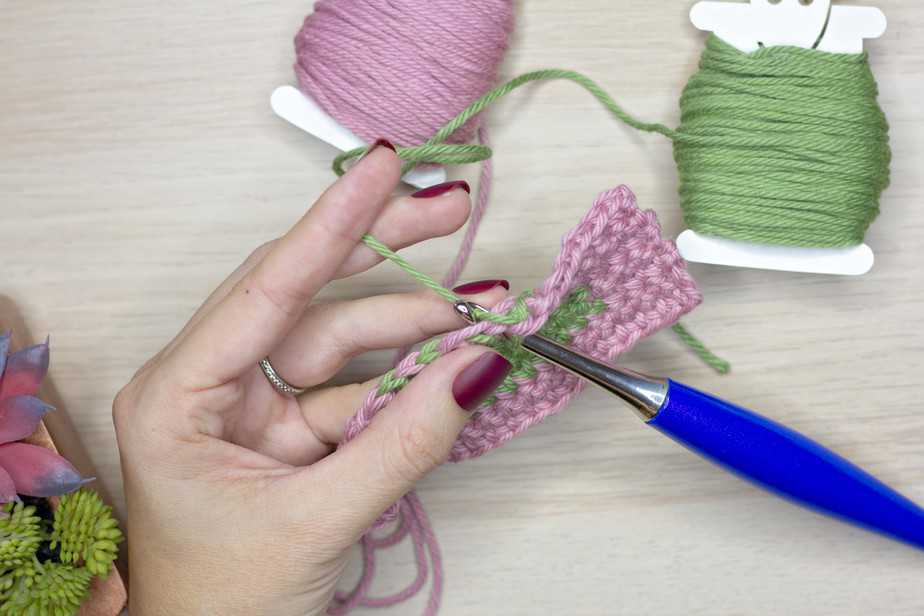
Colorwork Crochet Images
Click on the images below to make them bigger and scroll through the visual instructions.
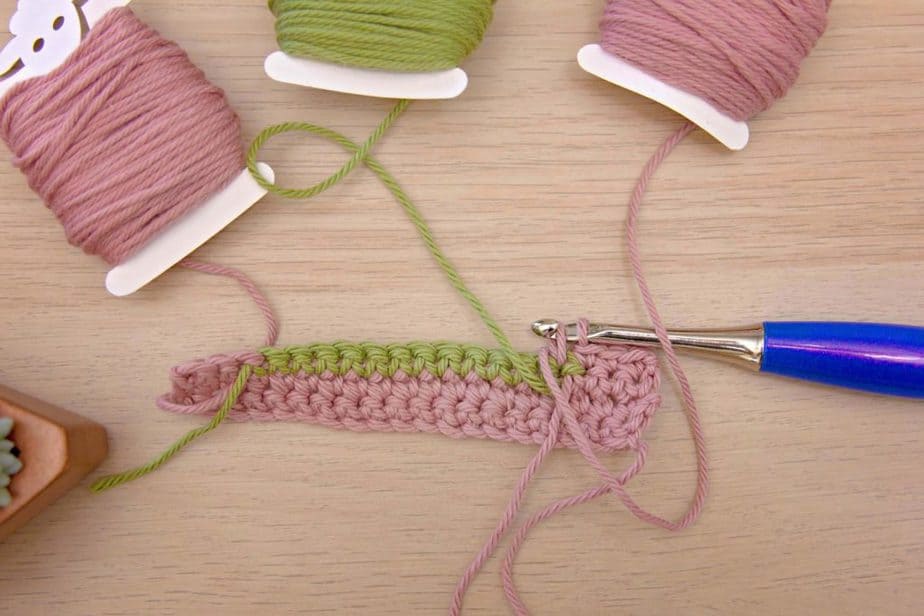

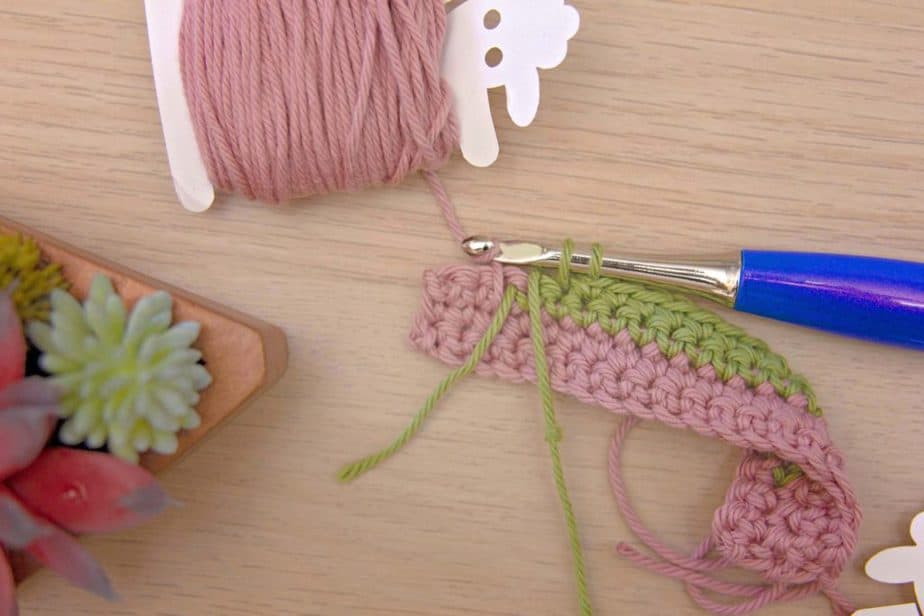
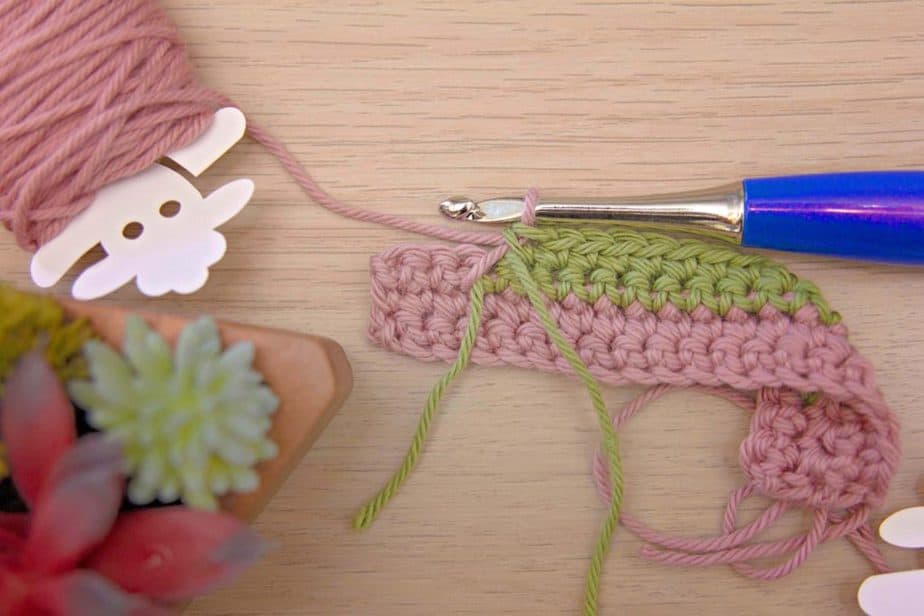


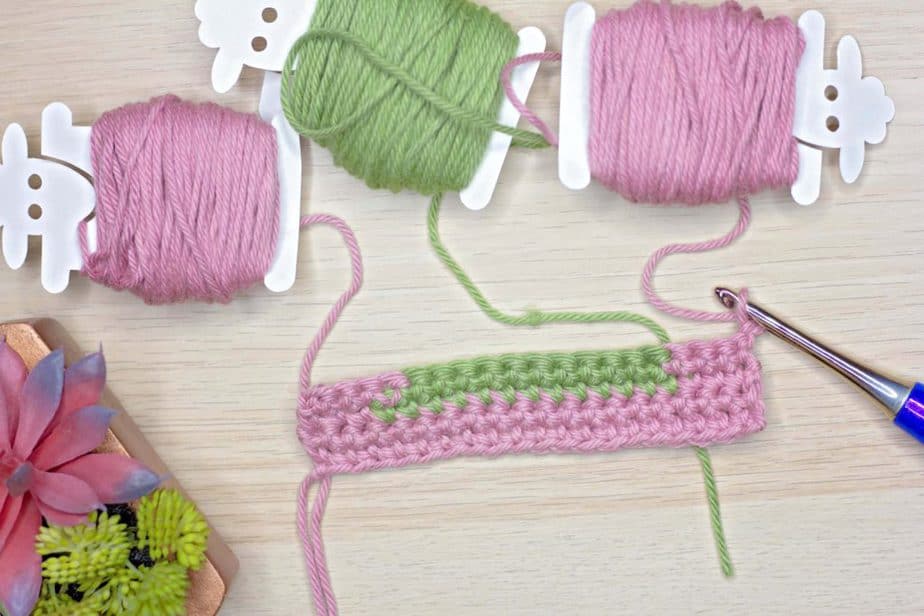
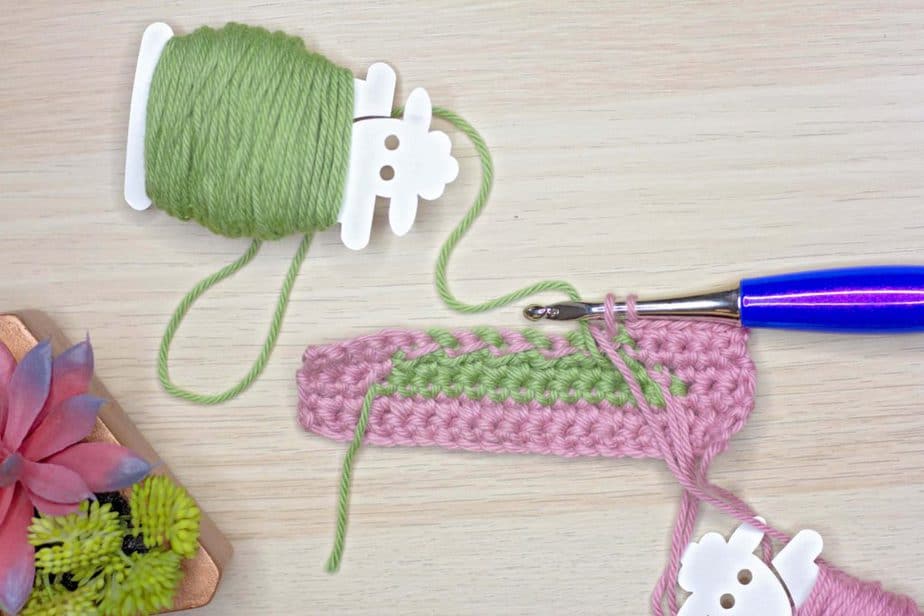
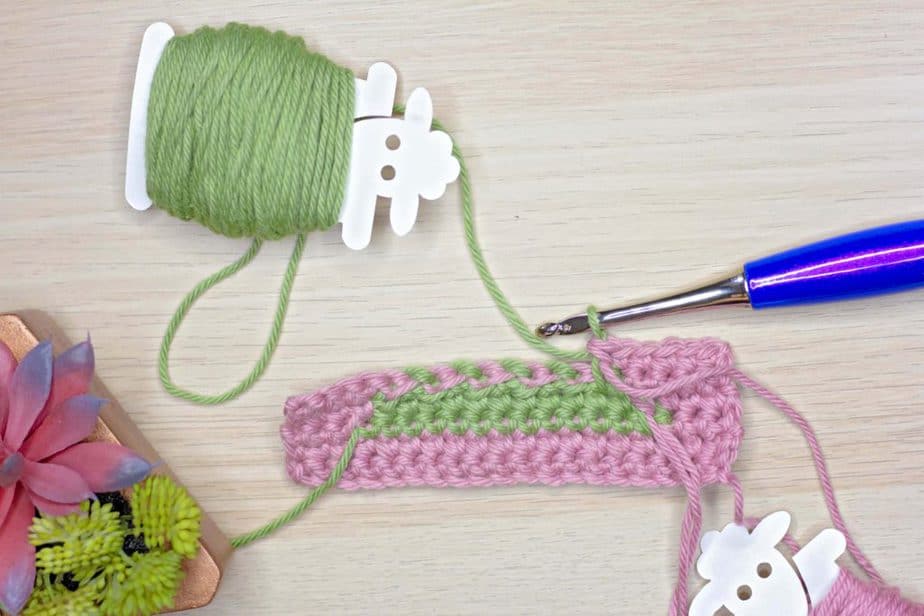
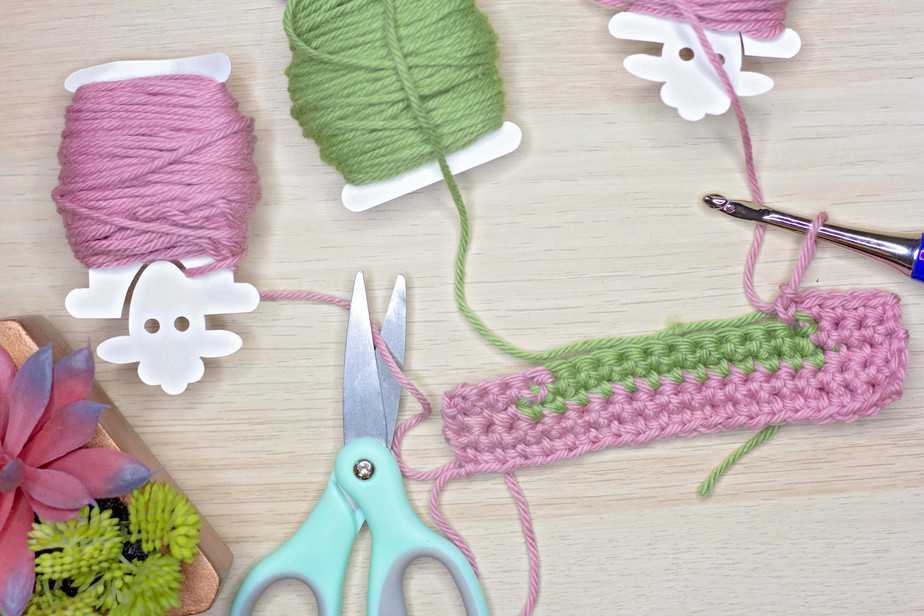
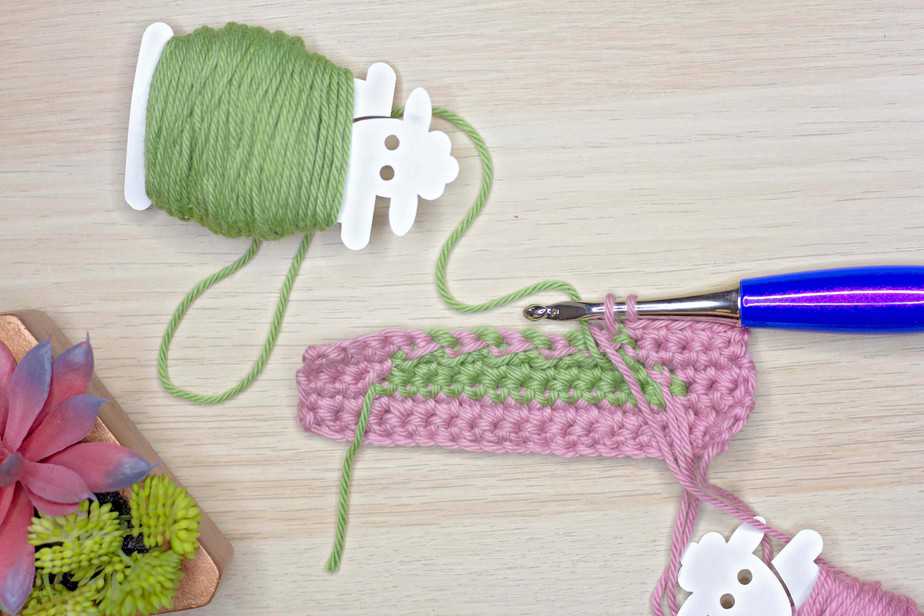
For Rows 5 & 6 we will be practicing our fair isle technique by carrying our work on the wrong side. With this method, we only need two color strands.
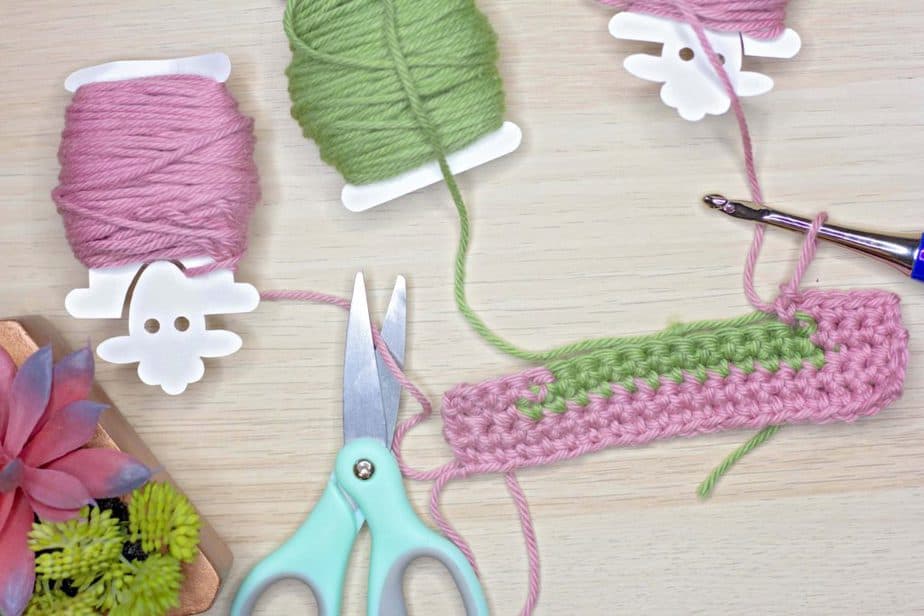
It is okay to cut the extra pink color stand on the right side to weave in later. For this project, none of the ends are woven in so you can see the whole process.
Click on the images below to make them bigger and scroll through the visual instructions.


I hope you enjoyed this tutorial on how to crochet colorwork. Now it’s time to put those skills to use and pick out your next pattern.
Well That Was Fun! What’s Next?
📌 PIN THIS POST – Don’t lose this project; save it to your Pinterest crochet board so you can quickly come back to it again.
💌 SHARE – Share your yarn choice, in-progress, or finished projects on Facebook or Instagram and use the hashtag #brianakdesigns
🥂 JOIN – Join the kindest crafters in the Briana K Designs Community Group on Facebook. We love yarny friends!
🔗 RAVELRY LINK -Link and share your project on Ravelry. Having inspirational photos can help crafters.