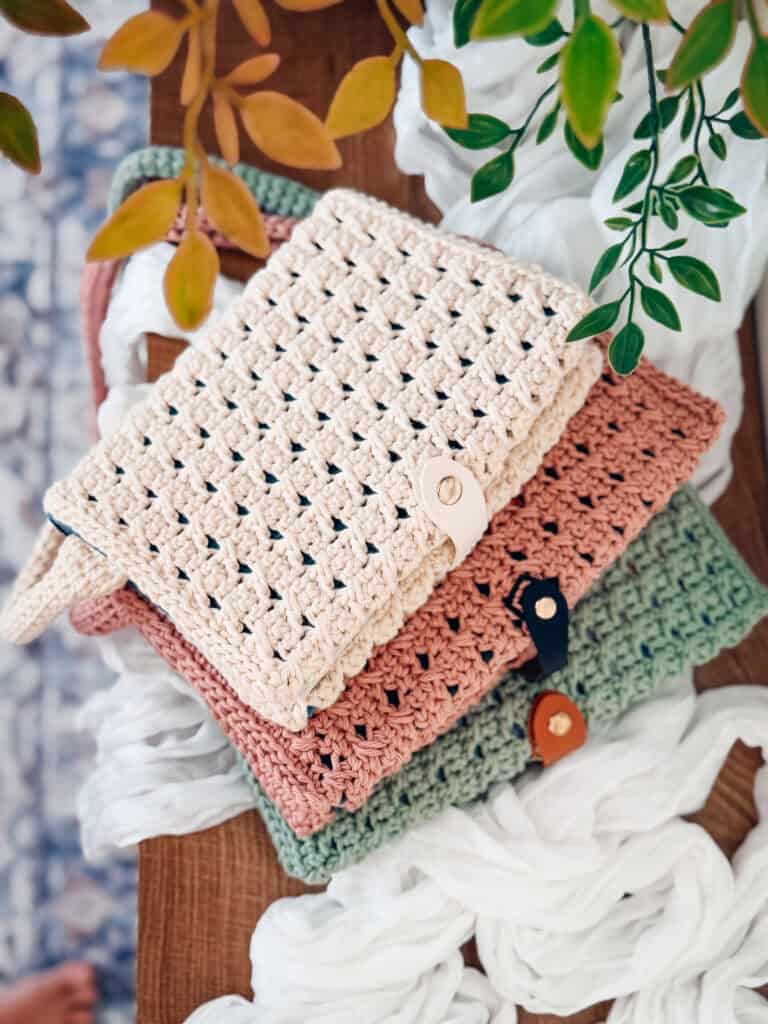
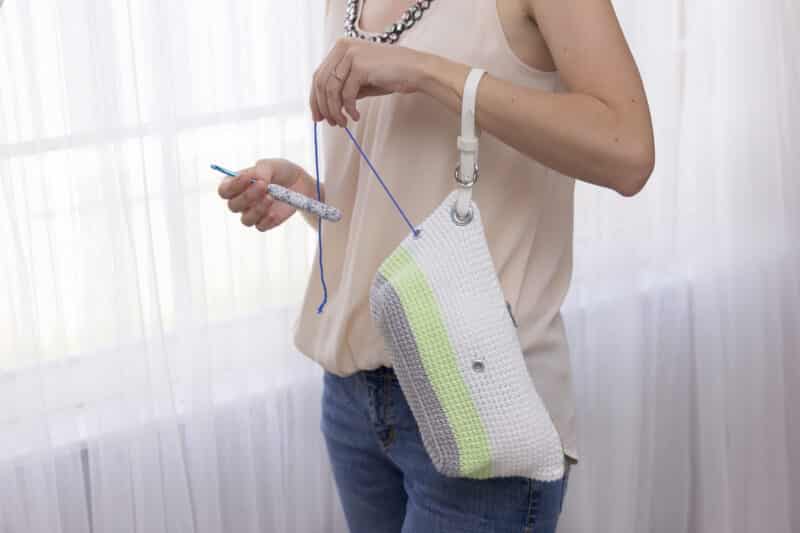
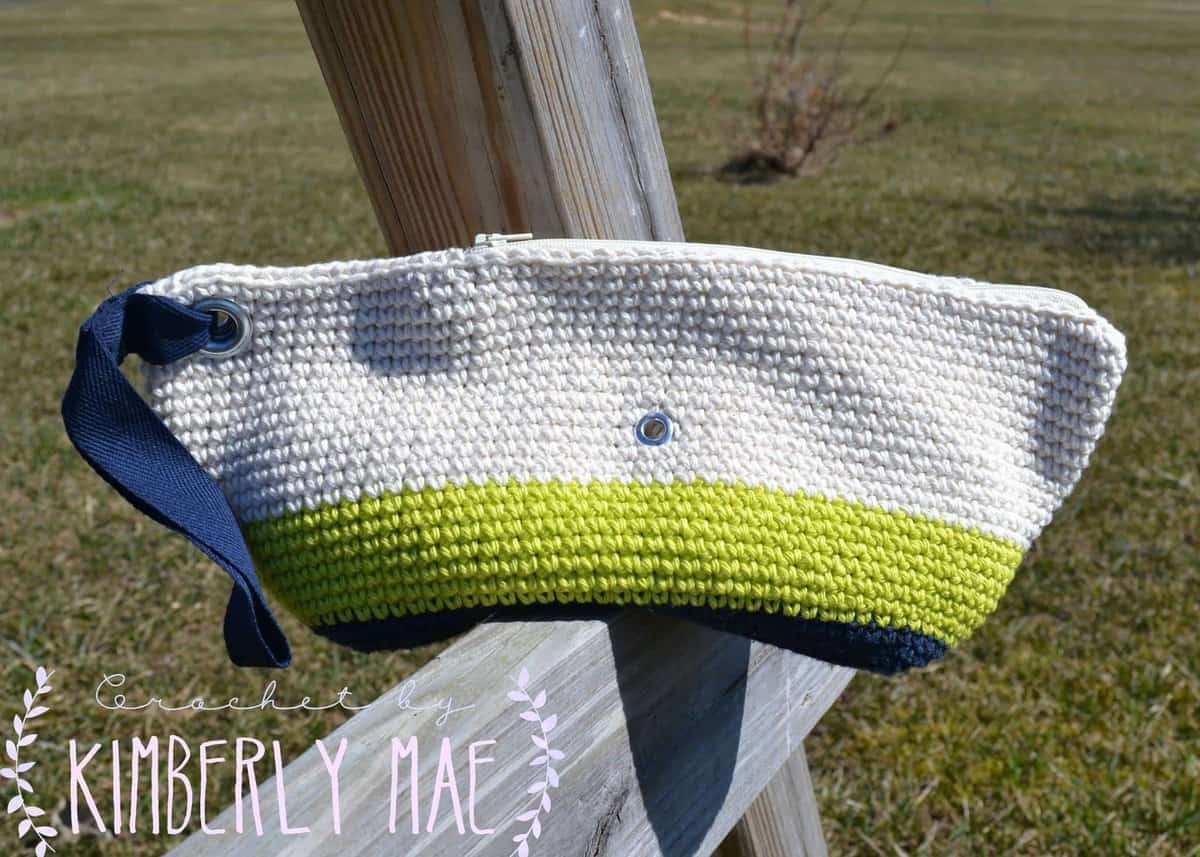
The Crochet Project Bag Pattern pattern not only is chic but also offers functionality by discreetly accommodating your yarn, promoting a singular focus on your crochet or knitting endeavors. The bag is ingeniously designed to hang conveniently on your arm, ensuring that your project remains pristine and secure. And if you like the idea of this bag, check out the other fun shapes with the Cake Yarn Project Bag Pattern or the Fish Wristlet Yarn Holder Bag Pattern.

Disclosure: This post contains affiliate links. Please read my disclosure for more info.
Say goodbye to the frustration of yarn rolling onto the floor or slipping off your lap. Moreover, the Clutch Wristlet becomes a handy companion during unexpected delays, such as a lengthy checkout line. Instead of succumbing to impatience, seize the opportunity to pull out your project and transform idle minutes into productive crafting, sparing those around you from potential frustrations.
Single Tasking Day
Did you know February 22nd is Single Tasking Day? I know for many of us it’s so hard to do one task at a time. We are constantly juggling many things at once, especially in our heads. This crochet project bag is meant to help you complete the one task you want to, and that’s crochet. No juggling yarn. And it’s extra helpful if you are a multitasker because you can crochet and go! If you are a cat lover, you might find the Cat Yarn Project Bag Pattern to be fun to crochet. Or try out some colorwork with the Crochet Arrow Project Bag Pattern.
Supplies for Clutch Wristlet Project Bag


Crochet Hook:
5.0mm (H hook), or hook to obtain gauge
Notions:
Removable stitch markers if needed
Yarn needle to weave in ends
Scissors
Sewing needle and thread
Leather strap for bag handle (I used an old belt that was ½ inch wide)
Large Eyelet Kit ¼ inch (6.35mm)- 4 grommets needed
Extra-Large Eyelet Kit 7/16 inch (1.1cm)- 2 grommets needed
Zipper 7-9 inches long
Yarn:
WeCrochet Comfy Cotton
Color A: Whisker (Grey)
Color B: Honeydew (Light Green)
Color C: White
Possible Yarn Substitutes (always check gauge):
Lily Sugar’n Cream
Premier Home Cotton
WeCrochet Dishie Yarn
Yardage:
Approx. 220 yards, 1 ball each color
Abbreviations/Stitches:
ch – chain
rnd- round
sc – single crochet
sl st – slip stitch
st(s) – stitch(es)
Gauge:
Single Crochet: 18 rows x 18 stitches = 4 x 4 inches
Skill Level:
Easy
Size:
Folded in half and laid flat: Height: 6 ¾ inches, Width: 11 ½ inches
Notes:
This bag is worked from the bottom up and joined in the round. Chains do not count as a stitch when joining.
Keep on reading to enjoy this pattern free on this blog post, or purchase the Ad-free downloadable pdf on Ravelry.
How to Crochet the Clutch Wristlet Project Bag Pattern
Click the box below to unlock this exclusive subscriber content for free. Add your email and create a password. If you are having trouble, reset your password or log in to the Grow Portal.
I’m thrilled to share this amazing crochet pattern with you! Please don’t copy, paste, or distribute this pattern. Prefer an ad-free experience? Purchase a digital PDF file for a small fee from one of my online stores. I appreciate your support and readership. You are why I can keep doing what I love and sharing it with others. Thank you from the bottom of my heart.
Rnd 5:
sc in first 5 sts, 3sc in next, sc in next 26 sts, 3sc in next, sc in next 9 sts, 3sc in next, sc in
next 26 sts, 3sc in next, sc in last 4 sts. (82 sts)
Rnd 6:
sc in first 6 sts, 3sc in next, sc in next 28 sts, 3sc in next, sc in next 11 sts, 3sc in next, sc in
next 28 sts, 3sc in next, sc in last 5 sts. (90 sts)
Rnd 7:
sc in first 7 sts, 3sc in next, sc in next 30 sts, 3sc in next, sc in next 13 sts, 3sc in next, sc in
next 30 sts, 3sc in next, sc in last 6 sts. (98 sts)
Rnd 8:
In Blo, sc in each stitch around. (98 sts)
Rnd 9:
sc in each stitch around. (98 sts)
Rnd 10:
sc in each stitch around. Change to Color B. (98 sts)
Rnds 11- 16:
sc in each stitch around. (98 sts)
Rnd 17:
sc in each stitch around. Change to Color C. (98 sts)
Rnds 18-20:
sc in each stitch around. (98 sts)
Rnd 21:
*sc in 24 sts, chain 1, skip 1; repeat * two more times, sc 23 sts. (98 sts)
Rnds 22-28:
sc in each stitch around. (98 sts)
Rnd 29:
Sc 44 sts, chain 2, skip 2 sts, sc 6 sts, chain 2, skip 2 sts, sc 44 sts. (98 sts)
Rnd 30:
sc in each stitch around. (98 sts)
Rnd 31:
sc in each stitch around, fasten off and weave in ends. (98 sts)
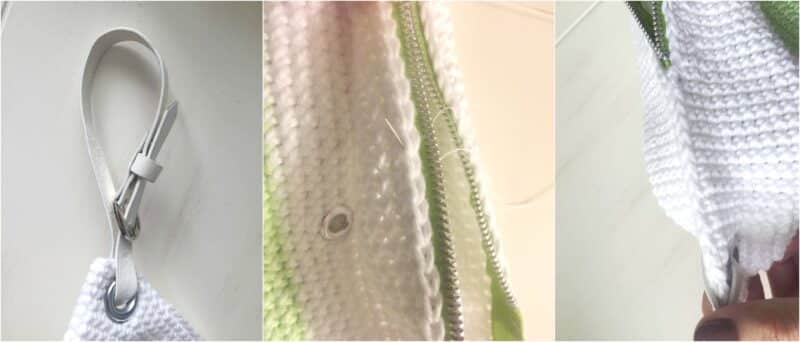
Grommets
Fasten a grommet/eyelet into each of the three chain 1 spaces on round 21.
(Follow the directions on the back of the eyelet/grommet kit)
Fasten extra-large grommets to the chain 2 spaces on round 29.
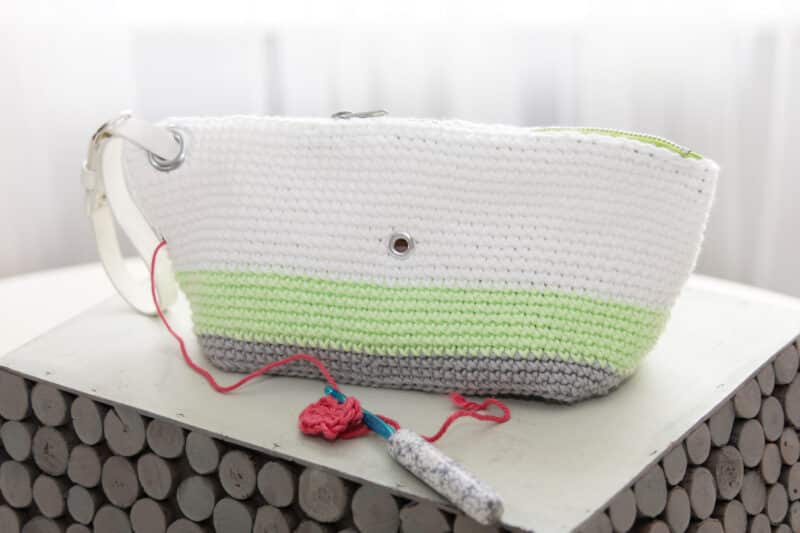
Strap
I recommend repurposing an old belt or picking one up from a consignment store. Cut off the non-buckle end to the desired length. Slide through the extra-large grommets and buckle closed.
Zipper
Starting from the opposite end of the strap, stitch the zipper to the inside of the bag with a sewing needle and thread. If there is extra space between the end of the zipper and strap, stitch closed with yarn.
Bags Made by Fellow Crocheters
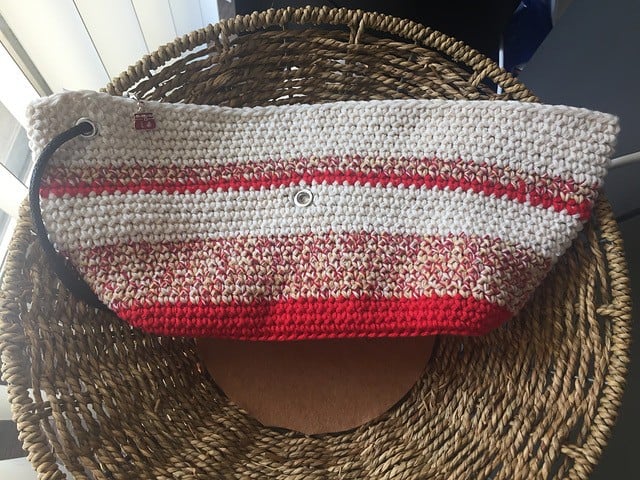
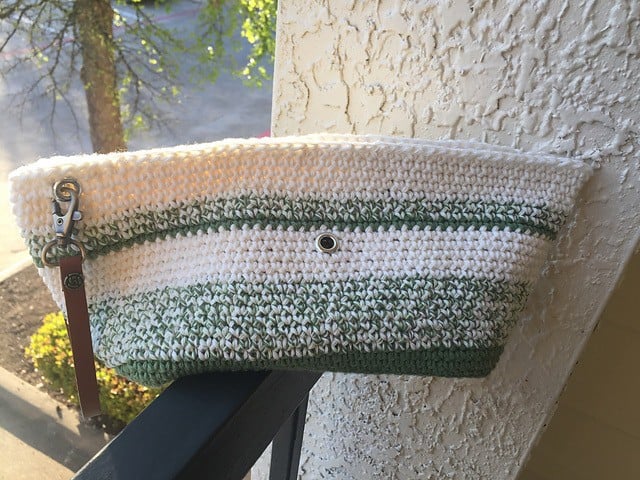
The fun hasn’t ended here, if you love this style of crochet bag. You might just crack up at the Unicorn Farts Crochet Project Bag, the Pig Project Bag Pattern, or the Sheep Crochet Project Bag Pattern.
Well, That Was Fun! What’s Next?
This pattern was originally published in March of 2016, updated in February 2022.