Make a Splash with the Fish Crochet Bag Free Pattern
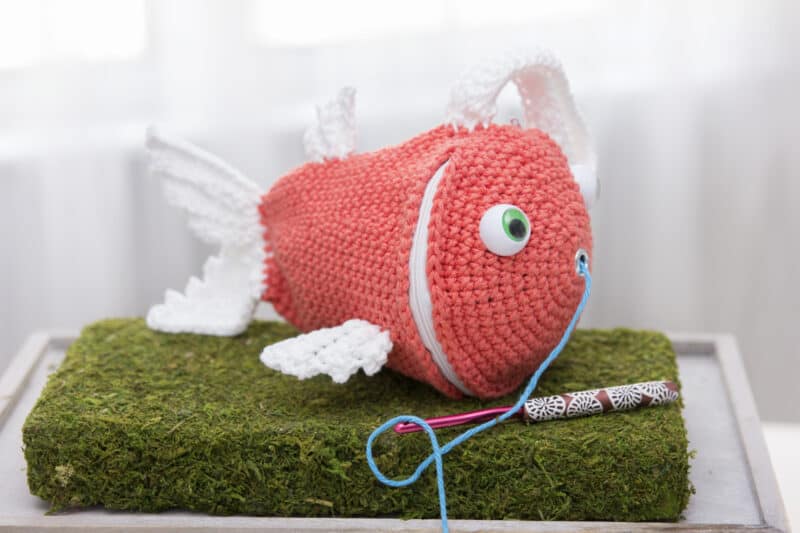
There is something fishy about this Fish Crochet Bag! LOL. Fun and functional, sure to turn heads and get a giggle. Don’t let zippers or grommets scare you! Both are simple, and a NO-SEW option in the pattern works well.
Disclosure: This post contains affiliate links. Please read my disclosure for more info.
Prepare to splash with this fun Fish Crochet Bag! Bold and bright, the simple design of this handmade bag is perfect for anyone who loves to crochet.
Whether you’re carrying around crochet supplies or need a stylish way to store a few items while on the go, this pattern will help you create an eye-catching accessory that everyone will love.
Check out all the details below – you won’t regret making an extra special effort to ‘sea’ what you can do!
And if you want even more fun bag inspiration, check ou the Herringbone Crochet Clutch, the Clutch Wristlet Project Bag Pattern, or the Cake Yarn Project Bag Pattern.
Or if you love animal bags, I’m guessing you might also enjoy crocheting the Animal Print Crochet Bag Pattern.
Fish Crochet Bag Supplies
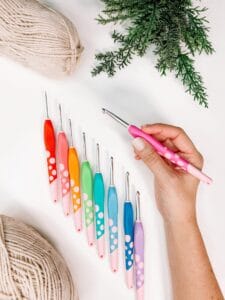
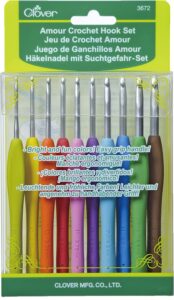
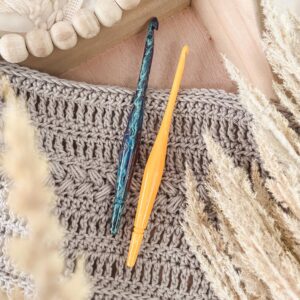
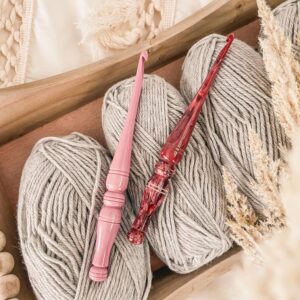
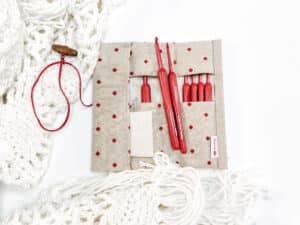
Crochet Hook:
5.0mm (H hook), or hook to obtain gauge
Notions:
Removable stitch markers if needed
Tapestry (yarn) Needle
Sewing needle and thread -if stitching on the zipper
Scissors
14-inch zipper
Large Eyelet Kit ¼ inch (6.35mm)- 1 grommet needed
2 Large Frog Safety Eyes or Black Safety Eyes
Quick Dry Fabric Fusion (or similar product, but a quick dry will be easiest), or sewing machine.
Yarn:
WeCrochet Dishie Yarn
Color A: Clementine or Sunbaked
Color B: White
Possible Yarn Substitutes (always check gauge):
Sugar’n Cream Cotton Yarn
Yardage:
130 – 140 yards (119 – 128 m)
Abbreviations/Stitches:
ch- Chain
sc- Single Crochet
sc2tog- Single Crochet Two Together
BLO- Back Loops Only
Gauge:
4 x4 inches in Single Crochet: 18 rows x 18 stitches
Skill Level:
Easy
Bag Measurements in inches:
Folded in half, laid flat, and body portion:
Height: 8 inches, Width: 7 ¼ inches

Purchase the Ad-Free PDF on Etsy or Ravelry.
Fish Crochet Bag Written Pattern
Round 1:
Starting with Color A, sc 10 inside Magic Circle (aka Magic Ring) Do NOT pull the ring tight as a grommet will need to fit in the center, join and ch 1 (10)
Round 2:
2 sc in each around, join and ch 1 (20)
Round 3:
sc in each stitch around, join and ch 1 (20)
Round 4:
*2 sc in first, sc in next; repeat * around, join and ch 1 (30)
Round 5:
sc in each stitch around, join and ch 1 (30)
Round 6:
*2 sc in first, sc in next 2; repeat * around, join and ch 1 (40)
Round 7:
sc in each stitch around, join and ch 1 (40)
Round 8:
*2 sc in first, sc in next 3; repeat * around, join and ch 1 (50)
Round 9:
sc in each stitch around, join and ch 1 (50)
Round 10:
*2 sc in first, sc in next 4; repeat * around, join and ch 1 (60)
Rounds 11-12:
sc in each stitch around, join and ch 1 (60)
Round 13:
sc 5, chain 50 (careful not to twist), skip 50, sc 5, join and ch 1 (60)
Round 14:
sc in each stitch around (including chains), join and ch 1 (60)
Rounds 15-19:
sc in each stitch around, join and ch 1 (60)
Round 20:
*sc2tog, sc in next 8; repeat * around, join and ch 1 (54)
Rounds 21-22:
sc in each stitch around, join and ch 1 (54)
Round 23:
*sc2tog, sc in next 7; repeat * around, join and ch 1 (48)
Rounds 24-25:
sc in each stitch around, join and ch 1 (48)
Round 26:
*sc2tog, sc in next 6; repeat * around, join and ch 1 (42)
Rounds 27-30:
sc in each stitch around, join and ch 1 (42)
Round 31:
*sc2tog, sc in next 5; repeat * around, join and ch 1 (36)
Round 32:
sc in each stitch around, join and ch 1 (36)
Round 33:
*sc2tog, sc in next 4; repeat * around, join and ch 1 (30)
Round 34:
sc in each stitch around, join and ch 1 (30)
Round 35:
*sc2tog, sc in next 3; repeat * around, join and ch 1 (24)
Round 36:
*sc2tog, sc in next 2; repeat * around, join and ch 1 (18)
Round 37:
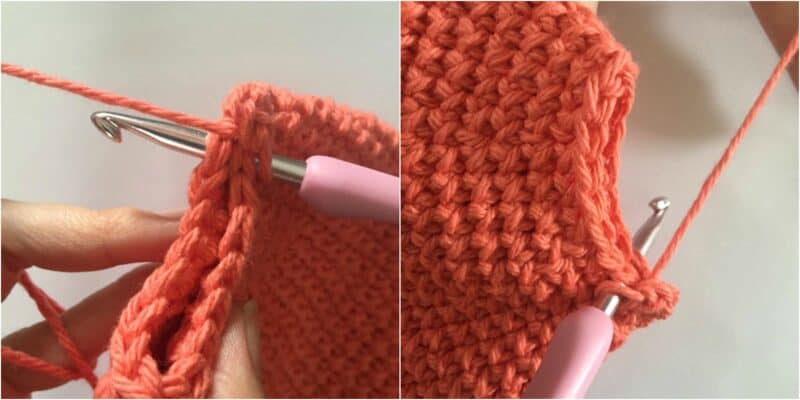
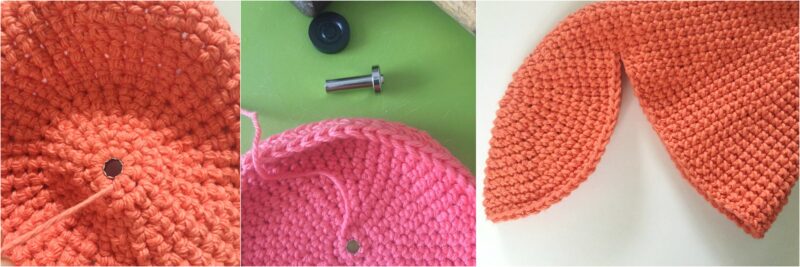
Fold work in half with connected portion on one end, sc 9 through both layers at once (see picture below), fasten off, and weave in end. (9)
Tail Fins (make 2)
Row 1:
Chain 13, sc in the second chain from hook and across, turn and ch 1 (12)
Row 2:
All the rows from this point on will be worked in BLO (Back Loops Only) 11 sc 11, turn and ch 1 (11)
Row 3:
Slip stitch in first (does not count as stitch), sc in next 10, turn and ch 1 (10)
Row 4:
sc 9, turn and ch 1 (9)
Row 5:
Slip stitch in first (does not count as stitch), sc in next 8, turn and ch 1 (8)
Row 6:
sc 7, turn and ch 1 (7)
Row 7:
Slip stitch in first (does not count as stitch), sc in next 6, turn and ch 1 (6)
Row 8:
sc 5, leave tail for sewing onto fish body and fasten off (5)
Side Fins (make 2)
Row 1:
Chain 9, sc in second chain from hook and across, turn and ch 1 (8)
Row 2:
All the rows from this point on will be worked in BLO (Back Loops Only) 7 sc 7, turn and ch 1 (7)
Row 3:
Slip stitch in first (does not count as stitch), sc in next 6, turn and ch 1 (6)
Row 4:
sc 5, turn and ch 1 (5)
Row 5:
Slip stitch in first (does not count as stitch), sc in next 4, turn and ch 1 (4)
Row 6:
sc 3, leave tail for sewing onto fish body and fasten off (3)
Top Fin
Row 1:
Chain 6, sc in the second chain from hook and across, turn and ch 1 (5)
Row 2:
All the rows from this point on will be worked in BLO (Back Loops Only) 4 sc 4, turn and ch 1 (4)
Row 3:
Slip stitch in first (does not count as stitch), sc in next 3, turn and ch 1 (3)
Row 4:
sc 2, leave tail for sewing onto fish body and fasten off (2)
Strap
Row 1:
With Color C, chain 45, starting in second chain from hook sc across, turn and ch 1 (or Foundation Single Crochet 44)
Row 2:
sc in each across, turn and ch 1 (44)
Row 3:
sc in each across, fasten off and leave tail for sewing to bag
Fish Crochet Bag Assembly
Grommet: Fasten a grommet/eyelet into the center of Magic Circle on front. (Follow the directions on the back of eyelet/grommet kit)
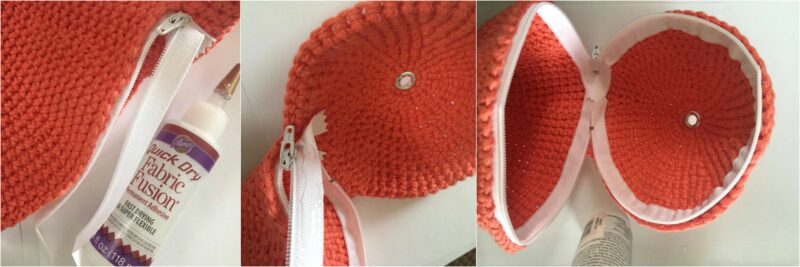
Using fabric glue, fasten the zipper to the opening on fish. (Another option is to sew zipper with a sewing machine)
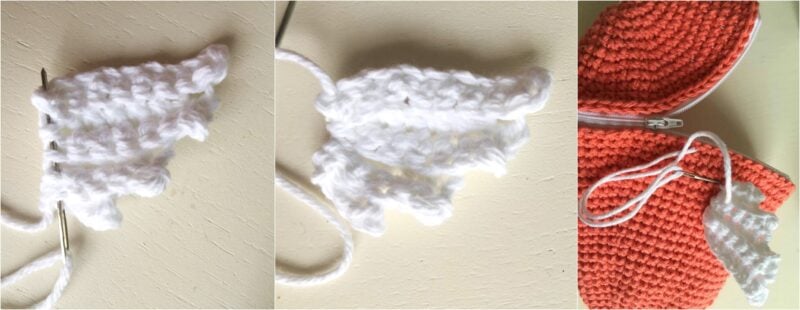
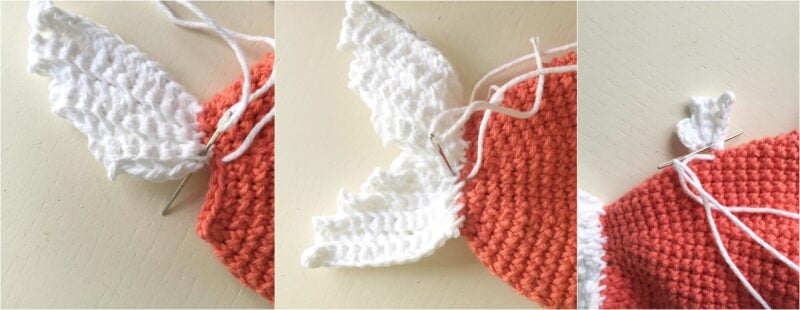
Pull yarn through the bottom of all the fins and pull tightly to shape the fins before stitching onto the fish. Stitch side fins to each side behind the zipper and a small top fin on the top back of the fish. For the tail fins, start from the outside of each fin and stitch towards the center. The fins will meet in the center back.
Place fish eyes on the front of fish, using either safety black eyes, X’s for a dead fish, or frog safety eyes.

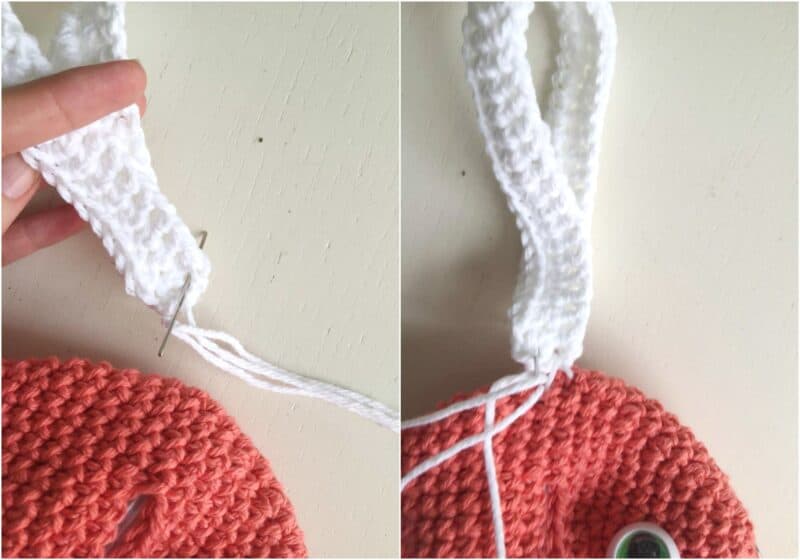
Using a tapestry needle, stitch the bottom of the strap together and then stitch to the top of the fish.
Well That Was Fun! What’s Next?
📌 PIN THIS POST – Don’t lose this project; save it to your Pinterest crochet board so you can quickly come back to it again.
💌 SHARE – Share your yarn choice, in-progress, or finished projects on Facebook or Instagram and use the hashtag #brianakdesigns
🥂 JOIN – Join the kindest crafters in the Briana K Designs Community Group on Facebook. We love yarny friends!
🔗 RAVELRY LINK -Link and share your project on Ravelry. Having inspirational photos can help crafters.
