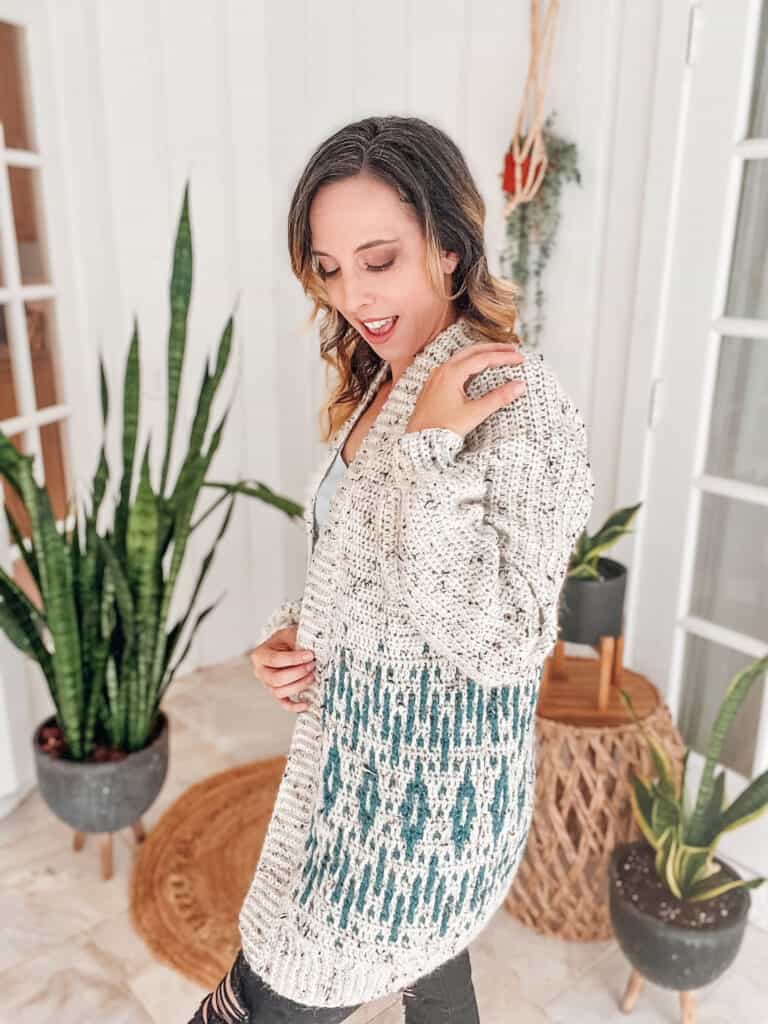
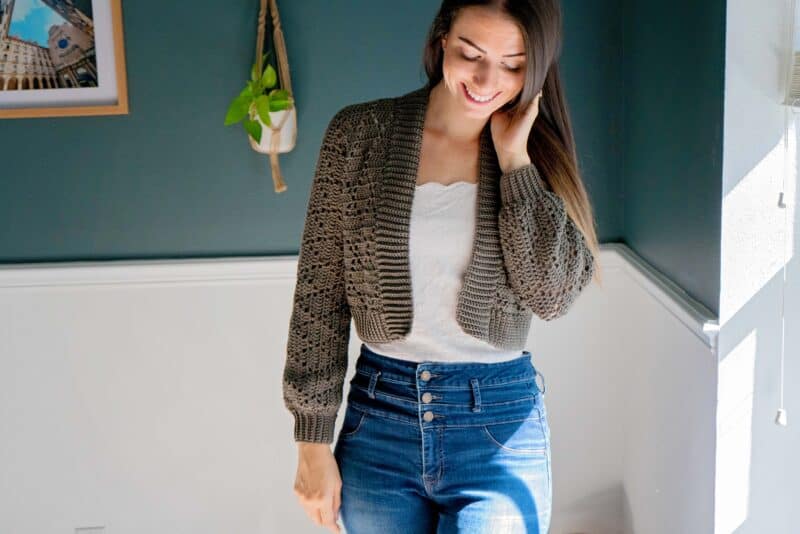
No wardrobe is complete without the perfect layering piece that can fit almost any season and the Diamond Crochet Cardigan is going to be your new best friend.
Like the Shine Like A Diamond Tank Top the filet diamond pattern allows just enough peak through to add a mature look with the perfect amount of whimsy. While the Shine Like A Diamond Tank Top is perfect to beat the summer heat, the Diamond Crochet Cardigan will have you covered for the rest of the year. And if you love lacy stitches, also check out the Easy Stitch Crochet Cardi Pattern.
Disclosure: This post contains affiliate links. Please read my disclosure for more info.
How to Style the Diamond Crochet Cardigan:
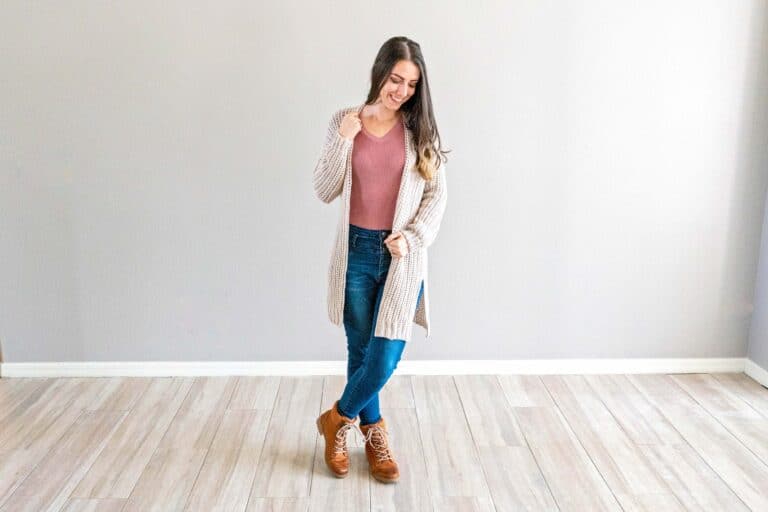
Casual – The Diamond Crochet Cardigan will add a stylish edge to your favorite jeans and flats while out for dinner with your friends and family. For an extra added touch I would add the Herringbone Crochet Clutch so you have a place to put all your essentials.
Dressy – No matter where you are headed, work or date night, a simple boat neck dress with a longer version of the Diamond Crochet Cardigan belted at your natural waist paired with your favorite heels will have you feeling that confidence boost that looks amazing on everyone. To complete your look, I would add the Nettleton Crochet Bag.
Weekend Lounging – the Diamond Crochet Cardigan is cozy enough to wear with yoga pants on the couch while watching your favorite show. Or if changing out of your PJ’s isn’t appealing, just layer the Diamond Crochet Cardigan over them and enjoy your day! For an added layer of comfort add the Tapestry Arrow Crochet Blanket and the Comfy Cozy Winter Slipper Sock to snuggle up in.
Which way will you style the Diamond Cardigan?
Other patterns I would recommend if you love the Diamond Crochet Cardigan is the Cascade Adult Crochet Cardigan
Supplies to Crochet this Cardigan:


Crochet Hook:
Notions:
Removable stitch markers if needed
Yarn needle to weave in ends
Scissors
Yarn:
The Diamond Crochet Cardigan is available for purchase on the WeCrochet website and you can purchase a complete kit that includes the pattern and yarn HERE.
WeCrochet Shine, 60% Pima Cotton, 40% Modal natural beech wood fiber 110yds/50g

Yardage:
700 (750, 800, 900, 1000) (1125, 1200, 1300, 1400) yds. This is for the waist size, more or less is needed for different lengths.
Abbreviations/Stitches:
blo – back loop only
ch – chain
dc – double crochet
sc – single crochet
sl st – slip stitch
st(s) – stitch(es)
Stsc – stacked single crochet
Gauge:
16 sts x 10 rows = 4×4 inches in double crochet
Skill Level:
Easy Beginner
Size:
Sizes are written as Extra Small (Small, Medium, Large, 1X) (2X, 3X, 4X, 5x).
Finished Garment Bust (includes 4-6 inches of ease):
36 (40, 44, 48, 52) (56, 60, 64, 68)”
Notes:
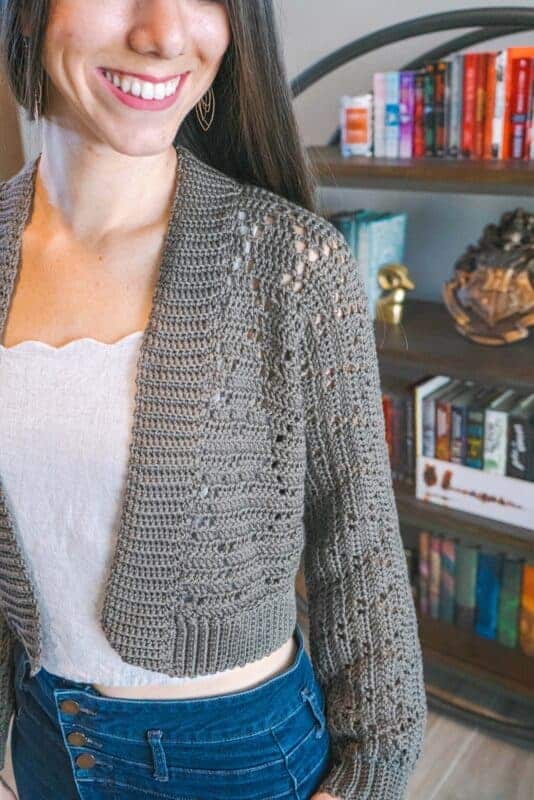
This Diamond Crochet Cardigan is crocheted flat and seamed under the arms and down the sides. It has an easy stitch repeat that creates a stylish texture.
There is 4-6 inches of ease in this for this pattern, the finished bust measurements are 36 (40, 44, 48, 52)
(56, 60, 64, 68).
Other suitable yarn choices are:
- WeCrochet Brava Sport, 100% Premium Acrylic, 237 yds/100g, Colorway: Tidepool
- Lion Brand Color Theory, 100% Acrylic, 246yds/100g, Colorway: Moonbeam (While this is a worsted weight, match gauge and it still has a nice drape.)

Special Stitches:
Stacked Single Crochet (Stsc): Do NOT chain, insert hook into next stitch, yo, pull up a loop, yo and pull
through both loops, insert hook in the vertical bar below, yo, pull up a loop, yo and pull through both
loop on hook.
Crochet Diamond Cardigan Video Tutorial:

Get the downloadable ad-free pdf from Ravelry or Etsy. Keep scrolling for the free version.
Can I substitute Yarn?
YES!!! But.…
I know, I know, you might not like that there is a but. I really do think you probably can substitute, what I don’t know is if you are going to be happy with the substitute. Here is how to know if the yarn you want to use will work as a substitute every single time:
?Drum roll…..did you do a GAUGE SWATCH. Yep, that dreaded swatch. But listen, it’s worth the short time investment. Based on that one small piece of fabric you will know how it will size.
? DRAPE. Okay so this isn’t talked about as much. But to me possibly the most important. This will effect the look AND the feel of the piece. If it’s a garment, does it move the way you want it to? Is it too stiff? Give it a little jiggle and see if you like the was it lays.
? FIT. So I might be one of the few designers who will say this out loud but if your gauge is a little bit over (like 1 stitch) just roll with it if you like oversized. This is a way to get a different look out of the garment and who knows, you might even like it more.
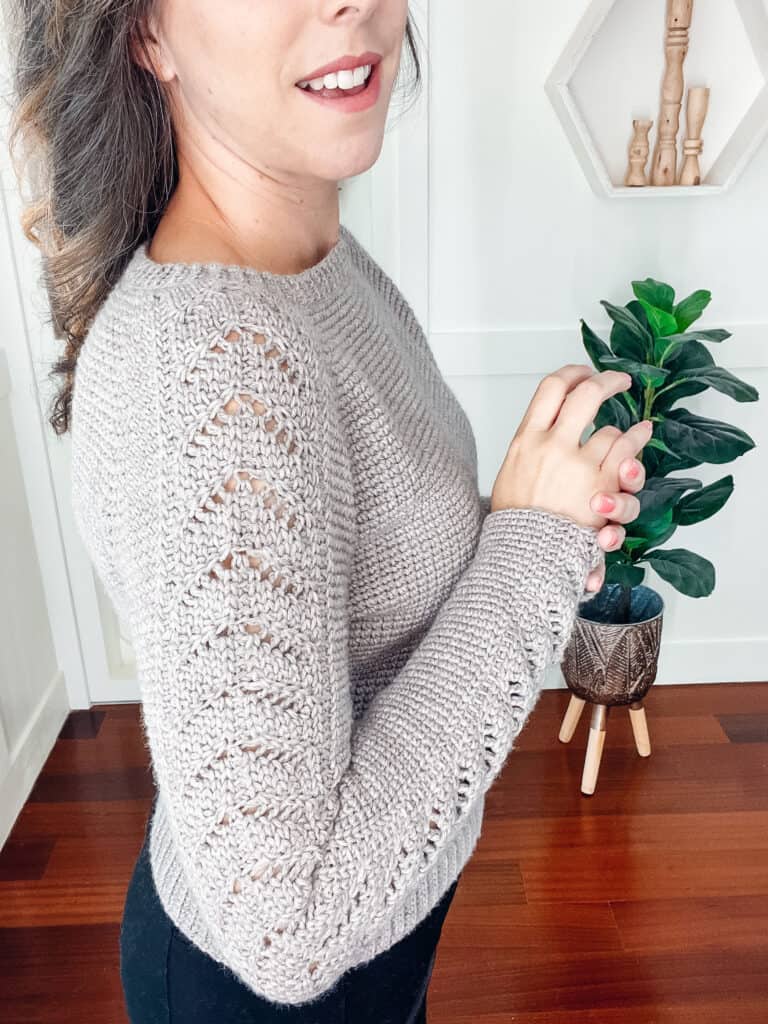
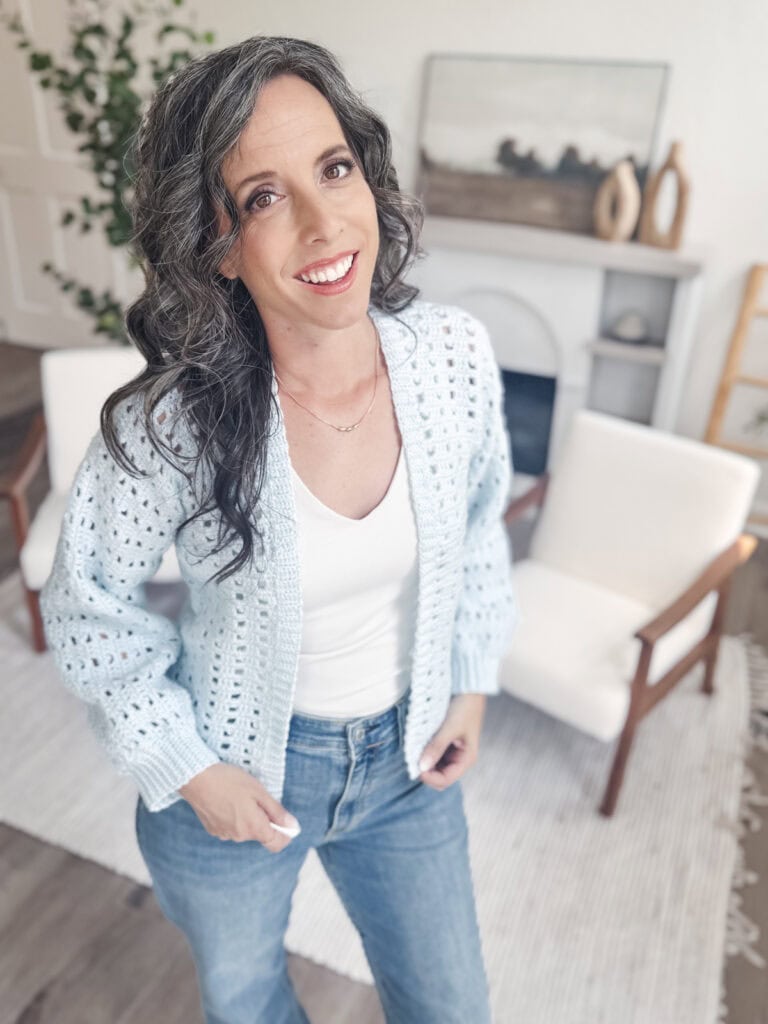
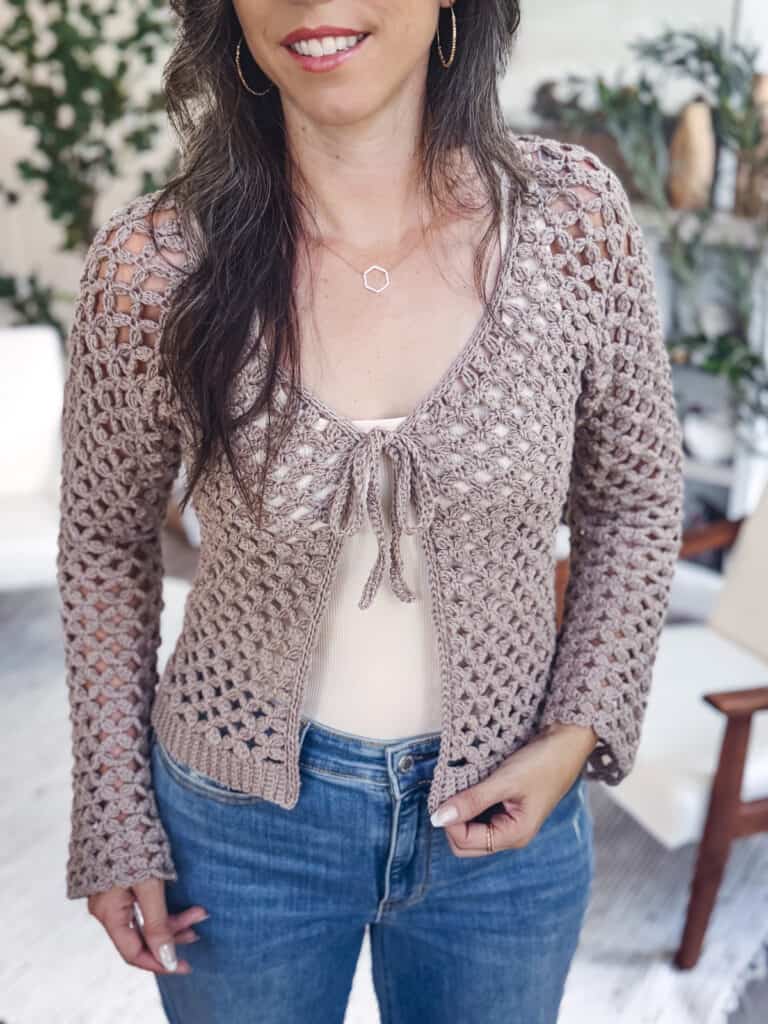
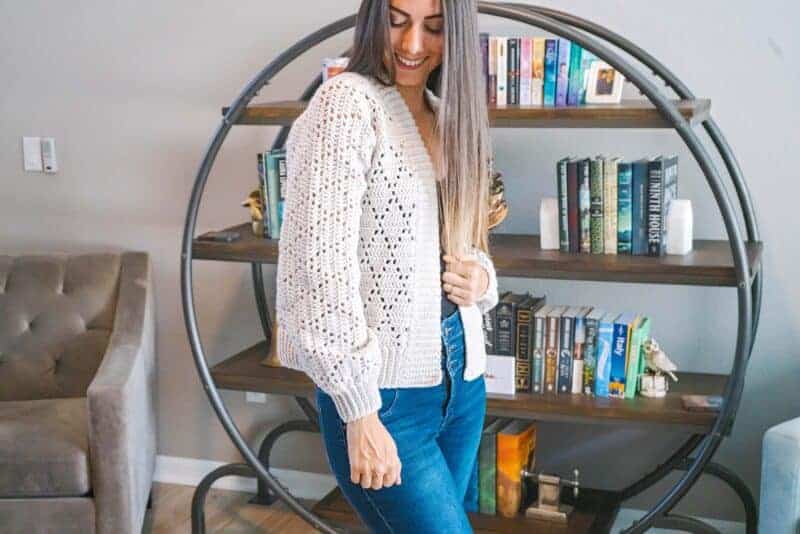
But I don’t just talk about substitutes. I like to SHOW you what it might look like. I took my newest pattern and made it with 3 very different yarns. I used:
Shine Sport – cotton yarn (2 weight).
Brava Sport – acrylic yarn (2 weight).
Color Theory Worsted – acrylic yarn (4 weight).
Click the box below to unlock this exclusive subscriber content for free. Add your email and create a password. If you are having trouble, reset your password or log in to the Grow Portal.
I’m thrilled to share this amazing crochet pattern with you! Please don’t copy, paste, or distribute this pattern. Prefer an ad-free experience? Purchase a digital PDF file for a small fee from one of my online stores. I appreciate your support and readership. You are why I can keep doing what I love and sharing it with others. Thank you from the bottom of my heart.
Diamond Crochet Cardigan Written Pattern
Back Bottom of Cardigan
Set Up: Chain 74 (82, 90, 98, 106) (114, 122, 130, 138).
Row 1 (RS): Stsc in first ch/st from hook (counts as a stitch here and throughout), *dc 3, ch 1, skip 1, dc 4,* repeat from * to * until the last st, dc 1 in last, turn. 74 (82, 90, 98, 106) (114, 122, 130, 138) sts
Row 2 (WS): Stsc in first, *dc 3, ch 1, skip 1, dc 1, ch 1, skip 1, dc 2*; repeat from * to * until the last st, dc 1 in last, turn.
Row 3: Stsc in first, *dc 1, ch 1, skip 1, dc 3, ch 1, skip 1, dc 2*; repeat from * to * until the last st, dc 1 in last, turn.
Row 4: Stsc in first, * dc 1, ch 1, skip 1, dc 5, ch 1, skip 1*; repeat from * to * until the last st, dc 1 in last, turn.
Row 5: Stsc in first, *dc 7, ch 1, skip 1*; repeat from * to * until the last st, dc 1 in last, turn.
Row 6: Repeat Row 4.
Row 7: Repeat Row 3.
Row 8: Repeat Row 2.
Rows 1-8 are the established row repeat.
Repeats: Repeat Rows 1-8 for 1 more time for a crop length (16 total rows), 2 more times for a hip length (24 total rows), and 3-4 more times for long (32-40 total rows); or until the desired length to the underarm. There will be an additional 2 inches for the ribbing.
Adding the Arms
With the WS facing, grab a different ball of yarn and attach the yarn to the left side of the gar- ment, ch 64, fasten off. These chains will be helpful when working across the next row. For longer or shorter sleeves chain in increments of 8.
Row 1 (RS): Ch 64, Stsc in first ch/st from hook, *dc 3, ch 1, skip 1, dc 4,* repeat from * to * until the last st, dc 1 in last, turn. 202 (210, 218, 226, 234) (242, 250, 258, 266) sts
Repeats: Work in the established stitch row repeat until there are a total of 16 (16, 16, 20, 20) (24, 24, 28, 28) rows for this section.
Right Side With Arms
This section will begin to make space for the neck and front opening.
Row 1 (RS): Working in the established row pattern, work the first 93 (97, 101, 105, 109) (113, 117, 121, 125) sts, leaving the remaining unworked for the Left Side of the garment, turn.
Repeats: Work across these 93 (97, 101, 105, 109) (113, 117, 121, 125) in the established stitch row repeat until there are a total of 16 (16, 16, 20, 20) (24, 24, 28, 28) rows for this section. Fasten Off.
Right Front Panel
This section will be the front panel without the arms.
Row 1 (RS): Skip the first 64 sts and join the yarn, work the remaining 29 (33, 37, 41, 45) (49, 53, 57, 61) sts in the established row repeat, turn.
Repeats: Work across these 29 (33, 37, 41, 45) (49, 53, 57, 61) sts in the established stitch row repeat for 1 more row than was worked on the back panel.
Left Side
Row 1 (RS): To start the Left Side, continue from the first unworked stitch from the Right Side Panel, skip 16 sts and attach yarn in the next st with a sl st. Working to the left of the right side, skip 16 stitches and attach to the yarn to the next st with a sl st. Working in the established row pattern, work the remaining 93 (97, 101, 105, 109) (113, 117, 121, 125) sts, turn.
Repeats: Work across these 93 (97, 101, 105, 109) (113, 117, 121, 125) in the established stitch row repeat until there are a total of 16 (16, 16, 20, 20) (24, 24, 28, 28) rows for this section. Do not fasten off.
Join The Kindest Community
Join our vibrant community of crafters on Facebook today. Whether you enjoy crafting with others or simply have burning questions, we’ve got you covered – join us now!
Left Front Panel
This section will be the front panel without the arms.
Row 1 (RS): Work the first 29 (33, 37, 41, 45) (49, 53, 57, 61) sts in the established row repeat, leave the remaining sts unworked, turn.
Repeats: Work across these 29 (33, 37, 41, 45) (49, 53, 57, 61) sts in the established stitch row repeat for 1 more row than was worked on the back panel, matching the same row count as the rigth front panel as well. Fasten off with a long tail for seaming.

Seaming
This is a great time to block flat before seaming.
Fold the piece in half horizontally and match up the sides and the arms. Using a tapestry needle and yarn, start seaming from the bottom side of the cardigan, up the side, and then across the underarm. Repeat on other side.
Bottom Ribbing
Row 1: With the RS facing, join yarn to the bottom left edge of the cardigan and ch 12, sc in second chain from hook and across to the bottom body edge, sl st 2 sts along the bottom body edge (these do not count as sts), turn. 11 sts
Row 2: Skip the two sts from the bottom body edge, working in blo sc in each st across until the last st, sc in both loops of the last st, turn.
Row 3: Ch 1 (does not count as a stitch), sc through both loops of the first st, blo sc in each st across, sl st 2 sts along the bottom body edge, turn.
Repeats: Repeat Rows 2-3 across the bottom body edge of the cardigan, ending on a Row 2, do not fasten off.
Front Opening Ribbing
This section will be creating the ribbing up the front, around the neck, and back down the other side of the opening.
Row 1: Rotate the piece 90 degrees to the right and ch 12, sc in second chain from hook and across to the bottom body edge, sl st 2 sts along each row of the body edge (these do not count as sts), turn. 11 sts
Row 2: Skip the two sts from the body edge, in blo sc in each st across until the last st, sc in both loops of the last st, turn.
Row 3: Ch 1 (does not count as a stitch), sc through both loops of the first st, blo sc in each st across, sl st 2 sts along the body edge row, turn.
Repeats: Repeat Rows 2-3 around the front opening of the cardigan, fasten off.
Sleeve Ribbing
Row 1: Join yarn to the bottom of the sleeve next to the seam and ch 12, sc in the second chain from hook and across to the sleeve edge, sl st 2 sts (one stitch per row) along the sleeve edge (these do not count as sts), turn. 11 sts
Row 2: Skip the two sts from the sleeve edge, in blo sc in each st across until the last st, sc in both loops of the last st, turn.
Row 3: Ch 1 (does not count as a stitch), sc through both loops of the first st, blo sc in each st across, sl st 2 sts along the sleeve edge, turn.
Repeats: Repeat Rows 2-3 around the sleeve edge opening. Join last row to beginning row by slip stitching through blo of first and last row at the same time with the WS facing. Repeat for the other sleeve.
Finishing
Weave in all ends, light block if necessary, wear and enjoy!
Well That Was Fun! What’s Next?