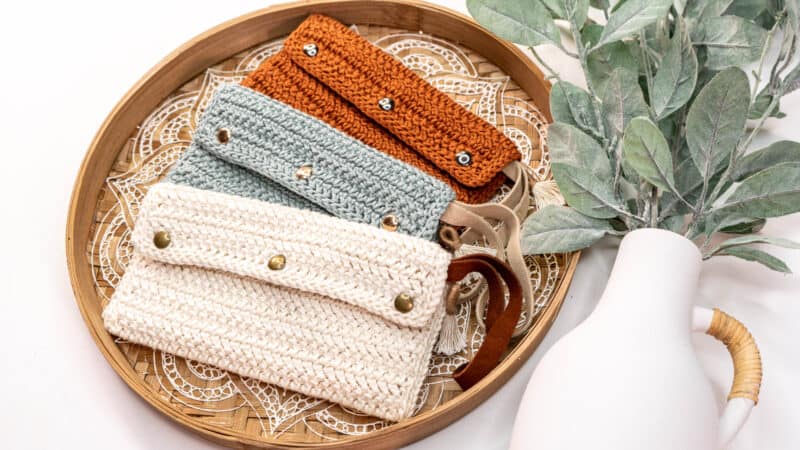
Herringbone Crochet Clutch Free Pattern
The Herringbone Crochet Clutch might just be one of my all-time favorite crochet makes. Just a few weeks ago I was going out on a date night and didn’t want to take my purse. I just wanted something simple and small, but still, be able to be hands-free if needed.
Disclosure: This post contains affiliate links. Please read my disclosure for more info.
Well, I took my purse and it was a huge mistake. I learned that most sporting events will not allow anything bigger than a small clutch. My husband was so kind and walked my purse all the way back to the car. I grabbed my cell phone, wallet, and keys and ended up carrying them the rest of the night. It was really not fun when I added carrying food to my seat.
So I learned my lesson and vowed to purchase something for next time. But why purchase one when I can customize and crochet my own! I am addicted to this pattern and have already whipped up three. I love having color choices, don’t you?
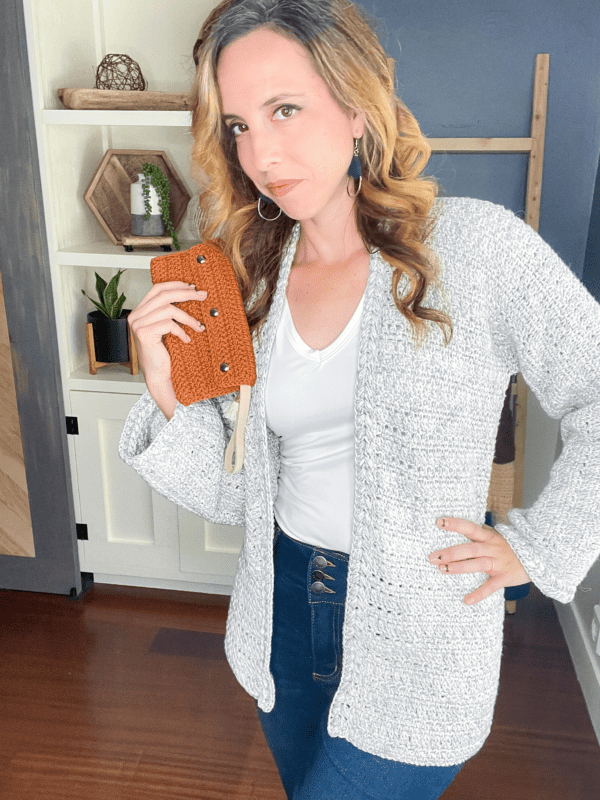
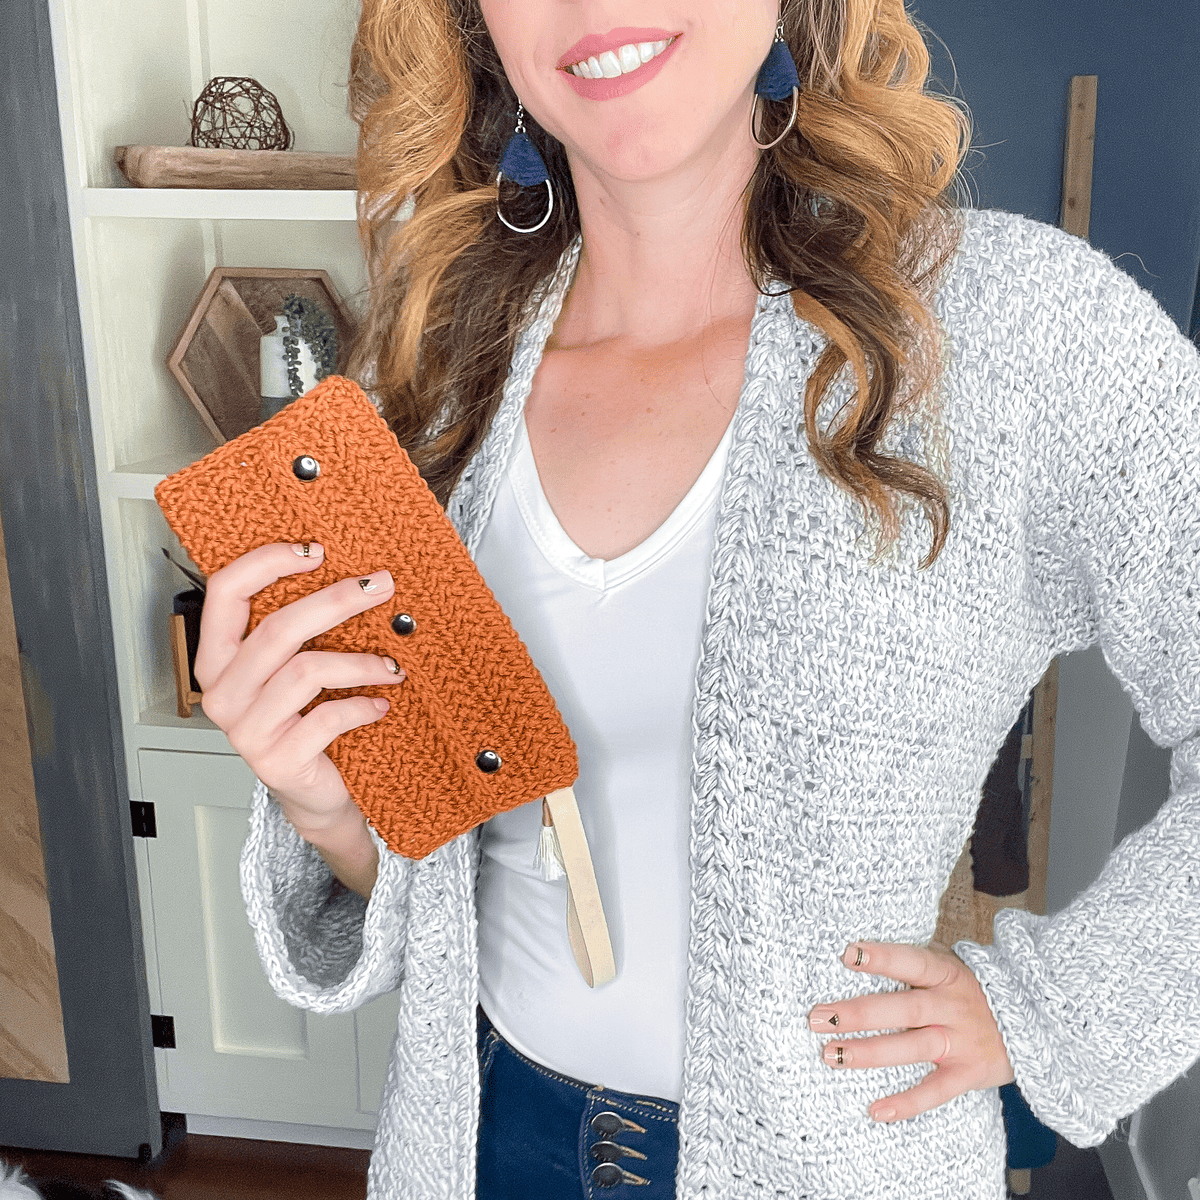
How to Style a Crochet Clutch
For a more casual look, try pairing your herringbone crochet clutch with jeans and a tee. A chic way to wear it is with a dress and heels for a night out.
To make it more sophisticated, pair your clutch with a pencil skirt or dress pants. You can also wear it on the arm of your blazer for an office-appropriate look.
A crochet clutch bag is often thought of for formal events, such as weddings and parties, as an extra accessory to compliment your outfit. The herringbone crochet clutch can also be worn casually with an evening dress to an event where you need your hands free.
Who wouldn’t want even more crochet clutches?
Clutch Wristlet Project Bag Pattern
Hygge Infinity Crochet Clutch
Aisling Infinity Crochet Clutch
Herringbone Crochet Clutch Supplies:


Crochet Hook:
3.75mm (F hook), or hook to obtain gauge
Notions:
Removable stitch markers if needed
Yarn needle to weave in ends
Scissors
11.5” by 9.25” Fabric Canvas (for lining)
Sewing Needle & Thread
Leather Strip for wrist strap (optional)
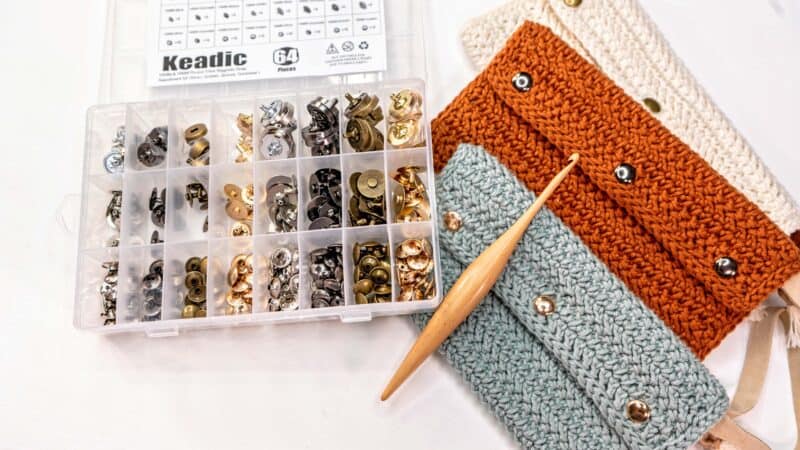
Magnetic Brads or
Sew in Magnetic Fasteners
Yarn & Yardage:
Dishie Worsted Weight Yarn
100% Cotton Yarn, 190 yds/100g
130 yds, 1 Ball Needed Per Clutch
Colorways Shown:
Swan
Sunbaked
Inlet
Abbreviations/Stitches:
ch – chain
dc – double crochet
Hbdc – herringbone double crochet
sl st – slip stitch
st(s) – stitch(es)
Stsc – stacked single crochet
Gauge:
15 sts x 11 rows = 4×4 inches in Hbdc
Skill Level:
Easy Beginner
Size:
7.25” wide by 4.25” tall, folded, and seamed.
7.25” wide by 9.5” tall, before folding & seaming.
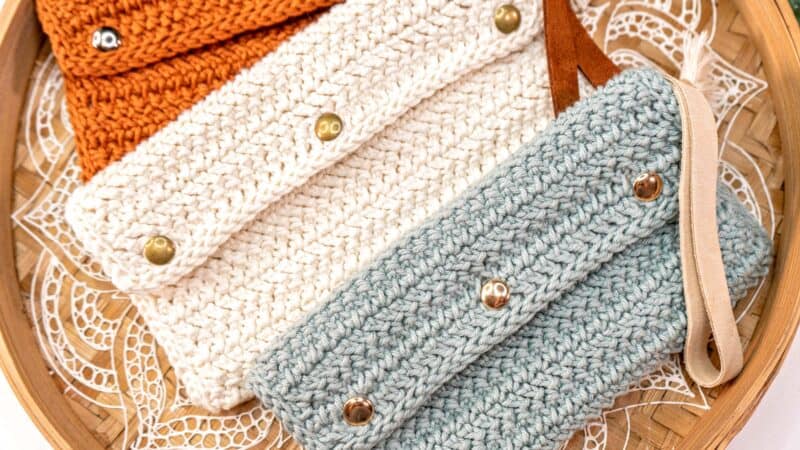
Pattern Notes:
The Herringbone Crochet Clutch is an easy and quick accessory pattern. It’s simply a rectangle of herringbone double crochet stitches. A liner is hand-stitched to the square and then the clutch is folded and the edges are crocheted together. Lastly, a magnetic fastener is placed to keep the front flap closed. Feel free to embellish your Herringbone Crochet Clutch any way you like!
Herringbone Crochet Clutch Pattern Video:

Keep on reading this post for the free crochet pattern, or purchase the ad-free pdf on Ravelry, or Etsy.
Click the box below to unlock this exclusive subscriber content for free. Add your email and create a password. If you are having trouble, reset your password or login to the Grow Portal.
I’m thrilled to share this amazing crochet pattern with you! Please don’t copy, paste, or distribute this pattern. Prefer an ad-free experience? Purchase a digital PDF file for a small fee from one of my online stores. I appreciate your support and readership. You are why I can keep doing what I love and sharing it with others. Thank you from the bottom of my heart.
Herringbone Crochet Clutch Written Instructions
The Herringbone Crochet Clutch can easily be adjusted for size. For a wider or narrower clutch simply chain more or fewer stitches.
Repeats:
Repeat Row 2 as many times as you like to create a beautiful fabric. For the clutch size shown, 26 total rows were crocheted. Do not fasten off.
Join The Kindest Community
Join our vibrant community of crafters on Facebook today. Whether you enjoy crafting with others or simply have burning questions, we’ve got you covered – join us now!
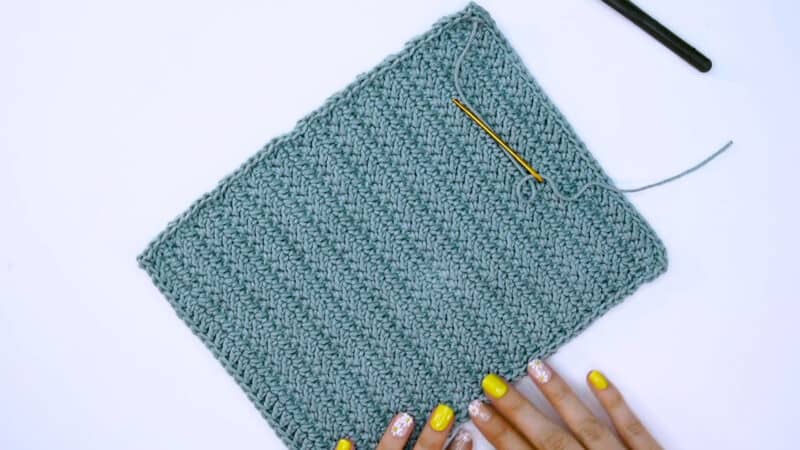
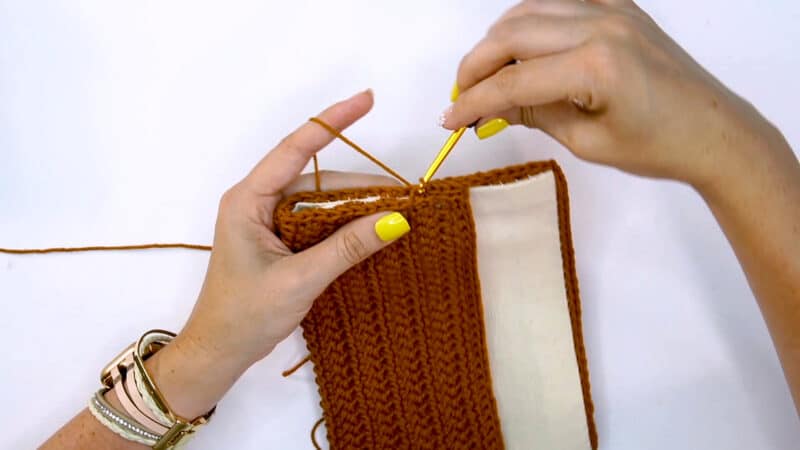
Herringbone Clutch Edging
At this point, the clutch will have some ridged edges. To even this out sl st around the perimeter of the rectangle, chaining 1 st on the corners and working 2 sl sts per row on the sides. Fasten off and weave in ends.
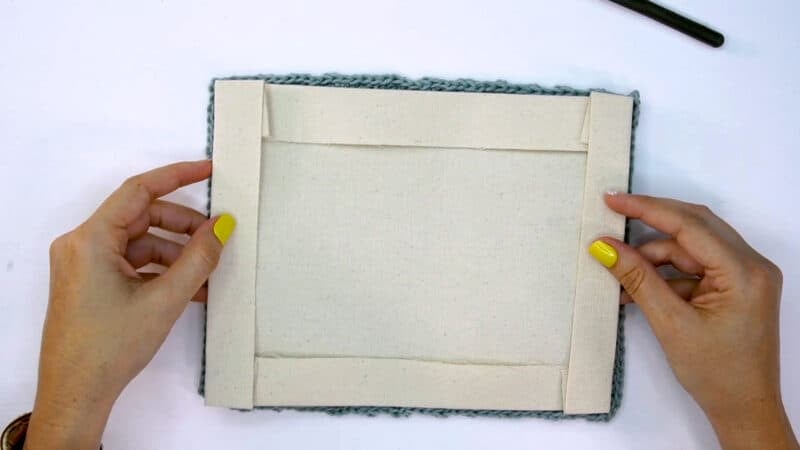
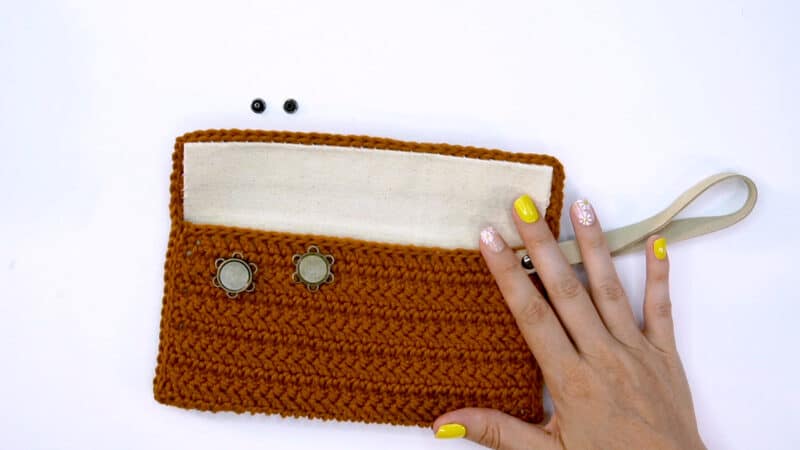
Herringbone Clutch Lining
Cut a piece of canvas fabric about 1/2” to 1” larger than your crochet rectangle. Fold in the sides of the piece of canvas to be slightly smaller than your crochet rectangle. It’s easier to iron the folded edges to prep for sewing.
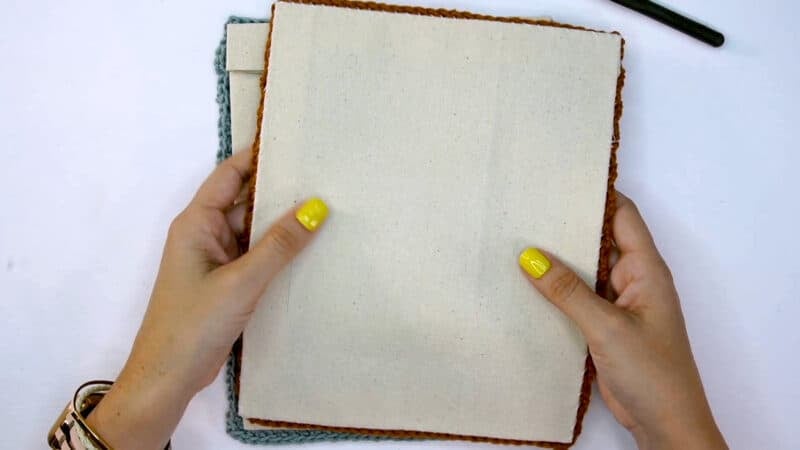
Using a sewing needle and thread, place the right side of the canvas face up and whip stitch the canvas to the wrong side of the crocheted rectangle. Check the type of magnetic closure you are using, it might need to be added during this step before finishing the whip stitching.
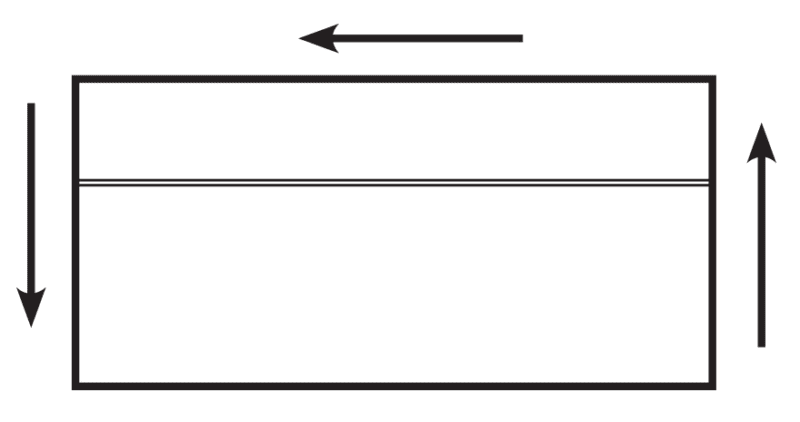
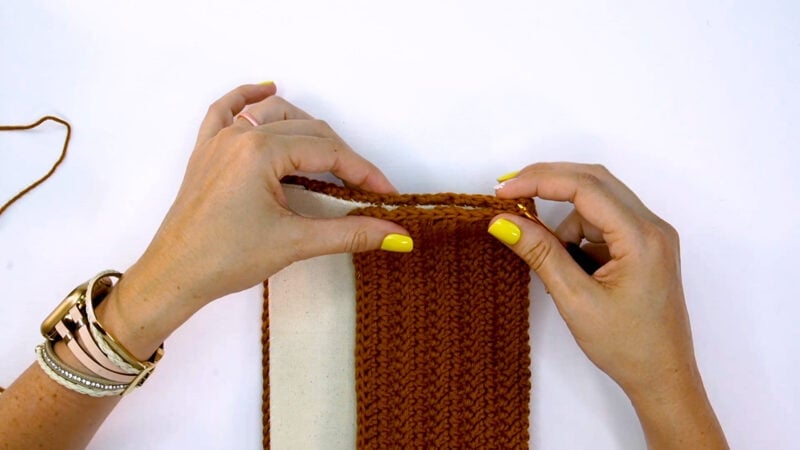
Folding the Clutch
Fold the crochet rectangle top and bottom into a clutch. You might want a bigger or smaller top flap, it’s totally up to you. Once you determine how much of the bottom of the clutch you like, take your crochet hook and yarn and join at the bottom right corner. Sl st through the back loop of the edge closest to you as well as the front loop of the edge farthest from you. This will join the two edges together. Slip stitch around the clutch, chaining 1 at the corners, until the opposite corner of the clutch. Fasten off and weave in ends.
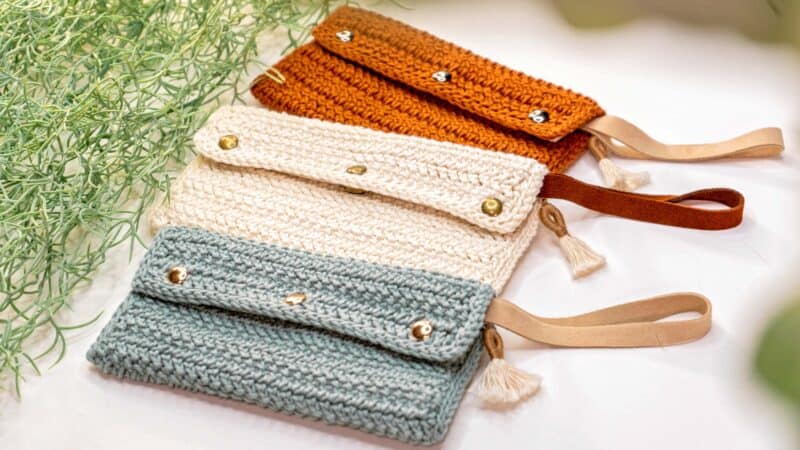
Magnetic Closures & Embellishments
Stitch on or attach any magnetic closure. For a wrist strap, use a piece of leather or fabric to cut a 1/2” thick strap and attach it to the inside top of the clutch. You can stitch it or use a brad fastener. Feel free to add any other embellishments, such as a tassel!
Well That Was Fun! What’s Next?
📌 PIN THIS POST – Don’t lose this project; save it to your Pinterest crochet board so you can quickly come back to it again.
💌 SHARE – Share your yarn choice, in-progress, or finished projects on Facebook or Instagram and use the hashtag #brianakdesigns
🥂 JOIN – Join the kindest crafters in the Briana K Designs Community Group on Facebook. We love yarny friends!
🔗 RAVELRY LINK -Link and share your project on Ravelry. Having inspirational photos can help crafters.