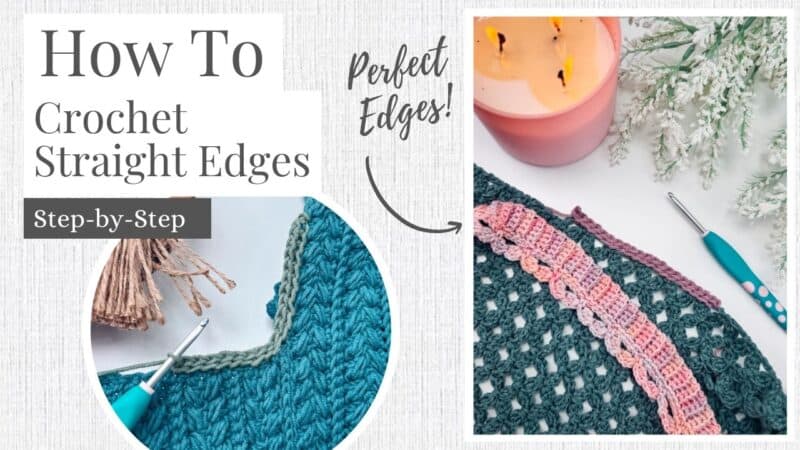
How to Get a Clean, Straight Edge on Your Crochet Projects (With One Simple Stitch!)
Looking for the perfect way to give your crochet projects a clean, polished finish? This simple technique using a modified linked single crochet stitch is just what you need! It creates a beautifully straight, flat edge that’s ideal for blankets, garments, or any project that could use a little extra tidying up. Whether you’re prepping for a border or just want a neater edge that won’t curl or stretch, this stitch works like a charm.
Disclosure: This post contains affiliate links. Please read my disclosure for more info.
The result is a lightly textured, super tidy edge that looks clean and professional, without the usual struggle of too-tight slip stitches. This technique leaves you with a neat, flexible edge that’s ready for whatever finishing touches you have in mind.
Check out the Block Stitch Blanket to see how I make a gorgeous flat edge before I add a decorative border, or take a look at the Wheat Stitch Nesting Baskets – I use this stitch to make a clean edge for building the handle on! This stitch is simple, clever, and the perfect final step to really make your project shine. Ready to learn how to do it?
Crochet Supplies
Yarn
Continue with whatever yarn your project calls for.
Yarn Quantities
Yardage will depend on what you’re adding this edge to.
Yarn Substitutions
WeCrochet Comfy Color Mist – 75% Pima Cotton, 25% Acrylic; 219yds/100g
Lion Brand Made With Love – 60% Cotton, 40% Acrylic; 185yds/100g
Dishie – 100% Cotton; 190yds/100g
Remember always to check the gauge and drape when substituting yarns.
Crochet Hook
Size US G (4.0mm) Crochet Hook or hook to obtain gauge.
Notions
Scissors
Yarn Needle
Removable Stitch Marker
Skill Level
Advanced Beginner
What you’ll love about this pattern.
🩶 A Clean, Professional Finish – Instantly upgrades the look of your projects with a smooth, straight edge that’s ready for any border.
🩶 No More Tight Slip Stitch Rows – The clever two-in-one stitch gives you slip-stitch structure and single crochet texture—without the struggle.
🩶 Perfect for Any Project – Whether it’s a blanket, garment, or decorative piece, this edge adds polish and ease to every finish.
Abbreviations
blo – back loop only
ch – chain
dc – double crochet
sc – single crochet
sl st – slip stitch
st(s) – stitch(es)
Gauge
Gauge will depend on the project you’re adding this edging to.
How to Crochet A Gauge Swatch
Working a gauge swatch will let you know if you will have the correct sizing for this pattern. It will also help you practice the stitches used in this project and improve your stitch work for a flawless look.
Are you struggling to match the gauge? Check out the blog post on What is Crochet Gauge and How To Fix It
Construction
While not a technically “defined” stitch, this clever modification of the linked single crochet is a total game-changer when it comes to finishing your crochet pieces. It’s almost like working two rows at once—the first part of the stitch gives the look of a slip stitch foundation, and the second part creates a single crochet that sits neatly right on top. Sound confusing? I promise it’s not—and I’ll walk you through each step!
To see this edge in action, check out the Wheat Stitch Rectangle Bag and the Windowpane Blanket!
Pattern Notes
- The chain 1 at the beginning of the row does not count as a stitch.
Subscribe & Like
Video Tutorial for a Clean, Straight Edge for Crochet Projects
Stitch Directions
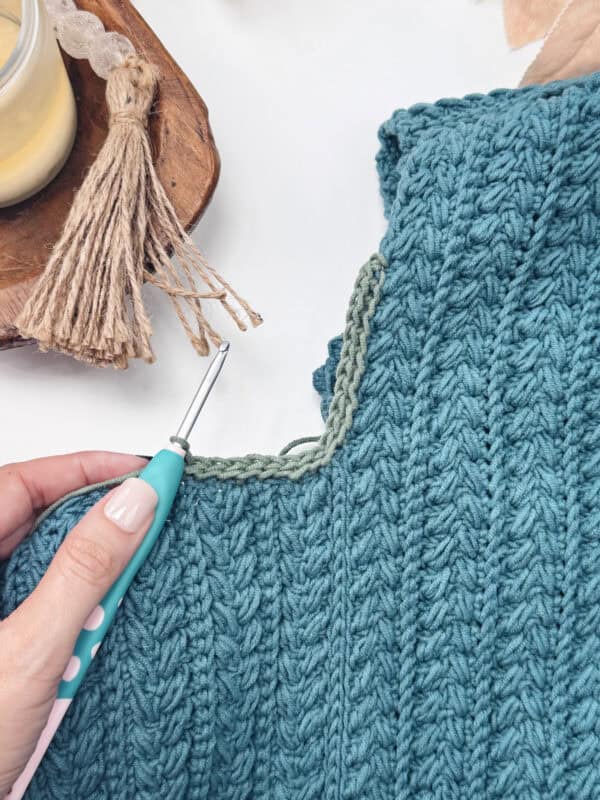
With Color of Choice and working along the edge of your project, join near one corner, ch 1, sc. (Place a stitch marker in this st to mark the first st of the Round.) *Insert your hook into the left bar of the sc just made, then insert into the next space on the edge of your project. Yarn over and pull a loop through the fabric and also through one loop on the hook. Yarn over and pull through two loops on the hook. Repeat from * all the way around the edges of your project, working one st per every sc row (and/or 2 sts per dc row), and working a ch 1 and another st on the corner edges as needed, join.
Let’s break that down! I find that it’s easiest to tackle this stitch in steps.
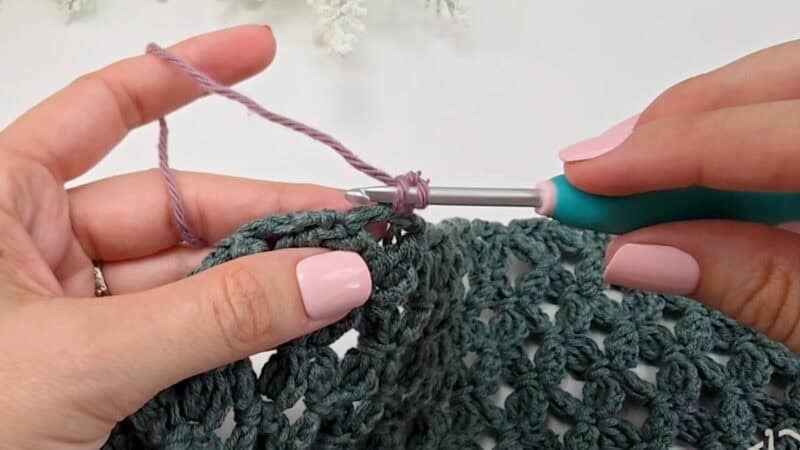
To start, join your yarn (or keep going with your working yarn) and do 1 sc. I recommend placing a st marker at the top of this stitch!
Now comes the fun part!
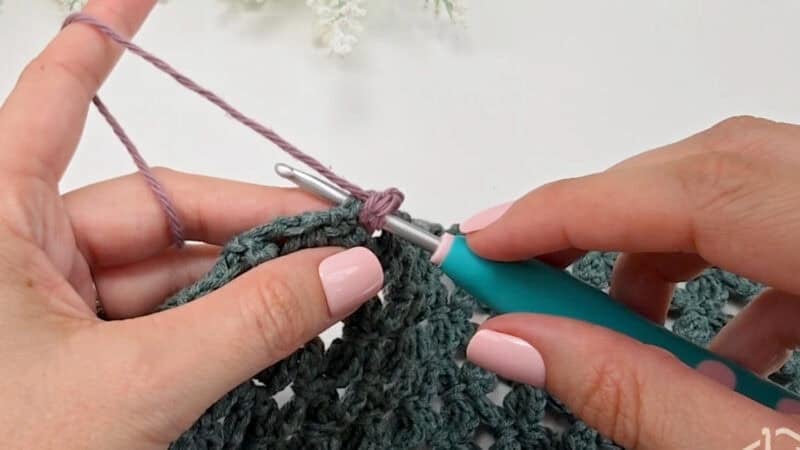
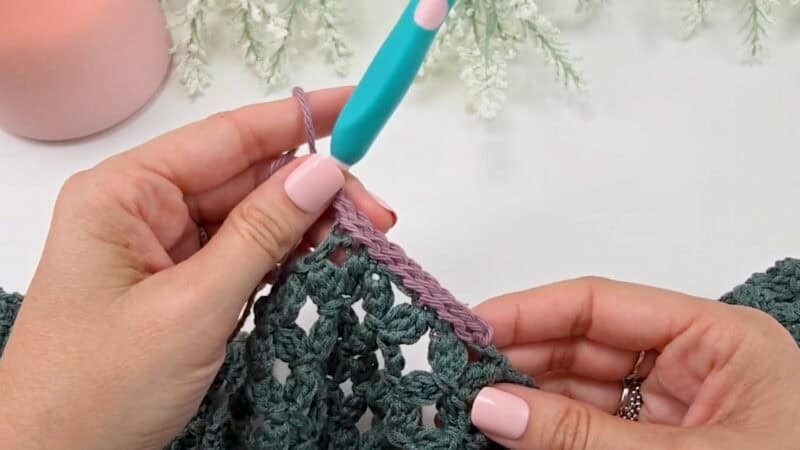
Step 1:
Insert your hook into the left bar of the sc you just made, then insert the hook into the next st/sp of your project.
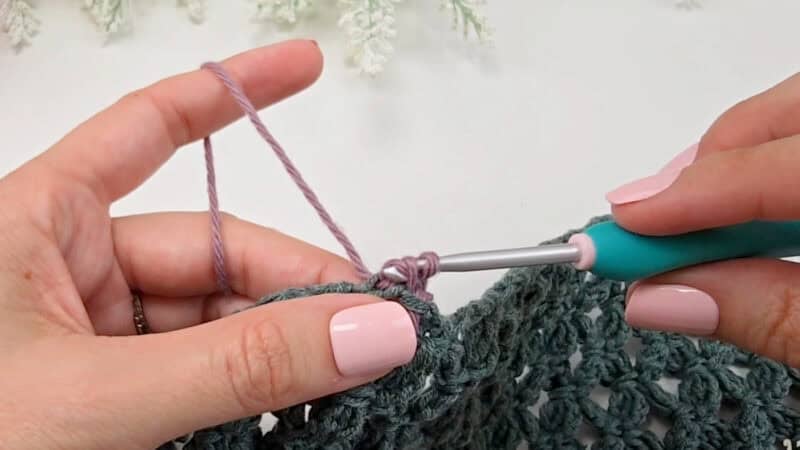
Step 2:
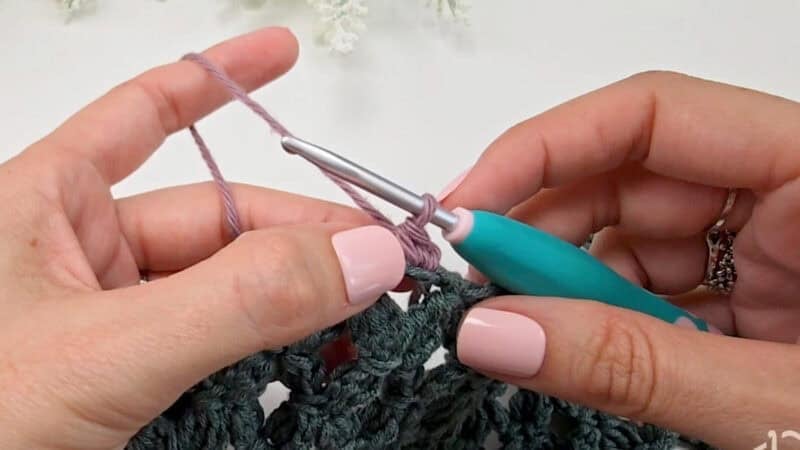
Yarn over, pull a loop through the fabric AND one loop on your hook.
Step 3:
Yarn over, pull through the remaining two loops on your hook.
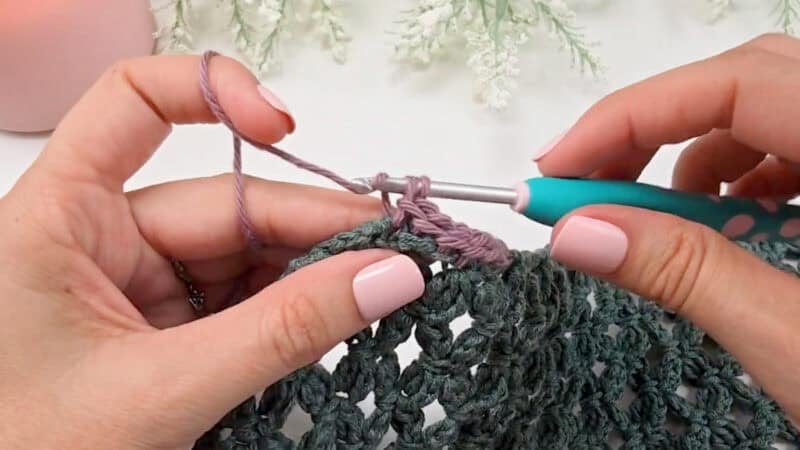
And that’s the stitch!
Let’s do it again…
* Insert your hook into the left bar of the st you just made, then insert the hook into the next st/sp of your project. Yarn over, pull a loop through the fabric AND one loop on your hook. Yarn over, pull through the remaining two loops on your hook. *
Continue working this stitch across your fabric edge from * to *, working one st per every sc row (and/or 2 sts per dc row, or as many as needed for the stitches your project uses), and working a ch 1 and another edge st on the corner edges as needed, join.
For more help, please see video.
Join The Kindest Community
Join our vibrant community of crafters on Facebook today. Whether you enjoy crafting with others or simply have burning questions, we’ve got you covered – join us now!
Subscribe to my youtube channel
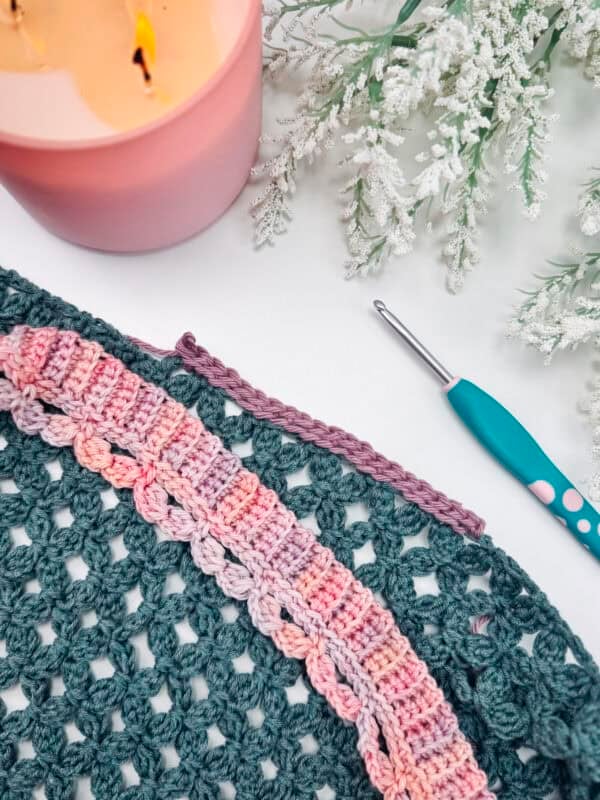
After you’ve finished your round/row of straight edge stitches, continue to work your pattern as written, add border of choice, or fasten off and weave in your ends.
Before you dive into adding a beautiful border, taking the time to create a straight, even edge makes all the difference. It gives your work a crisp, finished look and makes your border stitches easier to place, more even, and way more enjoyable to crochet.
No more guessing where to insert your hook or wrestling with wobbly edges—just smooth sailing all the way around. Starting with a flat, consistent edge sets you up for success and helps your final project look polished and picture-perfect.
Not only is this stitch a great way to prep the edges of home decor items, it’s perfect for working around the necklines of garments like the Mosaic Ridge Child and Adult Sweaters! It’s also a great way to add a clean edge to the brim of a hat (like the Mosaic Ridge Hat) when working from the bottom up.
Cheers, and happy crocheting!
Well That Was Fun! What’s Next?
📌 PIN THIS POST – Don’t lose this project; save it to your Pinterest crochet board so you can quickly come back to it again.
💌 SHARE – Share your yarn choice, in-progress, or finished projects on Facebook or Instagram and use the hashtag #brianakdesigns
🥂 JOIN – Join the kindest crafters in the Briana K Designs Community Group on Facebook. We love yarny friends!
🔗 RAVELRY LINK -Link and share your project on Ravelry. Having inspirational photos can help crafters.