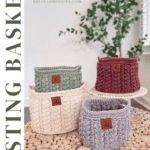


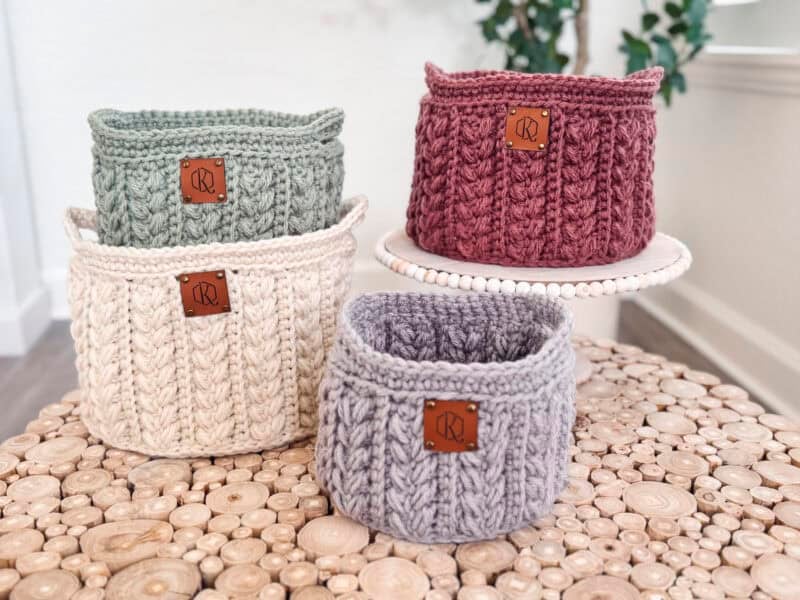
Looking for a fun and functional way to add color and texture to your home? The Wheat Stitch Nesting Baskets are the perfect solution! This set of four beautifully designed baskets showcases the elegant wheat stitch, creating a unique, eye-catching texture. Made with bulky weight yarn, these baskets have a sturdy, durable fabric that holds its shape while keeping your space stylishly organized.
Disclosure: This post contains affiliate links. Please read my disclosure for more info.
Whether you’re storing craft supplies, toys, or everyday essentials, these baskets bring both charm and practicality to any room. Plus, the pattern comes with a detailed video tutorial, making it easy to follow along whether you’re a beginner or a seasoned crocheter. These baskets would look incredible with the Braided Wheat Blanket and the Pumpkin Spice Trio! And if you want to add some beautiful texture to your spring decor, check out the Wheat Stitch Easter Bunny Basket!
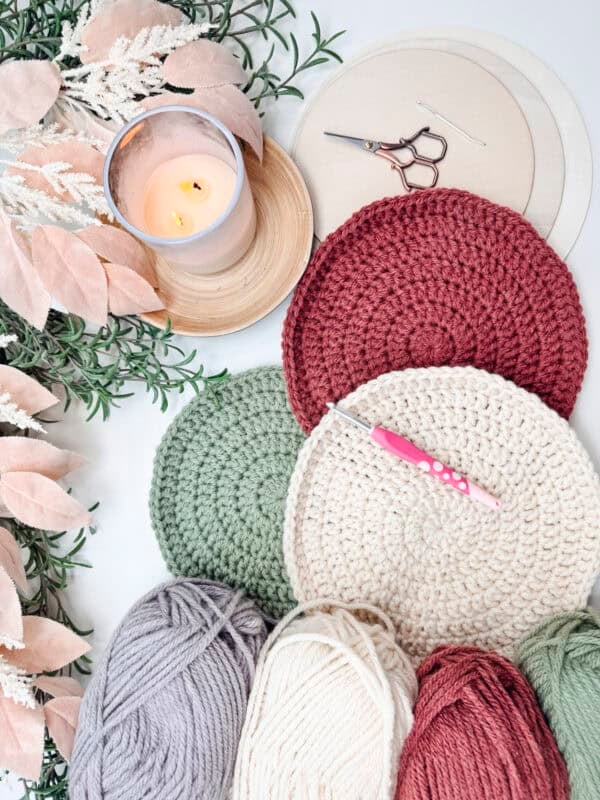
Crochet Supplies
Yarn
Lion Brand Hue & Me
80% Acrylic, 20% Wool, 137yds/125g
OR
Mary Maxim Titan
100% Acrylic, 80yds/85g
Weight: 5 Bulky
Yarn Quantities
170 (192, 225, 320) yds
Yardage listed is per basket. Total yardage for all 4 baskets is approximately 910yds.
Yarn Substitutions
Lion Brand Thick & Quick – 80% Acrylic, 20% Wool, 106yds/170g
WeCrochet Brava Bulky – 100% Premium Acrylic, 136yds/100g
Remember always to check the gauge and drape when substituting yarns.
Crochet Hook
Size US J (6.0mm) Crochet Hook or hook to obtain gauge.
Notions
Scissors
Yarn Needle
Removable Stitch Marker
Blocking Mats
Blocking Combs
Steamer
Optional Wooden Circles For a Flat, Sturdy Bottom:
Skill Level
Intermediate
What you’ll love about this pattern.
? Beautiful Texture – The wheat stitch adds a unique, decorative touch. And the 4-row repeat works up quickly!
? Sturdy & Durable – Bulky yarn creates a strong, structured fabric. Don’t have bulky yarn in your stash? Check out this post to create some from one skein of worsted!
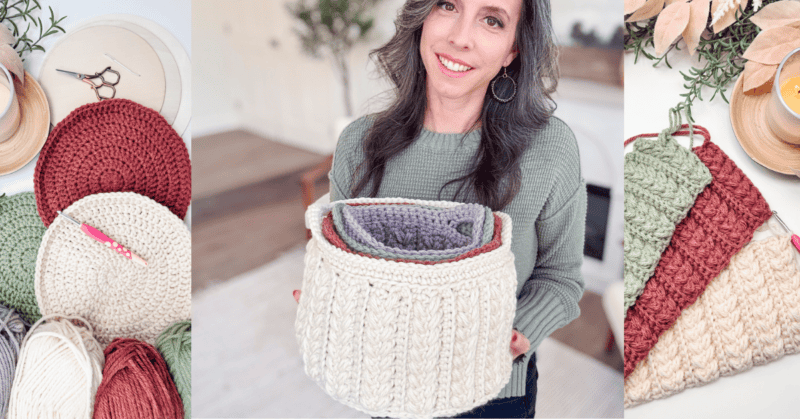
? Versatile & Stylish – Ideal for organizing any space with a handmade touch. When not in use, nestle the baskets together to save space!
Sizes
Small (Medium, Large, Extra Large)
Height: 6 (6.5, 7, 7.5)”
Diameter: 7 (8, 9, 10)”
Circumference: 22 (25, 28.25, 31.5)”
Abbreviations
blo – back loop only
ch – chain
Fsc – foundation single crochet
dc – double crochet
RS – right side
sc – single crochet
sl st – slip stitch
st(s) – stitch(es)
Stsc – stacked single crochet
WS – wrong side
Gauge
11 sts and 9 rows = 4″ by 4″ in Rows 3-6 of pattern stitch, blocked.
How to Crochet A Gauge Swatch
Working a gauge swatch will let you know if you will have the correct sizing for this pattern. It will also help you practice the stitches used in this project and improve your stitch work for a flawless look.
Are you struggling to match the gauge? Check out the blog post on What is Crochet Gauge and How To Fix It
Construction
The basket begins with a circular base, crocheted in the round and set aside. The body is worked flat and then joined to form the basket’s shape. Next, the body is slip-stitched to the base for a seamless connection. Finally, the basket is completed with a top trim and sturdy handles.
Crocheted baskets are a great way to add functional and beautiful pieces to your home. The Herringbone Baskets and the Teton Baskets are easily sized and customized to suit your needs and style!

Special Stitches
Modified Puff Stitch: Yarn over and insert your hook into the stitch/space. Yarn over again and pull up a long loop. Yarn over and insert your hook into the same stitch/space. Yarn over again and pull up a long loop (5 loops on the hook). Yarn over and pull through the first 4 loops, yarn over and pull through remaining loops.
Magic Ring: To make a magic ring, wrap the yarn around your fingers to form a loop, then insert your hook under the first strand, grab the working yarn, and pull up a loop. Chain one to secure (if needed), then work your stitches into the ring, crocheting over the tail. Once all stitches are made, pull the tail tightly to close the center, then continue with your pattern.
Foundation Single Crochet (Fsc): Insert the hook into the left bar of the last st worked, YO and pull up a loop. YO and pull through the first loop on the hook, YO and pull through two loops on the hook (first stitch completed). * Insert your hook in the base chain of the previous stitch and pull up a loop, YO and pull through the first loop on the hook, YO and pull through two loops on the hook. Repeat from * for each stitch.
Pattern Notes
- Using a stitch marker at the beginning (and end) of each row is recommended.
- Work the first row of stitches in the back humps of the starting chain.
- The size stitch counts and row repeats are written as: small (medium, large, extra large).
- This Pattern Uses Standard US Terminology.
Subscribe & Like
Video Tutorial for the Wheat Stitch Nesting Basket
Relax & Crochet
Upgrade to the Printable PDF
Beautifully formatted to print and relax while crocheting. The paid pattern includes:
The Ad-Free PDF can be purchased on Etsy or Ravelry.
Click the box below to unlock this exclusive subscriber content for free. Add your email and create a password. If you are having trouble, reset your password or log in to the Grow Portal.
I’m thrilled to share this amazing crochet pattern with you! Please don’t copy, paste, or distribute this pattern. Prefer an ad-free experience? Purchase a digital PDF file for a small fee from one of my online stores. I appreciate your support and readership. You are why I can keep doing what I love and sharing it with others. Thank you from the bottom of my heart.
Written Crochet Pattern Instructions
For a large basket, stop here. Join with a sl st or an invisible join and set aside.
Rnd 8:
Stsc in the first st, dc in the same, dc in next 6, *2 dc in next, dc in next 6; repeat from * around, join. | 80 sts
For an extra large basket, stop here. Join with a sl st or an invisible join and set aside.
Join The Kindest Community
Join our vibrant community of crafters on Facebook today. Whether you enjoy crafting with others or simply have burning questions, we’ve got you covered – join us now!
Wheat Stitch Basket Video Part 2
Basket Body
Height Tip: If you would like to adjust the height of the basket, chain more or fewer chains in mulitples of 2+1 (counts as turning ch) for a taller or shorter basket.
Row 1 (WS):
Ch 13 (15, 17, 19), sc in the 2nd ch from the hook and in each st across, turn. | 12 (14, 16, 18) sts
Row 2 (RS):
Ch 1 (turning ch does not count as a st throughout), blo sc in each st across, turn.
Rows 3-4:
Ch 1, sc in next first, [skip the next st, sc in next, work a puff st into the skipped st] work until the last st, sc in last, turn.
Rows 5-6:
Ch 1 (turning ch does not count as a st throughout), blo sc in each st across, turn.
Rows 7-8:
Ch 1, sc in next first, [skip the next st, sc in next, work a puff st into the skipped st] work until the last st, sc in last, turn.
Rows 9-48 (56, 60, 68):
Repeat Rows 5-8. Do not fasten off.
Block the piece to measurements before seaming: 22 (25, 28. 31.5) inches long & 4.5 (5, 5.5, 6) inches tall.
With the WS facing out, sl st the last row to the first row by sl stitching the st from the current row and the first row together. Do not fasten off. Flip the Basket Body to be RS facing out.
Attaching to the Basket Base
Setup: Use 4 or 5 (or as many as needed)stitch markers or clips to pin the Basket Base to the Basket Body evenly around. This will help the fabric to line up correctly (see video).
Working from the bottom edge of the Basket Body and the edge of the Basket Base, ch 1, *insert your hook through the bottom edge of the Basket Body, then insert through the coordinating stitch along the Basket Base, yo and pull through all the sts on the hook.
Continue to sl st the Basket Base to the Basket Body by repeating from * around. | 50 (60, 70, 80) sts
Fasten off and weave in end.
Basket Top & Handle
Setup: In order to place the stitches around the basket top evenly, attach 4 stitch markers evenly around. Then place 1/4 of the stitches between each marker to keep it on the right track (see video).
Rnd 1:
Attach yarn to the top of the basket at your first st marker, ch 1, sc into first edge space, *insert your hook into the left bar of the sc st, then insert into the next space on the edge of the basket. Yarn over and pull a loop through the basket fabric and also through one loop on the hook. Yarn over and pull through two loops on the hook. Repeat from * all the way around the edges of the basket for a total of 50 (60, 70, 80) sts along the top, sl st to join. | 50 (60, 70, 80) sts
Rnd 2:
Ch 1, [Sc 15 (20, 25, 30), Fsc 10, skip 10 sts] twice, join. 30 (40, 50, 60) sc sts & 20 chains
Rnd 3:
Ch 1, sc in each st around (this will include single crocheting the handle sts as well). For a clean finish, fasten off and create an invisible join.
Finishing
Subscribe to my youtube channel
Weave in all ends. For a sharp look, block the basket by placing a solid object inside or using plastic canvas to reinforce the sides.
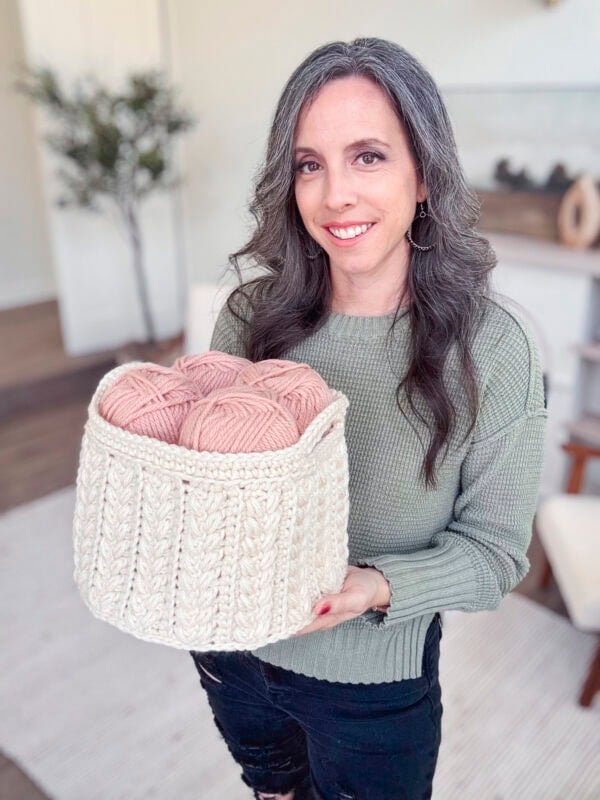
Nesting baskets are a beautiful and practical addition to any home, offering endless ways to stay organized in style! Use the smaller baskets for keys, jewelry, or desk supplies, while the larger ones are perfect for yarn, blankets, or toys.
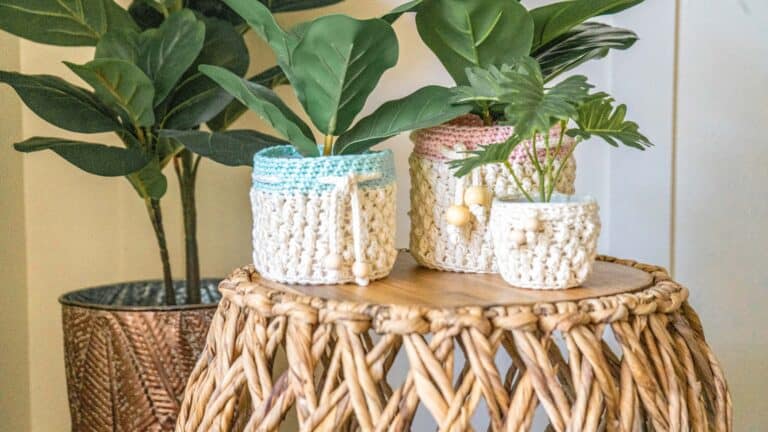
Their sturdy yet flexible design makes them great for any space, from entryways to living rooms and nurseries. They also make excellent plant pot covers! To keep them looking their best, simply spot clean with a damp cloth or hand wash gently and reshape as needed.
When not in use, nestle them together to conserve space. With their charming texture, durability, and versatility, these baskets are sure to become a favorite in your home! Want to add even more texture to your room? Try the Totally Textured Blanket, the Cable Floor Pouf, and the Nutmeg Pillow.
Cheers, and happy crocheting!
Well, That Was Fun! What’s Next?