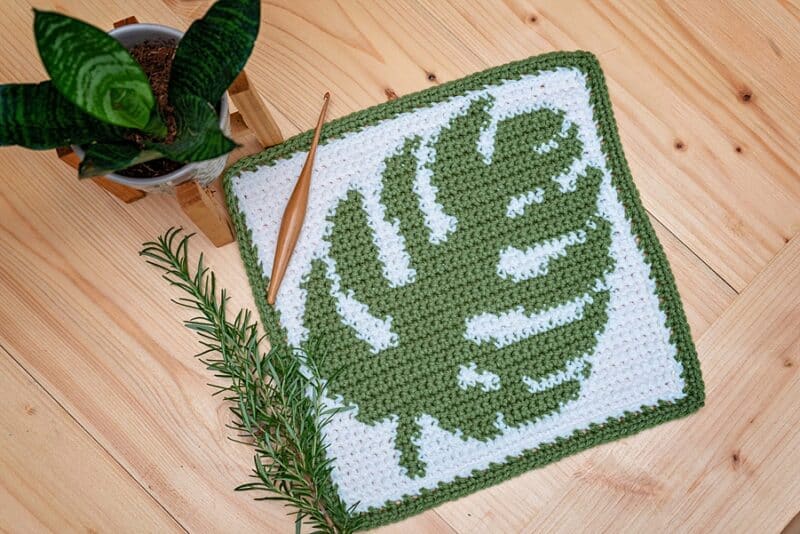
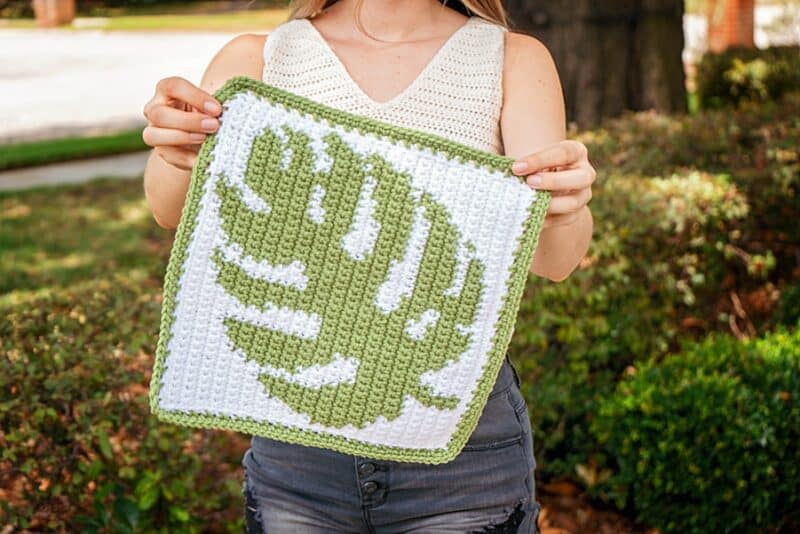
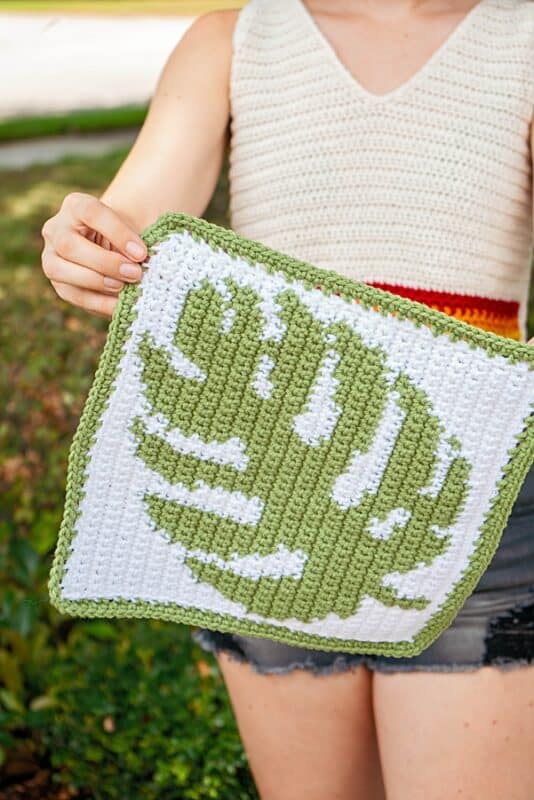
A Fun colorwork project featuring the Monstera Crochet Square. I am what you would call a want-to-be plant lady. I love the look of plants for home decor, but I tend to not be the best plant mom. So a crochet monstera leaf is one that I can keep alive.
Disclosure: This post contains affiliate links. Please read my disclosure for more info.
Usually, when my plants start to look a little pathetic, I release them into the wild. I’m lucky that pretty much anything grows in Florida so nature has revived so many of my mistakes. Keep on reading below for the the monstera leaf crochet pattern free.
Looking for more inspiration for your next project?
The Best 27 Crochet Leaf Patterns for Any Season
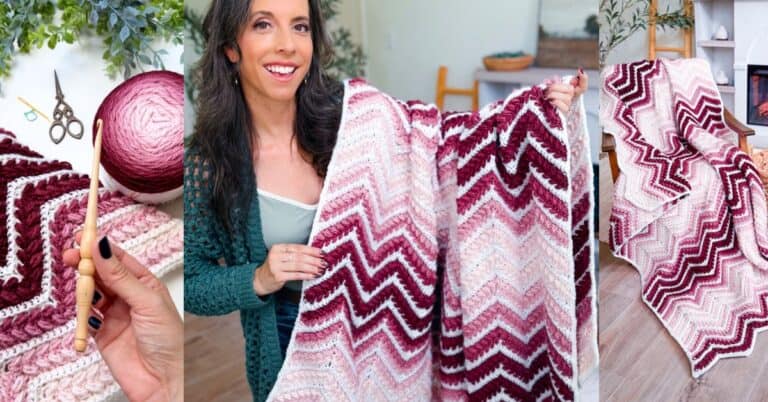
Traditional Fair Isle Crochet Mittens – Free Pattern
This Should Be Your First Triangle Crochet Shawl Free Pattern
Monstera Crochet Square Pattern Supplies
Crochet Hook:
6.0mm (J hook), or hook to obtain gauge


Notions:
Removable stitch markers if needed
Yarn needle to weave in ends
Scissors
Yarn:
Red Heart With Love or any other worsted weight yarn
White (Color A)
Lettuce (Color B)
If the gauge is met, other yarns of the same weight can be substituted:
Red Heart Comfort
Bernat Super Value
Lion Brand Vanna’s Choice
Premier Yarns Everyday Worsted
Caron One Pound
Yardage:
Approx. 145 Yards (133 meters)
Abbreviations/Stitches:
blo – back loop only
ch- Chain
RS- Right Side
sc- Single Crochet
sl st- Slip Stitch
sts- Stitches
WS- Wrong Side
Gauge:
14.5 sc sts and 14.5 rows = 4” [10 cm] sc with J-hook
Skill Level:
Easy/Advanced Beginner
Size:
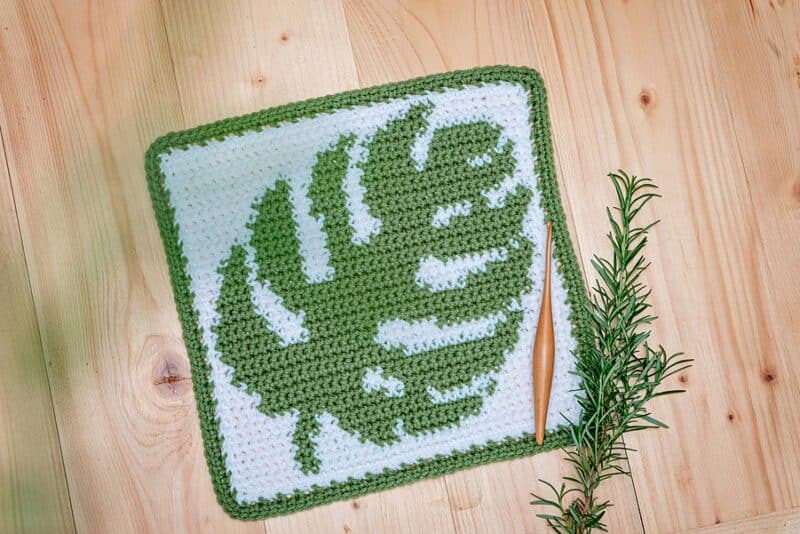
12 inches (31 cm) wide and tall
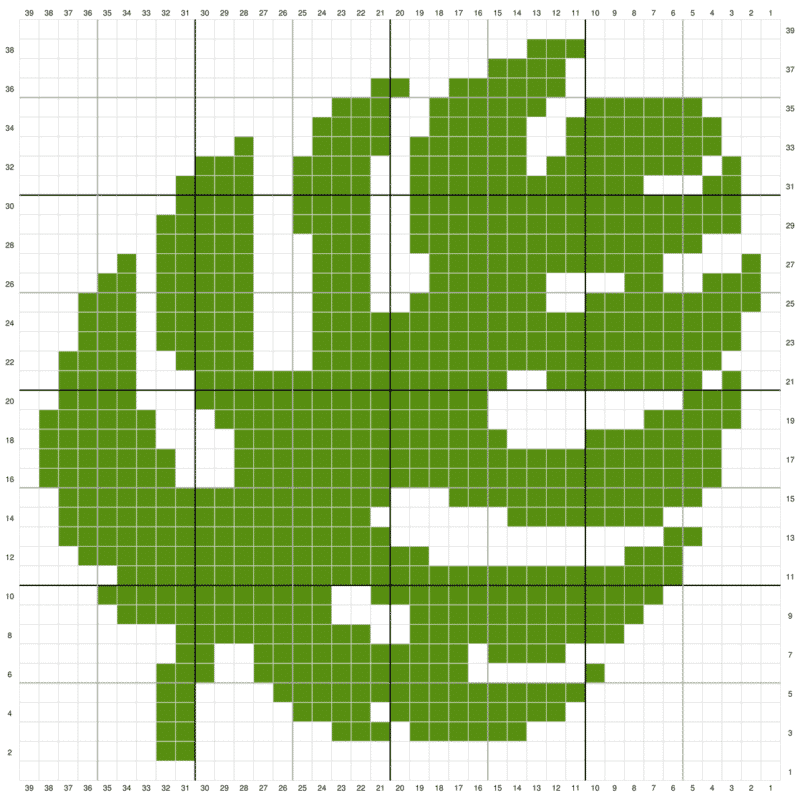
Monstera Chart Instructions
Click the box below to unlock this exclusive subscriber content for free. Add your email and create a password. If you are having trouble, reset your password or log in to the Grow Portal.
I’m thrilled to share this amazing crochet pattern with you! Please don’t copy, paste, or distribute this pattern. Prefer an ad-free experience? Purchase a digital PDF file for a small fee from one of my online stores. I appreciate your support and readership. You are why I can keep doing what I love and sharing it with others. Thank you from the bottom of my heart.
Monstera Crochet Square Pattern Notes
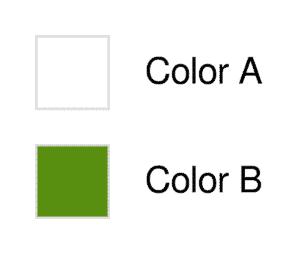
- The stitches for the color portion of this pattern are all done in single crochet. Each color is represented by a letter. Color A is white and Color B is green. Example (A) x 7 = single crochet 7 stitches with color A (white)
- After the end of each row turn. It is not necessary to chain 1 at the beginning of each row, simply work right into the first st.
- Since there is a wrong side and a right side to the square, I used a combination of intarsia and carrying yarn across the back for the color work. Experiment and see what works best for you.
- Please visit https://brianakdesigns.com/ways-to-colorwork-in-crochet/ for a full tutorial on colorwork as well as a FREE Sheep Yarn Bobbin Printable to assist you with this project. No one loves tangles.
Monstera Leaf Crochet Square Written Instructions
To begin: With Color A, chain 39 and start the first row in the first chain from hook.
← Row 1 [RS]: (A) x 39
→ Row 2 [WS]: (A) x 7, (B) x 2, (A) x 30
← Row 3 [RS]: (A) x 13, (B) x 6, (A) x 1, (B) x 3, (A) x 7, (B) x 2, (A) x 7
→ Row 4 [WS]: (A) x 7, (B) x 2, (A) x 5, (B) x 4, (A) x 1, (B) x 9, (A) x 11
← Row 5 [RS]: (A) x 10, (B) x 16, (A) x 4, (B) x 2, (A) x 7
→ Row 6 [WS]: (A) x 7, (B) x 3, (A) x 2, (B) x 11, (A) x 6, (B) x 1, (A) x 9
← Row 7 [RS]: (A) x 11, (B) x 4, (A) x 1, (B) x 11, (A) x 2, (B) x 2, (A) x 8
→ Row 8 [WS]: (A) x 8, (B) x 10, (A) x 2, (B) x 11, (A) x 8
← Row 9 [RS]: (A) x 7, (B) x 12, (A) x 4, (B) x 11, (A) x 5
→ Row 10 [WS]: (A) x 4, (B) x 12, (A) x 2, (B) x 15, (A) x 6
← Row 11 [RS]: (A) x 5, (B) x 29, (A) x 5
→ Row 12 [WS]: (A) x 3, (B) x 18, (A) x 10, (B) x 3, (A) x 5
← Row 13 [RS]: (A) x 4, (B) x 2, (A) x 14, (B) x 17, (A) x 2
→ Row 14 [WS]: (A) x 2, (B) x 16, (A) x 7, (B) x 8, (A) x 6
← Row 15 [RS]: (A) x 4, (B) x 13, (A) x 3, (B) x 17, (A) x 2
→ Row 16 [WS]: (A) x 1, (B) x 7, (A) x 3, (B) x 25, (A) x 3
← Row 17 [RS]: (A) x 3, (B) x 25, (A) x 3, (B) x 7, (A) x 1
→ Row 18 [WS]: (A) x 1, (B) x 6, (A) x 4, (B) x 14, (A) x 4, (B) x 7, (A) x 3
← Row 19 [RS]: (A) x 2, (B) x 5, (A) x 8, (B) x 14, (A) x 3, (B) x 6, (A) x 1
→ Row 20 [WS]: (A) x 2, (B) x 4, (A) x 3, (B) x 15, (A) x 10, (B) x 3, (A) x 2
← Row 21 [RS]: (A) x 2, (B) x 1, (A) x 1, (B) x 8, (A) x 2, (B) x 16, (A) x 3, (B) x 4, (A) x 2
→ Row 22 [WS]: (A) x 2, (B) x 4, (A) x 2, (B) x 4, (A) x 3, (B) x 21, (A) x 3
← Row 23 [RS]: (A) x 2, (B) x 22, (A) x 3, (B) x 5, (A) x 1, (B) x 3, (A) x 3
→ Row 24 [WS]: (A) x 3, (B) x 3, (A) x 1, (B) x 5, (A) x 3, (B) x 22, (A) x 2
← Row 25 [RS]: (A) x 1, (B) x 9, (A) x 2, (B) x 7, (A) x 2, (B) x 3, (A) x 3, (B) x 5, (A) x 1, (B) x 3, (A) x 3
→ Row 26 [WS]: (A) x 4, (B) x 2, (A) x 1, (B) x 5, (A) x 3, (B) x 3, (A) x 3, (B) x 6, (A) x 4, (B) x 2, (A) x 2, (B) x 3, (A) x 1
← Row 27 [RS]: (A) x 1, (B) x 1, (A) x 4, (B) x 12, (A) x 3, (B) x 3, (A) x 3, (B) x 5, (A) x 1, (B) x 1, (A) x 5
→ Row 28 [WS]: (A) x 7, (B) x 5, (A) x 3, (B) x 3, (A) x 2, (B) x 15, (A) x 4
← Row 29 [RS]: (A) x 2, (B) x 17, (A) x 2, (B) x 4, (A) x 2, (B) x 5, (A) x 7
→ Row 30 [WS]: (A) x 8, (B) x 4, (A) x 2, (B) x 4, (A) x 2, (B) x 17, (A) x 2
← Row 31 [RS]: (A) x 2, (B) x 2, (A) x 3, (B) x 12, (A) x 2, (B) x 4, (A) x 2, (B) x 4, (A) x 8
→ Row 32 [WS]: (A) x 9, (B) x 3, (A) x 2, (B) x 4, (A) x 2, (B) x 6, (A) x 1, (B) x 8, (A) x 1, (B) x 1, (A) x 2
← Row 33 [RS]: (A) x 3, (B) x 8, (A) x 2, (B) x 6, (A) x 1, (B) x 4, (A) x 3, (B) x 1, (A) x 11
→ Row 34 [WS]: (A) x 15, (B) x 4, (A) x 2, (B) x 5, (A) x 2, (B) x 8, (A) x 3
← Row 35 [RS]: (A) x 4, (B) x 6, (A) x 2, (B) x 6, (A) x 2, (B) x 3, (A) x 16
→ Row 36 [WS]: (A) x 18, (B) x 2, (A) x 2, (B) x 6, (A) x 11
← Row 37 [RS]: (A) x 11, (B) x 4, (A) x 24
→ Row 38 [WS]: (A) x 26, (B) x 3, (A) x 10
← Row 39 [RS]: (A) x 39
Crochet Edging
After row 39 do not fasten off, continue to sc around the outside perimeter of the square placing one stitch on the edge of each row and a ch 1 at the corners, join.
Next Round:
With Color B attach yarn. Working in the blo for this round, sc in first, ch 1, skip 1, sc in next, ch 1, skip 1; repeat from * to * around, join.
Next Round:
Sc in each stitch around, placing a ch 1 on corners, join and fasten off yarn.
Well, That Was Fun! What’s Next?