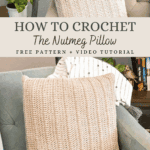
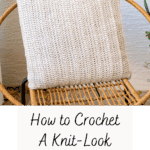
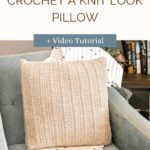
Looking for a project that’s quick, satisfying, and instantly elevates your home décor? Meet the Crochet Nutmeg Pillow Free Pattern — a simple yet stunning crochet design that brings cozy handmade charm to any space.
Disclosure: This post contains affiliate links. Please read my disclosure for more info.
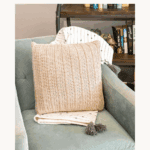
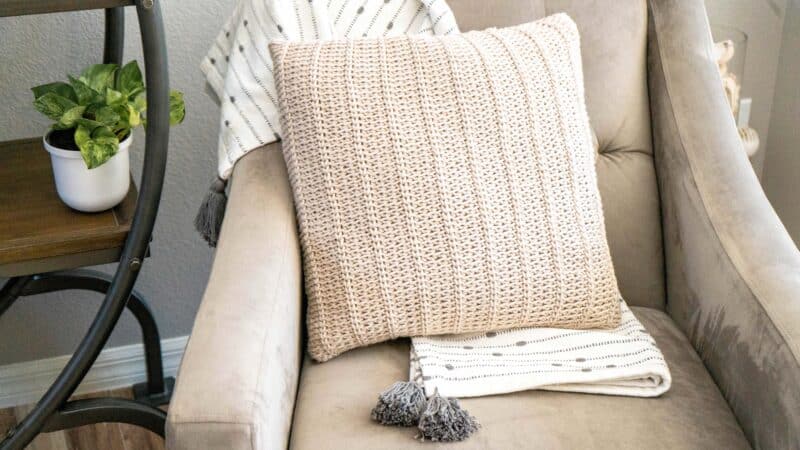
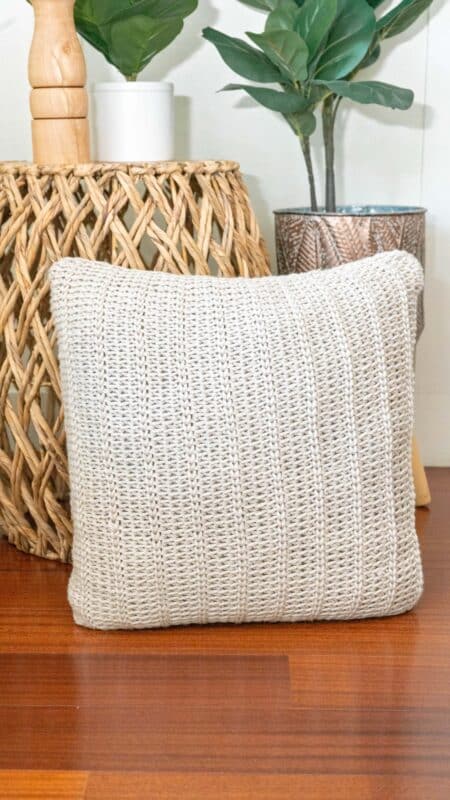
Worked in the round using easy crochet stitches, this pillow mimics the look of knit fabric while keeping all the comfort and flexibility of crochet. It’s soft, timeless, and versatile — the kind of home décor piece that looks just as good on your sofa in fall as it does on your bed in spring.
I kept the design minimal and modern in neutral tones, but you can easily customize it to match your space. Try adding stripes, tassels, or seasonal colors to make it uniquely yours. Whether you’re sprucing up your living room, making handmade gifts, or adding cozy accents to your home, this free crochet pillow pattern is a must-try for crocheters who love projects that look store-bought but feel handmade.
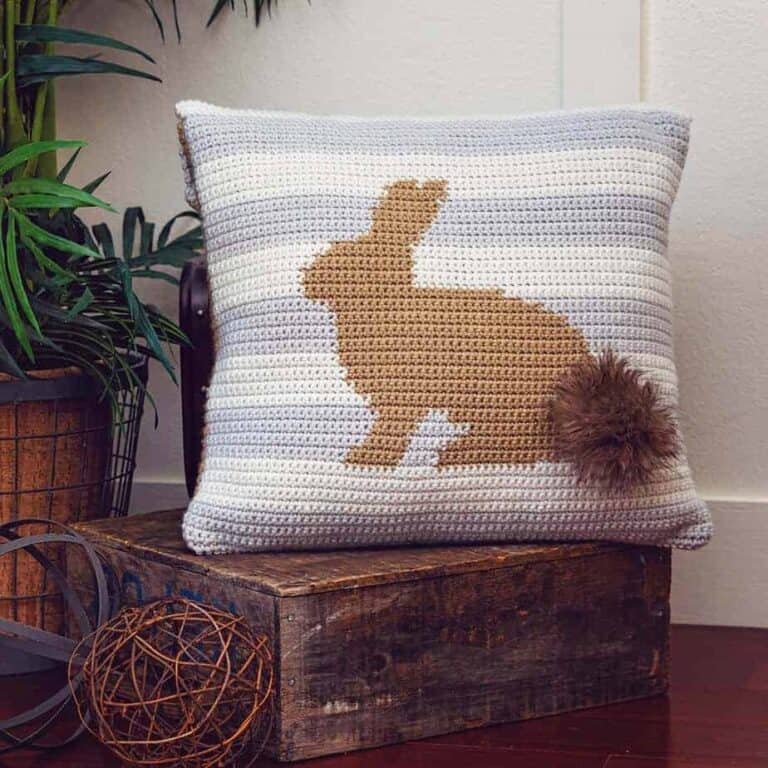
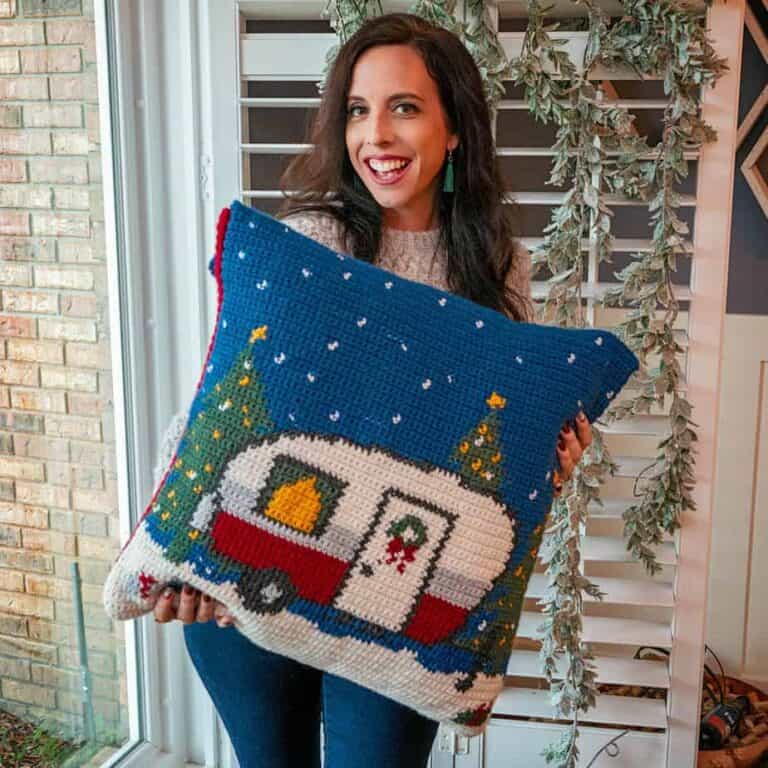
Looking for more pillow patterns?
Keep reading this post for the free crochet pattern, or purchase an ad-free pdf download on WeCrochet, Etsy, or Ravelry.
Crochet Nutmeg Free Pillow Pattern Supplies


Crochet Hook:
M (8.0 mm) Hook
Notions:
Removable Stitch Marker
Yarn Needle
Scissors
Pillow Form
Invisible Zipper
Yarn:
WeCrochet Swish Bulky 100% Fine Superwash Merino Wool, 137 yds/100g
Shown in Colorway Nutmeg
A great substitute yarn is Brava Bulky
Yardage:
240yds/220m for a 20-inch pillow
Abbreviations/Stitches:
blo – back loop only
ch – chain
sl st – slip stitch
sc – single crochet
ssc – split single crochet st(s) -stitch(es)
Gauge:
9 sts by 11 rows = 4×4 inches stitch pattern
Skill Level:
Easy/Beginner
Notes:
The Nutmeg Crochet Pillow is worked in the round without joining. The top will have a zipper to open and close the pillow, or it can be seamed after inserting a pillow form.
Special Stitch:
Split Single Crochet (ssc), also known as the waistcoat stitch: https://brianakdesigns.com/split-single- crochet-round-flat/
FAQs About the Crochet Nutmeg Pillow Free Pattern
Q: What skill level is this pattern for?
A: This pattern is perfect for beginners and confident crocheters alike. If you know how to crochet in the round and work basic stitches, you’re all set!
Q: Can I make this pillow in different sizes?
A: Absolutely! You can easily adjust the diameter by adding or removing rounds — just make sure to use a matching pillow form or adjust your stuffing.
Q: What type of yarn works best for this project?
A: I recommend a bulky (weight 5) yarn with good stitch definition. Acrylic or cotton blends work beautifully and are easy to care for.
Q: How do I wash my crochet pillow cover?
A: Most worsted-weight yarns are machine washable, but always check your yarn label first. Hand-washing and laying flat to dry help maintain shape and texture.
Q: Can I add a zipper or button closure?
A: Yes! If you prefer removable covers, sew in a zipper or add button closures along one edge for easy washing and restuffing.
Crochet Nutmeg Free Pillow Pattern Video Tutorial

Crochet Nutmeg Free Pillow Written Pattern
Click the box below to unlock this exclusive subscriber content for free. Add your email and create a password. If you are having trouble, reset your password or log in to the Grow Portal.
I’m thrilled to share this amazing crochet pattern with you! Please don’t copy, paste, or distribute this pattern. Prefer an ad-free experience? Purchase a digital PDF file for a small fee from one of my online stores. I appreciate your support and readership. You are why I can keep doing what I love and sharing it with others. Thank you from the bottom of my heart.
Pillow Body
Repeats:
Repeat Round 3 until the height of the pillow is 20 inches.
Seaming or Invisible Zipper
With Zipper:
Fasten off and weave in your end.
With sewing thread and a sewing needle, stitch the zipper around the top of the opening. Place the pillow form inside the pillow and zip closed.
No Zipper:
Fasten off, leaving a long tail.
Place the pillow form into the pillow cover, using a yarn needle, and seam the opening closed. As an alternative option, consider using a zipper on one end of the pillow, allowing the cover to be easily removed.
Finishing
Fasten off and weave in all ends, and enjoy your new home decor pillow.
Care: Machine Wash Gentle Cold / Tumble Dry Low.
The Crochet Nutmeg Pillow Free Pattern proves that simple can still be stunning. With its knit-like texture, modern design, and endless customization options, it’s a relaxing project that delivers high-impact results.
Whether you’re making one for your home or gifting it to someone special, this crochet pillow adds that cozy, handmade touch that makes every space feel a little more you.
Well, That Was Fun! What’s Next?