Easy Granny Rectangle Crochet Bag
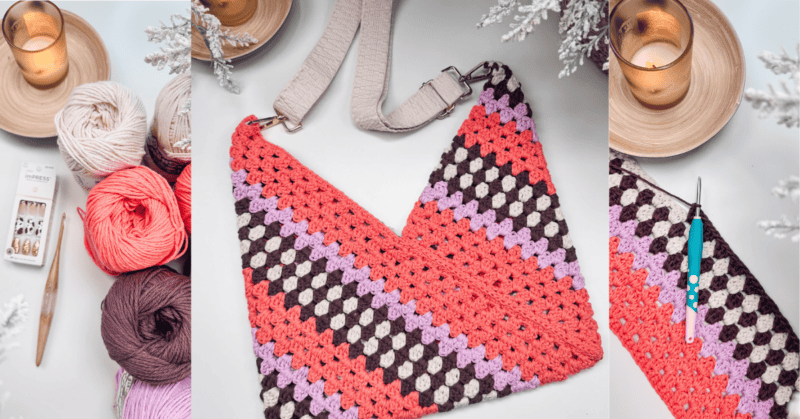
I’m sure by now you’ve seen the Taylor Swift-inspired granny dress that’s become a huge internet sensation! But what if a granny dress isn’t your jam? How about an Easy Granny Rectangle Bag?! This bag has an easy color repeat, but if you want to explore granny stitch colorwork, also try the Colorful Hues Granny Stitch Blanket Pattern.
Disclosure: This post contains affiliate links. Please read my disclosure for more info.
All we need to do for this beginner-friendly bag is create a rectangle using the timeless and simple granny stitch!
Use your imagination for your bag – make it striped like the Swiftie dress, or in a solid color. You can even use scraps to make a rainbow bag!
After you make your rectangle, we will fold the fabric, make two seams, and add a handle. This chic and modern accessory coordinates well with the Classic Granny Stitch Dress and the Picot Shawl.
What you’ll love about this easy bag pattern.
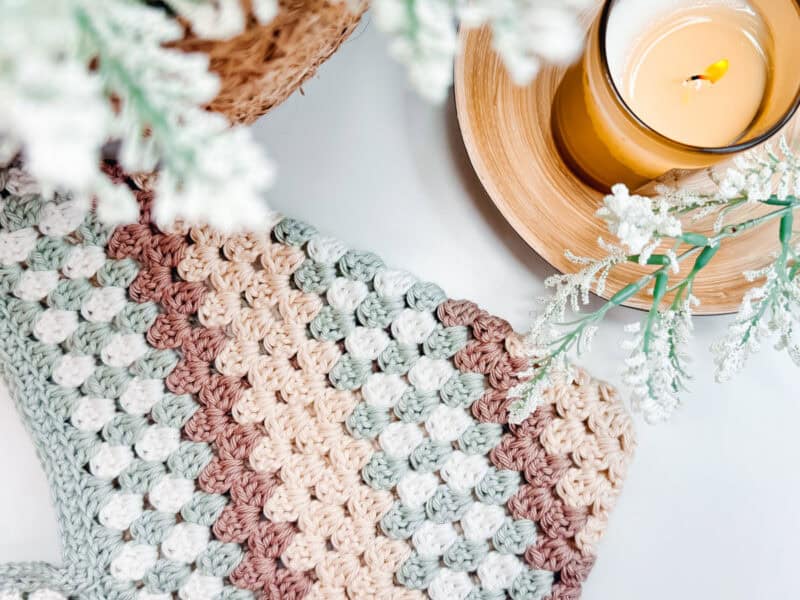
Granny Rectangle Bag Crochet Supplies
Yarn
Lily Sugar’n Cream
100% Cotton, 120yds/70g
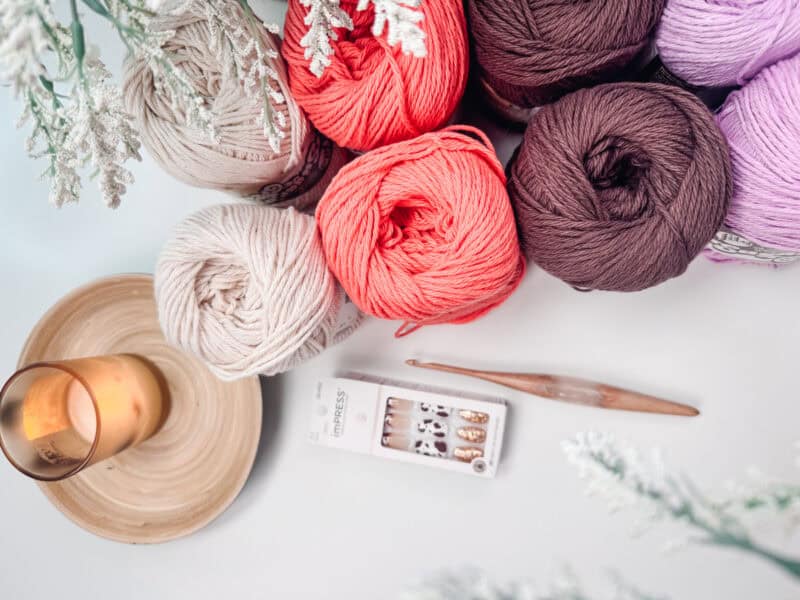
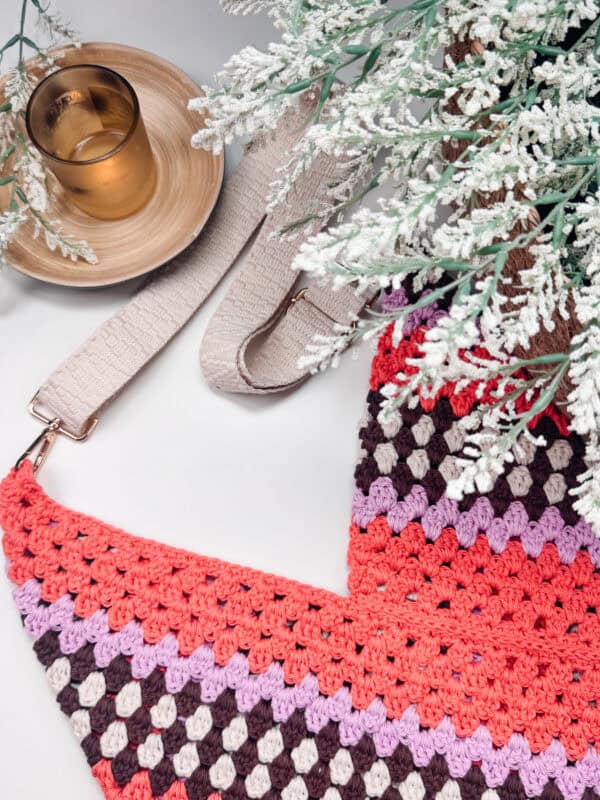
Colorways Shown: Tangerine, Warm Brown, Ecru, and Orchid
Weight: 4 Worsted
Yarn Quantities
Solid Color: 350 yds; 3 balls
4 Colors:
Tangerine: 140 yds; 2 balls
Warm Brown: 85 yds; 1 ball
Ecru: 60 yds; 1 ball
Orchid: 60 yds; 1 ball
Yarn Substitutions
Comfy Color Mist
75% Pima Cotton, 25% Acrylic,
219yds/100g
Comfy Worsted
60% Cotton, 40% Acrylic, 185yds/100g
Dishie Cotton
100% Cotton, 190yds/100g
Remember always to check the gauge and drape when substituting yarns.
Crochet Hook
Size US G (4.0mm) Crochet Hook or hook to obtain gauge.
Notions
Scissors
Yarn Needle
Removable Stitch Marker
Faux Leather Snap (Optional)
Bag Strap – Brown
Bag Strap – Beige
Skill Level
Beginner
One Size
Bag rectangle measures 30 inches by 10
inches before folded.
Abbreviations
blo – back loop only
ch – chain
dc – double crochet
sc – single crochet
sl st – slip stitch
st(s) – stitch(es)
Stsc – Stacked Single Crochet
Gauge
15 sts and 9 rows = 4″ by 4″ in granny st pattern.
How to Crochet a Gauge Swatch
Working a gauge swatch will let you know if you will have the correct sizing for this pattern. It will also help you practice the stitches used in this project and improve your stitch work for a flawless look.
Are you struggling to match the gauge? Check out the blog post on What is Crochet Gauge and How To Fix It
Gauge Swatch Instructions:
Chain 23
Row 1:
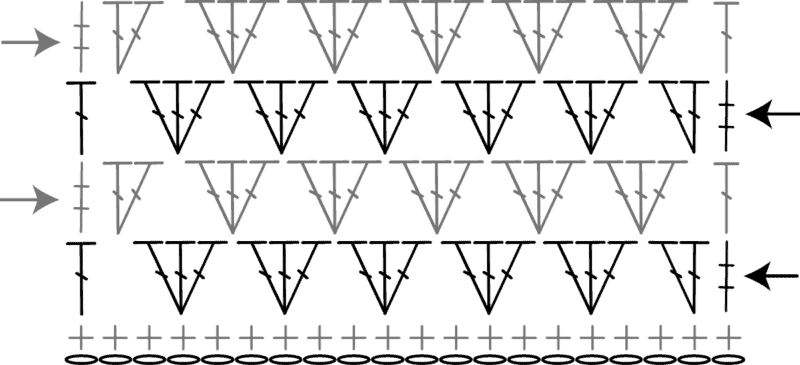
Working in the first ch from the hook Stsc first ch, 2 dc in next ch. *skip 2 chs, 3 dc in next ch; repeat from * until the last 3 chs, skip 2 chs, dc in last, turn. | 22 sts
Row 2:
Stsc in first, 2 dc in the first space, *3 dc in the next space between the granny st groups; repeat until the last 3 sts of the row, skip 2 sts, dc in the last, turn.
Repeats:
Repeat Row 2 until the swatch is at least 5 inches to measure.
Construction
This simple and modern crochet bag is a beginner-friendly accessory. It’s worked flat – all you have to do is make a rectangle in the timeless granny stitch, and then we will fold the corners in and add two seams. Add a crocheted strap – or an adjustable and removable strap to complete your bag. Try different yarn weights and colors to make this bag your own truly!
Love simple and stylish crochet bags? You might also enjoy the Hexagon Granny Square Bag Pattern, the Granny Flower Bag, or the Danbury Rectangle Bag.
Special Stitches
Stacked Single Crochet (Stsc): Do NOT chain, insert hook into next stitch, yo, pull up a loop, yo and pull through both loops, insert hook in the vertical bar below, yo, pull up a loop, yo and pull through both loops on the hook.
Puff Stitch for Handle Option: Yarn over and insert your hook into the stitch/space. Yarn
over again and pull up a long loop. (Yarn over and insert your hook into the same stitch/
space. Yarn over again and pull up a long loop) two more times (7 loops on the hook). Yarn
over and pull through the first 6 loops; yarn over and pull through the remaining loops.
Pattern Notes
- This pattern substitutes a traditional chain 2 on the edges for a Stacked Single Crochet.
A ch 1 at the beginning of a single crochet row is unnecessary.
Tired of Weaving In Ends? Try This Crochet Trick
If you create this crochet bag with many colors, like the original Taylor Swift colorway, there will be many ends to weave in. If we choose to crochet a border along the top edge, you can use a special knot to change colors to reduce the number of ends to weave in.
Video Tutorial for the Easy Granny Rectangle Bag
Relax & Crochet
Upgrade to the Printable PDF
Enjoy a beautifully formatted, printable version of the pattern for a relaxing crochet experience. The paid pattern includes:
The Ad-Free PDF can be purchased on Etsy or Ravelry.

Click the box below to unlock this exclusive subscriber content for free. Add your email and create a password. If you are having trouble, reset your password or login to the Grow Portal.
I’m thrilled to share this amazing crochet pattern with you! Please don’t copy, paste, or distribute this pattern. Prefer an ad-free experience? Purchase a digital PDF file for a small fee from one of my online stores. I appreciate your support and readership. You are why I can keep doing what I love and sharing it with others. Thank you from the bottom of my heart.
Written Crochet Pattern Instructions
Row 1:
Working in the first ch from the hook Stsc first ch, 2 dc in next ch. *skip 2 chs, 3 dc in next ch; repeat from * until the last 3 chs, skip 2 chs, dc in last, turn. | 109 sts
Row 2:
Stsc in first, 2 dc in the first space, *3 dc in the next space between the granny st groups; repeat until the last 3 sts of the row, skip 2 sts, dc in the last, turn. | 109 sts
Repeats:
Repeat Row 2 until there are a total of 22 rows. This will repeat the color chart twice.
Join The Kindest Community
Join our vibrant community of crafters on Facebook today. Whether you enjoy crafting with others or simply have burning questions, we’ve got you covered – join us now!
Folding the Bag
Go to lining instructions before folding if adding a lining.
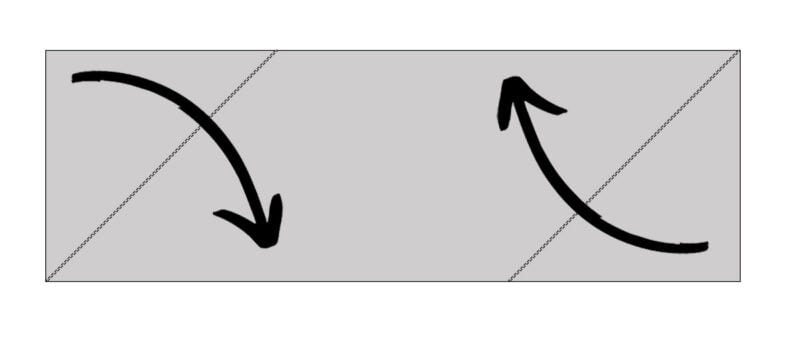
Folding Step 1:
Lay the bag fabric in front of you and fold the top left corner down, and the bottom right corner up, this will create the parallelogram shape.
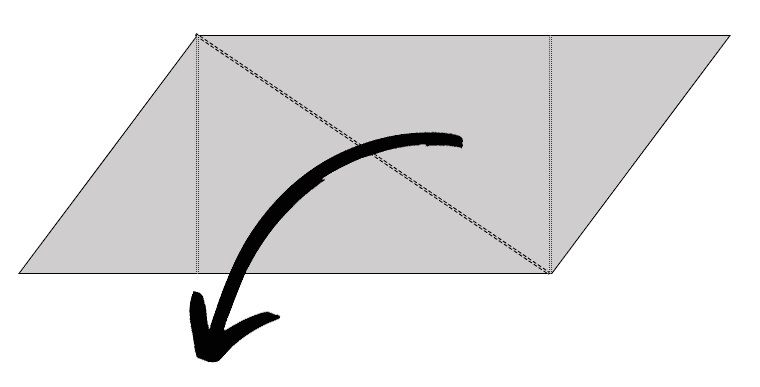
Folding Step 2:
Keeping the previous sections folded, grab the right side of the fabric and fold again across the diagonal dotted line.
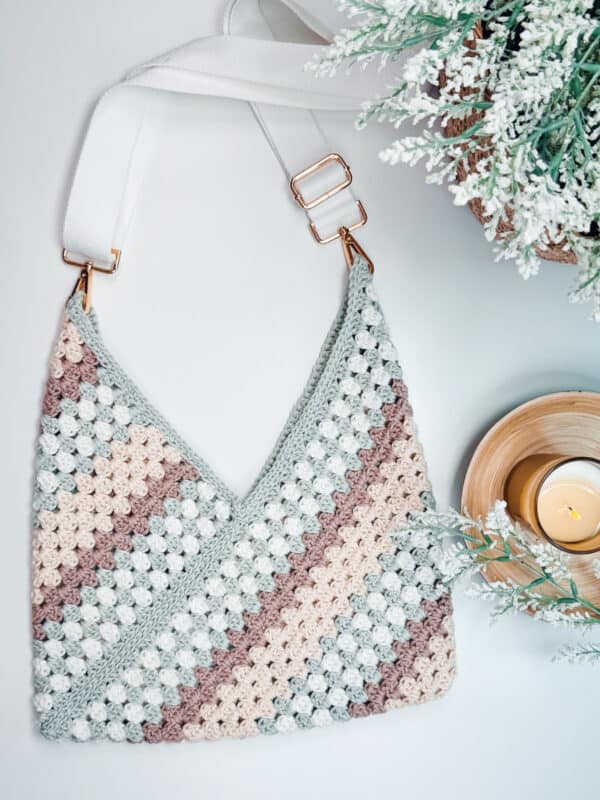
Color Style
Get even more inspiration with changing up the color. The ad-free pdf offers 3 color inspirations along with a blank chart to color in your own.
Seaming
Next we will either do a crochet surface sl st or a hand sewn seam on the front and the back of the bag. This is shown with a red dotted line in the next image. With these two seams we will have created the finished bag shape.
Handle
You can use a purchased bag strap or follow the instructions below for a braided crochet strap. Video Tutorial for Strap.
If using multiple colors, use Color A for the handle.
Leave a tail for sewing onto the bag later and ch 3.
Puff st in the 3rd ch from the hook. Turn your work by rotating to the left.
Working in the ch space, puff st, turn.
Working into the space between the last two puff sts made, work a puff st, turn.
Repeat this last step until there are a total of 58 puff sts, or the desired length.
Finishing
With your yarn needle, stitch the bag handle to each top point of the bag, weave in well and fasten off.
If desired, sew on a leather snap to close the bag.
Optional Lining
If you want to line your bag it’s very simple to do.
Option 1:
Cut a rectangle of fabric just slightly bigger than the original crochet bag rectangle.
Fold down all the edges and either glue them with fabric glue or sew. This will create a hem with finished edges.
Next, fold the fabric and sew along the same lines we did with the bag seaming. Insert the fabric
into the bag and either glue in place or sew around the top opening of the bag.
Option 2:
If you want to do less seaming, lay the finished bag on top of your fabric (folded in half so two pieces are cut at once) and trace the shape. Cut out the shape and seam the edges except for the top. Then, insert the fabric into the bag and either glue it in place or sew it around the top opening of the bag.
More information on a no-sew bag liner: https://brianakdesigns.com/no-sew-bagliner/
And there you have it – your very own Swiftie-inspired granny bag! You might be wondering if you can make this bag with a different fiber.
And the answer is yes – just be aware of a few things! Cotton is generally considered the best material to use for crocheted bags.
It’s sturdy, doesn’t stretch as much as acrylic or other blends, and is often cheaper. But that doesn’t mean you can’t use other yarns!
If you carry your new bag a lot, the wear and tear of daily use will show more with non-cotton yarns, and your bag will also stretch more (but an added liner can help).
Have some leftover cotton from your project? Whip up a Lace Top Basket or Wreath Coaster to add a little Taylor-inspired flair to your home!
Cheers, and happy crocheting!
Well That Was Fun! What’s Next?
📌 PIN THIS POST – Don’t lose this project; save it to your Pinterest crochet board so you can quickly come back to it again.
💌 SHARE – Share your yarn choice, in-progress, or finished projects on Facebook or Instagram and use the hashtag #brianakdesigns
🥂 JOIN – Join the kindest crafters in the Briana K Designs Community Group on Facebook. We love yarny friends!
🔗 RAVELRY LINK -Link and share your project on Ravelry. Having inspirational photos can help crafters.


