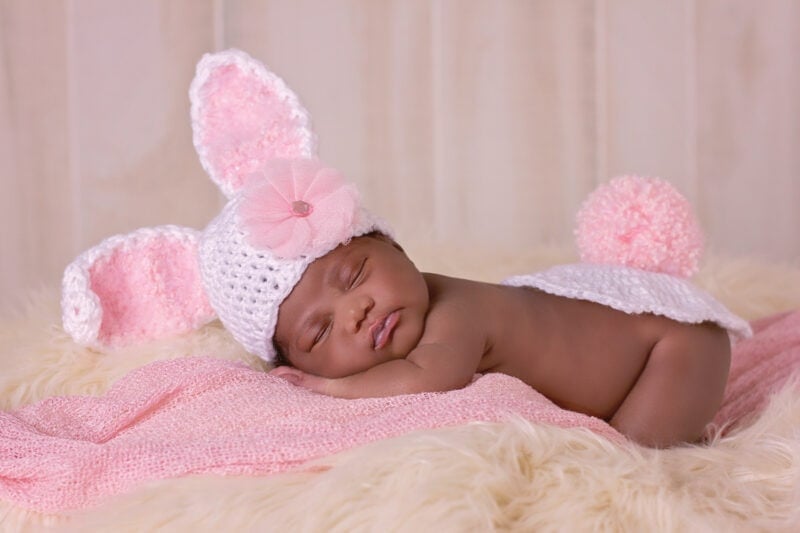
Newborn Bunny Crochet Pattern
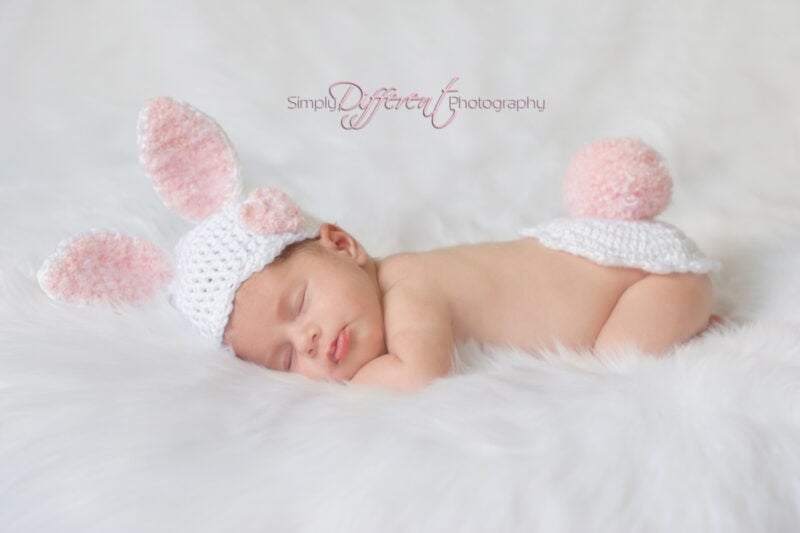
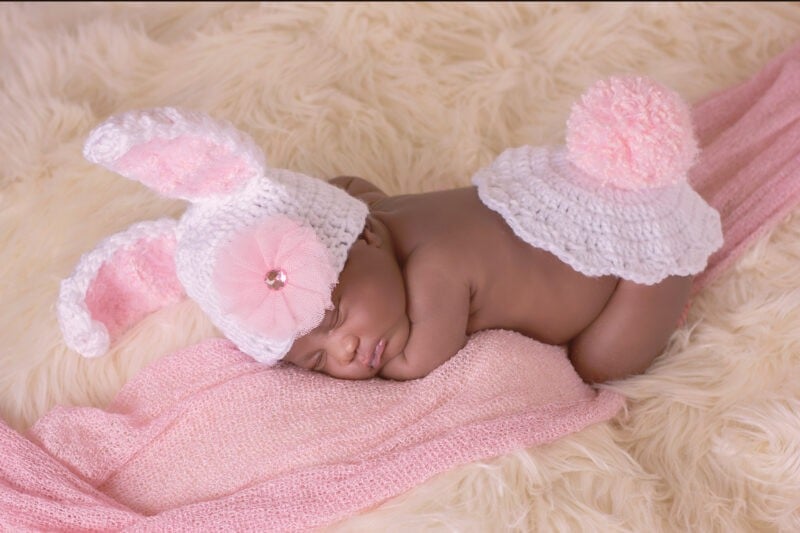
The Newborn Bunny Crochet Pattern is an adorable baby outfit for spring or any time of the year. But it’s especially cute for those newborn debut photography sessions. It’s an easy and quick pattern to work up and newborn photographers just love this photography prop. And if you love cute bunnies, also check out the Be My Bunny Crochet Pattern, the Bunny Easter Basket Crochet Pattern, or the Bunny Easter Basket Crochet Pattern.
Disclosure: This post contains affiliate links. Please read my disclosure for more info.
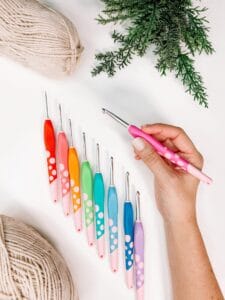
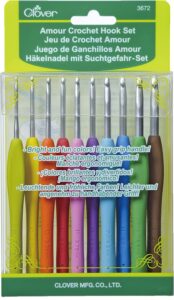
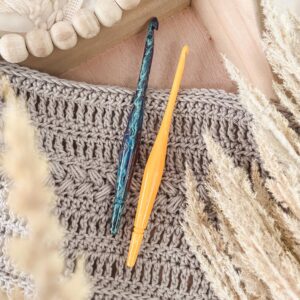
Supplies for the Newborn Bunny Outfit
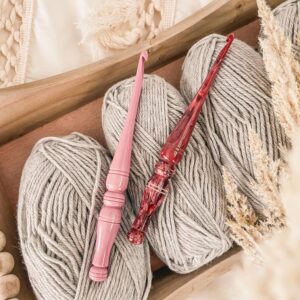
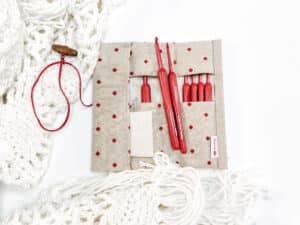
Crochet Hook:
5.0mm (H hook), or hook to obtain gauge
Notions:
Removable stitch markers if needed
Yarn needle to weave in ends
Scissors
Button or Flower for Embellishment
Clover Jumbo Pom Pom Maker
2 White Craft Pipe Cleaners
Yarn:
WeCrochet Brava Worsted
100% Premium Acrylic, 218yds/100g
In colorways White and Blush
Yardage:
100 Yards for newborn size
Abbreviations/Stitches:
ch- Chain
st- Stitch
sl st- Slip Stitch
sc- Single Crochet
sc2tog- Single Crochet 2 Together
dc- Double Crochet
MC- Magic Circle
Gauge:
4 x 4 inch swatch = 14 dc stitches x 7 Rows
Skill Level:
Advanced Beginner
Size:
Newborn Photography Prop Size
Notes:
Join with a Sl St to the top of the first DC in each round.
Chains do not count as stitch counts.
Stitch counts will be written in (..)
Relax & Crochet
Upgrade to the Printable PDF
Beautifully formatted to print and relax while crocheting. The paid pattern includes:
You can continue reading this blog post for the free pattern version, or you can download the ad-free pdf pattern on Etsy or Ravelry.
Seamless Finish Video
For an invisible or seamless finish on the last round, watch this video tutorial:
Newborn Bunny Hat Pattern
Hat: Newborn (0-3 months)
Round 1: Start with the color white (or brown for brown bunny)
Magic Circle, ch2 and dc 11 inside Magic Circle, join and ch 2.
OR another option is: ch 3, dc 11 in the first chain, join and ch 2. (11)
Round 2: 2 dc in each stitch around, join and ch 2. (22)
Round 3: 2 dc in first stitch, dc in next; repeat around. Join and ch 2. (33)
Round 4: 2 dc in the first stitch, dc in next 2; repeat around. Join and ch 2. (44)
Rounds 5-8: dc in each stitch around, join and ch 1. (44)
Round 9: dc in each stitch around, Join and Do Not chain. (44)
Round 10: Shell finish:*Skip 1 stitch, dc 3 in next, skip next stitch, sc in next; repeat * around and join with the beginning. Fasten off and weave in ends. (44)
Alternate finish: If you do not want shells at the base of the hat, ch 1, sc in each stitch around for two rounds. Fasten off and weave in ends.
Inner Ear (make 2)
Row 1: Start with color pink (or white)- color you want your inner ear to beCh 5. Sc in 2nd ch from hook, turn and ch 1. (4)
Row 2: 2sc in the first stitch, sc in next 2, sc 2 in last stitch, turn and ch 1. (6)
Row 3: sc in each stitch across, turn and ch 1. (6)
Row 4: sc 2 in the first stitch, sc in next 4, sc 2 in last stitch, turn and ch 1. (8)
Rows 5-10: sc in each stitch across, turn and ch 1. (8)
Row 11: sc2tog, sc in next 4, sc2tog, turn and ch 1. (6)
Row 12: sc in each stitch across, turn and ch 1. (6)
Row 13: sc2tog, sc in next 2, sc2tog, turn and ch 1. (4)
Row 14: Sc2tog twice, turn and ch 1. (2)
Row 15: sc2tog, change to white yarn (or brown yarn) and sc around the outside edge of the ear, join and fasten off. Weave in ends. (1)
Outer Ear (make 2)
Rows 1-14: Repeat rows 1-14 from the inner ear above.
Row 15: sc2tog, sc around the outside edge of the ear with white and join, fasten off and leave a long tail for attaching ears to hat.
Construction:
Thread the white pipe cleaners through the hat on round 2 and round 4. Shape the pipe cleaners into bunny ear shape just smaller than the ears you made.
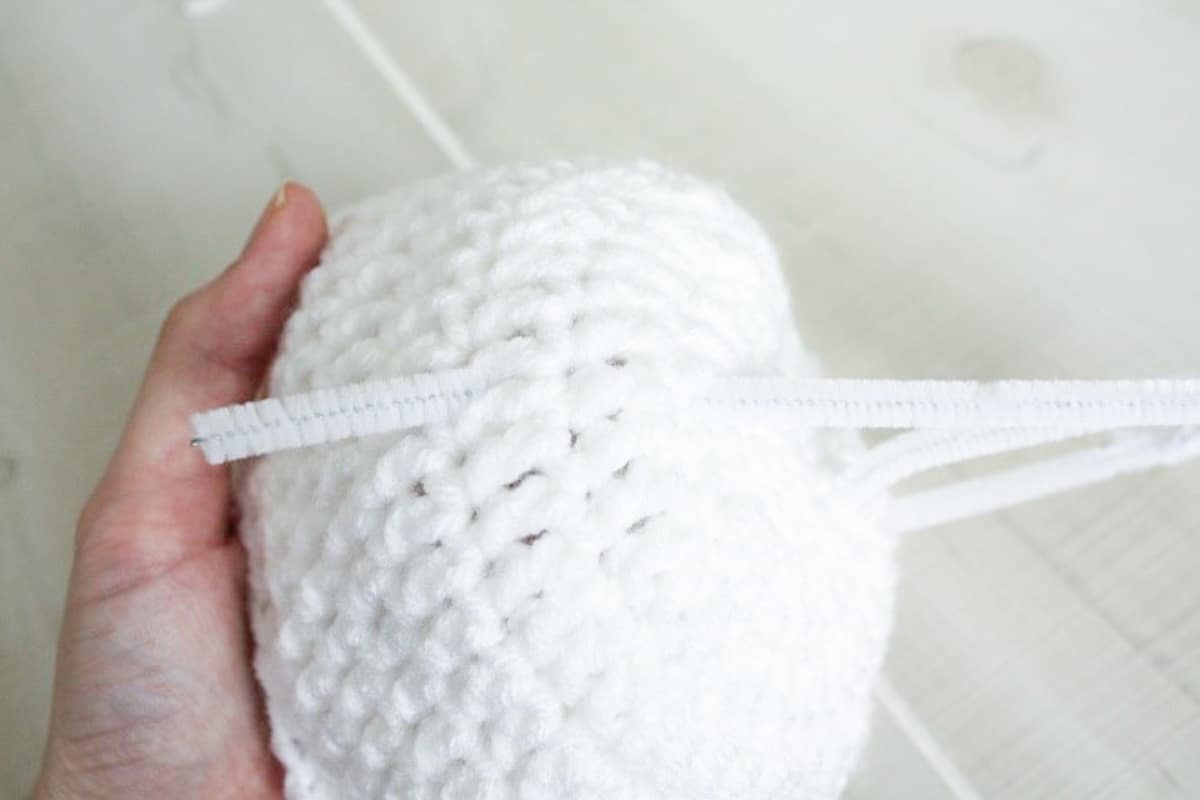
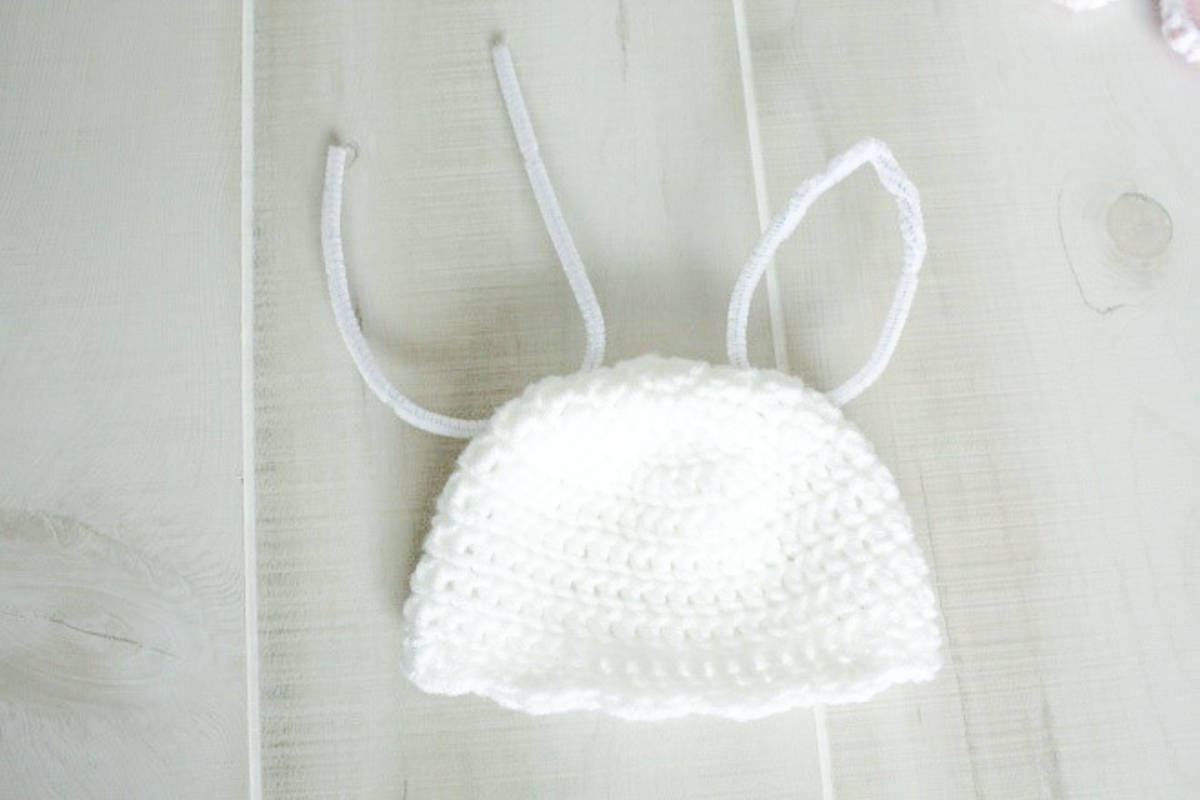
With the wrong sides facing each other, place the ears over the pipe cleaner. Using your sewing needle stitch the ears together by threading through the outer SC edge.
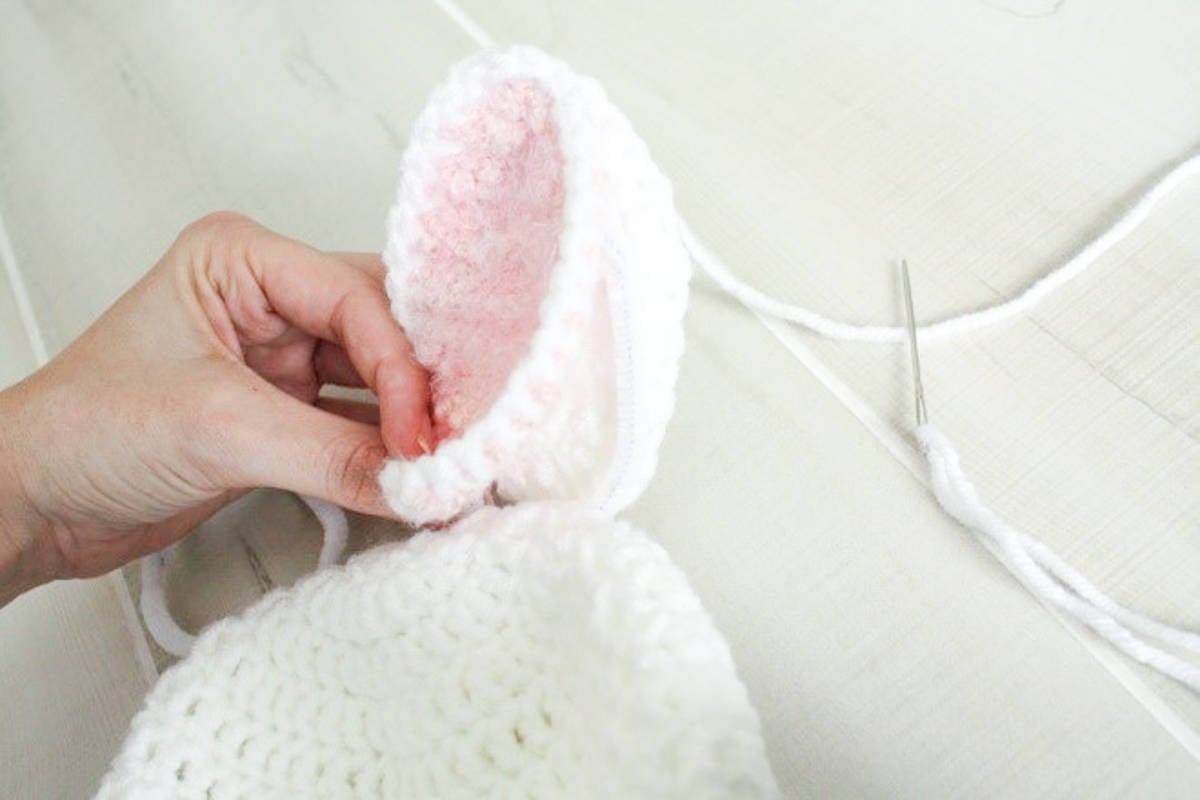
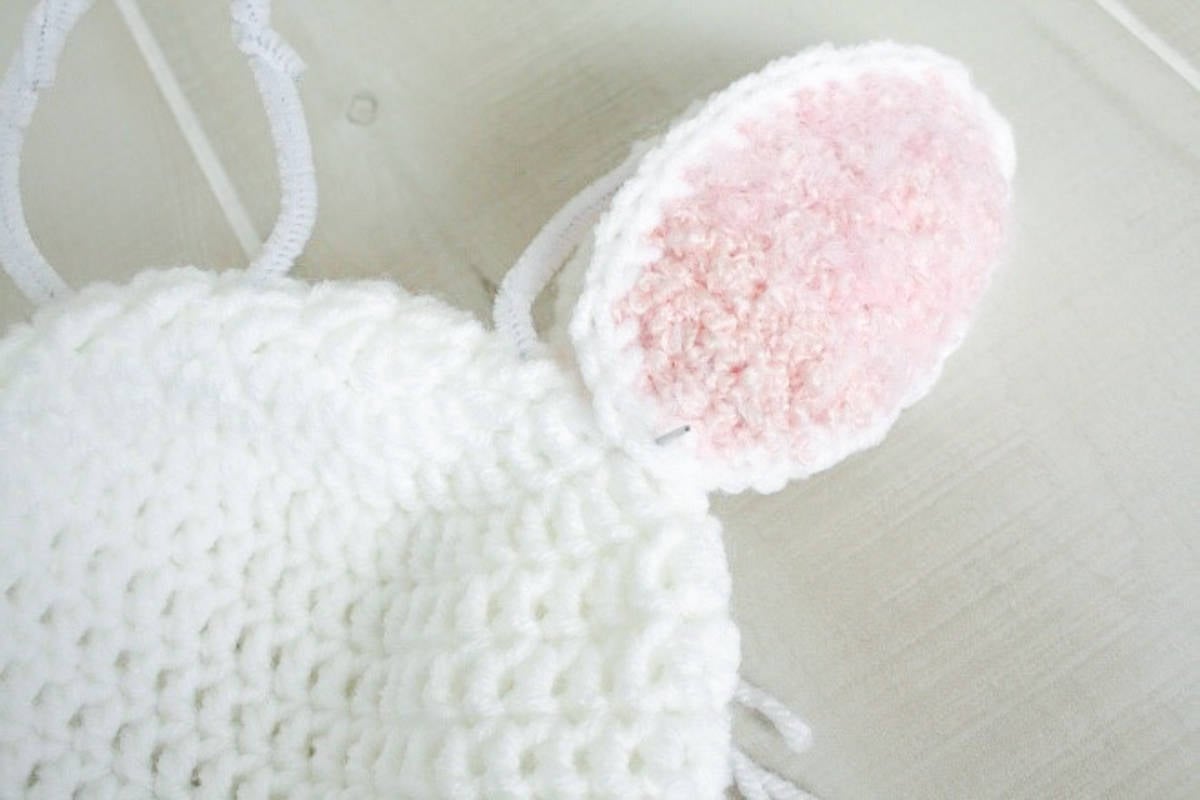
When working around the bottom edge of the ear, thread through the first side of the ear, through the hat, under the pipe cleaner, through the other side of that, and through the other side of the ear. Join with beginning stitch and fasten off, and weave in ends. Repeat on the other ear.

If desired sew a button or embellishment onto the hat.
Join The Kindest Community
Join our vibrant community of crafters on Facebook today. Whether you enjoy crafting with others or simply have burning questions, we’ve got you covered – join us now!
Bottom Cover
Row 1: Start with the color white (or brown)- color you want your bottom cover to be.
Magic Circle, ch 2 and dc 12 in a Magic Circle. Join and Ch 2. (12)
Row 2: dc 2 in each stitch around. Join and ch 2. (24)
Row 3: dc 2 in first stitch, dc in next stitch, repeat around. Join and ch 2. (36)
Row 4: dc 2 in first stitch, dc in next 2 stitches, repeat around. Join and ch 2. (48)
Row 5: dc 2 in first stitch, dc in next 3 stitches, repeat around. Join and ch 2. (60)
Row 6: dc 2 in first stitch, dc in next 4 stitches, repeat around. Join and ch 2. (72)
Row 7: Skip 2 stitches, dc 5 in next stitch, skip 2 stitches, sc; repeat around, join with first, fasten off and weave in ends. (72)
Pom Pom:
Use Pink or White Yarn, Make a Jumbo Pom Pom using the pom pom maker. Use the long strands of yarn used to tie the center of the pom pom to attach to the middle of the diaper cover by threading them through and tying off.
Adding Fur to your Crochet or Knit
I love grabbing different mediums and incorporating them into my designs. Fur has been used with crochet and knit in different ways for a long time. Not long ago Red Heart Boutique Chic used faux fur right in the yarn. The softness of faux fur can really add to your piece and make it pop.
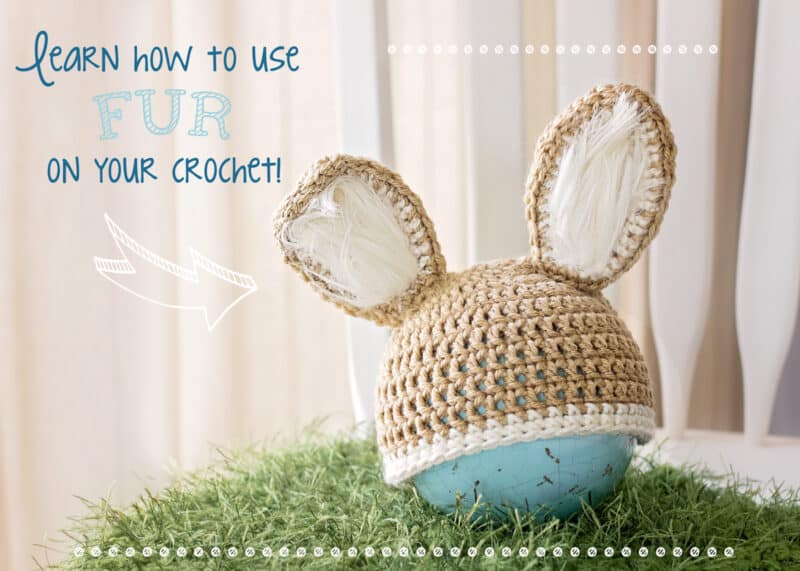
Where to Purchase the Faux Fur
- Fabric fur can be found on many websites. An important factor to remember when purchasing is the pile length, which will determine how long the hair is on the outfit. I mostly look for fur that has a 2 inch pile or longer.
- The site I most commonly purchase from is on Amazon such as this listing for 4 Pieces of Faux Fur.
- For these same types of fur in smaller amounts, there are vendors that sell on Etsy.
- Many times JoAnn’s will carry faux fur fabric. The longer pile fur is often seasonal and found in their red tag sections. Also check down the ribbon aisle for faux fur ribbon by the yard. JoAnn’s also has a less expensive craft fur option that is often found in the aisle next to the feathers and kids beads. It’s sold in sheets or strips.
How to Cut & Attach the Faux Fur
Pay attention to the nap, this means to pay attention to the grain of the fabric (the direction the fur lays) so that when attached the fur will look like it’s growing in an upward direction on your crochet piece.
To cut the fur, slide your scissors through the long strands and only cut the bottom cloth fabric.
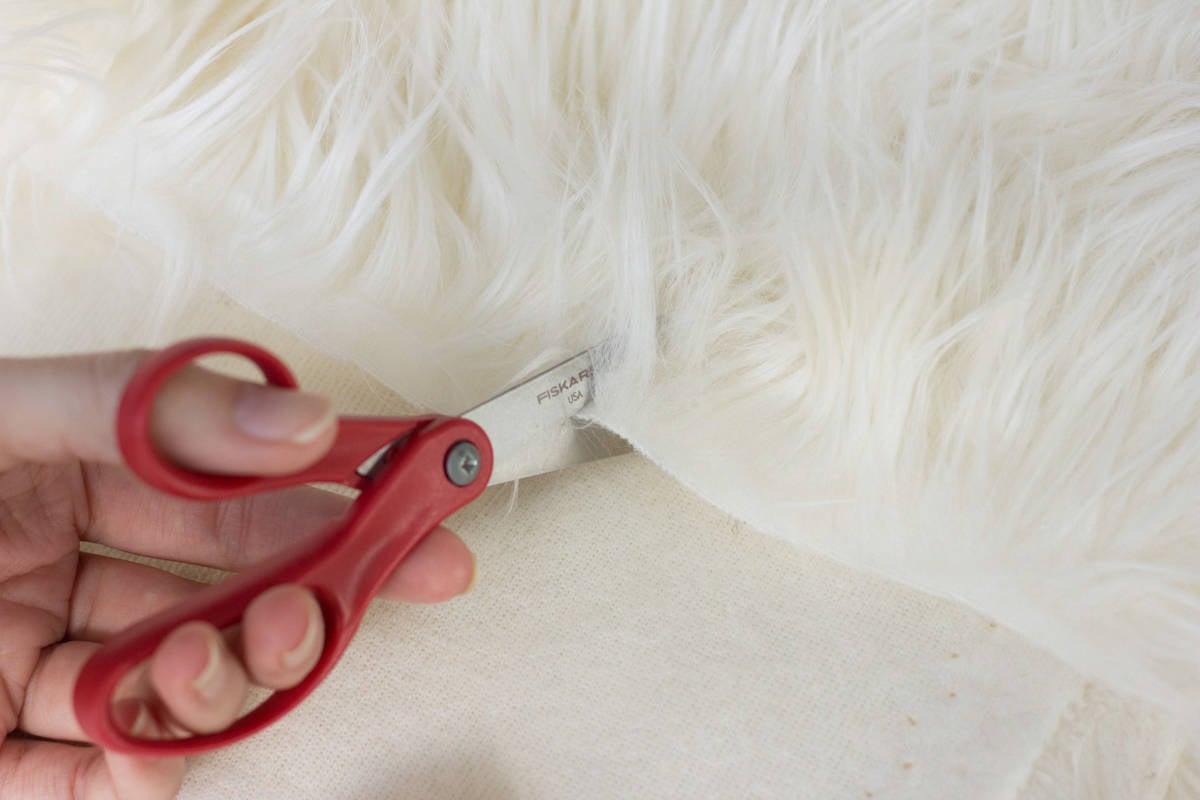
Marking the back of the fabric with a pen or pencil will be helpful as a guide
For the bunny hat, I cut two triangles of fur smaller than the inner ear. This will prevent the hair from looking like it had a bad haircut. Once you cut just the bottom, gently pull the cut piece and the strands of fur will separate.
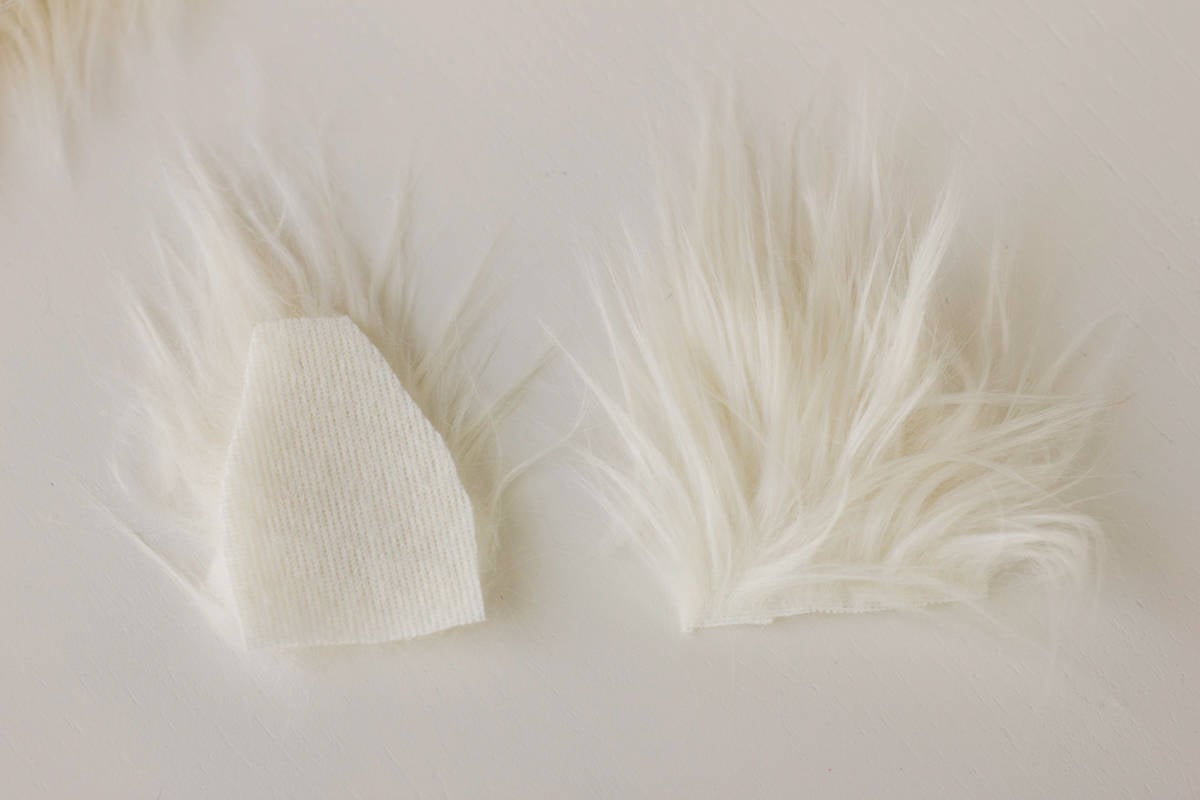
To attach to your crochet, pin the fur in place. Using your sewing needle and thread, whip stitch the cloth part of the fur to the crochet. You will only be sewing through the bottom cloth, leaving the long fur free.
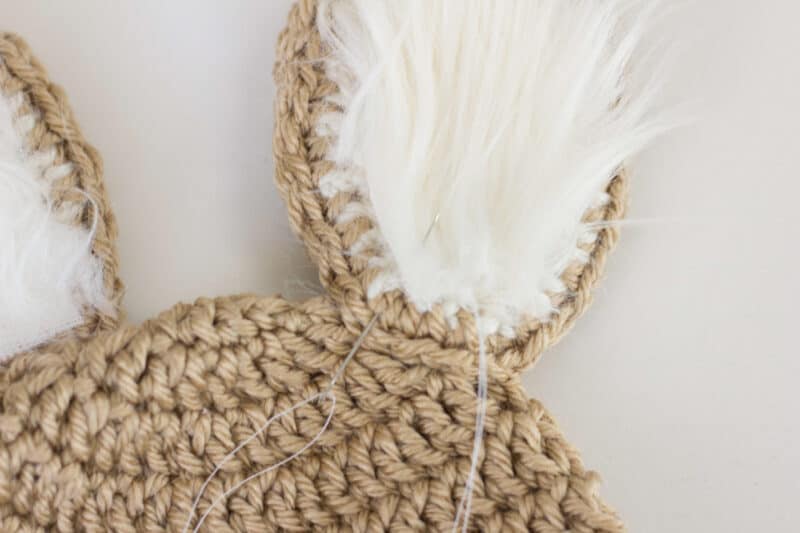
This method can be used not only on animals (lions, tiger, and bears, oh my!) But also on fashion pieces and accessories. This delightful project brings warmth and joy to newborn photography sessions, capturing the innocence and sweetness of those precious early moments. The carefully detailed design, coupled with the softness of the yarn, ensures both comfort and style for the tiniest members of our families.
And if you love newborn outfits, you may also enjoy the Newborn Crochet Ladybug Outfit or the Cutest Crochet Baby Pants. We hope you’ve enjoyed this delightful project, and may it bring smiles and warmth to your heart and home. Happy crocheting! 🐰🌟
Well That Was Fun! What’s Next?
📌 PIN THIS POST – Don’t lose this project; save it to your Pinterest crochet board so you can quickly come back to it again.
💌 SHARE – Share your yarn choice, in-progress, or finished projects on Facebook or Instagram and use the hashtag #brianakdesigns
🥂 JOIN – Join the kindest crafters in the Briana K Designs Community Group on Facebook. We love yarny friends!
🔗 RAVELRY LINK -Link and share your project on Ravelry. Having inspirational photos can help crafters.
