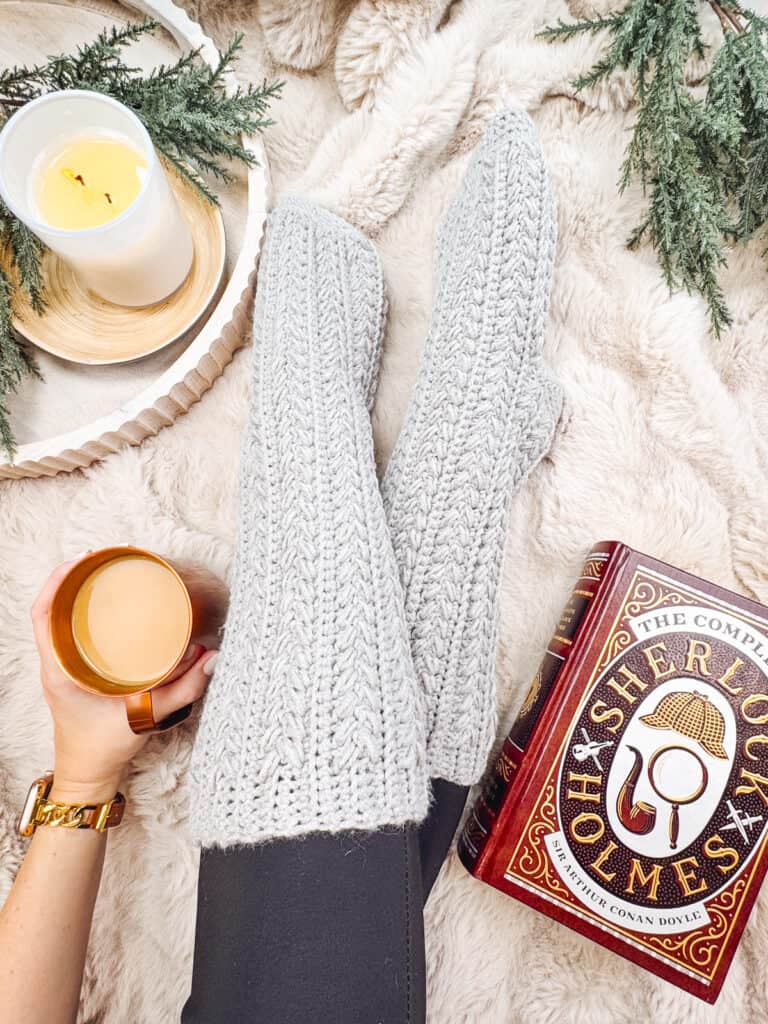
Step into a world of cozy creativity with our latest blog post featuring a delightful Bulky Crochet Sock Pattern. Embrace the warmth and comfort of handmade socks, skillfully crafted with a touch of modern flair. Whether you’re a seasoned crocheter or a passionate novice, this pattern promises not only snug footwear but also an enjoyable project that merges functionality with style.
Disclosure: This post contains affiliate links. Please read my disclosure for more info.
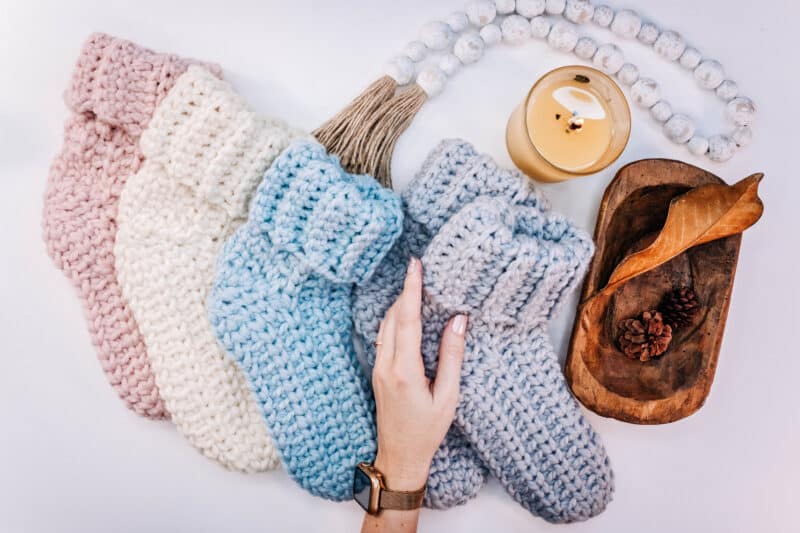
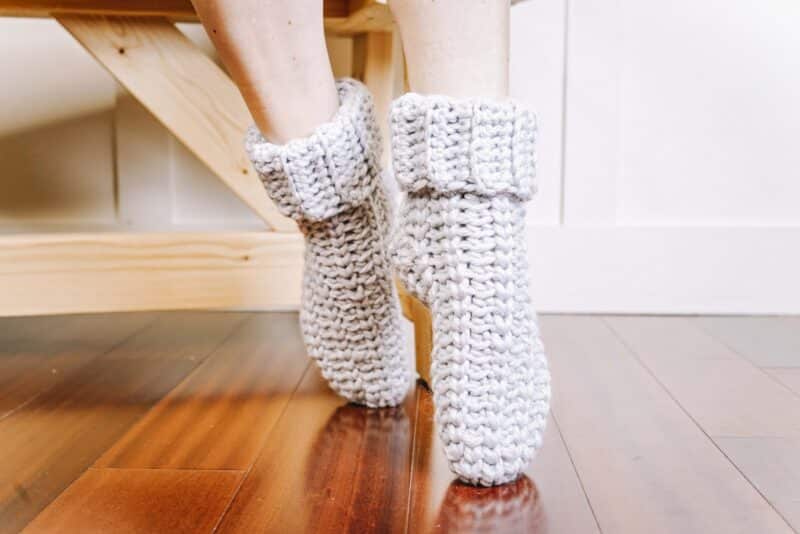
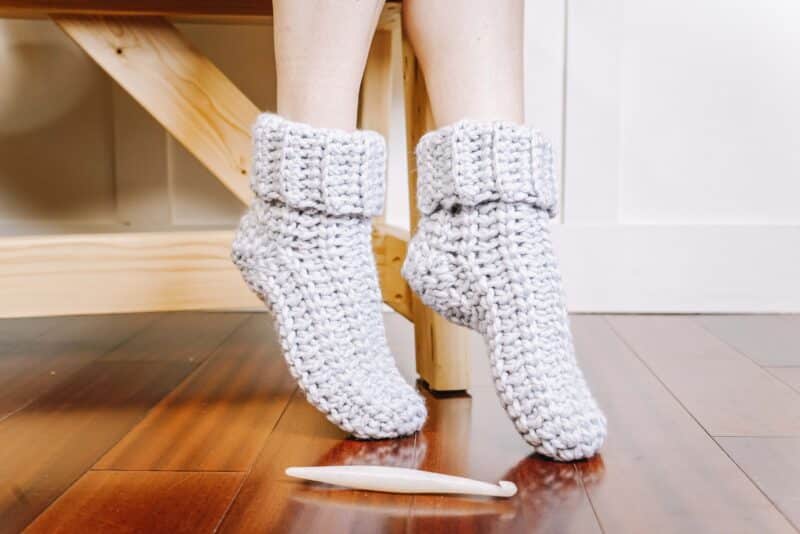
These bulky crochet socks that are bound to become your new favorite accessory for chilly days and relaxing evenings. Love crocheting for your feet? You might also enjoy the Quick and Cushy Slippers Crochet Pattern, the Comfy Cozy Winter Crochet Slipper Pattern, or the Snowdrift Slipper Socks.
Why You Need Bulky Crochet Socks
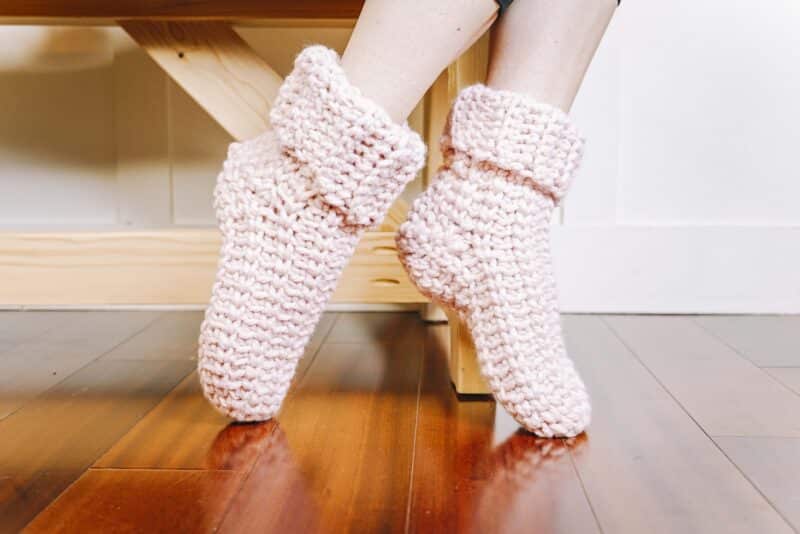
- Say goodbye to cold feet. These socks protect your little toes more than the average sock from the cold. They are practically bulky and squishy slippers. There is nothing like kicking off your shoes and putting these crochet socks on as house slippers. After a long day, your feet need some cozy treatment.
2. These crochet socks are super cozy. The bulky yarn adds so much fabric that keeps your feet from feeling cold floors, especially if you have tile in your home.
3. These socks are the perfect crochet gifts. Especially if you must make something last minute for a family member or friend. And who wouldn’t want custom cozy socks for their birthday or Christmas?
4. Plus, you will wear these quickly with this quick and easy free crochet sock pattern. I’ll walk you through each step with a video tutorial as well.
Checkout my blog post on How to Get Bulky Yarn from 1 Skein.
Want an Ad-Free PDF Download of this pattern?
This pattern is available in my shops:
Continue reading this post for the free pattern, or for a downloadable pdf visit Etsy or Ravelry.
Looking for more patterns? Try out some of my other crochet patterns!
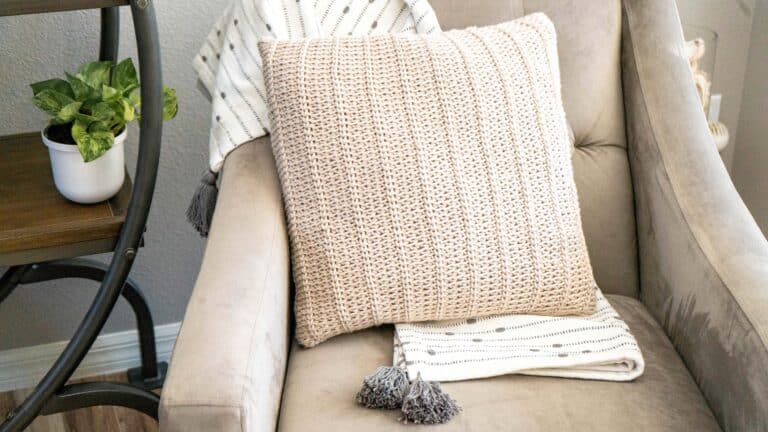
Crochet Knit Purl Free Pillow Pattern
Crochet Knit Purl Free Hat Pattern
Vine Colorwork Crochet Sock – Free Pattern
Roundup! Checkout these patterns!
Conquer Toe Up Crochet & Knit Socks With These Terrific Patterns
The Best 36 Crochet Scarf Patterns for Every Season
Crafting Your Way to the Best Lacy Crochet Patterns
33 Of The Best Crochet Pot Holder Patterns Ever
How to Crochet Quick Bulky Socks Video:

Can’t get enough of socks?
I have even more patterns for you to enjoy. Check out these crochet sock patterns:
Simple & Best Crochet Sock Pattern
Comfy & Cozy Winter Crochet Slipper Sock Pattern
Or check out the roundup for Knit & Crochet Socks Patterns for Cozy Feet.
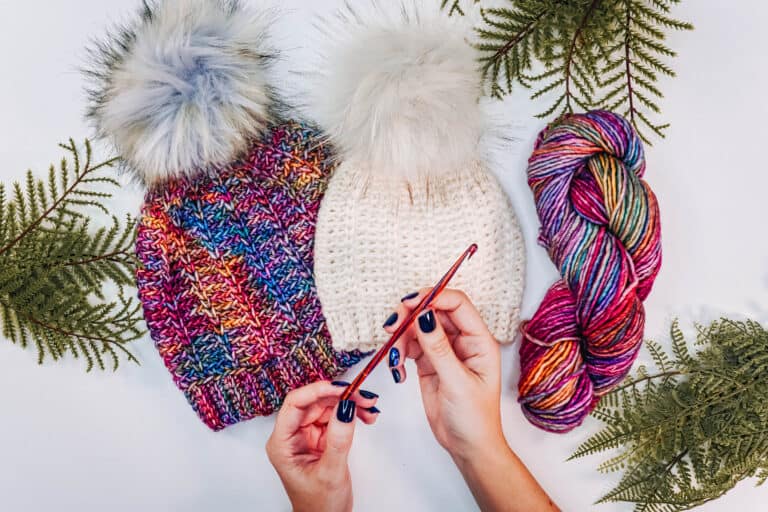
Yarn Options for the Perfect Crochet Sock
For this pattern, I used Lion Brand Wool-Ease Thick & Quick because it’s available at most local craft stores, as well as on WeCrochet. It’s made from 80% Acrylic, 20% Wool, which means they can hold up, but also have some warmth with that little bit of wool. If you would like to know of more options, check out these yarns that work well too, just be sure to check gauge:
Wool of the Andes Bulky
Lion Brand Hue + Me
Mary Maxim Titan Yarn
What you need to make a bulky crochet sock:


Crochet Hook:
Size 9mm & 8mm Hook, or hook to obtain gauge
Notions:
Removable stitch markers if needed
Yarn needle to weave in ends
Scissors
Yarn & Yardage:
Lion Brand Wool-Ease Thick & Quick
80% Acrylic, 20% Wool, 106 yds/170g
Approx 290-320yds per pair (2 Skeins needed)
Abbreviations/Stitches:
blo – back loop only
ch – chain
rnd- round
sc – single crochet
ssc – split single crochet
sl st – slip stitch
st(s) – stitch(es)
Gauge:
8 sts x 8 rows = 4×4 inches in established stitch pattern, see notes.
Skill Level:
Easy Beginner
Size:
This sock is meant to be crocheted for a custom fit to your foot. This sock can be tried on and adjusted as you go. The example stitch counts are for a women’s size sock. For more information on sock sizing, and a free downloadable sock chart, visit How To Size Crochet Socks
Notes
Since this is worked continuously, placing a stitch marker on the first stitch of each row is helpful.
These crochet socks use a fun stitch combination and are worked from toe-up. The heel is an ‘afterthought heel’ where we create an opening for the heel area and come back to work the heel last.
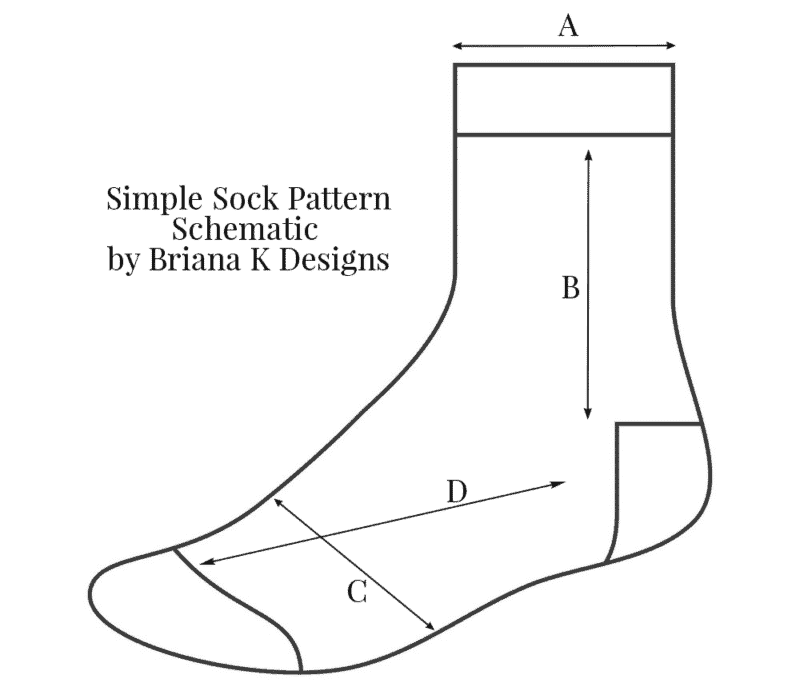
If trying on the sock is impossible, or you are making these socks for a friend, measure the foot to determine how many stitches/rows will be needed in each section for the best fit. Each measurement below should be taken while standing, except for C.
Click the box below to unlock this exclusive subscriber content for free. Add your email and create a password. If you are having trouble, reset your password or log in to the Grow Portal.
I’m thrilled to share this amazing crochet pattern with you! Please don’t copy, paste, or distribute this pattern. Prefer an ad-free experience? Purchase a digital PDF file for a small fee from one of my online stores. I appreciate your support and readership. You are why I can keep doing what I love and sharing it with others. Thank you from the bottom of my heart.
A: Circumference for Leg:
Measure the topmost part of your leg, the thickest part, and where you would like the height of the sock.
B: Height of Leg:
From where you took measurement A to the top of the heel.
C: Circumference of Foot:
Measure where your foot is thickest. The actually finished sock will be about 1/4 to 1/2 inches less than this measurement.
D: Instep:
Measure from the bottom of your toes to about 1 inch before the heel.

Special Stitches:
The established stitch pattern (est. st pat) is worked across an even number of stitches as follows: sc 1 in the blo, ssc next; repeat for the number of stitches needed.
Split Single Crochet (Ssc):
This stitch is worked as single crochet but where the hook is inserted is the only difference. The hook will be inserted between the ‘V’ of the stitch.
When trying out the Split Stitch here are a few helpful tips:
Keep your hands loose and comfortable. If your hands are starting to hurt, then the tension of the stitch is too tight. When entering the stitch, pull up the loop a bit more than you normally would, it will give the ‘V’ more space for the next round and make working the ssc comfortable.

How to Quickly Crochet Bulky Socks:
Toe of Narrow Bulky Sock
Rnd 1: Using 9 mm hook, working inside the Magic Ring sc 6, pull ring closed, do not join as this will be worked continuously. Place stitch marker in the first stitch of each round. 6 sts
Rnd 2: *2ssc in first st, ssc in next*; repeat from * to * around. 9 sts
Rnd 3: *2ssc in first st, ssc in next 2 sts*; repeat from * to * around. 12 sts
Rnd 4; *2ssc in first st, ssc in next 2 sts*; repeat from * to * around. 16 sts
Toe of Wide Bulky Sock
Rnd 1: Using 9 mm hook, working inside the Magic Ring sc 6, pull ring closed, do not join as this will be worked continuously. Place stitch marker in first stitch of each round. 6 sts
Rnd 2: *2ssc in first st, ssc in next*; repeat from * to * around. 9 sts
Rnd 3: *2ssc in first st, ssc in next 2 sts*; repeat from * to * around. 12 sts
Rnd 4: *2ssc in first st, ssc in next 3 sts*; repeat from * to * around. 15 sts
Rnd 5: *2ssc in first st, ssc in next 4 sts*; repeat from * to * around. 18 sts
Instep of Bulky Sock
Rnd 1 *ssc in first, blo sc in next*; repeat from * to * around. This round creates the established stitch pattern. 16 (18) sts
Repeats Repeat Round 10 until the sock reaches about 1 1/2” from the heel, it’s best to try it on and add or remove rows if needed.
Please Note: This is a great time to customize the sock to your foot size. Remember these will stretch a little as worn so it should be a little snug, but if it starts to feel too tight add increases by placing 3ssc into one stitch on each side. Don’t be afraid to change the stitch count for your foot. 16 (18) sts
Gusset of Bulky Sock
Please note: this gusset is following the stitch counts from the example sock in the video, it’s okay if your gusset stitch count is different.
Rnd 1: 3 ssc in first, work the remaining sts in the established stitch pattern. 18 (20) sts
Rnd 2-3: Work in the established stitch pattern around. It’s perfectly fine if your stitch count is more or less, it simply needs to be an even number of stitches. 18 (20) sts
Split for Heel
Rnd 1: This round will make space for the heel to work later. Ch 9 (10) -or half the stitch count, skip 9 (10) -or half the stitch count, work the remaining sts in est st pattern. 18 (20) sts
Top of Bulky Crochet Sock
Rnd 1-3: Work in the established stitch pattern. Add more rounds if desired for a taller slipper sock. 18 (20) sts
Ribbed Cuff
Set Up: For the ribbing go down to the 8mm hook, this will be worked in rows, chain 13. The last chain will be the turning chain. 12 sts
Row 1: Sc in the second ch from the hook & in remaining chains, sl st 2 sts from the top of the sock, turn. 12 sts
Row 2: Skip 2 sts from the sock top, blo sc remaining in row, turn. 12 sts
Row 3: Ch 1, blo sc across sts in row, sl st 2 sts from the top of the sock, turn. 12 sts
Repeats: Repeat Row 2-3 all the way around the top of the sock to create the ribbing. Either slip stitch through last row to the loops of the first row to join, or fasten off and seam with a tapestry needle. 12 sts
Heel of Bulky Sock
Rnd 1: Using the 9mm crochet hook, attach yarn to the bottom right corner of the heel, ssc in first, place marker in this stitch, ssc in each stitch across until next corner (half of the heel sts), rotate and work in the chained heel sts ssc in first and place st marker. ssc in remaining sts. 36 (40) sts
Rnd 2: *ssc in first, move up the st marker, ssc2tog, ssc until 2 sts before next marker, ssc 2tog*; repeat from * to * around. Decreased 4 sts
Repeats: Repeat round 2 until 6-8 sts remain. Fasten off and seam remaining sts together.
Finishing the Bulky Crochet Sock
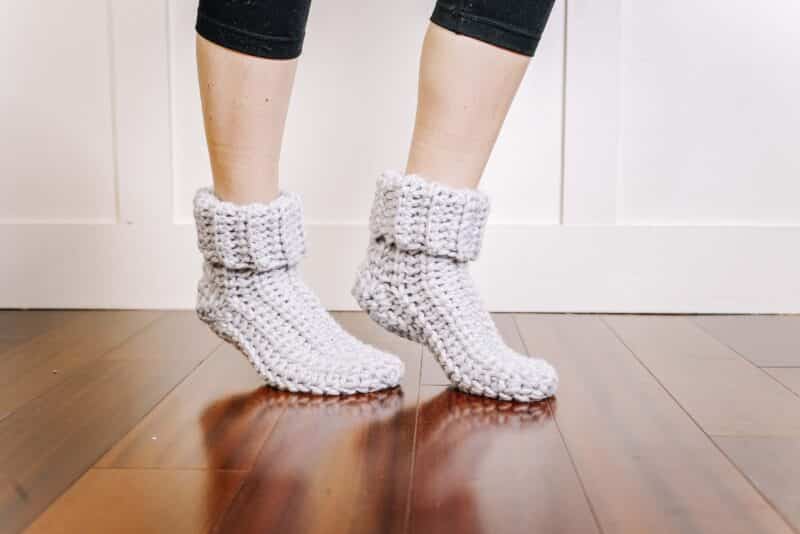
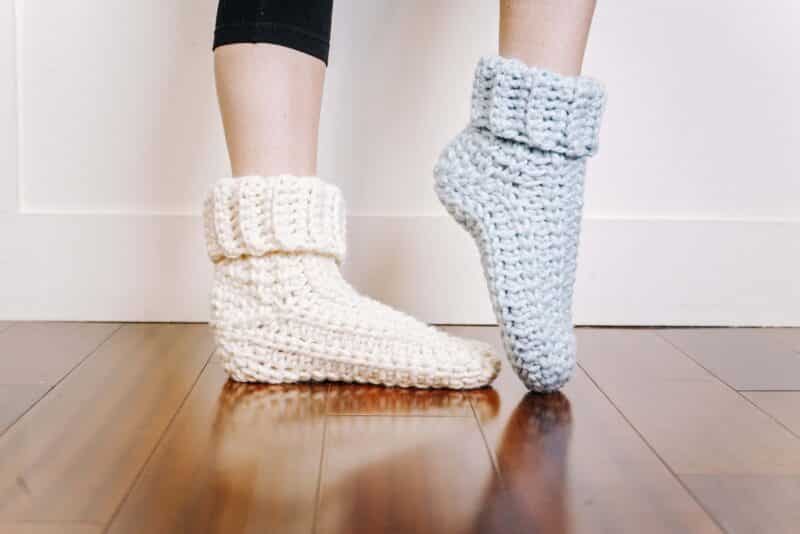
Weave in any remaining ends. If there are gaps by the heel split use tail ends to close the holes. Block your socks if needed by laying flat or using a sock blocker. Fold-over cuff and enjoy your cozy slipper socks!
Do you prefer knitting needles to crochet hooks? Check out the Free Knit Beginner Felici Sock Pattern for Cozy Toes.
Well, That Was Fun! What’s Next?