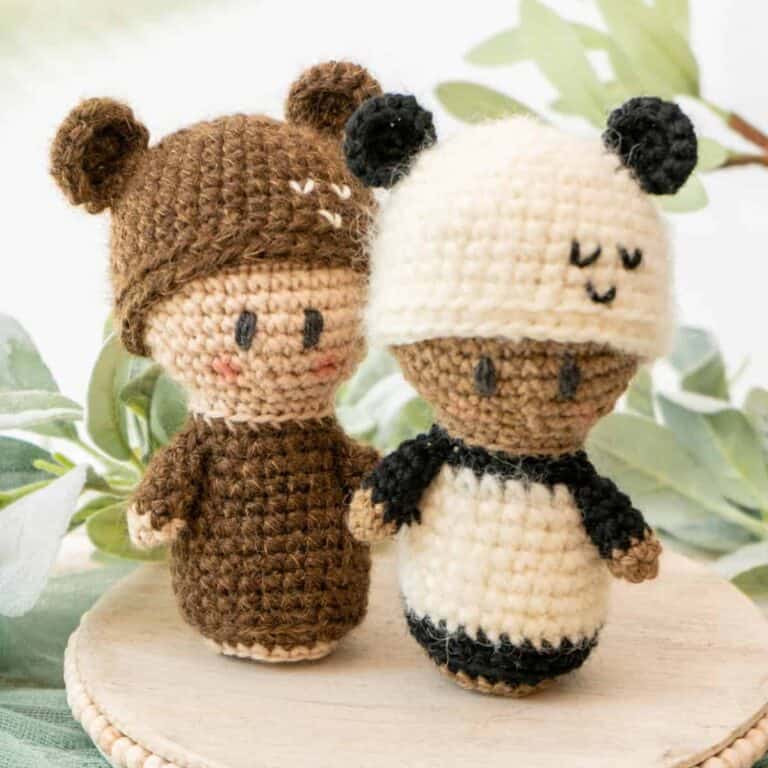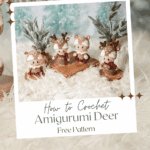
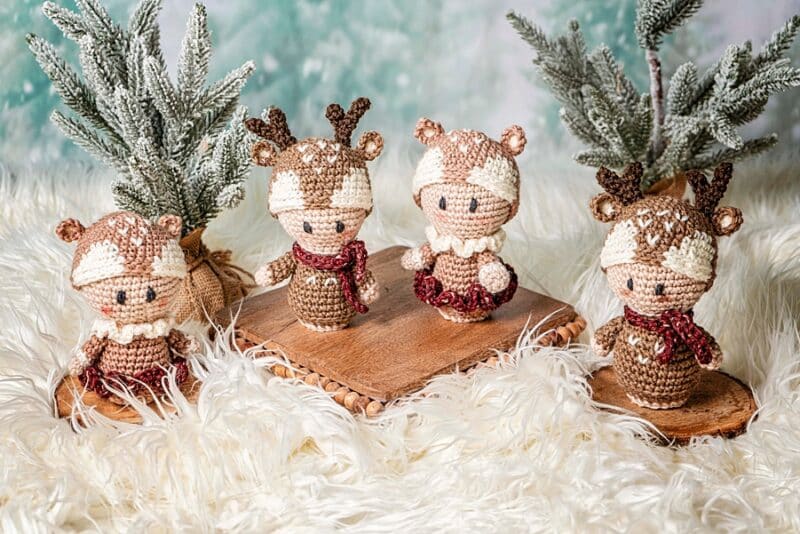
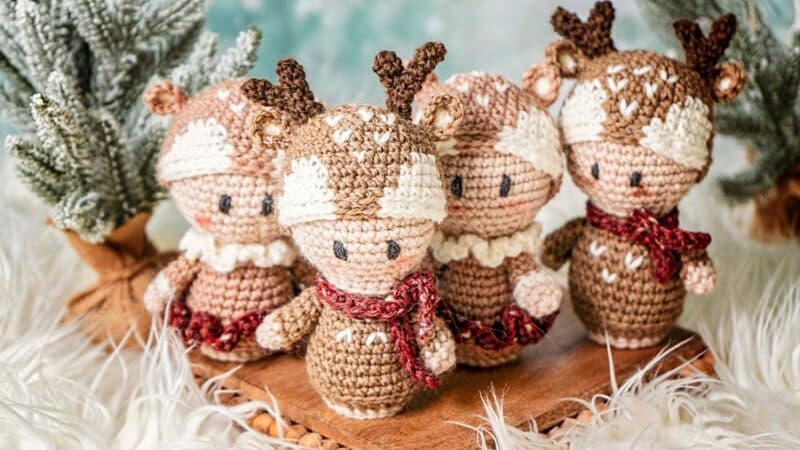
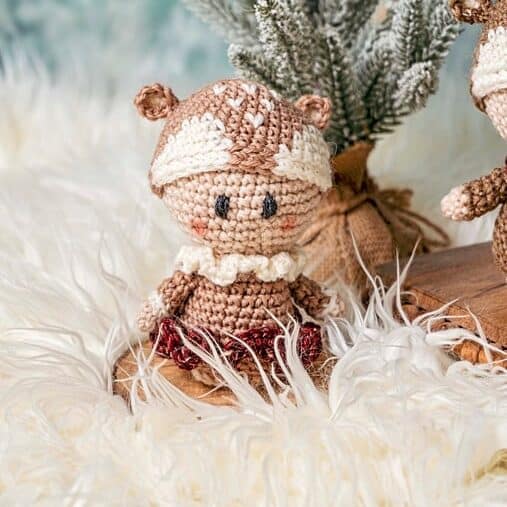
Looking for the perfect festive project that doubles as a toy, gift, and seasonal décor? Meet the Amigurumi Crochet Deer Free Pattern! ?I had so much fun creating the Axolotl Crochet Ami Doll Free Pattern that I had to design another set!
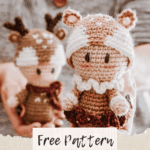
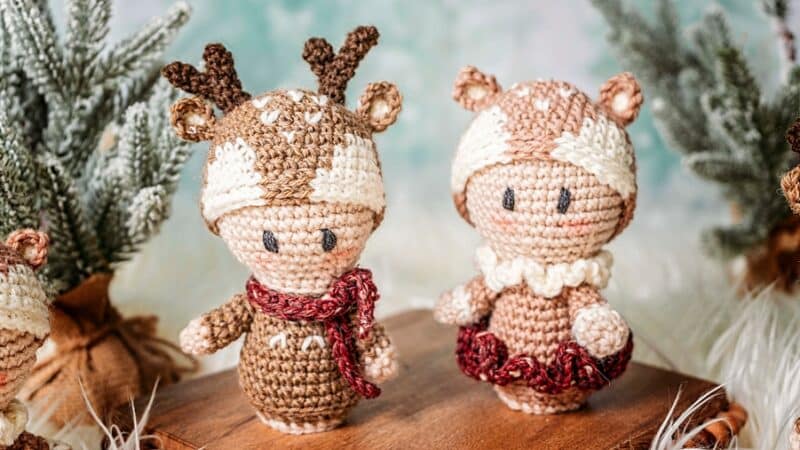
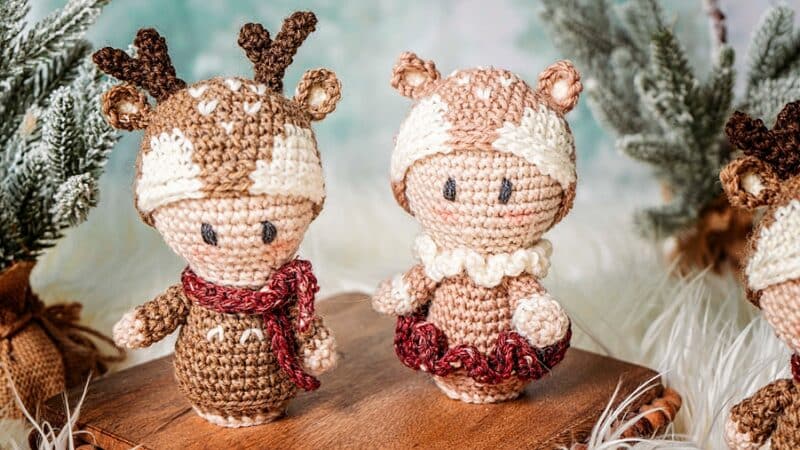
This free crochet pattern includes both a Buck (male deer) and a Doe (female deer) — making it a versatile design you can stitch up for Christmas, woodland nursery décor, or year-round handmade gifts. Whether you want a rustic holiday centerpiece or a cuddly toy for little ones, these deer are ready to prance into your project list.
Disclosure: This post contains affiliate links. Please read my disclosure for more info.
And the best part? This pattern comes with a step-by-step video tutorial, so whether you’re a confident beginner or a seasoned crocheter, you’ll be able to follow along with ease.
Keep on reading for the pattern right here on the blog, or for an ad-free PDF download, visit Ravelry or Etsy.
Why You’ll Love This Pattern
✨ Free and beginner-friendly – step-by-step instructions plus a video tutorial.
✨ Festive or year-round – make Christmas deer, woodland nursery animals, or seasonal décor.
✨ Two versions included – crochet a Buck and a Doe with one pattern.
✨ Customizable – change up yarn colors, add scarves, or dress them for different occasions.
✨ Relaxing to make – amigurumi is fun, creative, and a great stash-buster.
Why crocheting an ami doll is fun.
Not only is crocheting a crochet doll a therapeutic hobby, but it also makes the cutest crochet gifts. And while gauge is really important in crochet garments, it’s not as critical with a crochet doll. As long as your stitches are tight enough for the stuffing to not show, it’s easy to adjust the sizing by changing the yarn size and hook.
Unique single crochet stitch perfect for crochet ami.
For this pattern, I use the cross-stitch single crochet technique. The only difference between this type of single crochet and the traditional is changing the yarn over to a yarn under. This action tightens the stitch, creating a more pronounced ‘X’ than a ‘V’ on the front of the stitch, resulting in a more cross-stitch-like appearance.
What is Amigurumi Crochet?
Amigurumi is the Japanese art of crocheting stuffed animals, dolls, and whimsical creatures. The word comes from the combination of Japanese terms: ami (meaning crochet or knit) and nuigurumi (meaning stuffed doll).
Amigurumi became popular worldwide in the late 1990s and has only grown in popularity since, especially because these projects are:
- Adorable in every form — from animals to food to fantasy creatures.
- Portable and quick to make.
- Great for gifts, décor, or personal keepsakes.
FAQs About the Amigurumi Crochet Deer
Q: What skill level is this pattern?
A: This pattern is beginner-friendly with a video tutorial included. If you can single crochet in the round, you can make these deer!
Q: What yarn and hook should I use?
A: Use worsted-weight yarn for a medium-sized deer, but feel free to experiment. Smaller hooks and finer yarn will make a petite deer, while bulky yarn creates a cuddly oversized version.
Q: Do I need safety eyes?
A: Safety eyes are recommended, but you can also embroider the eyes if you want a baby-safe option.
Q: Can I customize the deer?
A: Absolutely! Change the colors, add accessories like scarves or bows, or even use holiday shades for Christmas décor.
Q: How long does it take to make?
A: On average, crocheters finish one deer in 4–6 hours, making it a perfect weekend project.
Want even more crochet doll patterns?
Check out the Woodland Crochet Ami Fox, the Snowman Ami Doll, and the Cute Axolotl Crochet Ami Doll Free Pattern for more adorable ami friends!
What you will need to crochet a deer ami doll


Crochet Hook:
3.5mm (E hook), or hook to obtain gauge
Notions:
Removable stitch markers if needed
Yarn needle to weave in ends
Scissors
Fiberfill/Stuffing
3-4 Metal Washers (1 inch – 1 1/4 inch)
Yarn & Yardage:
WeCrochet Wool of the Andes Worsted
100% Peruvian Highland Wool, 110 yds/50 g
Colorways:
Oyster Heather (1 skein, 100yds)
Almond (1 skein, 50 yds)
Camel Heather (1 skein, 50 yds)
Grizzly Heather (1 skein, 30 yds)
White (1 skein, 40 yds)
We Crochet Wool of the Andes Tweed
80% Peruvian Highland Wool, 20% Donegal Tweed, 110 yds/50 g
Colorway: Garnet Heather
WeCrochet Twill Fingering
100% Fine Superwash Merino Wool, Fingering Weight, 183 yds/50 g
Colorway: Graphite Heather (1 ball, small amount for eyes), embroidery thread works well too.
Abbreviations/Stitches:
blo – back loop only
ch – chain
flo – front loop only
MC – Magic Circle
rnd- round
sc – single crochet
sl st – slip stitch
st(s) – stitch(es)
Gauge:
18 sts x 20 rows = 4×4 inches in sc
Skill Level:
Easy/Beginner
Size of the Crochet Deer:
19” From folded cuff to toe; 11” circumference.
Notes for the Deer Ami Doll
Since this is worked continuously, a ch 1 at the beginning of the round is not needed. It is helpful to place a stitch marker on the first stitch of each round.
The body of the crochet deer doll is worked from top down, with the arms crocheted after and stitched to the body.
The hat is made as a separate piece and placed on the doll’s head.
Want an Ad-Free PDF Download of this pattern?
This pattern is available in my shops:
How to Crochet an Ami Deer Doll Video

A Note on The Colorwork Portion:
For the colorwork section, Color B will be abbreviated as (B), and color A as (A). Example: (B) x 9 = with Color B, sc the next 9 stitches
When doing colorwork the yarn will be carried along the back in the fair isle style. Try not to carry a color for more than 3 sts so your floats aren’t too long. You can catch/trap the yarn behind a stitch to keep the floats consistent. To read more about colorwork please visit: https://brianakdesigns.com/ways-to-colorwork-in-crochet/
Special Crochet Stitches:
For the single crochet stitches in this pattern use the cross stitch single crochet. This is a variation of a crochet stitch that works the stitch tighter and creates an ‘X’ on the front of the stitch. To work a single crochet stitch this way, insert your hook into the stitch, yarn under, pull up a loop, yarn over, pull through both loops on the hook.
Magic Circle (MC): Start by creating a loop with your yarn. The tail of the working yarn will be over the working end. Insert your hook into the loop from behind. Yarn over and pull through the loop. Ch 1, Work all of your indicated stitches into the loop. Pull the tail end of your yarn to close the loop. Pull firmly to fasten the loop closed, this end will be weaved in and fastened off.
sc2tog invisible decrease: Insert your hook into the flo of the first next, insert your hook into the flo of the next stitch, yarn over, pull up a loop, yarn over and complete stitch.
Crochet Deer Ami Doll Written Pattern

Buck (Male Deer) Pattern
Click the box below to unlock this exclusive subscriber content for free. Add your email and create a password. If you are having trouble, reset your password or log in to the Grow Portal.
I’m thrilled to share this amazing crochet pattern with you! Please don’t copy, paste, or distribute this pattern. Prefer an ad-free experience? Purchase a digital PDF file for a small fee from one of my online stores. I appreciate your support and readership. You are why I can keep doing what I love and sharing it with others. Thank you from the bottom of my heart.
Arms of Buck Deer (Make 2)
| Rnd | Description | St Count |
| 1 | Starting with the MC and Oyster Heather Yarn,sc 6, do not join and work continuously. | 6 |
| 2 | *2sc in first, sc in next 2 sts*; repeat from * to * around. Fasten off Oyster Heather. | 8 |
| 3-4 | With Camel Heather Yarn, sc in each st around. | 8 |
| 5 | sc2tog, sc in remaining sts around. | 7 |
| 6 | sc2tog, sc in remaining sts around, fasten off leaving a long tail for sewing. Whip stitch the arms to the doll on rnd 20 of the body. | 6 |
Buck & Doe Deer Hat
| Rnd | Description | St Count |
| 1 | Starting with the MC and Camel Heather or Almond Yarn, sc 6, do not join and work continuously. | 6 |
| 2 | 2 sc in each st around. | 12 |
| 3 | *2sc in first, sc in next st*; repeat from * to * around. | 18 |
| 4 | *2sc in first, sc in next 2 sts*; repeat from * to * around. | 24 |
| 5 | *2sc in first, sc in next 3 sts*; repeat from * to * around. | 30 |
| 6 | *2sc in first, sc in next 4 sts*; repeat from * to * around. | 36 |
| 7-9 | sc in each st around. | 36 |
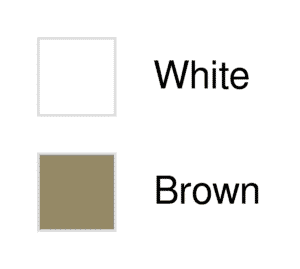
| 10 | (Brown) x 11, (White) x 3, (Brown) x 7, (White) x 3, (Brown) x 12. | 36 |
| 11 | (Brown) x 10, (White) x 5, (Brown) x 5, (White) x 5, (Brown) x 11. | 36 |
| 12 | (Brown) x 10, (White) x 5, (Brown) x 5, (White) x 5, (Brown) x 11. | 36 |
| 13 | (Brown) x 9, (White) x 7, (Brown) x 3, (White) x 7, (Brown) x 10. | 36 |
| 14 | Working in the blo for this round, (Brown) x 9, (White) x 7, (Brown) x 3, (White) x 7, (Brown) x 10. | 36 |
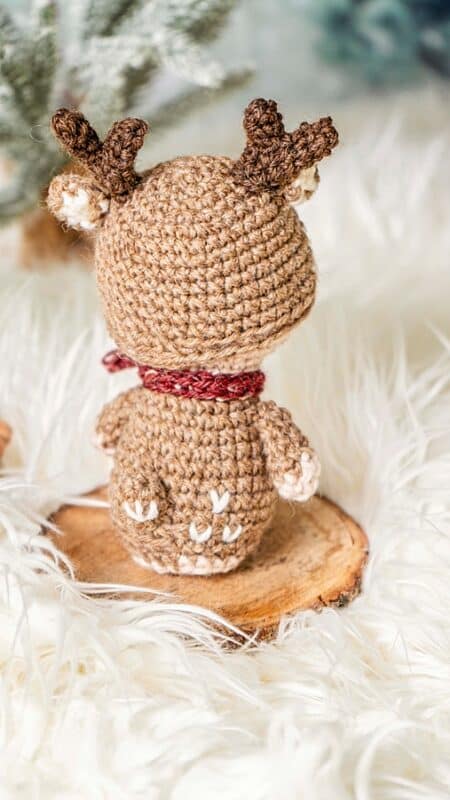
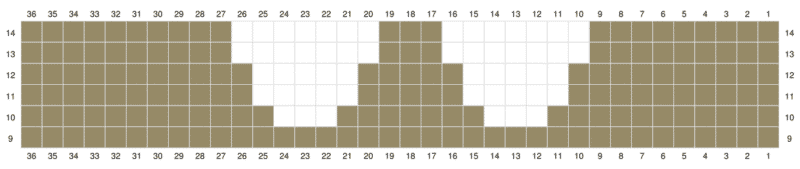
Using White Yarn, stitch ‘V’s to the front of the hat as shown in the image, and on the back as well for extra little touches.
Chart for Crochet Deer Hat
Deer Ears (make 2 for Buck and 2 for Doe)
| Rnd | Description | St Count |
| 1 | Starting with the MC and White Yarn, sc 6, do not join and work continuously. | 6 |
| 2 | With Camel Heather or Almond, 2 sc in first, sc in next 2, 3 sc in the next st, sc in the last 2 sts, fasten off and use an invisible join. | 10 |
Buck Deer Antlers (Make 2)
| Rnd | Description | St Count |
First Spike
| 1 | Starting with the MC and Grizzly Heather, sc 4, do not join and work continuously. | 4 |
| 2 | sc in each st around, fasten off, weave in end and set aside. | 4 |
| Second Spike | ||
| 1 | Starting with the MC and Grizzly Heather, sc 4, do not join and work continuously. | 4 |
| 2-4 | sc in each st around, fasten off, weave in end, and set aside. | 4 |
| 5 | For this round, we will work around the first and the second spike, sc around all 8 sts. | 8 |
| 6 | *sc2tog, sc in the next 2 sts*; repeat from * to * around. | 6 |
| 7 | sc in each st around, fasten off leaving a tail & stitch to each side of the hat. | 6 |
Buck Deer Scarf
| Rnd | Description | St Count |
| 1 | With Garnet Heather, ch 36, starting in the first ch from the hook sc 36, fasten off and weave in ends, tie around the neck of the buck. | 36 |
Deer Tail
| Rnd | Description | St Count |
| 1 | Starting with the MC and Camel Heather, sc 4, do not join and work continuously. | 4 |
| 2 | *2sc in first, sc in next st*; repeat from * to * around. | 6 |
| 3 | *2sc in first, sc in next 2 sts*; repeat from * to * around. | 8 |
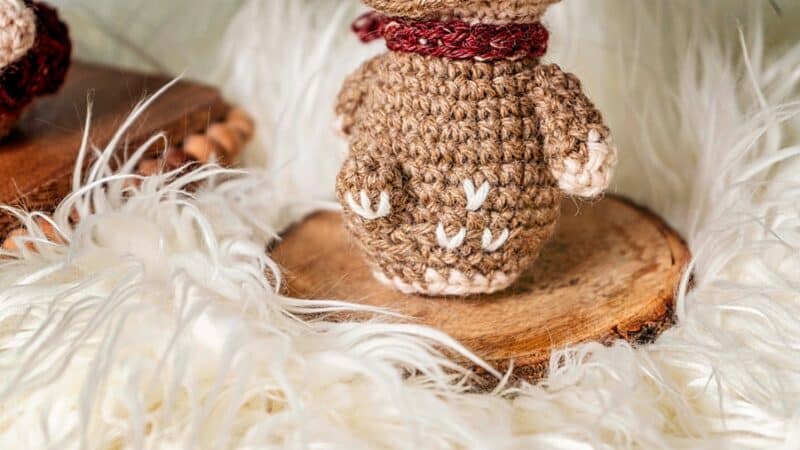
| 4 | *sc2tog, sc in the next 2 sts*; repeat from * to * around, fasten off with a long tail, and sew to the back of the deer. With your yarn needle and White Yarn, stitch white lines to the bottom of the tail if desired. | 6 |
Finishing & Details
With Twill Fingering Weight Yarn in Graphite, stitch eyes on the front of the doll’s face on rounds 11 & 12. If shading is desired for the cheeks, use either make-up or pastels and a small brush and paint the powder onto the face of the crochet deer doll.
Doe (Female Deer) Pattern
Head & Body of Doe deer
| Rnd | Description | St Count |
| 1 | Starting with the MC and Oyster Heather Yarn, sc 6, do not join and work continuously. | 6 |
| 2 | 2 sc in each st around. | 12 |
| 3 | *2sc in first, sc in next st*; repeat from * to * around. | 18 |
| 4 | *2sc in first, sc in next 2 sts*; repeat from * to * around. | 24 |
| 5 | *2sc in first, sc in next 3 sts*; repeat from * to * around. | 30 |
| 6 | *2sc in first, sc in next 4 sts*; repeat from * to * around. | 36 |
| 7-14 | sc in each st around. | 36 |
| 15 | *sc2tog, sc in the next 4 sts*; repeat from * to * around. | 30 |
| 16 | *sc2tog, sc in the next 3 sts*; repeat from * to * around. | 24 |
| 17 | *sc2tog, sc in the next 2 sts*; repeat from * to * around. | 18 |
| 18 | sc in each st around. Fasten off Oyster Heather Yarn. | 18 |
| Neck Ruffle | With White Yarn, working in the flo for this rnd, *work the following into the next st: [(sc, ch 1) twice, sc]*; repeat from * to * around. Fasten off White Yarn | 90 inc. chains |
| 19 | With Almond Yarn, working in the unworked blo from the previous rnd, sc in each st around. | 18 |
| 20 | *2sc in first, sc in next 8 sts*; repeat from * to * around. | 20 |
| 21 | sc in each st around. | 20 |
| 22 | *2sc in first, sc in next 4 sts*; repeat from * to * around. | 24 |
| 23 | sc in each st around. | 24 |
| 24 | *2sc in first, sc in next 5 sts*; repeat from * to * around. | 28 |
| 25-26 | sc in each st around, do not fasten off Almond Yarn. | 28 |
| Skirt 1 | With Color Garnet Heather, working in the flo for this rnd, 3 sc in each st around. | 84 |
| Skirt 2 | sc in each st around, fasten off. | 84 |
| 27 | With Almond Yarn, working in the unworked blo from the previous rnd, sc in each st around (chaining 1 at the beginning of the rnd might be necessary to get started). | 28 |
| 28 | sc in each st around. | 28 |
| 29 | Working in the blo for this rnd, sl st in each st around. | 28 |
| 30 | Working in the blo for this round, *sc2tog in first, sc in next 2 sts*; repeat from * to * around. Fasten off Almond Yarn. | 21 |
| 31 | With Oyster Heather Yarn, working in the flo for this rnd, sc in each st around. | 21 |
| 32 | Working in the blo for this rnd, *sc2tog, sc in next*; repeat from * to * around, place washers in the bottom for weight. | 14 |
| 33 | sc2tog around, fasten off leaving a tail, using the tail end weave through the flo of remaining sts and pull closed, weave in end and fasten off. | 7 |

Arms of Doe Deer (Make 2)
| Rnd | Description | St Count |
| 1 | Starting with the MC and Oyster Heather Yarn, sc 6, do not join and work continuously. | 6 |
| 2 | *2sc in first, sc in next 2 sts*; repeat from * to * around, fasten off Oyster Heather Yarn. | 8 |
| 3 | With White Yarn, sc in each st around, fasten off White Yarn. | 8 |
| 4 | With Camel Heather Yarn, working in the blo for this rnd, sc in each st around. | 8 |
| 5 | sc2tog, sc in remaining sts around. | 7 |
| 6 | sc2tog, sc in remaining sts around, fasten off leaving a long tail for sewing. Whip stitch the arms to the doll on rnd 20 of the body. | 6 |
Doe Finishing & Details
Follow the same instructions as the Buck Deer for the hat & ears.
With Twill Fingering Weight Yarn in Graphite, stitch eyes on the front of the doll’s face on rounds 11 & 12. If shading is desired for the cheeks, use either make-up or pastels and a small brush and paint the powder onto the face of the crochet deer doll.
Handmade Deer for Every Season
The Amigurumi Crochet Deer Free Pattern is festive, versatile, and oh-so-adorable. Whether you’re decking the halls for Christmas, creating woodland-themed décor, or making a heartfelt gift, these deer will quickly become one of your favorite amigurumi projects.
And since the pattern includes both a Buck and a Doe, you can crochet an entire deer family for endless handmade cuteness.
Want to keep your hook moving? Check out these other adorable designs:
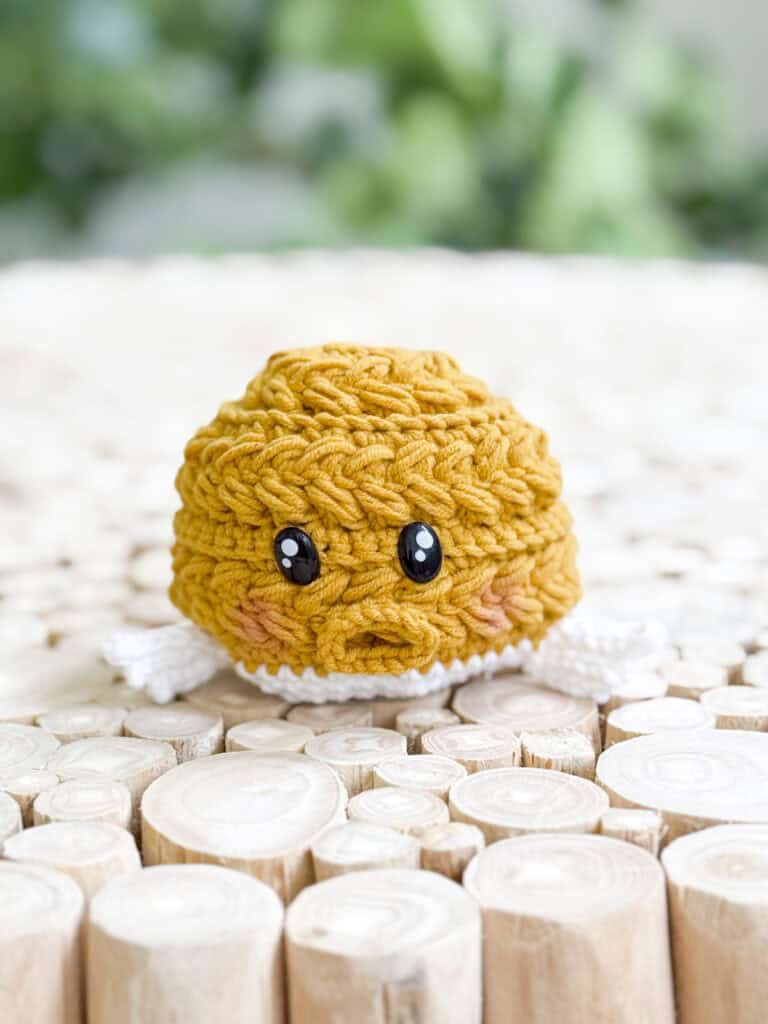
Wheat Stitch Turtle (and the rest of the Hooked on the Sea Creatures)
Well, That Was Fun! What’s Next?