Cute Amigurumi Bear Crochet Free Pattern
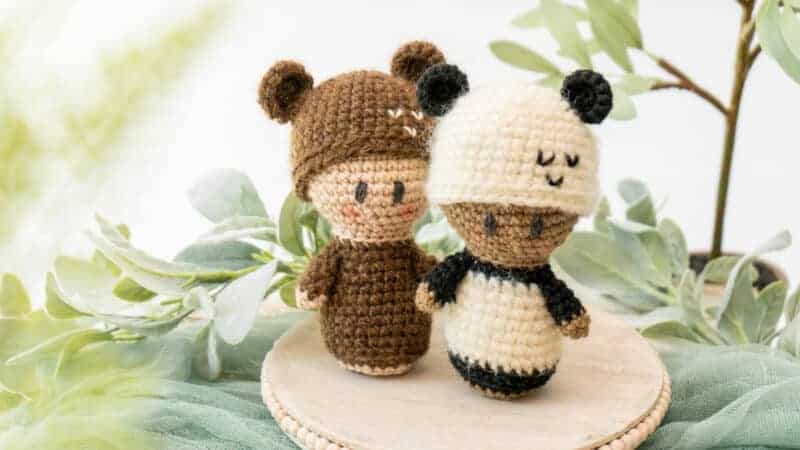
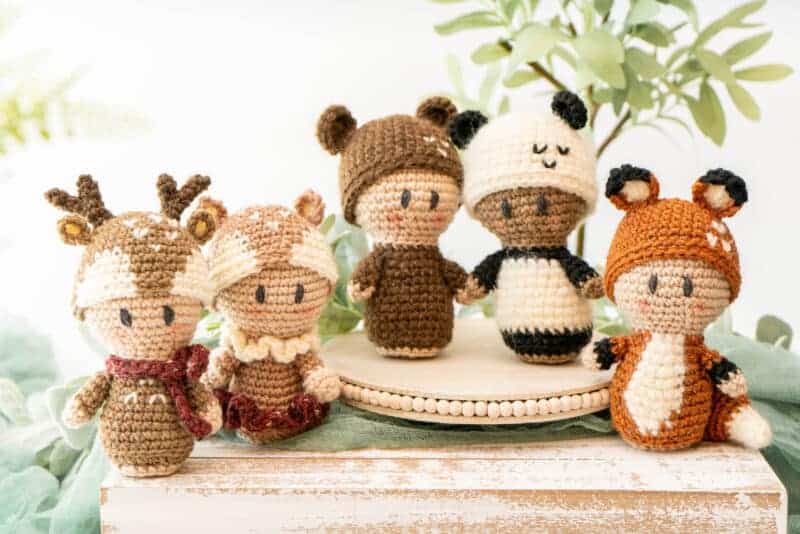
You will fall in love with these cute little amigurumi dolls, they are a quick and easy crochet toy to make and so much fun to think of adorable, new animals to change them into. The collection of Ami dolls started with the Cute Axolotl Crochet Ami Doll, and was quickly joined by the Amigurumi Crochet Deer, and last month I added the Woodland Crochet Ami Fox.
Disclosure: This post contains affiliate links. Please read my disclosure for more info.
Supplies for the Crochet Toy
Crochet Hook
Size E (3.5mm) Hook
Notions
Removable stitch marker
Yarn needle to weave in ends
Scissors
Fiberfill/Stuffing
3-4 Metal Washers (1 inch – 1 1/4 inch) – Optional
Yarn and Yardage
WeCrochet Wool of the Andes Worsted 100% Peruvian Highland Wool, 110 yds/50g Colorways: Oyster Heather / Beige (1 skein, 50 yds) Grizzly Heather/Brown (1 skein, 50 yds) White (1 skein, 1 yd)
WeCrochet Twill Fingering 100% Fine Superwash Merino Wool, Fingering Weight, 183 yds/50g Colorway: Graphite Heather (1 ball, small amount for eyes). Or embroidery thread.
WeCrochet Aloft, 72% Superkid Mohair, 28% Silk, 260 yds/25g, Lace Weight
Colorway: Mongoose
Gauge
18 sts x 20 rows = 4×4 inches in sc
Measurements
Approx 6 inches tall and 3 inches wide
Abbreviations
blo – back loop only
ch – chain
flo – front loop only
MC – Magic Circle
rnd- round
sc – single crochet
sc2tog – single crochet 2 together, see below for a decrease tip.
sl st – slip stitch st(s) – stitch(es)
Notes
Since this is worked continuously, a ch 1 at the beginning of the round is unnecessary. It is helpful to place a stitch marker on the first stitch of each round.
Helpful Video Tutorial
For a similar ami video tutorial, check out the Axolotl Crochet Doll Video.
More About This Pattern
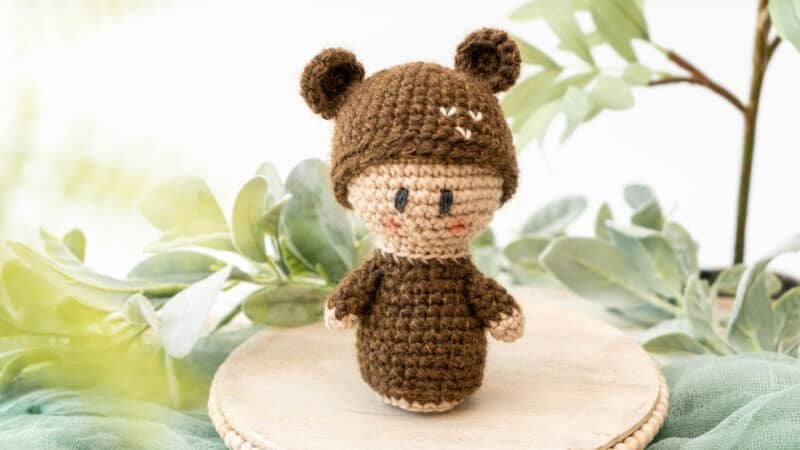
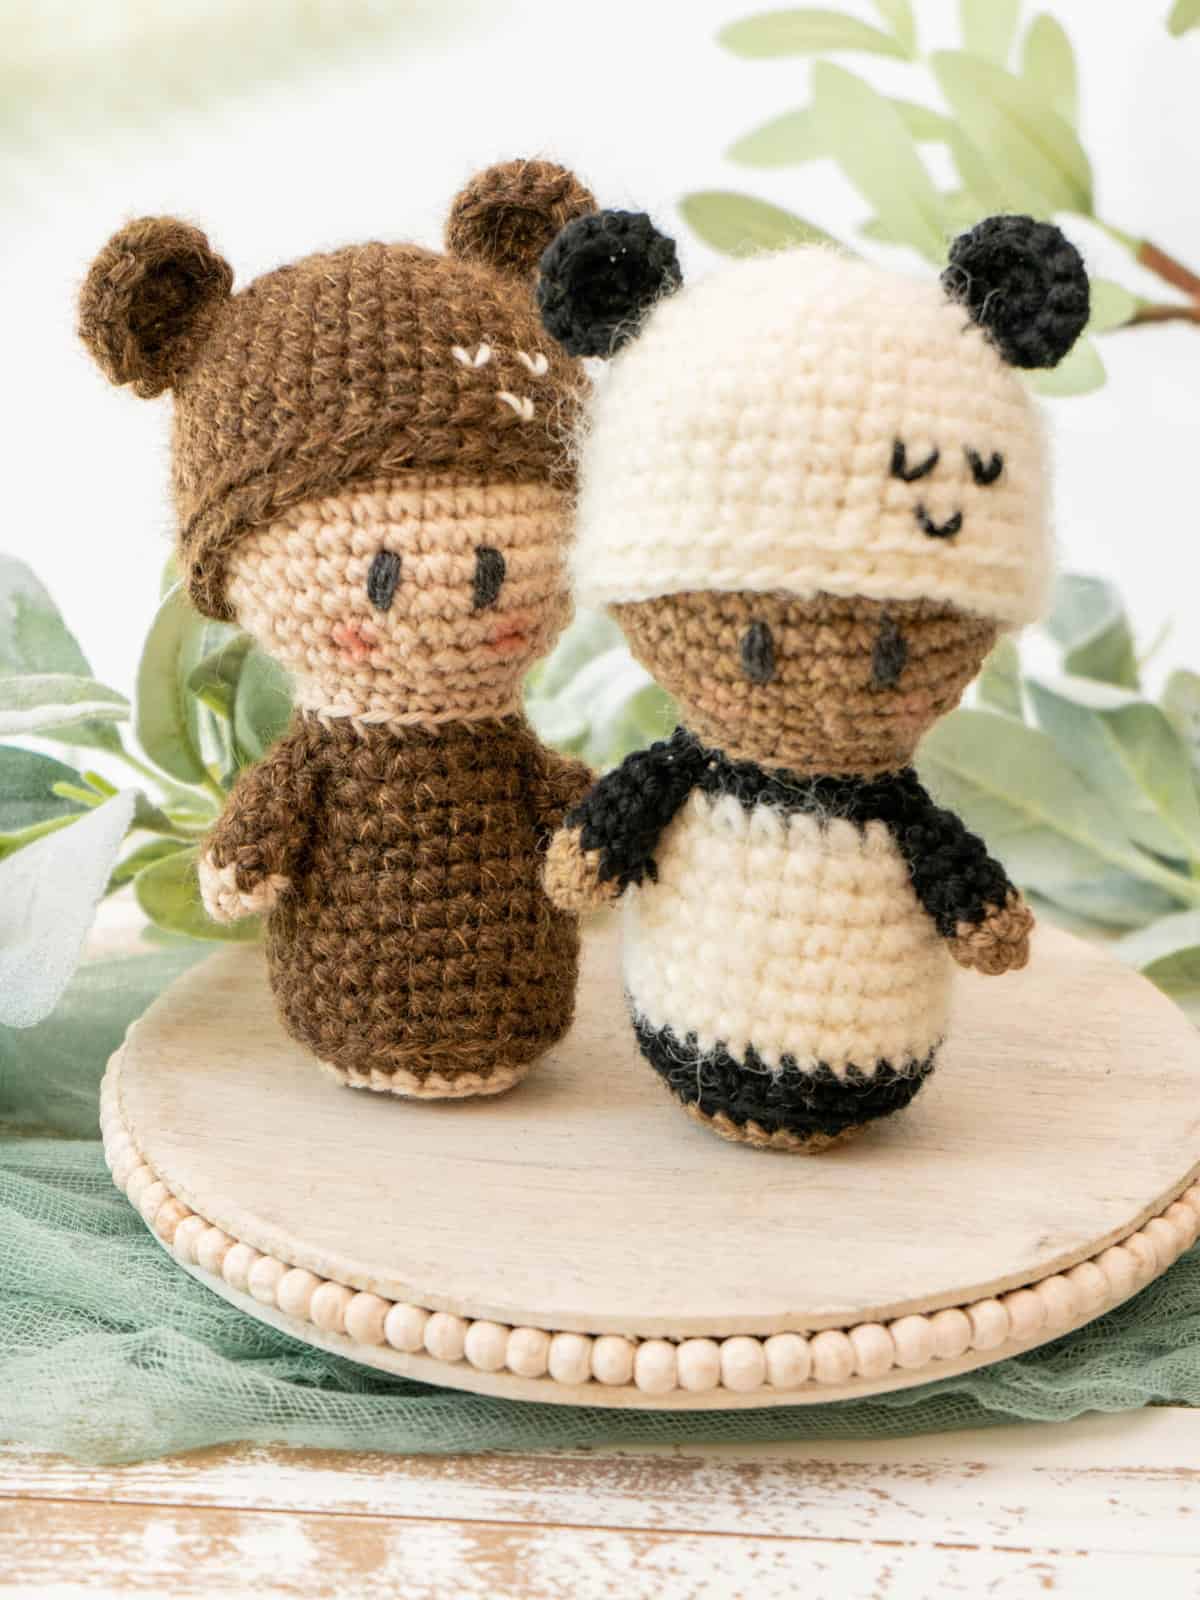
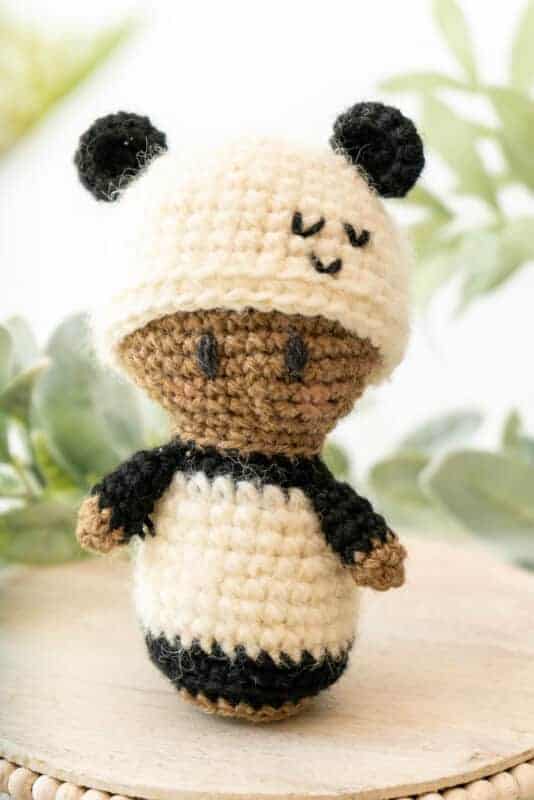
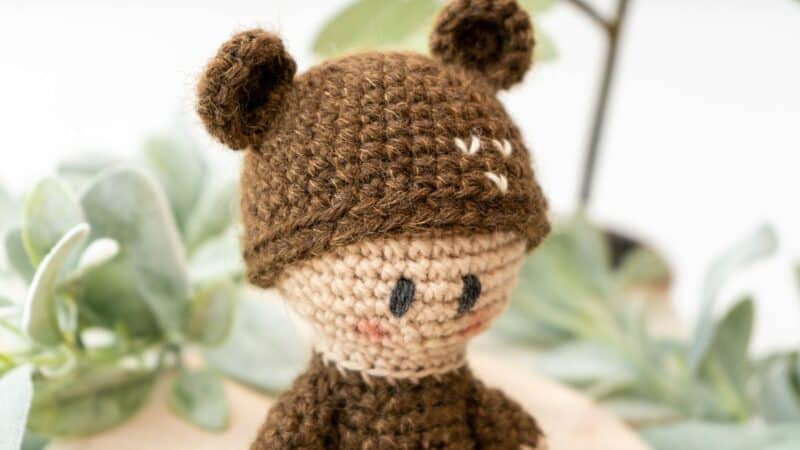
The body of the crochet doll is worked from top-down, with the arms crocheted after and stitched to the body. The hat is made as a separate piece and placed on the doll’s head, with the ears stitched to each side. Using different colors can create a brown bear or a panda bear.
The colorways for this pattern are written as:
Oyster Heather or Camel Heather Yarn – Color A Black Yarn – Color B
White Yarn held together with lace white yarn – Color C Graphite Heather – Color D
Special Stitches:
Cross stitch single crochet: this variation of a crochet stitch works the stitch tighter and creates an ‘X’ on the front of the stitch. To work a single crochet stitch this way, insert your hook into the stitch, yarn under, pull up a loop, yarn over, pull through both loops on the hook. This way of working the single crochet stitch is used for the hat and the body.
Magic Circle: Start by creating a loop with your yarn. The tail of the working yarn will be over the work- ing end. Insert your hook into the loop from behind. Yarn over and pull through the loop. Ch 1, Work all of your indicated stitches into the loop. Pull the tail end of your yarn to close the loop. Pull firmly to fasten the loop closed, this end will be weaved in and fastened off.
sc2tog invisible decrease: Insert your hook into the flo of the next stitch, insert your hook into the flo of the next stitch, yarn over, pull up a loop, yarn over and complete stitch.
Want an Ad-Free PDF Download of this pattern?
This pattern is available in my shops:

Click the box below to unlock this exclusive subscriber content for free. Add your email and create a password. If you are having trouble, reset your password or login to the Grow Portal.
I’m thrilled to share this amazing crochet pattern with you! Please don’t copy, paste, or distribute this pattern. Prefer an ad-free experience? Purchase a digital PDF file for a small fee from one of my online stores. I appreciate your support and readership. You are why I can keep doing what I love and sharing it with others. Thank you from the bottom of my heart.
Crochet Bear Crochet Instructions
Head of the Bear
Rnds 7-14:
sc in each st around. 36 sts
Rnd 15:
*sc2tog, sc in the next 4 sts*; repeat from * to * around. 30 sts
Rnd 16:
*sc2tog, sc in the next 3 sts*; repeat from * to * around. 24 sts
Rnd 17:
*sc2tog, sc in the next 2 sts*; repeat from * to * around. 18 sts
Rnd 18:
sc in each st around, begin stuffing with fiberfill as you go, fasten off Color A. 18 sts
Rnd 19:
With Color B, working in the blo for this rnd, sc in each st around. 18 sts
Rnd 20:
*2sc in first, sc in next 8 sts*; repeat from * to * around. 20 sts
Rnd 21:
sc in each st around. 20 sts
Rnd 22:
*2sc in first, sc in next 4 sts*; repeat from * to * around. 24 sts
Rnd 23:
sc in each st around. 24 sts
Rnd 24:
*2sc in first, sc in next 5 sts*; repeat from * to * around. 28 sts
Rnds 25-29:
sc in each st around. 28 sts
Rnd 30:
Working in the blo for this round, *sc2tog, sc in next 2 sts*; repeat from * to * around, fasten off Color B. 21 sts
Rnd 31:
With Color A, working in the flo for this rnd, sc in each st around. 21 sts
Rnd 32:
Working in the blo for this rnd, *sc2tog, sc in next*; repeat from * to * around, place washers in the bottom for weight. 14 sts
Rnd 33:
sc2tog around, fasten off leaving a tail, using the tail end weave through the flo of remaining sts and pull closed, weave in end and fasten off. 7 sts
Arms of Bear (Make 2)
Rnd 1:
Starting with the MC & with Color A, sc 6, do not join and work continuously. 6 sts
Rnd 2:
*2sc in first, sc in next 2 sts*; repeat from * to * around, fasten off Color A. 8 sts
Rnds 3-4:
With Color B, sc in each st around. 8 sts
Rnd 5:
sc2tog, sc in remaining sts around. 7 sts
Rnd 6:
sc2tog, sc in remaining sts around, fasten off leaving a tail, and sew arms to each side of the body on rnd 20. 6 sts
Bear Hat
Rnd 1:
Starting with the MC & with Color C, sc 6, do not join and work continuously. 6 st
Rnd 2:
2 sc in each st around. 12 sts
Rnd 3:
*2sc in first, sc in next st*; repeat from * to * around. 18 sts
Rnd 4:
*2sc in first, sc in next 2 sts*; repeat from * to * around. 24 sts
Rnd 5:
*2sc in first, sc in next 3 sts*; repeat from * to * around. 30 sts
Rnd 6:
*2sc in first, sc in next 4 sts*; repeat from * to * around. 36 sts
Rnds 7-13:
sc in each st around. 36 sts
Rnd 14:
Working in the blo for this rnd, sc in each st around, fasten off and do an invisible finish, weave in ends. 36 sts
Ears of Bear (Make 2)
Rnd 1:
Starting with the MC & with Color B, sc 6, do not join and work continuously. 6 sts
Rnd 2:
2 sc in each st around. 12 sts
Rnd 3:
sc in each st around, fasten off leaving a long tail, stitch ears to each side of hat on rnds 5-7. 12 sts
Finishing & Details
With Color D, stitch eyes on the front of the Bear doll’s face on rnds 11-12. If shading is desired for the cheeks, use either make-up or pastels and a small brush and paint the powder onto the face of the doll. Use black yarn to stitch on ‘V’ lines on hat if desired. Weave in all ends and enjoy.
Well That Was Fun! What’s Next?
📌 PIN THIS POST – Don’t lose this project; save it to your Pinterest crochet board so you can quickly come back to it again.
💌 SHARE – Share your yarn choice, in-progress, or finished projects on Facebook or Instagram and use the hashtag #brianakdesigns
🥂 JOIN – Join the kindest crafters in the Briana K Designs Community Group on Facebook. We love yarny friends!
🔗 RAVELRY LINK -Link and share your project on Ravelry. Having inspirational photos can help crafters.
