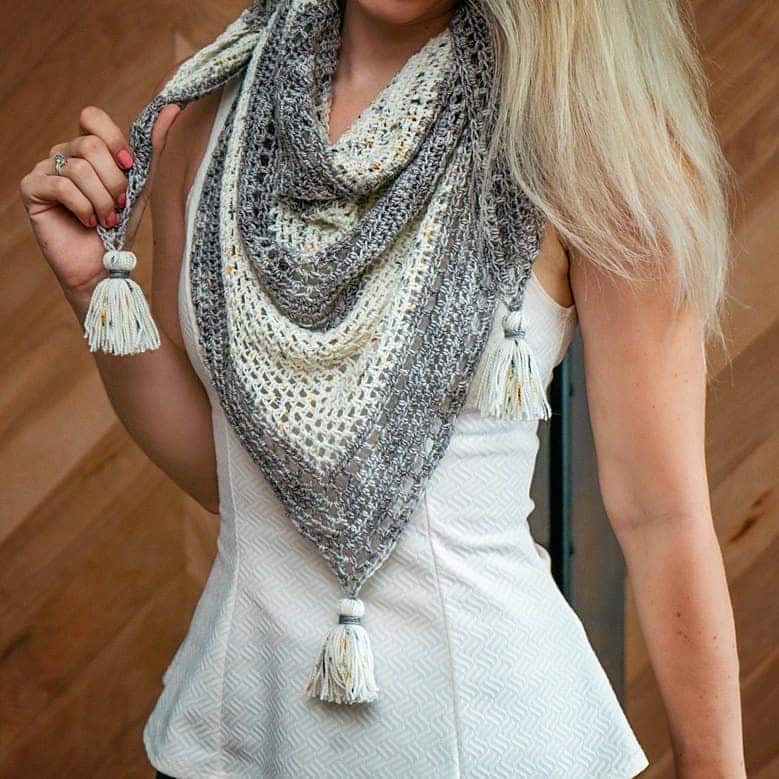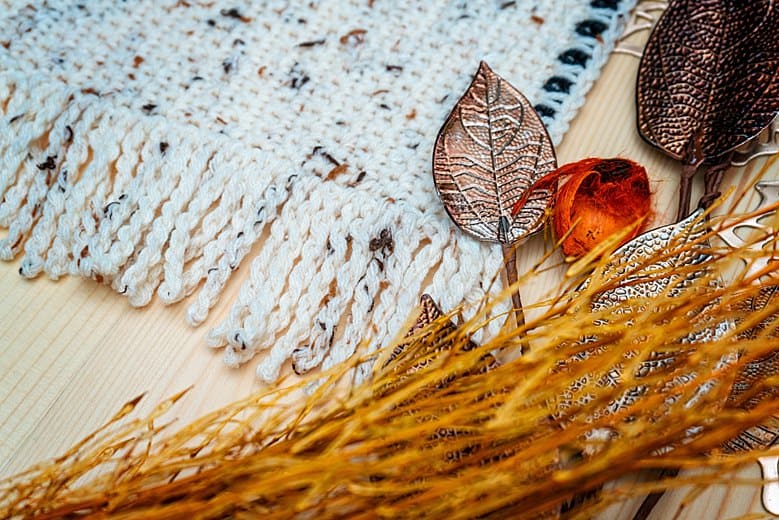

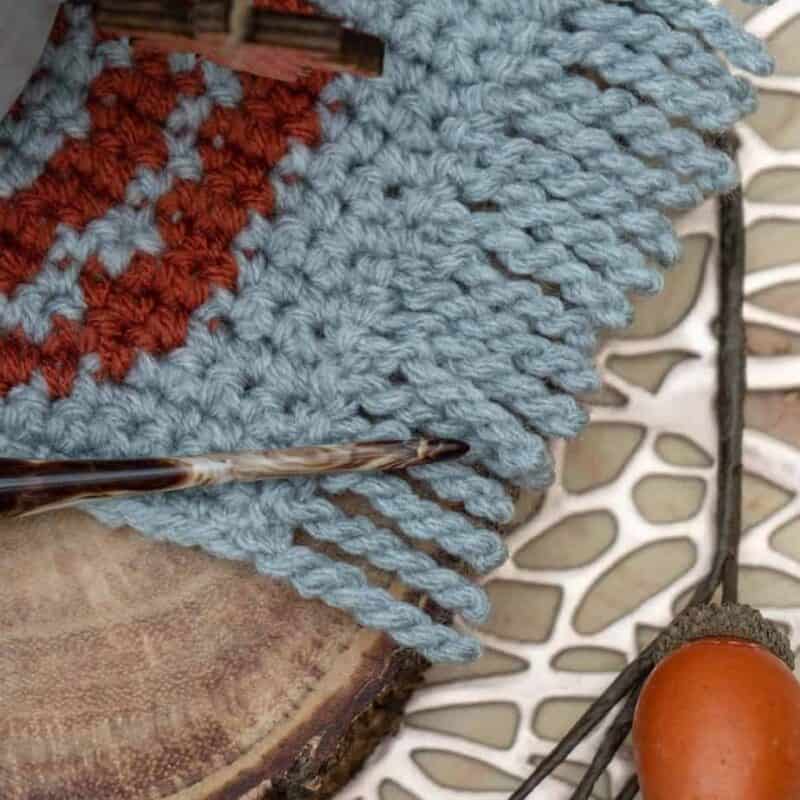
So I love fringe. I always want to throw it on everything and it adds such a nice touch. I recently came across a twisted fringe and though you might want to know how to make twisted fringe too! It’s so easy and you don’t need to use the scissors to cut a million pieces of yarn.
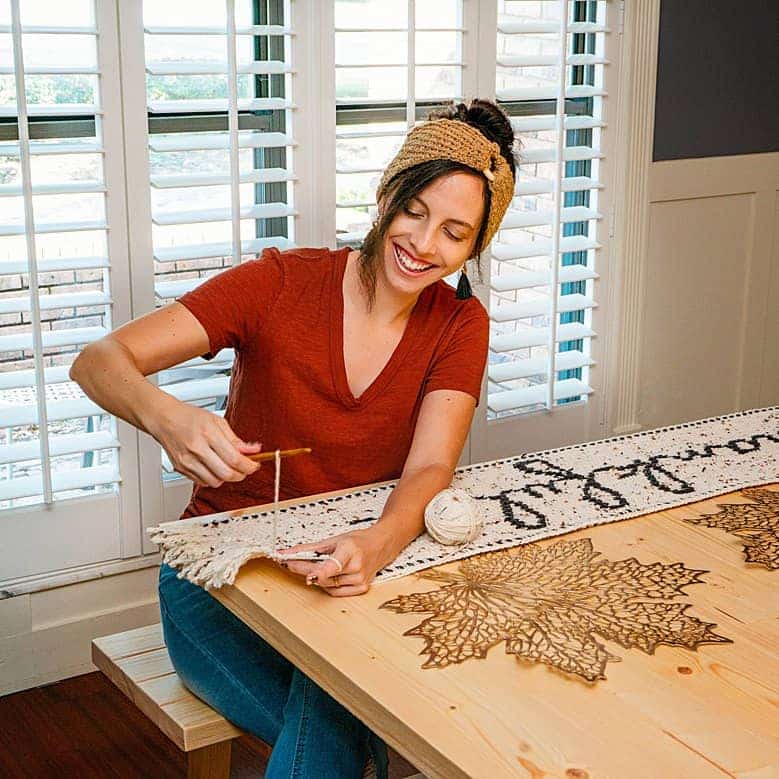
I recently used twisted fringe on a table runner, and then I also thought it looked really good for some Pumpkin Coaster Mug Rugs. When that crisp fall weather starts to roll in, it’s time to get out the fringe lol.
Even though it’s still hot here in Florida, I’m busting out all the fall things. I love the home decor and the finishing touches that make a home cozy.
So let’s jump on in so you can learn to put fringe on your next diy knit or crochet project.

Disclosure: To cover the cost of publishing my blog and bringing you awesome content, this page may contain affiliate links. Should you choose to make a purchase, at no additional cost to you, I may earn a small percentage of the sale.
Supplies to Make Twisted Fringe:
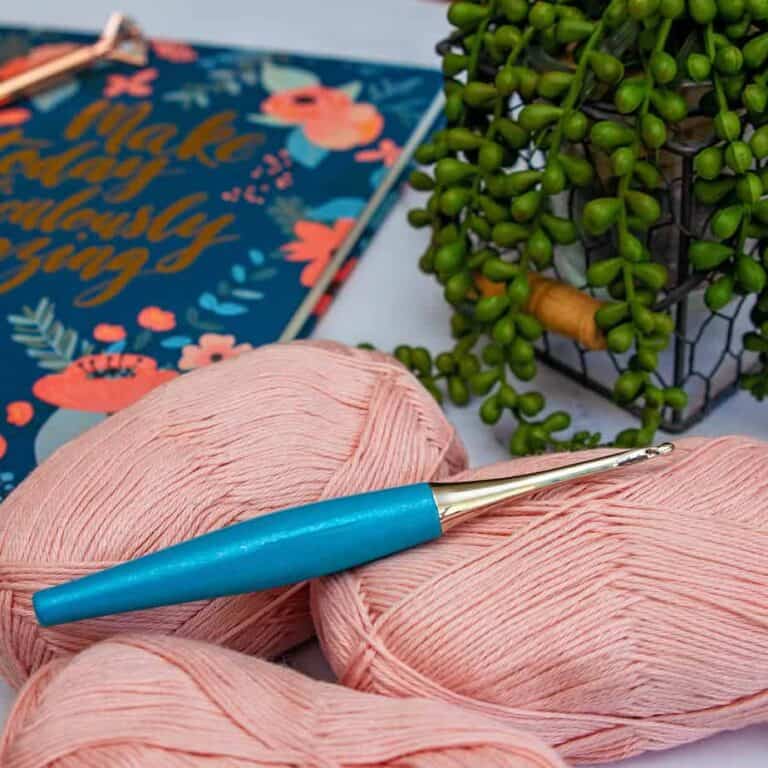
Crochet Hook:
A variety of sizes can be used, but it’s usually best to match the mm of your project. In the video, I’m using a Furls Streamline Swirl G-hook.


Notions:
Scissors
Tapestry Needle
Yarn:
Many of the supplies can be found at the affiliate links below:
Video Instructions:

Written Instructions:

Step 1:
Slip stitch to your project at a corner or where you want to begin.
Step 2:
Pull the yarn away from your project for the desired amount. The twisted fringe will be just less than half of this height.
Step 3:
Place your finger onto the loop on the crochet hook so it stays in place for the first spin. Rotate your hook clockwise about 15-17 times. The loop will now look very twisted.
Step 4:
Place your left index finger in front of the twisted loop and bring the hook down and over your finger to your project edge. Slip stitch in the next space.
Step 5:
Take your left finger out of the fringe and watch it snap into its twist. If it needs adjusting, gently tug so that it’s straight without any knots.
And that’s it! Repeat these steps along the edge of your project for some awesome-looking fringe!
Crochet, Knit & Tag
I hope you have enjoyed the How to Make Twisted Fringe Tutorial!
If you have made this, please share it on social media. Above all, I love to see the projects created with my patterns and also share your beautiful work.
Please use #brianakdesigns or @brianakdesigns
It is much appreciated and adored!