Learn how to crochet honeycomb stitch with my easy tutorial. This is a great stitch pattern that you can work in almost any different craft. In fact, I’ve created similar designs in knit and Tunisian crochet.

Disclosure: This post contains affiliate links. Please read my disclosure for more info.
Also Check out the Knit or Tunisian Crochet Version

Crochet Honeycomb Stitch
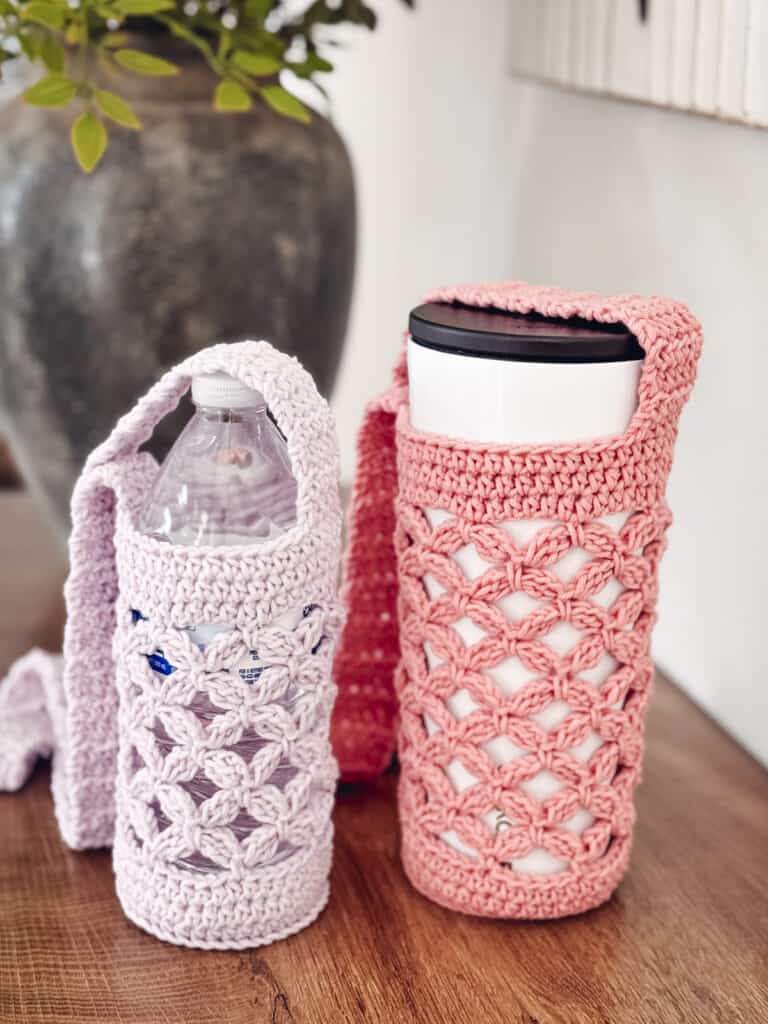
There are many different ways to recreate the honeycomb pattern in crochet. For example, you could crochet motifs and stitch them together to create the design. However, the best place to start is to learn the crochet honeycomb stitch. It’s a simple repeating stitch pattern that gives you a texture emulating bees’ honeycomb. It’s a beautiful design and you can use it for a lot of different types of projects. This one is a quick make that will put your new skills to use immediately.

Crochet Honeycomb Stitch Supplies
Crochet Hook:
4.0 mm (G), or hook to obtain gauge.
Notions:
Yarn Needle
Scissors
Wooden Rings
Yarn:
Upcycle Reserve Wool Worsted by WeCrochet (discontinued) in Colorway Amarillo
Yardage:
Approx. 60 Yards (55 meters)
Abbreviations/Stitches:
ch- Chain
RS- Right Side
sc- Single Crochet
sl st- Slip Stitch
sts- Stitches
WS- Wrong Side
16 sts and 11 rows = 4” [10 cm] with G-hook in stitch pattern
Measurements/Sizes:
20 inches (51 cm) long
4 inches (10 cm) wide
Skill Level:
Easy/Advanced Beginner

Yarn Substitution Note
If the suggested yarn is unavailable, WeCrochet has some great substitutes that work well for this pattern, including:
Crochet Honeycomb Notes
The ch 1 at the beginning of the row does not count as a stitch.
This pattern is worked in rows until the desired length and then stitched together around a ring.
Special Stitches:
Stacked Single Crochet (Stsc): Insert your hook into the first stitch, yarn over, and pull up a loop. Yarn over and pull through both loops on the hook. (This will now look similar to a single crochet stitch, but we aren’t done yet). Insert your hook into the vertical bar below, yarn over and pull up a loop. Yarn over and pull through both loops on the hook. Now the Stacked Single Crochet Stitch is complete. Video Tutorial of the Stacked Single Crochet HERE.
Honeycomb Ear Warmer Video

Want an Ad-Free PDF Download of this pattern?
This pattern is available in my shops:
Crochet Honeycomb Ear Warmer Instructions
| Row | Description | St Count |
| 1 (WS) | Ch 17, in second chain from the hook sc, *Stsc, skip 1*; repeat from * to * until the last st, sc in last, turn. | 16 |
| 2 (RS) | *Stsc, skip 1*; repeat from * to * until 2 sts are left, sc in last two sts, turn. | 16 |
| 3 | Ch 1, sc in first, *Stsc, skip 1*; repeat from * to * until last st, sc in last, turn. | 16 |
| Repeats | Repeat Row 2-3 until the length is approx. 20 inches or touches around your head. It’s okay if you stretch it a little because we do want a snug fit so it doesn’t fall down. | 16 |
Crochet Honeycomb Ear Warmer Finishing
Lay the piece flat with the wrong sides facing you. Fold each side in towards the middle. Using your ring, fold one edge through the ring and stitch into place. Repeat for other side. Weave in ends and wear!
OTHER HONEYCOMB STITCH PATTERNS:
Well, That Was Fun! What’s Next?