The Tunisian Crochet Honeycomb Stitch Tutorial might just be my favorite of all of the different ways to make the honeycomb stitch. This is a great stitch pattern that you’ll find a variation of in almost every craft that’s out there. It’s drawn from the organic inspiration of bees’ honeycomb, which has that great repeating pattern. In this example, the pattern shows up as texture. And what better way to try out the stitch than to also create a cute ear warmer headband while you learn it?

Disclosure: This post contains affiliate links. Please read my disclosure for more info.
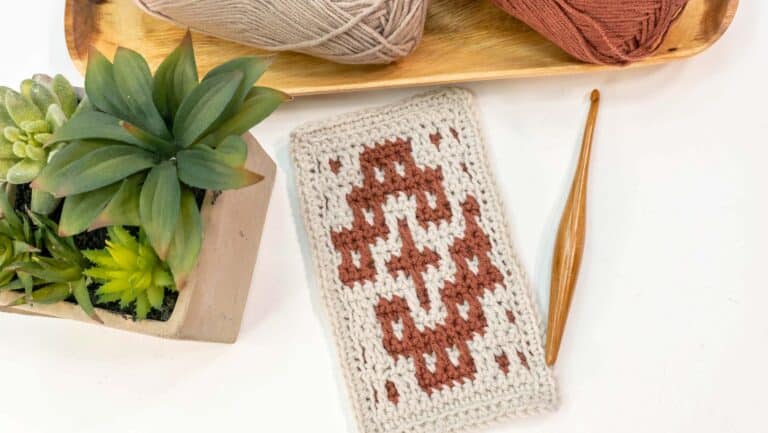
Come see the Crochet Honeycomb Headband Version.

Want an Ad-Free PDF Download of this pattern?
This pattern is available in my shops:
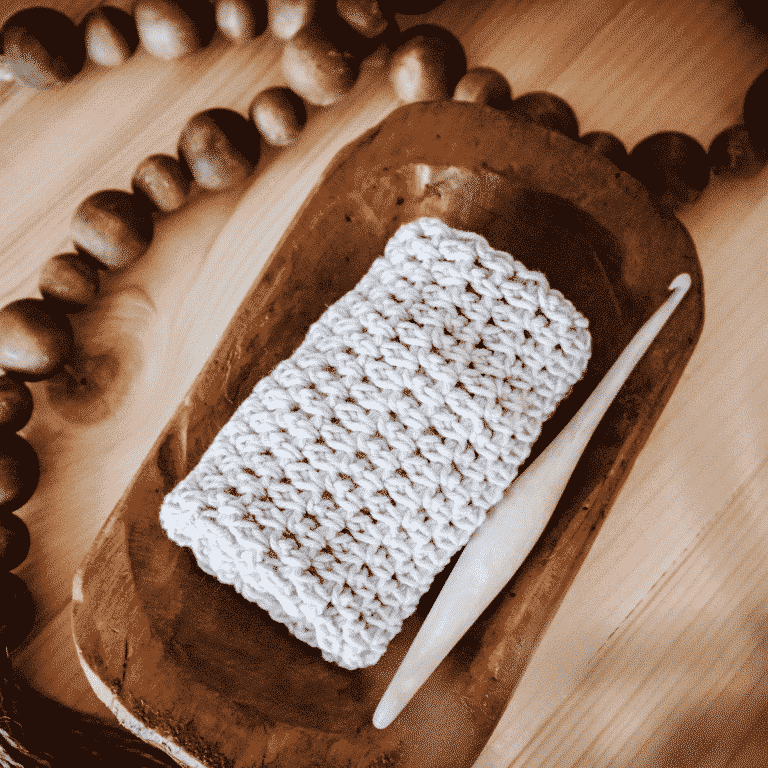
Tunisian Crochet Honeycomb Stitch Supplies
Tunisian Hook:
5.5 mm, get an amazing set from WeCrochet!
Notions:
Yarn Needle
Scissors
Wooden Rings
Yarn:
Upcycle Reserve Wool Worsted by WeCrochet (discontinued) in colorway Amarillo
Yardage:
Approx. 60 Yards (55 meters)
Abbreviations/Stitches:
ch- Chain
Fwd – Forward
Rtn – Return
TPS- Tunisian Purl Stitch
TSS- Tunisian Simple Stitch
sl st- Slip Stitch
sts- Stitches
16 sts and 11 rows = 4” [10 cm] with in stitch pattern
Measurements/Sizes:
20 inches (51 cm) long
4 inches (10 cm) wide
Skill Level:
Easy/Advanced Beginner

Yarn Substitution Note
If the suggested yarn is unavailable, WeCrochet has some great substitutes that work well for this pattern, including:
Tunisian Crochet Honeycomb Stitch Notes
TSS: Tunisian Simple Stitch: Insert your hook into the second chain from your hook. Yarn over & pull the strand of yarn through the first loop on your hook. *Insert your hook into the next chain, yarn over & pull the strand of yarn through the first loop on your hook. Repeat from * across to complete a forward for each chain stitch.
Now to finish the row of Tunisian Simple stitches by working the other direction: Yarn over, pull the strand of yarn through the first loop on your hook. *Yarn over, pull the strand of yarn through the next 2 loops on your hook. Repeat from * across to complete a return row of the Tunisian Simple Stitch. 1 loop will be left on your hook.
TPS: Tunisian Purl Stitch: Bring your yarn to the front of your work, insert the hook under the next vertical bar, bring your yarn to the back of your work, yarn over, pull up a loop across.
- This pattern is worked in rows until the desired length and then stitched together around a ring.
Tunisian Crochet Honeycomb Stitch Video


Tunisian Crochet Honeycomb Earwarmer Instructions
| Row | Description | St Count |
| Fwd 1 | Leaving a 12 inch tail ch 16, then do the first row in the Tunisian Simple Stitch. | 16 |
| Rtn 2 | Return Row. *Yarn over, pull the strand of yarn through the first loop on your hook. Yarn over, pull the strand of yarn through the next 2 loops on your hook*. Repeat from * across to complete the Tunisian Simple Stitch. 1 loop will be left on your hook. | 16 |
| Fwd 3 | Skip the first vertical bar, *TSS in the first vertical bar, TPS in the next*; repeat from * to * across until the last st in the row. For the last st insert the hook through both loops of the side and complete a regular TSS. | 16 |
| Rtn 4 | Repeat Rtn Row 2. | 16 |
| Fwd 5 | Skip the first vertical bar, *TPS for the first vertical bar, TSS for in the next*; repeat from * to * across until the last st in the row. For the last st insert the hook through both loops of the side and complete a regular TSS. | 16 |
| Repeats | Repeat Rows 2-5 until the piece measures approx. 20 inches. | 16 |
| Bind Off | Insert your hook into the second vertical bar and slip stitch. *Insert hook into the next vertical bar and slip stitch*. Repeat from * across until all the stitches are worked. Fasten off leaving a 12 inch tail. |
Tunisian Crochet Honeycomb Earwarmer Finishing
Lay the piece flat with the wrong sides facing you. Fold each side in towards the middle. Using your ring, fold one edge through the ring and stitch into place. Repeat for the other side. Weave in ends and wear!

Other Honeycomb Stitch Patterns:
Well, That Was Fun! What’s Next?