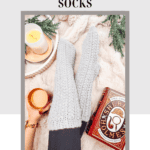
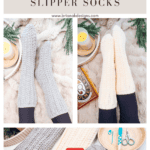
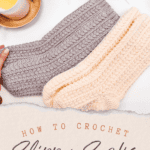
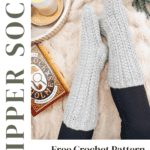
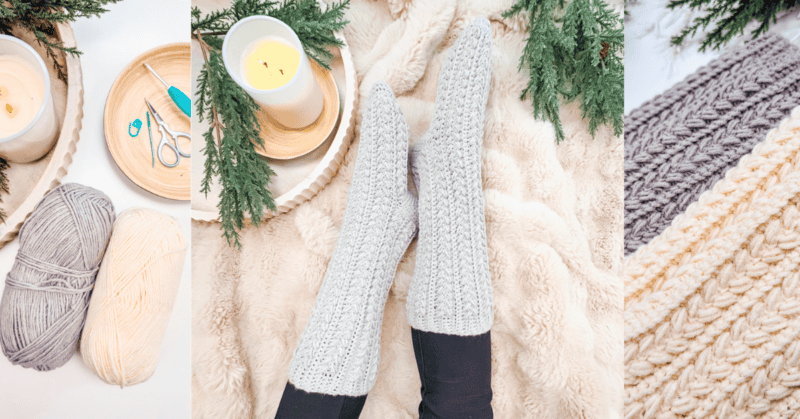
Snowdrift Wheat Slipper Socks Pattern
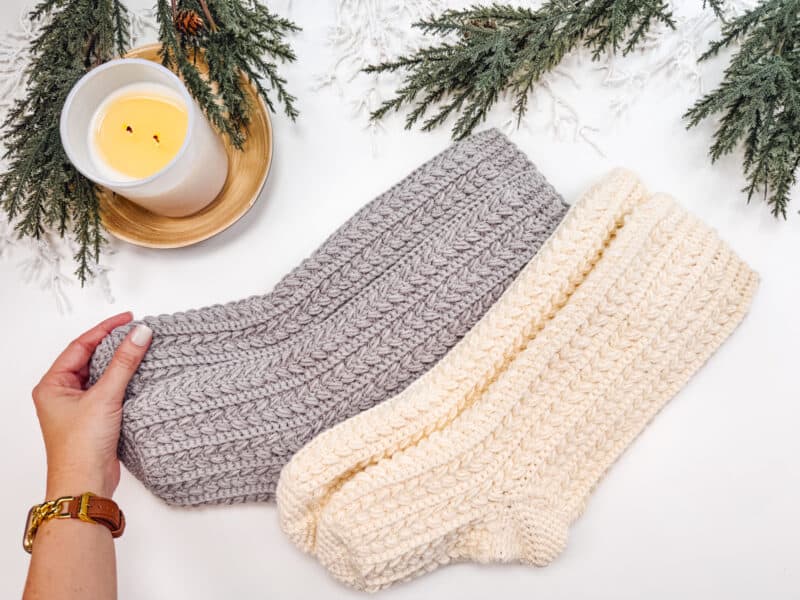
Meet the Snowdrift Wheat Slipper Socks—your new cozy companions for chilly winter days! These slipper socks are a true winter dream come true, wrapping your feet in warmth and style. Looking for more slippers? Check out the Quick & Cushy Slippers and the Winter Crochet Slipper Socks!
Disclosure: This post contains affiliate links. Please read my disclosure for more info.
Crocheted in simple rows with my oh-so-popular snowy Wheat Stitch that everyone’s swooning over, they’re as fun to crochet as they are to wear. Perfect for lounging by the fire or as a thoughtful handmade gift, these socks will surely bring a little extra joy to your winter!
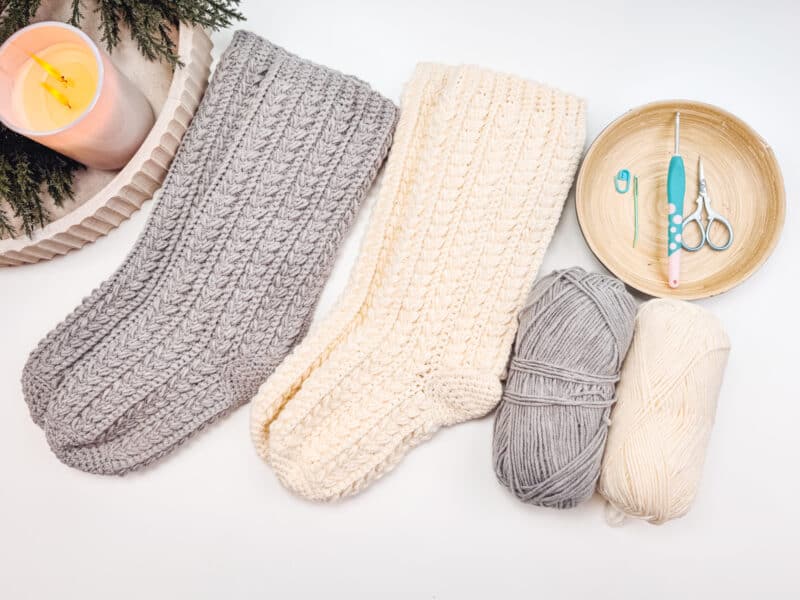
Crochet Supplies
Yarn
Lion Brand Color Theory
100% Acrylic, 246yds/100g
Yarn Quantities
550 (560, 570, 580) (590, 600) yds
3 Skeins per pair
Yarn Substitutions
WeCrochet Swish – 100% Fine Superwash Merino Wool 110yds/50g
Lion Brand Mandala Ombre – 100% Acrylic, 344yds/150g
Herrschners Supreme Worsted Yarn – 100% Acrylic, 169yds/100g
Mary Maxim Starlette Worsted – 100% Ultra Soft Acrylic, 180yds/100g
Mary Maxim Maximum Value Yarn – 100% Acrylic, 474yds/227g
Herrschners Worsted 8 Heathers Yarn – 100% Acrylic, 489yds/226g
Remember always to check the gauge and drape when substituting yarns.
Crochet Hook
Size US G (4.0mm) Crochet Hook or hook to obtain gauge.
Notions
Scissors
Yarn Needle
Removable Stitch Marker
Skill Level
Intermediate
What you’ll love about this pattern.
🩶 Simple Construction – These slipper socks are so easy to make. We will work the body of the sock first, then make the foot. We’ll finish up by adding a toe and heel!
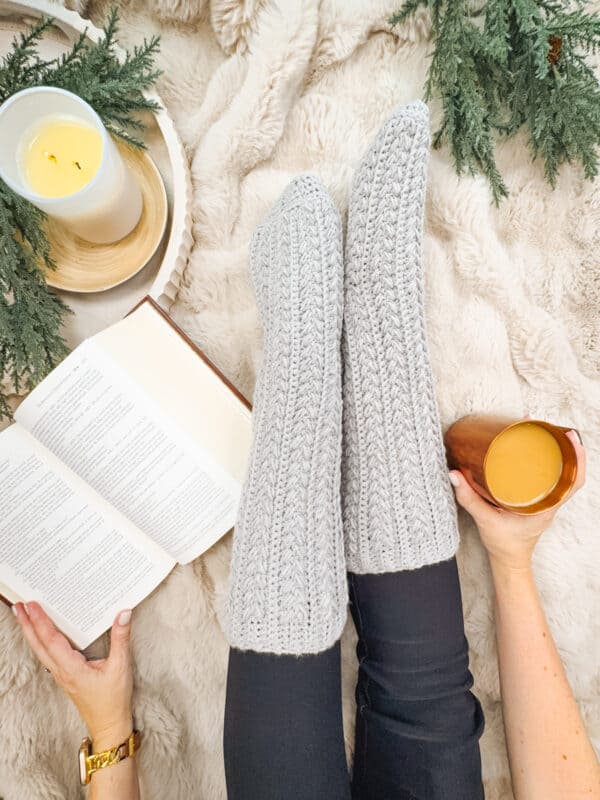
🩶 Gorgeous Stitch Definition – The Snowy Wheat Puff Stitch repeat has a gorgeous texture that creates a squishy and warm fabric!
🩶 Multiple Sizes – These slipper socks are available in women’s US sizes 6-11 and are designed to be tried on as you crochet to guarantee a perfect fit!
Sizes
Adult women’s sizes:
US Shoe Size 6 (7, 8, 9) (10, 11)
Women’s Euro Shoe Size 36-37 (37-38, 38-39, 39-40) (40-41, 41-42)
Abbreviations
blo – back loop only
ch – chain
flo – front loop only
RS – right side
sc – single crochet
sc2tog – single crochet 2 together
sl st – slip stitch
st(s) – stitch(es)
WS – wrong side
Gauge
18 sts by 14 rows = 4×4 inches in Rows 3-6 of stitch pattern
How to Crochet A Gauge Swatch
Working a gauge swatch will let you know if you will have the correct sizing for this pattern. It will also help you practice the stitches used in this project and improve your stitch work for a flawless look.
Are you struggling to match the gauge? Check out the blog post on What is Crochet Gauge and How To Fix It
Construction
These crochet socks are simply and uniquely constructed. They’re worked flat in rows for the body stitch and cuff ribbing. After seaming, the toe and heel are crocheted in the round. This simple and enjoyable process results in cozy, comfortable socks that will keep your feet warm all season long.
Make a whole Snowy Wheat set as a gift by adding a coordinating Snowy Wheat Hat or Twisted Wheat Earwarmer, with a Snowy Wheat Ornament as a gift tag! And even though it’s called the Braided Wheat Easy Summer Top, this simple garment would look amazing layered over a long-sleeved shirt for warmth in the winter!
Special Stitches
Puff Stitch: Yarn over and insert your hook into the stitch/space. Yarn over again and pull up a long loop. Yarn over and insert your hook into the same stitch/space. Yarn over again and pull up a long loop (5 loops on the hook). Yarn over and pull through the first 4 loops, yarn over and pull through remaining loops.
Invisible sc2tog: Insert your hook into the front loop of the first st, and then insert into the front loop of the second st (3 loops on the hook). Yarn over and pull through both front loops (2 loops on the hook), yarn over and pull through the remaining loops on the hook.
Pattern Notes
- Using a stitch marker at the beginning of the row is recommended.
- Work the first row of single crochets in the back humps of the starting chain.
- Sizes are written in Women’s US Shoe Size 6 (7, 8, 9) (10, 11) or Women’s Euro Shoe Size 36-37 (37-38, 38-39, 39-40) (40-41, 41-42).
- Before you dive into your project, take a moment to identify the stitch and row counts that match the size you’re making. By highlighting or marking them, you’ll save time and effort later on. Trust us, this small step will make a big difference in your knitting or crochet journey!
- © Briana K Designs. All rights reserved. This pattern is for personal use only. You may not copy, share, distribute, or sell this pattern, in whole or in part, without written permission from the designer. You may sell finished items made from this pattern on a small scale, and I hope it does well for you at markets. If you share on social media, please give me a tag, I love cheering on makers! Thank you for respecting the hard work that goes into designing original crochet patterns..
Subscribe & Like
Video Tutorial for the Snowdrift Slipper Socks
Relax & Crochet
Upgrade to the Printable PDF
Beautifully formatted to print and relax while crocheting. The paid pattern includes:
The Ad-Free PDF can be purchased on Etsy or Ravelry.

Click the box below to unlock this exclusive subscriber content for free. Add your email and create a password. If you are having trouble, reset your password or login to the Grow Portal.
I’m thrilled to share this amazing crochet pattern with you! Please don’t copy, paste, or distribute this pattern. Prefer an ad-free experience? Purchase a digital PDF file for a small fee from one of my online stores. I appreciate your support and readership. You are why I can keep doing what I love and sharing it with others. Thank you from the bottom of my heart.
Written Crochet Pattern Instructions
Join The Kindest Community
Join our vibrant community of crafters on Facebook today. Whether you enjoy crafting with others or simply have burning questions, we’ve got you covered – join us now!
Leg Section
Rows 1-2:
Ch 1, blo sc in 48 st across, turn. | 48 sts
Please note, we will not be working all the sts in the row, we will turn and leave some sts unworked.
Row 3:
Ch 1, blo sc 5, [skip the next st, sc in next, work a puff st into the skipped st] work until the last st, blo sc in the last st, turn.
Row 4:
Ch 1, blo sc 1, [skip the next st, sc in next, work a puff st into the skipped st] work until the last 5 sts, blo sc in the last 5 sts, turn.
Rows 5-20:
Repeat Rows 1-4.
Tip on Adjusting for the Width of the Slipper Sock for the Leg Portion: This is where we can get the fit just right for our leg, and we went to make sure we are adjusting for the largest part of our leg. To check the fit, wrap the leg fabric section around your leg to see if more or fewer rows are needed, then adjust accordingly in multiples of 4 rows.
Seaming: Fold the fabric together with the WS facing out. Working through the current row and the first row, sl st each st together across. Fasten off.
Sizing Tips
This design is easily customized to fit all legs. To check the fit of the Sock Leg, wrap your crocheted Leg Section around the widest part of your leg to see if more or fewer rows are needed. You can customize the foot section in the same way, too!
Socks aren’t just for knitters – crocheters can make some, too! The Simple & Best Socks and the Beginner Crochet Socks are perfect for practicing!
Foot Section
Working in the unworked stitches from the Front Body of Sock, join yarn next to the last st worked from Row 1 of the Leg Section.
Row 1:
Ch 1, blo sc 16 (18, 20, 22) (24, 26), turn. | 16 (18, 20, 22) (24, 26) sts
Row 2:
Ch 1, blo sc in each st across, turn.
Rows 3-4:
Sc in the first st, [skip the next st, sc in next, work a puff st into the skipped st] work until the last st, blo sc in the last st, turn.
Rows 5-16:
Repeat Rows 1-4.
Tip on Adjusting for the Instep Width of the Slipper Sock for the Foot Portion:
This is where we can get the fit just right for our foot. To check the fit, wrap the foot fabric section around the center of your foot to see if more or fewer rows are needed, then adjust accordingly in multiples of 4 rows.
Seaming: Fold the fabric together with the WS facing out. Working through the current row and the first row, sl st each st together across. Do not fasten off and flip the fabric so the RS is facing out.
Toe Section
Setup: Working along the toe opening and placing a st marker in the first st, sl st 1 st per row all the way around, do not join, work continuously. | 36 sts
Rnd 1:
Blo sc in each st around.
Please note, if rows were added or taken out, the stitch count will be different, but still decrease 6 sts around as evenly as possible.
Rnd 2:
*Sc2tog, sc 4; repeat from * around. | 30 sts
Rnd 3:
*Sc2tog, sc 3; repeat from * around. | 24 sts
Rnd 4:
*Sc2tog, sc 2; repeat from * around. | 18 sts
Rnd 5:
*Sc2tog, sc 1; repeat from * around. | 12 sts
Rnd 6:
Sc2tog around. | 6 sts
Fasten off, leaving a long tail. With your yarn needle, use the tail end to weave through the flo of each st around. Pull the opening closed, fasten off, and weave in the end.
Heel Section
Setup: Working along the heel opening and placing a st marker in the first st, sl st 1 st per row all the way around, do not join, work continuously. | 36 sts
Rnd 1:
Blo sc in each st around.
Rnd 2:
*Sc2tog, sc 14, sc2tog; repeat from * around. | 32 sts
Rnd 3:
*Sc2tog, sc 12, sc2tog; repeat from * around. | 28 sts
Rnd 4:
*Sc2tog, sc 10, sc2tog; repeat from * around. | 24 sts
Rnd 5:
*Sc2tog, sc 8, sc2tog; repeat from * around. | 20 sts
Rnd 6:
*Sc2tog, sc 6, sc2tog; repeat from * around. | 16 sts
Rnd 7:
*Sc2tog, sc 4, sc2tog; repeat from * around. | 12 sts
Rnd 8:
*Sc2tog, sc 2, sc2tog; repeat from * around. | 8 sts
Fasten off, leaving a long tail. With your yarn needle, use the tail end to weave through the flo of each st around. Pull the opening closed, fasten off, and weave in the end.
Finishing
Subscribe to my youtube channel
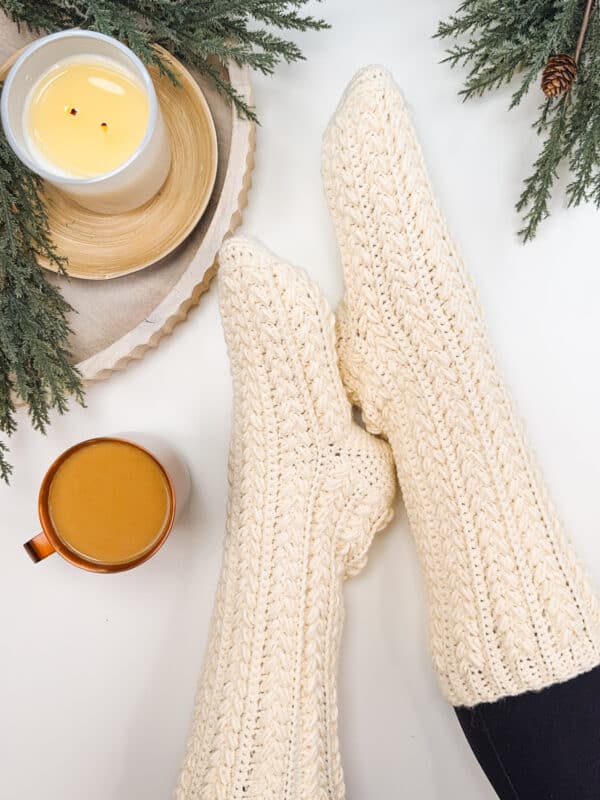
Weave in any remaining ends. Block to measurement, and enjoy cozy, warm toes all season long!
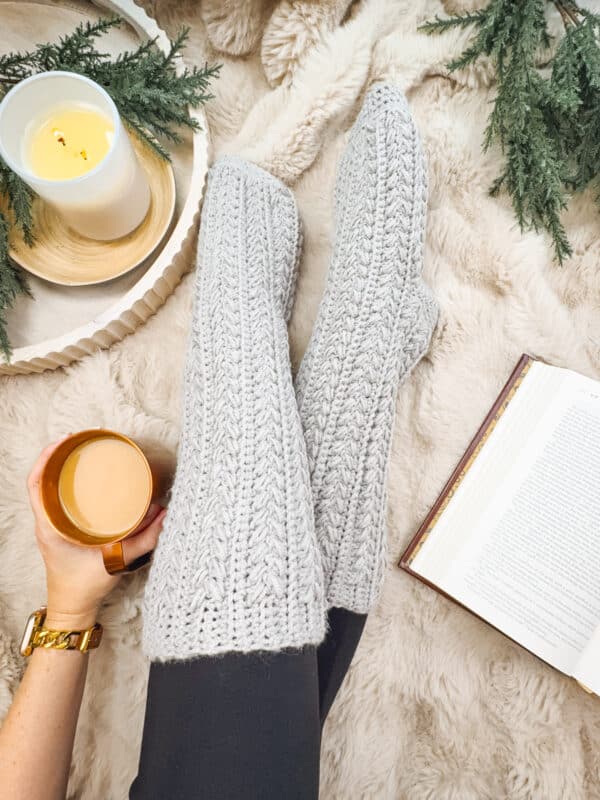
The Snowdrift Slipper Socks make the perfect gift—because who wouldn’t love the cozy luxury of warm toes? Whether you’re treating yourself or someone special, these socks are sure to spread winter cheer. To keep them looking and feeling their best, handwash them in cool water and lay them flat to dry. And if you’re looking for no-skid options, try adding a bit of fabric paint or silicone dots to the soles for extra grip. With these tips, your slipper socks will stay comfy, cozy, and ready for endless winter snuggles! If you loved making these slipper socks, you’ll also love the Quick & Bulky Socks and, for more of a challenge, the Vine Colorwork Socks!
Cheers, and happy crocheting!
Well That Was Fun! What’s Next?
📌 PIN THIS POST – Don’t lose this project; save it to your Pinterest crochet board so you can quickly come back to it again.
💌 SHARE – Share your yarn choice, in-progress, or finished projects on Facebook or Instagram and use the hashtag #brianakdesigns
🥂 JOIN – Join the kindest crafters in the Briana K Designs Community Group on Facebook. We love yarny friends!
🔗 RAVELRY LINK -Link and share your project on Ravelry. Having inspirational photos can help crafters.
