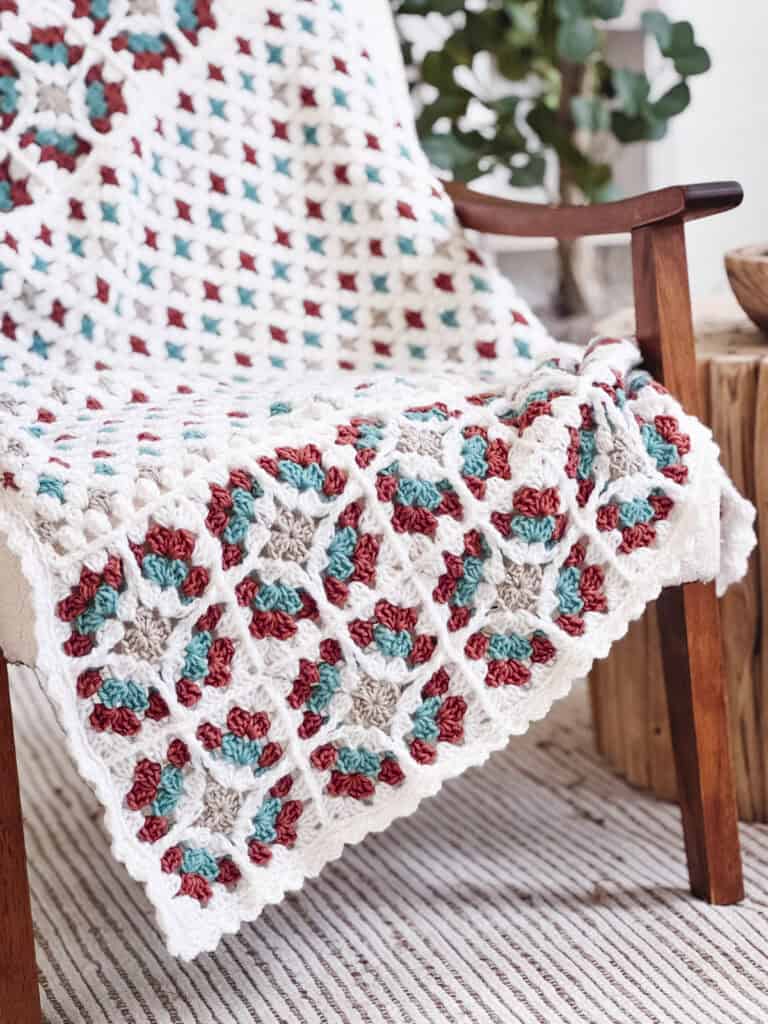
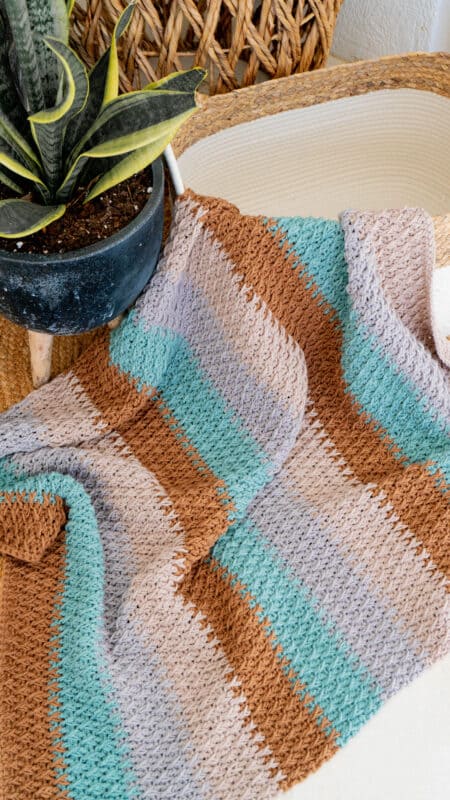
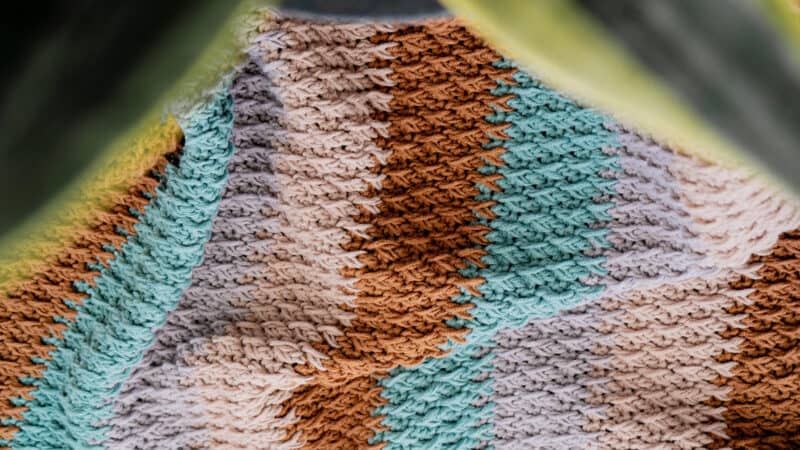
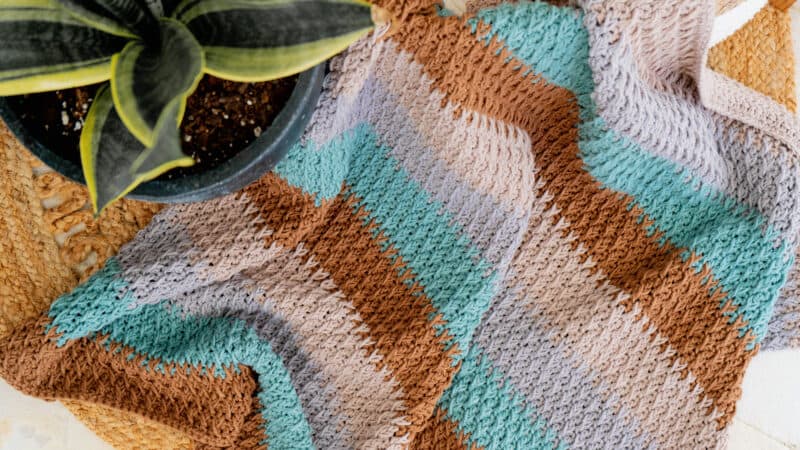
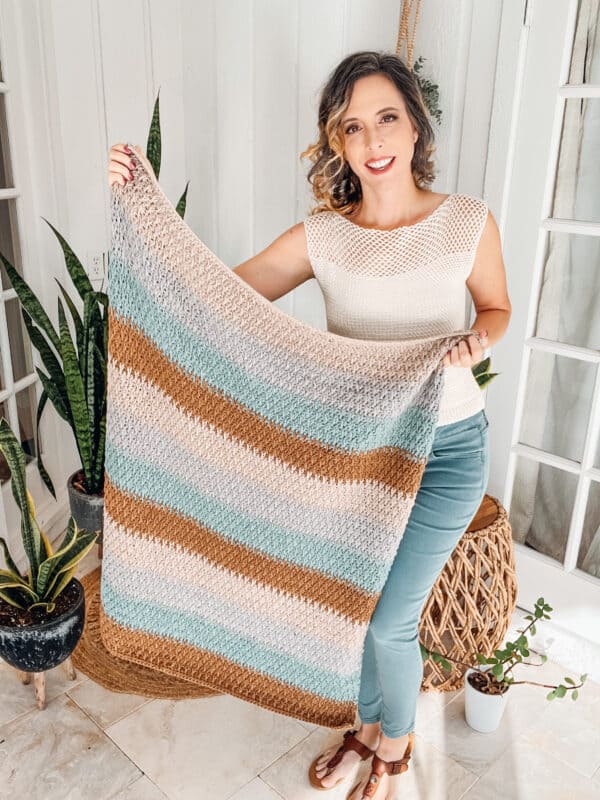
The alpine stitch brings a terrific stitch definition to a crochet blanket and is easy to learn. It also works quickly, making it a great crochet pattern for those who want to crochet a blanket in no time! I hope you enjoy this free crochet pattern as much as I enjoyed designing it with this stitch pattern. If you love this yarn, you might also enjoy making an adorable set with the Cuff To Cuff Easy Child Sweater Pattern and the The Cutest Baby Crochet Pants.
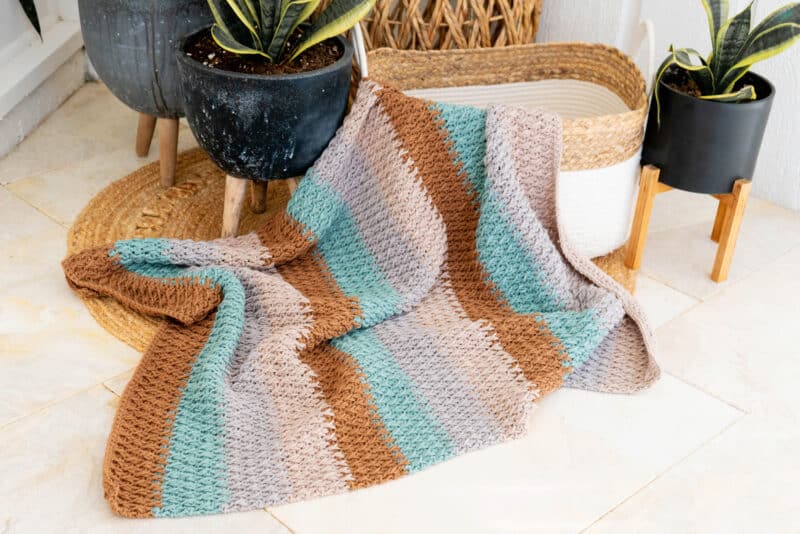
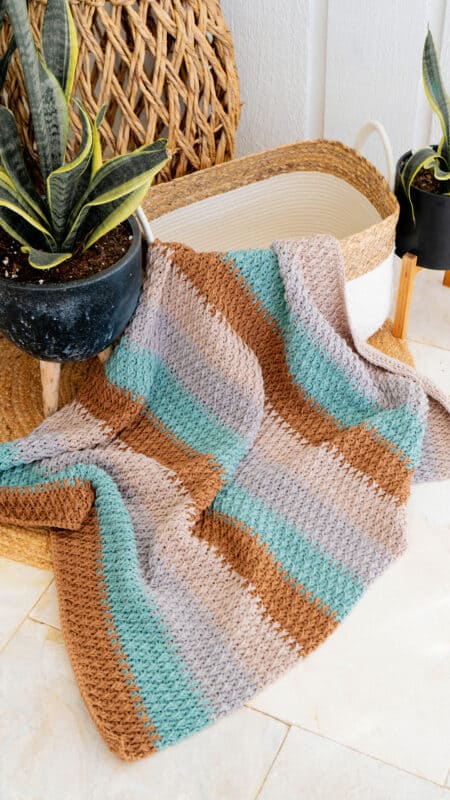
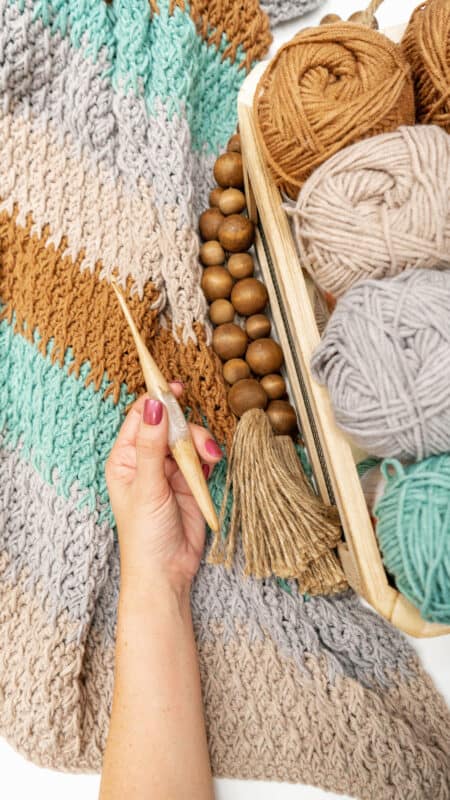
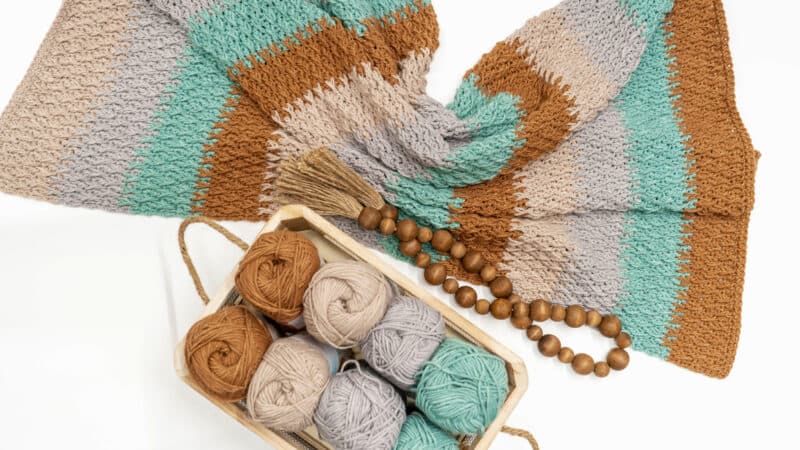
This baby blanket size was crocheted for my nephew, and it worked up quickly. Feel free to adjust the colors to match your home decor or the look you want for our alpine blanket.
You can make many sizes with this free pattern, from a baby crochet blanket to an adult-sized one or even a king-size bedding. Try this lovely stitch because there is a video and photo tutorial to walk you through each step. For detailed instructions on this stitch, visit: Alpine Crochet Stitch. Once you master the stitch, take a peek at the Hello Sunshine Pillow Blanket – it’s a pillow AND a blanket!
Disclosure: This post contains affiliate links. Please read my disclosure for more info.
Follow the free pattern below to start your crochet alpine stitch blanket project today. Or download the ad-free pdf, which also includes the sizing graph, by clicking the buttons below.
Where To Purchase My Ad-Free Downloadable PDF’s:
5 Reasons why you should crochet the Alpine Stitch Textured Crochet Blanket
1. The alpine crochet stitch is easy to learn, perfect for beginners and anyone looking to give this crochet blanket pattern a go!
2. You can make it in any size you like – from a baby crochet blanket to king-size bedding!
3. Once familiar with the crochet stitch, you can crochet up this blanket quickly.
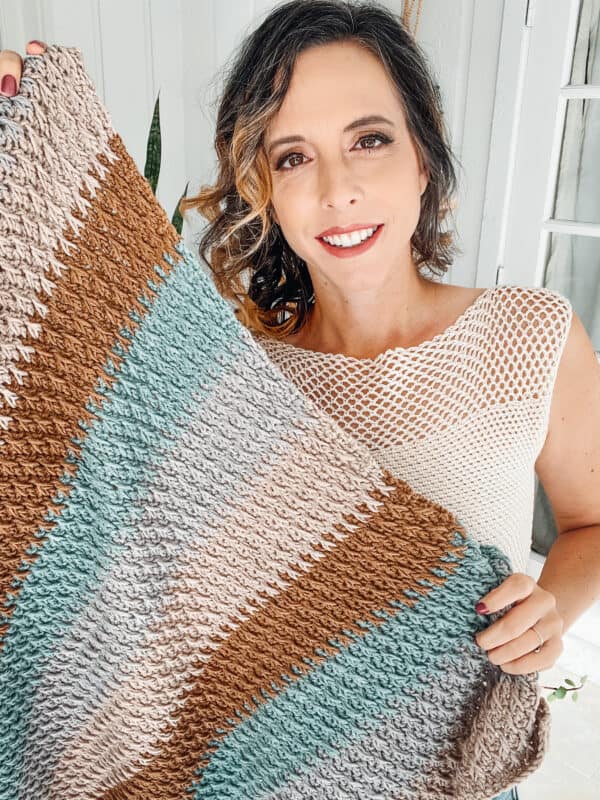
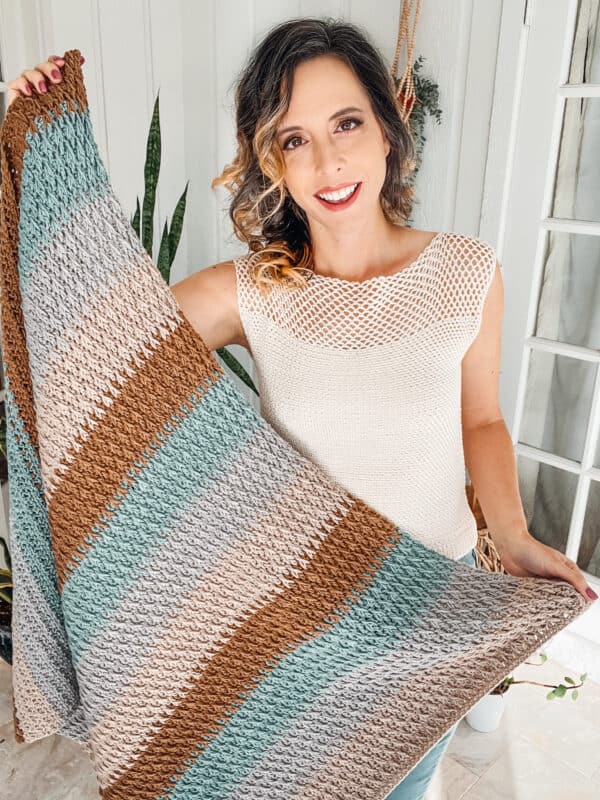
4. The alpine crochet stitch adds a beautiful texture to your crochet blanket, making it look chic for home decor.
5. Make a baby blanket as a baby shower gift or for yourself – either way, it will be a fantastic addition to any home.
How to display your handmade crochet blanket.
Once you’ve crocheted up your alpine stitch crochet blanket, why not show it off with some awesome crochet display ideas?
1. Display it on a blanket ladder – this adds an extra special touch to any room.
2. Place it at the end of your bed for a cozy and inviting look.
3. Drape it over the back of your couch – this will add a splash of color and texture to any room while adding crochet-style charm!
4. Use it as a picnic blanket – take your crochet blanket wherever you go!
5. Turn it into a throw or lap blanket – crochet up a small one in no time and snuggle up with it on the couch.
What types of stitches are great for crochet blankets?
The Alpine crochet stitch isn’t the only crochet stitch you can use to crochet a blanket. Here are some other crochet stitches you may want to try out for your crochet blanket project:
- Puff stitch crochet – these little puffs make for an exciting crochet pattern with a fun texture. Check out the Sanibel Crochet and Chill Blanket Free Pattern or the Crochet Garden Blanket Free Pattern Perfect for the Patio. Both are free patterns.
2. Mosaic stitch crochet blankets – create beautiful colorwork only working one yarn color at a time! You might just fall in love with the Desert Cactus Mosaic Crochet Free Blanket Pattern or the Waves Mosaic Crochet Blanket Free Pattern. Both of these are free crochet patterns.
3. Cable crochet stitches – will add a pop to your crochet blanket and soothing lines. Try out the Unique Infinity Cable Crochet Blanket Pattern.
4. Front Post Stitches – these add a large amount of texture and wavy lines.
5. Single Crochet for Colorwork – this basic stitch with some color changes creates masterpieces. Want to see two gorgeous blankets? Check out the Buzzing Beehive Blanket Crochet Pattern and The Famous Gaudi Sidewalk Colorwork Crochet Blanket.
Common questions for the crochet alpine stitch:
Does the Alpine crochet stitch use a lot of yarn?
No, the crochet alpine stitch is quite economical regarding yarn. You don’t need much more yarn than the average crochet blanket to work up a blanket in this crochet stitch.
When comparing the estimated yardage to other textured crochet blankets, this stitch is right about in the middle. Not a huge yarn eater above the average blanket.
Why is my Alpine stitch blanket curling?
The crochet alpine stitch is known to have a tendency to curl. This can be easily fixed, though! This is done with something called the Golden Loop.
This is the loop that will affect the height of a stitc. Especially since we are working our front post double crochets around stitch from rows below, it’s important to pay attention to pulling up the golden loops to the needed hight. If you don’t it will pull on the fabric and cause that curl. This stitch will be much taller than your average double crochet st, and that’s what creates this texture.
To read more on the golden loop, visit What is Crochet Gauge and How to Fix It for Success.
Also, blocking your crochet blanket once it’s finished can help keep the edges flat and help prevent it from curling.
Is the Alpine Stitch Easy?
Yes! It looks complicated, but with a video tutorial for the alpines stitch, it’s straightforward and easy to work up. I think the hardest part of the alpine stitch is just getting that front post double crochet to the correct height.
Does Alpine stitch work up quickly?
I think it works up pretty quickly. It’s not as fast as a regular double crochet blanket because the alpine stitch has front post stitches and some single crochet rows. But overall, I found this to be a fast stitch; I made this whole blanket in a couple of days.

How do you count the alpine stitch?
When counting the stitch, it’s easy to count the double crochet stitch and then the front post double crochet stitch.
But when counting in rows, that’s when I feel it can get a little tricky. It’s best not to count by the front post stitches since they are worked over a number of rows and only count by the background stitches. So count each dc st as a row and then each sc st as a row, ignoring the front post stitches.
How many sizes can you make the alpine stitch blanket?
So many sizes! It’s a two-stitch repeat and very easy to adjust. I’ve included these measurements, sizes, and yardage for the following sizes:
- Washcloth
- Lovey Blanket
- Security Blanket
- Receiving Blanket
- Stroller Blanket
- Small Cradle Blanket
- Large Cradle Blanket
- Crib Blanket
- Toddler Blanket
- Swaddler Blanket
- Lapghan
- Small Throw
- Large Throw
- Twin
- Full
- Queen
- King
- California King
Try some of my other patterns and tutorials!
Herringbone Double Crochet Stitch Tutorial (Hbdc)
Infinity Zen Cable Cocoon Crochet Pattern
No-Sew Bag Liner
How To Split Single Crochet (ssc), Round & Flat
How To Crochet A Textured Blanket – Free Pattern
Garden Fence Free Crochet Blanket With Unique HDC Border
Sanibel Crochet and Chill Blanket Free Pattern
Crochet Garden Blanket Free Pattern Perfect for the Patio
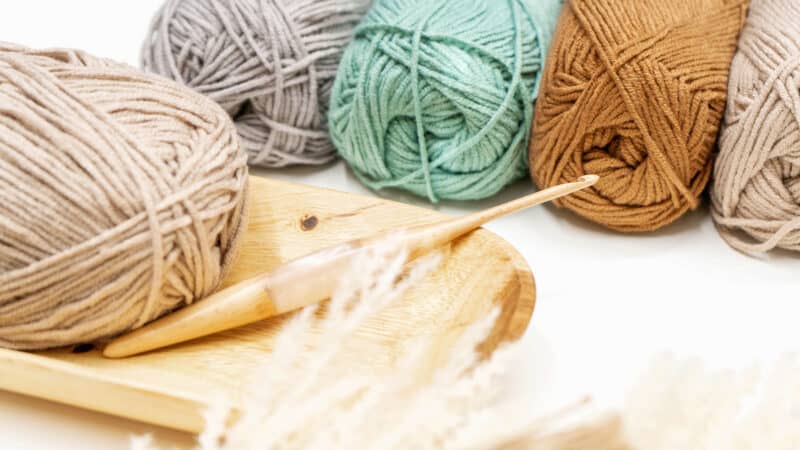
Supplies for the Crochet Blanket:
Crochet Hook:
Size J (6mm), or crochet hook to obtain gauge.
For the Washcloth, I used Size H (5 mm)
Notions:
Removable stitch markers if needed
Yarn needle to weave in ends
Scissors
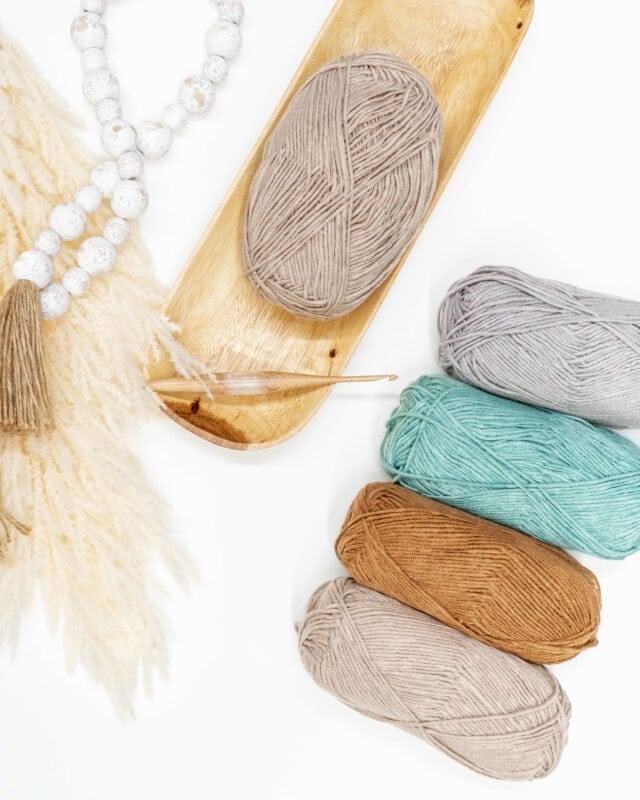
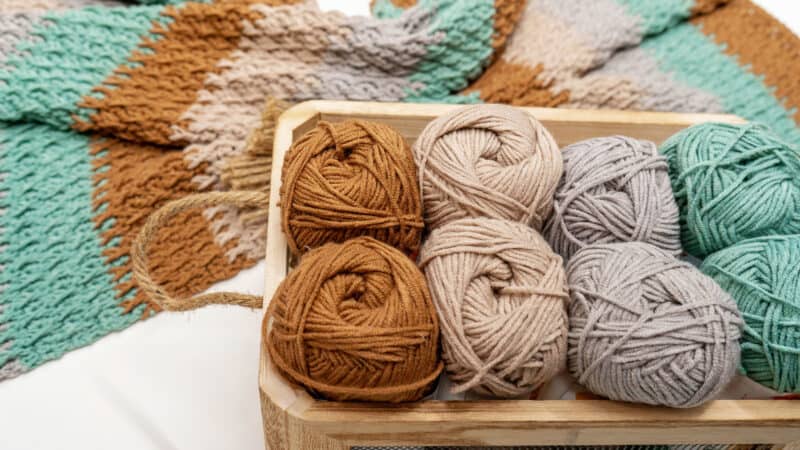
Yarn:
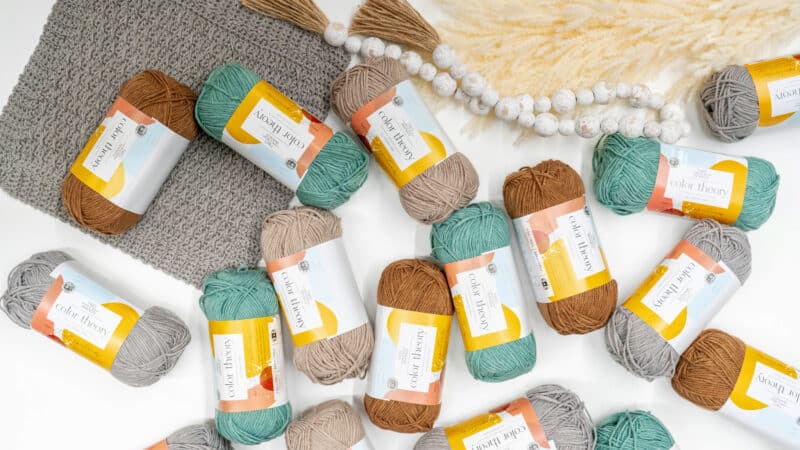
Worsted Weight Yarn
Lion Brand Color Theory
100% Acrylic, 246yds/100g
WeCrochet Dishie – For the Crochet Washcloth, cotton yarn
100% Cotton, 190yds/100g
Yardage:
This blanket can be crocheted in a variety of sizes. See the chart below for yardage.
Abbreviations/Stitches:
ch – chain
dc – double crochet
Fpdc – front post double crochet
rnd- round
sc – single crochet
sl st – slip stitch
st(s) – stitch(es)
Stsc – stacked single crochet
Gauge:
12 sts x 16 rows unblocked= 4×4” in Alpine Stitch.
Measurements/Sizes:
Custom measurements are easy to create with this blanket, see the chart.
Skill Level:
Advanced Beginner
Notes for the Alpine Stitch Crochet Blanket
You might fall in love with this stitch because of its amazing texture. This blanket can be crocheted to any desired size.
Simply creat the starting chain with an even number of stitches for the width, and then work the instructions for the blanket until the desired height. This can be crocheted in a solid color, or switched between colors.
I chose to leave my blanket without a border but created one for the washcloth. I’ve included an optional ribbed blanket border in this pattern if you would like to use it. Remember the border will add an additional 2 inches to each side of the blanket.
Special Stitches
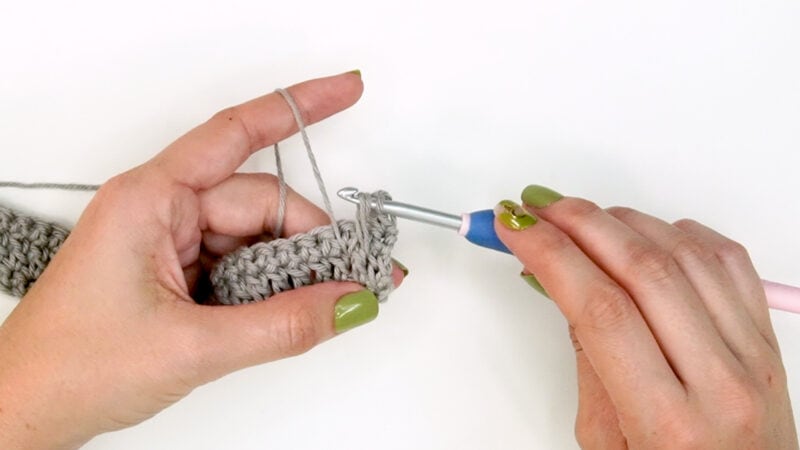
Tip for Alpine stitch height: When working the front post double crochet stitches we will need to adjust to create more height so the fabric lays flat.
Yarn over and insert hook from front to back to front around the post of the next stitch, yarn over and pull up the loops to the height of the current row (this is where the adjustment is important, it must be pulled up higher than a regular post stitch, yarn over and pull through two loops, yarn over and pull through the remaining loops on the hook.
Stacked Single Crochet (Stsc): Do NOT chain, insert hook into next stitch, yo, pull up a loop, yo and pull through both loops, insert hook in the vertical bar below, yo, pull up a loop, yo and pull through both loop on hook.
A ch 1 at the beginning of a sc row is not needed.
How to Size Your Crochet Blanket
This blanket has an easy stitch repeat that can be adjusted for any size. I’ve included a chart ofall the details and the information below to help you choose the size you want to make.
How much yarn will you need fo the Alpine Stitch Blanket?
An estimate of yardage is also included in the far right column. Simply divide the yardage by the number of colors you are using to calculate how many skeins you will need.
Alpine Stitch Video Tutorial

Click the box below to unlock this exclusive subscriber content for free. Add your email and create a password. If you are having trouble, reset your password or log in to the Grow Portal.
I’m thrilled to share this amazing crochet pattern with you! Please don’t copy, paste, or distribute this pattern. Prefer an ad-free experience? Purchase a digital PDF file for a small fee from one of my online stores. I appreciate your support and readership. You are why I can keep doing what I love and sharing it with others. Thank you from the bottom of my heart.
Alpine Stitch Crochet Chart

Alpine Stitch Blanket Written Instructions
Row 1: Ch the amount of desired stitches for the size of the blanket (see previous page), sc in first st and in each sts across, turn. (As an alternate, this first row can be done as a foundation single crochet).
Row 2: Stsc in first, dc in each stitch across, turn.
Row 3: Sc in each sts across, turn.
Row 4: Stsc in the first st, *Fpdc around the dc sts from the previous dc row, dc in next st*; repeat from * to * until the last st, dc in last, turn.
Special Note: When working the front post double crochet stitch, be sure to bring the stitch up to the height of your row before doing the last yarn over.
Row 5: Sc in each sts across, turn.
Row 6: Stsc in the first st, *dc in next st, Fpdc around the dc sts from the previous dc row*; repeat from * to * until the last st, dc in last, turn.
Row 7: Sc in each sts across, turn.
Alpine Stitch First Section Repeats: Repeat Rows 4-7 one time, then repeat Rows 4-5 one more time. This first section will have 13 rows.
Alpine Stitch Color Change Section Repeats: Change colors and Repeat Rows 4-7 three times. Each section will have 12 rows. You can create as many stripes as you would like and adjust the thickness or amount of colors.
Optional Alpine Crochet Blanket Border
This lovely blanket will be worked on the top and bottom (the narrow side of the blanket).
With the RS facing, attach the yarn to the corner of the blanket.
Row 1: Ch 7, sc in the first chain from hook and across towards the blanket edge, sl st 2 sts along the blanket edge (these do not count as sts), turn. 7 sts
Row 2: Skip the two sts from the blanket edge, working in blo sc in each st across until the last st, sc in both loops of the last stitch, and turn.
Row 3: Ch 1 (does not count as a stitch), sc through both loops of the first st, blo sc in each st across, sl st 2 sts along the blanket edge, turn.
Repeats: Repeat Rows 2-3 across one side of the blanket, and cut yarn.
After completing one narrow side of the blanket, repeat on the opposite narrow side.
Repeat the instructions from above along the long edges of the blanket. This will be started by attaching the yarn to the corner of the previous ribbed edge and working 2 sl sts per row along the edge of the blanket.
Finishing your Handmade Alpine Crochet Blanket
Weave in all the ends, light block and enjoy. I hope you enjoyed this beautiful stitch and happy crocheting!
Well, That Was Fun! What’s Next?