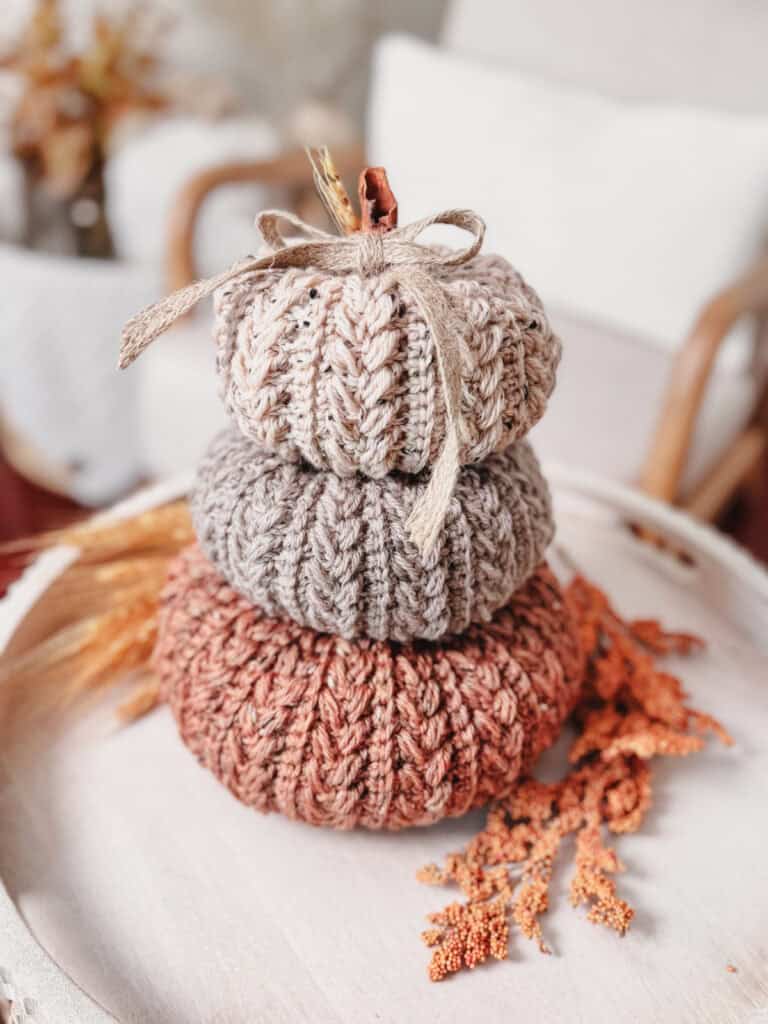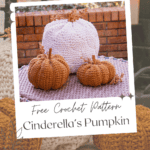


So we may not be turning a pumpkin into a carriage, but with Cinderella’s Crochet Pumpkin, we are bringing luxury with these stitches. And the best part? It’s a simple stitch repeat in the round with zero tricky short rows.
Disclosure: This post contains affiliate links. Please read my disclosure for more info.
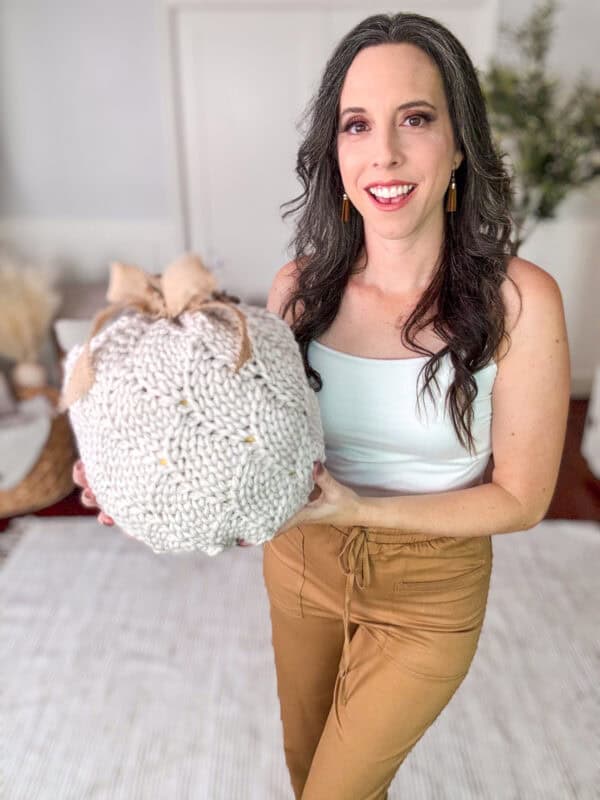
A knit lace stitch inspires the fabric on this pumpkin. But it’s very easy to replicate with stitches you may already know. It is so beautiful how the special combination of easy crochet stitches creates a swirling fabric. And unlike Cinderella’s pumpkin, this one will stay pretty way past midnight. It’s great to pair with the Knit-Purl Crochet Pumpkins, which is also a great way to practice learning the split single crochet stitch. Be sure to check out the Magical Stitches Holiday Edition Stockings – they’re a fairy tale for your Christmas decor!
You can now buy a bundle of all the patterns from
the Magical Stitches Course on Etsy; click here!
- Swirls on the Water Crochet Bag
- If The Slipper Fits Crochet Floor Pouf
- Cinderella’s Knit-Look Crochet Pumpkin Pattern
- Happily Ever After Crochet Clutch Pattern
- Journey Under The Sea Crochet Bag
- All Cabled Up In Sunshine Socks
- Royal Antler Crochet Mock Cable Bag
- Enchanted Crochet Hat
This Cinderella’s Knit-Look Crochet Pumpkin Pattern is now available for purchase outside the Magical Stitches course on Ravelry & Etsy
How are these crochet stitches made?
The stitches for this crocheted pumpkin and all the other patterns in the Magical Crochet Stitches Course are a strategic use of simple stitches you already know. It’s nothing tricky, and it can be worked in the round. This means that with a big hook and bulky yarn, the Cinderella’s Crochet Pumpkin can be worked up in as little as one evening.
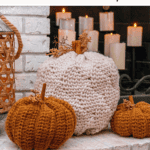
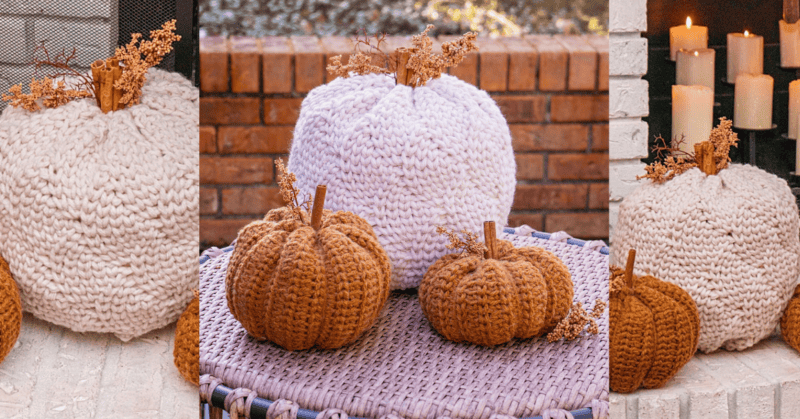
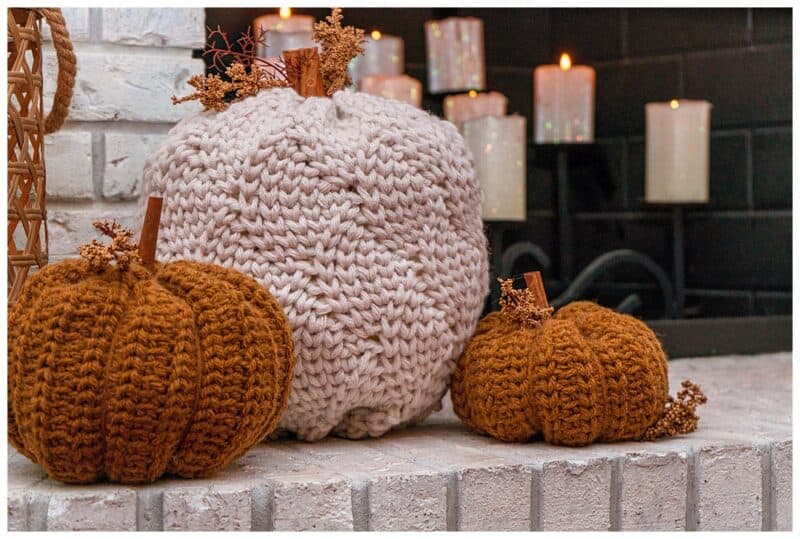
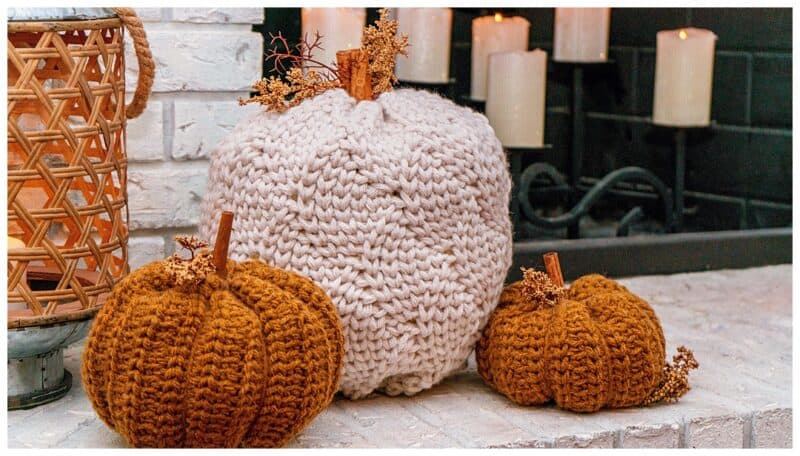
This is a gorgeous home decor crochet piece that can be used for Halloween, Thanksgiving, and fall.
Want even more fall-themed crochet patterns?
Pumpkin Knit & Crochet Mug Rug
Harvest Crochet Pillow
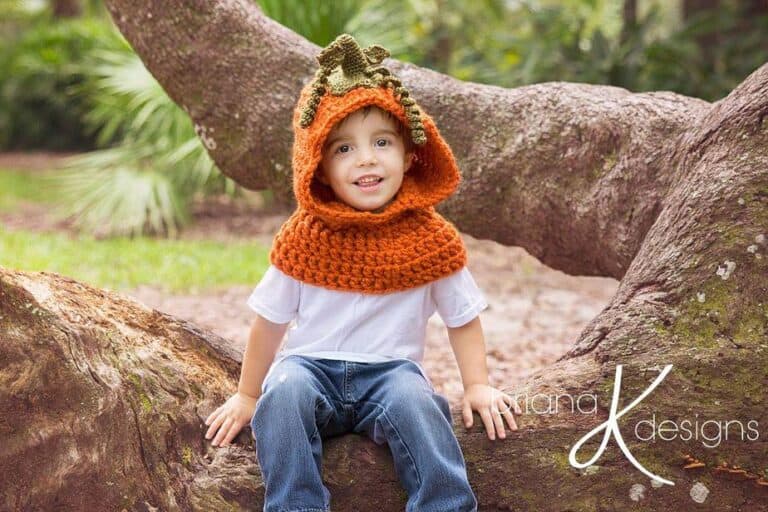
Pumpkin Hooded Crochet Cowl
Fall Skies & Apple Pies
Cinderella’s Crochet Pumpkin Supplies
Yarn
Mary Maxim Starlette Chunky (discontinued, see substitutions)
100% Acrylic, 60yds/100g
Colorways shown: Cottonwood
Yardage
Yardage is approx 350 yds (320m), 6 Skeins
Yarn Substitutions
Bernat Softee Chunky – 100% acrylic; 108yds/100g
Lion Brand Wool-Ease Thick & Quick – 80% Acrylic, 20% Wool; 106yds/170g
Bernat Blanket Big Ball – 220yds/300g
Crochet Hook
Notions:
Removable stitch marker
Yarn needle to weave in ends
Scissors
Fiberfill for stuffing
Another option for stuffing is to use the stuffing from an old pillow.
Skill Level
Intermediate
Abbreviations/Stitches
ch – chain
rnd- round
sc – single crochet
ssc – split single crochet
sl st – slip stitch
st(s) – stitch(es)
Gauge:
7 sts x 8 rows = 4×4 inches in ssc. Not critical for this project.
Measurements/Sizes
Adjustable, the pumpkin shown sits approx. 11 inches tall by 11 inches wide when stuffed.
What you’ll love about this home decor pumpkin pattern.
? Knit-look stitches – A knit lace stitch inspired the fabric of this pumpkin, but it’s very easy to replicate with stitches you may already know (like the single crochet)!
? Gorgeous Swirl Texture – We’ll use our crochet hooks to create a gorgeous texture with no tricky short rows.
? Easily Adjust Sizing – Make your pumpkin as big or as small as you’d like!
Cinderella’s Crochet Pumpkin Notes
Crochet Video Support for Cinderella’s Pumpkin
The stitches for the larger pumpkin are shown in the repeat of the Happily Every After Clutch Body.
Special Stitches
Split Single Crochet (ssc), also known as the waistcoat stitch.
This stitch is worked as single crochet but where the hook is inserted is the only difference. The hook will be inserted between the ‘V’ of the stitch.
Insert hook between the legs of the stitch (on the back of the work, the hook should be under the horizontal bar and between the upside-down ‘V’ shape as well), yarn over, pull up a loop to the height of a single crochet, yarn over, pull through both loops on hook. Keep your hands loose and comfortable. If your hands start to hurt, then the tension of the stitch is too tight. When entering the stitch, pull up the loop a bit more than you normally would; it will give the ‘V’ more space for the next round and make working the ssc comfortable.
Note on Adjusting
The instructions are for a larger pumpkin, but this can be adjusted for width and height. The starting chains are in multiples of 6, and the row repeat can be done until the desired size. Create your custom magical pumpkin!
Relax & Crochet
Upgrade to the Printable PDF
Beautifully formatted to print and relax while crocheting. The paid pattern includes:
Get the Ad-Free Pattern on Etsy or Ravelry.
Written Crochet Pattern Instructions
Rnd 4:
*ch 1, sc in the ch 1 space, ssc in next 2 sts, skip the next st, ssc in next 2*; repeat from *
to * until the end of the round.
Rnd 5:
*ch 1, sc in the ch 1 space, ssc in next 4 sts, skip the next st*; repeat from * to * until the
end of the round.
Repeats:
Repeat Rnds 1-5 until the desired height of the fabric. Fasten off, leaving a long tail for
closing the top of the pumpkin.
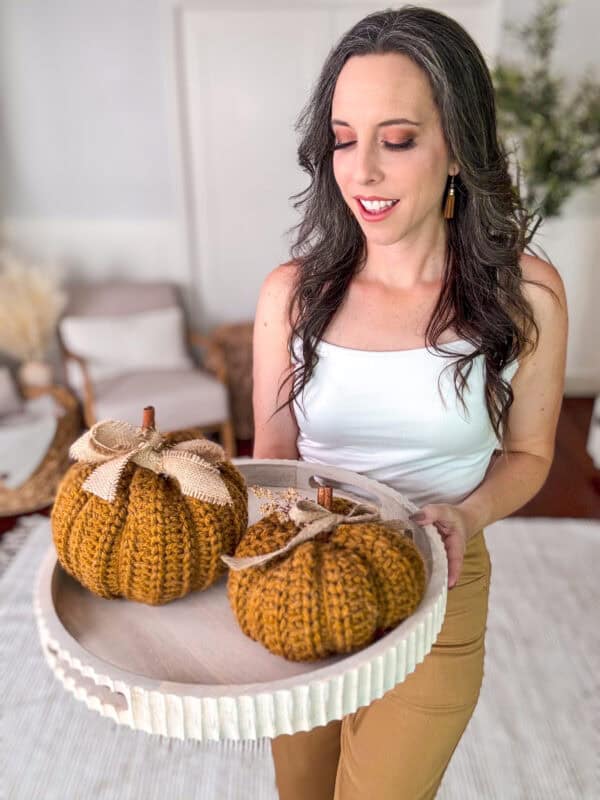
Knit-Purl Look Pumpkin Body
There is a video tutorial for this stitch.
Rnd 1:
Chain an even number of stitches for desired circumference of the pumpkin. For the smaller pumpkin there are 42 chains, for the larger pumpkin there are 50 chains.
Rnd 2:
Working in the round, single crochet in each chain around, do not join.
Rnd 3:
*In blo sc 1, ssc in next; repeat from * around, do not join.
Repeat Round 3 until desired height, for the pumpkins shows there are 20 rounds for the shorter, and 30 rounds for the taller pumpkin.
Closing the Top & Bottom of the Pumpkins
Work your swatch for 25 to 30 more rows, and then you will have enough height to create pumpkins. Do more or fewer rows for taller or shorter pumpkins.
Using a tapestry needle, sew through the edge stitches along one side. Pull the tail end to close.
Stuff the pumpkin with fiberfill or beanbag beans and repeat for the other side to close.
If desired, place cinnamon sticks or a wine cork into the top hole before closing all the way.
Weave the end from the top of the pumpkin, through the pumpkin to the bottom, and back again
to create the pumpkin shape if desired; see the video below. Fasten off and weave in ends.
Here is a video on how to stuff and close a pumpkin, plus some shaping tips:

I’m over the moon to share my crochet version of Cinderella’s pumpkin with you, and I hope you enjoyed making your pumpkin. This charming piece of home decor captures all the whimsy and magic of the fairy tale, transforming a simple yarn project into a delightful piece of enchantment.
If you love pumpkins as much as I do, then you’ll want to make some Beaded Pumpkins and a Hello Pumpkin Pillow Cover to match!
Cheers, and happy crocheting!
Well, That Was Fun! What’s Next?