Felici Crochet Socks Free Beginner Pattern
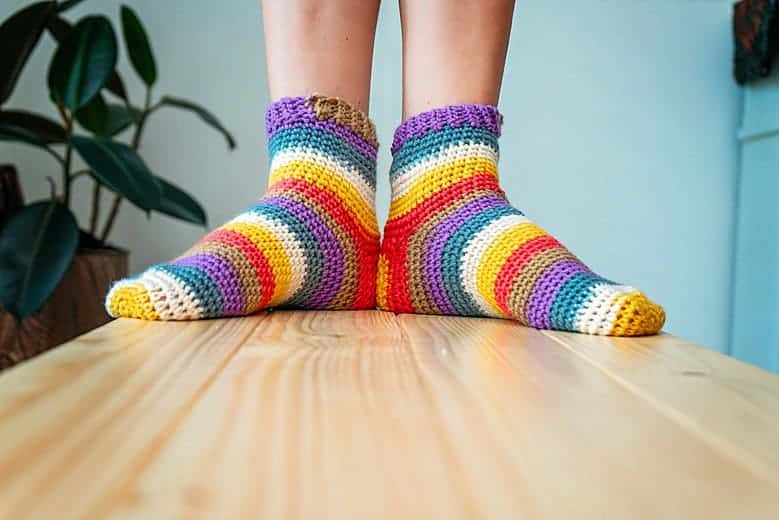
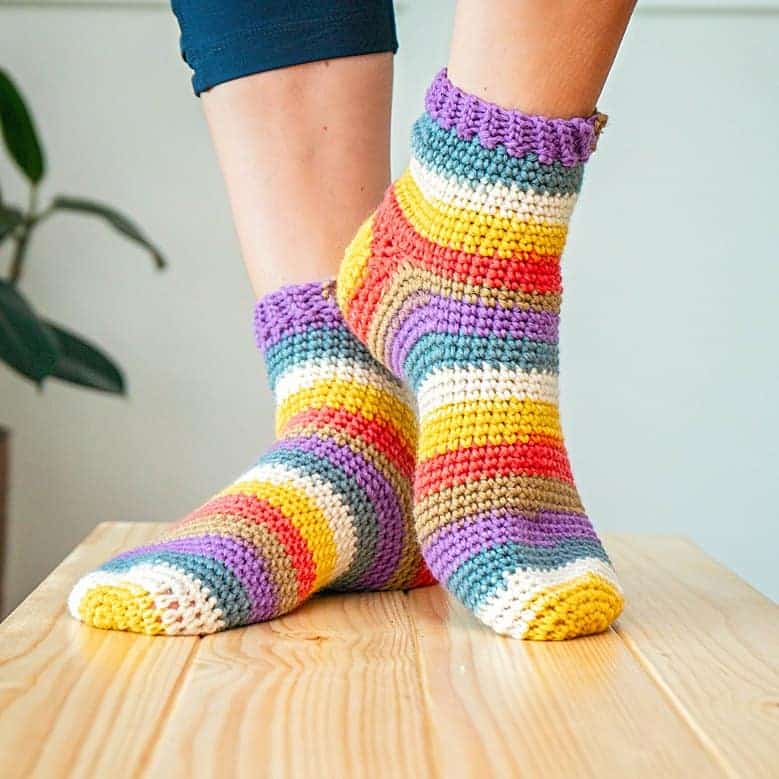
Have you been afraid to try crochet socks? Well, put that fear aside because I’m going to walk you through the Felici Crochet Socks Free Beginner Pattern. Keep on reading for the pattern and also a video tutorial to walk you through each step.
Are you a knitter? You are in luck, I also have this pattern available in knit! So if you are looking for the knit version, please visit the Free Simple Knit Beginner Sock Pattern for Cozy Toes
Disclosure: This post contains affiliate links. Please read my disclosure for more info.
How To Get An Even Better Fit – Get The Guide
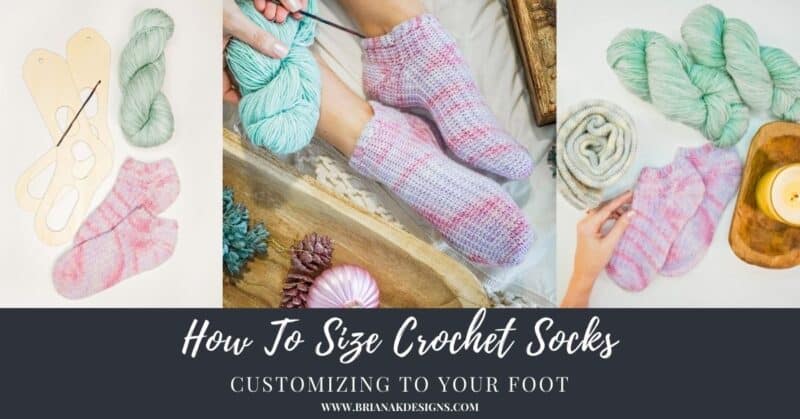
This crochet socks pattern tells you how to make different sizes. However, you can always customize crochet socks to perfectly fit your feet. Check out my guide to fitting crochet socks.
The Yarn Used For These Crochet Socks
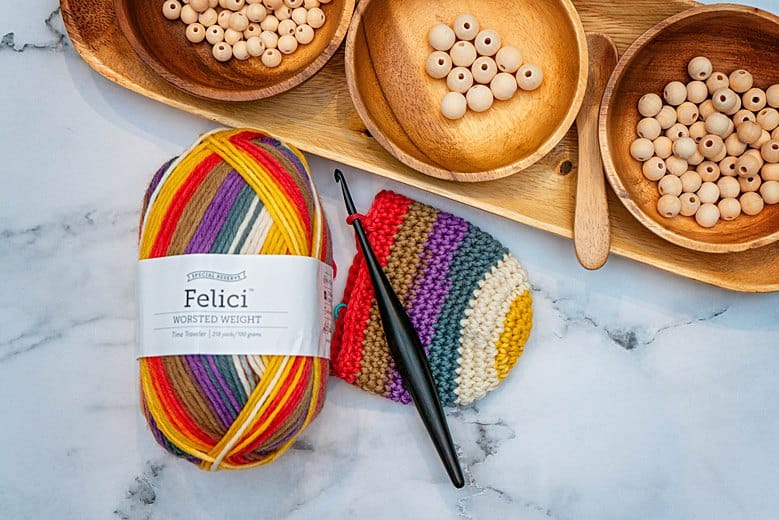
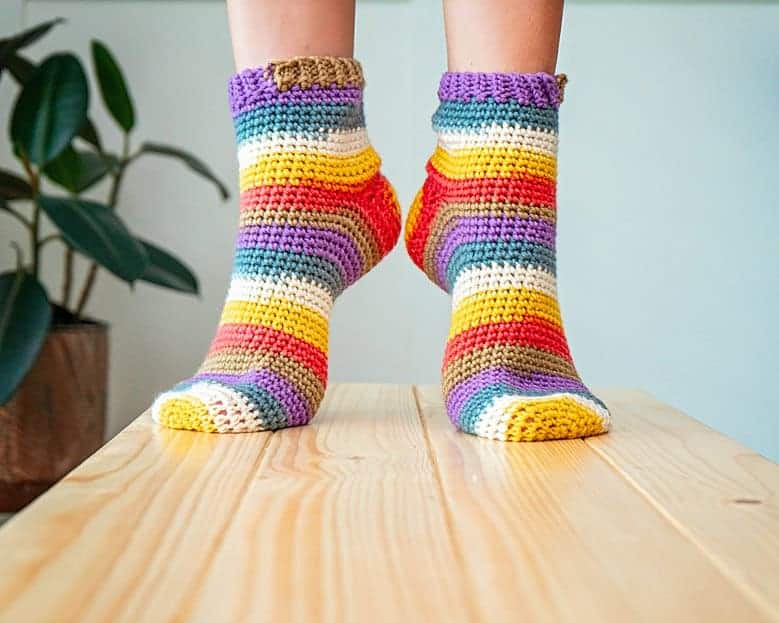
This pattern was originally designed with Felici Yarn from WeCrochet, it’s since been discontinued. It’s a self-striping yarn, so you get that great striping look without a billion ends to weave in. This is a limited edition yarn and is machine washable with it’s 75% Superwash Merino Wool & 25% Nylon for a great comfortable stretch. It’s so soft too, no scratch wool socks here.
Here is a yarn with Nylon that I would suggest as a substitute:
Chroma Worsted: 70% Superwash Wool, 30% Nylon
This yarn has a soft ombre color change and works up nicely.
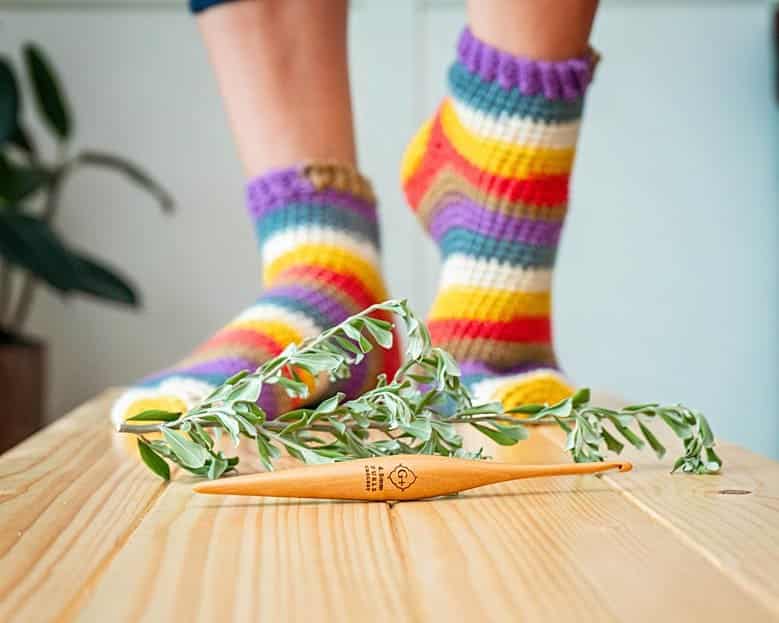
The Crochet Hook
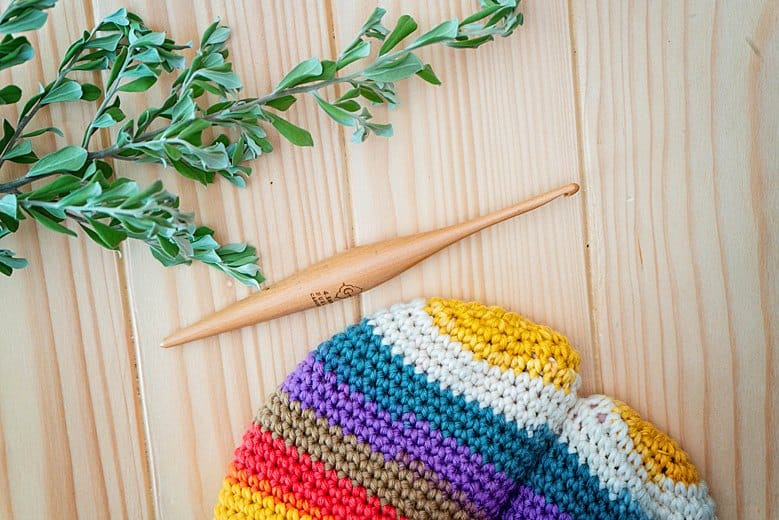
For this project I chose to work with the Furls Streamline Wood Hook in Camwood. This is not only an affordable streamline hook, but it’s also natural, I love the wood.
Looking for more sock patterns?
Try out some of my other crochet sock patterns!
Comfy Cozy Winter Crochet Slipper Sock Pattern
Quick and Cushy Slippers Crochet Pattern
Knit and Crochet Socks Patterns for Cozy Feet
Bulky Crochet Sock – Easy Free Pattern For Cushy Slippers

Disclosure: To cover the cost of publishing my blog and bringing you awesome content, this page may contain affiliate links. Should you choose to make a purchase, at no additional cost to you, I may earn a small percentage of the sale.
Supplies You Will Need For the Crochet Sock:
Crochet Hook:
Furls Streamline Wood Hook
size G+ (4.5mm), or hook to obtain gauge
Notions:
Removable stitch markers if needed
Yarn needle to weave in ends
Scissors
Yarn:
KnitPicks Felici Worsted (Discontinued), Try Chroma Worsted as a Substitute
in colorway
Time Traveler
Worsted 4 weight yarn, 75% Merino, 25% Nylon, 218yds/199m/100g
Yardage:
Small: 260 yds (238m)
Medium: 280 yds (256m)
Large: 300 yds (274m)
2 Balls Needed
Abbreviations/Stitches:
Ch – chain
sc – single crochet
sc2tog – single crochet two together
sc3tog – single crochet three together
sl st – slip stitch
st(s) – stitch(es)
Gauge:
18.5 sts and 19 rows = 4×4” (10 cm) in single crochet
Measurements/Sizes:
S: Shoe Size US 4-7
M: Shoe Size US 7-9
L: Shoe size US 9-11
Skill Level:
Easy Beginner
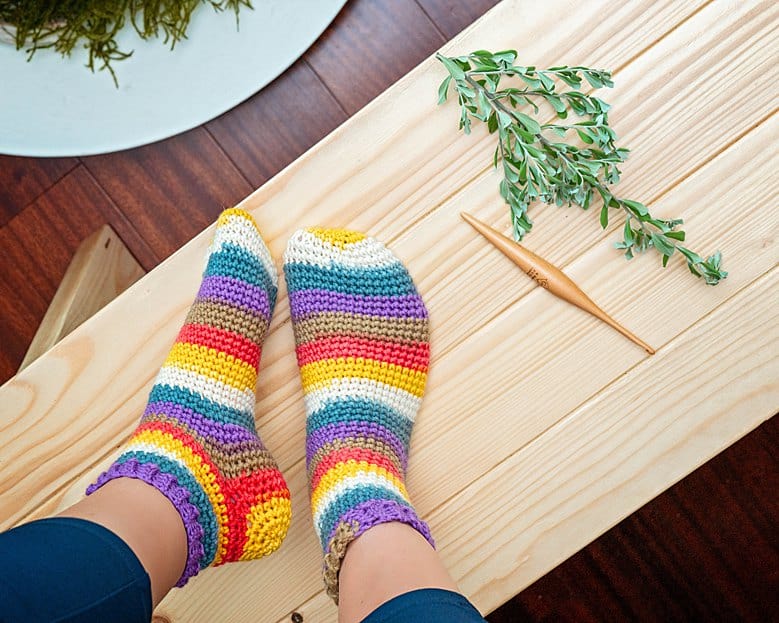
Crochet Socks Beginner Pattern Notes:
I love self-striping yarn. It makes colorwork easy and fun with fewer ends to weave in later. For this pattern, I really enjoyed working with the Felici Worsted Weight Yarn from WeCrochet, but it is now discontinued, instead try Chroma Worsted, which is also a great option for color changing. It creates a comfy sock that can keep the toes warm. This sock is worked from the toe to the cuff with the heel being worked last.
Repeats are written as S (M, L)
The ch 1 on the ribbing does not count as a stitch.
This sock is worked in the round continuously without joining. I suggest using a stitch marker to keep track of the rounds.
- Special Stitches:
Magic Ring: https://brianakdesigns.com/magic-crochet-circle-ring/
Crochet Socks Beginner Pattern Video:

Crochet Socks Beginner Pattern Instructions:
Toe of Sock and Instep
Rnd 1: Inside the Magic Ring sc 6, pull ring closed, do not join as this will be worked continuously. Place stitch marker in first stitch of each round. (6 sts)
Rnd 2: 2 sc in each st around. (12 sts)
Rnd 3: *2sc in first st, sc in next*; repeat from * to * around. (18 sts)
Rnd 4: *2sc in first st, sc in next 2 sts*; repeat from * to * around. (24 sts)
Rnd 5: *2sc in first st, sc in next 3 sts*; repeat from * to * around. (30 sts)
Rnd 6: *2sc in first st, sc in next 4 sts*; repeat from * to * around.
Please note: at this round, the circle diameter is approx 2.75”. If needed, go up or down a hook size to adjust. (36 sts)
Rnd 7: Sc in each st around.
Repeat this round until the sock reaches about 1 3/4” from the ankle, it’s best to try it on and add or remove rows if needed. This is a great time to customize the sock to your foot size. Remember, these will stretch a little as worn, so it should be a little snug.
Repeat approx. 30 (34, 40) rounds, or until the sock measures 1” before the heel. (36 sts)
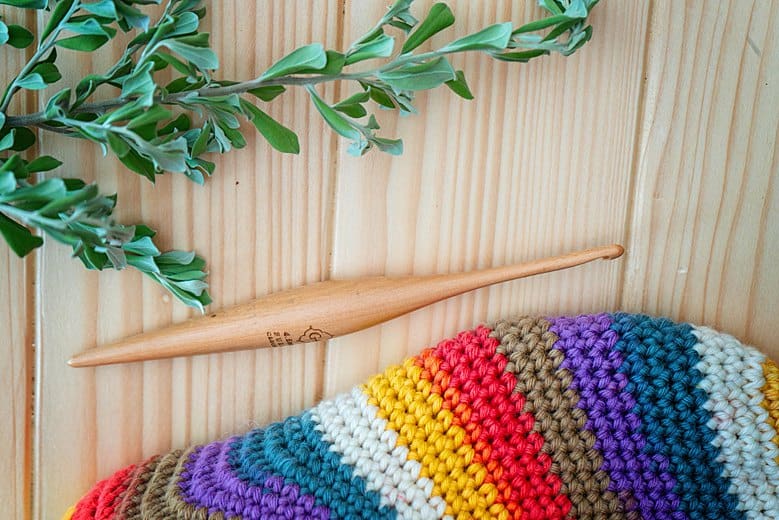
Gusset
Rnd 1: Sc 7, 2sc in next, sc 1, 2sc in next, sc 16, 2sc in next, sc 1, 2sc in next, sc 7. (40 sts)
Rnd 2: Sc in each st around. (40 sts)
Rnd 3: Sc 8, 2sc in next, sc 1, 2sc in next, sc 18, 2sc in next, sc 1, 2sc in next, sc 8. (44 sts)
Rnd 4: Sc in each st around. (44 sts)
Rnd 5: Sc 9, 2sc in next, sc 1, 2sc in next, sc 20, 2sc in next, sc 1, 2sc in next, sc 9. (48 sts)
Rnds 6-7: Sc in each st around. (48 sts)
Split for Heel
Rnd 1: This round will make space for the heel to work later. Sc 11, ch 14 loosely (or foundation single crochet 14), skip 26 sts, sc 11 (36 sts)
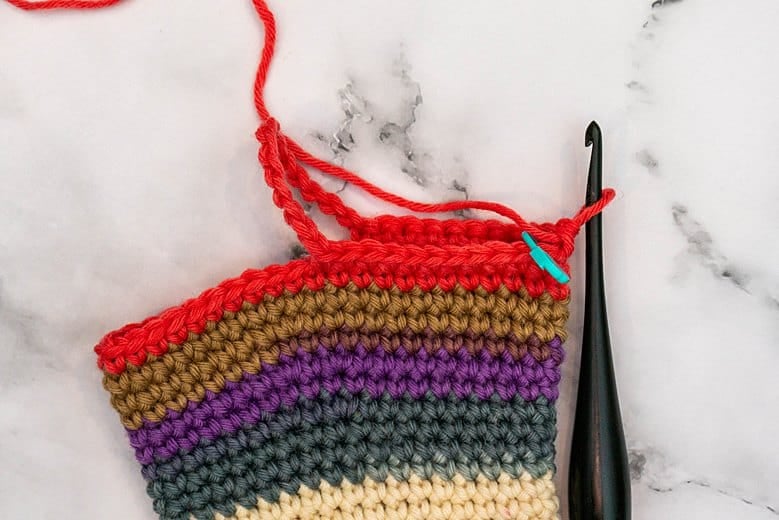
Top of Sock
Rnds 1-2: Sc in each st around.
This can be adjusted to be longer or shorter by increasing or decreasing the number of rounds. (36 sts)
Join The Kindest Community
Join our vibrant community of crafters on Facebook today. Whether you enjoy crafting with others or simply have burning questions, we’ve got you covered – join us now!
Ribbed Cuff
Row 1: Sl st in first st, ch 5, sl st in the second ch from the hook & in remaining 3 chains, sl st 2 sts from the top of the sock, turn. (4 sts)
Row 2: Ch 1, skip 2 sts from the sock top, blo sc 4, turn (4 sts)
Row 3: Ch 1, blo sc 4, sl st 2 sts from the top of the sock, turn. (4 sts)
Repeats: Repeat Row 2-3 all the way around the top of the sock to create the ribbing. Either slip stitch in the blo of the last row to the loops of the first row to join, or fasten off and seam with a tapestry needle.
Heel
Rnd 1: With the top opening of the sock facing upward, join yarn to the 5th stitch to the left of the right heel corner, slip stitch in each stitch around, do not join, and work continuously. (40 sts)
Rnd 2: Sc 19, sc2tog, sc3tog, sc2tog, sc 7, sc2tog, sc3tog, sc2tog. (32 sts)
Rnd 3: Sc in each st around. (32 sts)
Rnd 4: Sc2tog, sc 14, sc2tog, sc3tog, sc2tog, sc 4, sc2tog, sc3tog. (24 sts)
Rnd 5: Sc in each st around. (24 sts)
Rnd 6: *sc2tog, sc in next*; repeat from * to * around. (16 sts)
Rnd 7: Sc in each st around. (16 sts)
Rnd 8: Sc2tog around. Fasten off and use tail end to weave through the remaining loops and pull the hole closed. Weave in any remaining ends. (8 sts)
Want an alternative way to work the heel?
Unlock the content below, or skip this and continue to the next section.

Click the box below to unlock this exclusive subscriber content for free. Add your email and create a password. If you are having trouble, reset your password or login to the Grow Portal.
I’m thrilled to share this amazing crochet pattern with you! Please don’t copy, paste, or distribute this pattern. Prefer an ad-free experience? Purchase a digital PDF file for a small fee from one of my online stores. I appreciate your support and readership. You are why I can keep doing what I love and sharing it with others. Thank you from the bottom of my heart.
Well That Was Fun! What’s Next?
📌 PIN THIS POST – Don’t lose this project; save it to your Pinterest crochet board so you can quickly come back to it again.
💌 SHARE – Share your yarn choice, in-progress, or finished projects on Facebook or Instagram and use the hashtag #brianakdesigns
🥂 JOIN – Join the kindest crafters in the Briana K Designs Community Group on Facebook. We love yarny friends!
🔗 RAVELRY LINK -Link and share your project on Ravelry. Having inspirational photos can help crafters.
Crochet & Tag
I hope you have enjoyed making the Crochet Socks Free Beginner Pattern!
If you have made this, please share it on social media. Above all, I love to see the projects created with my patterns and also share your beautiful work.
Please use #brianakdesigns or @brianakdesigns
It is much appreciated and adored!
