Want an Ad-Free PDF Download of this pattern?
This pattern is available in my shops:
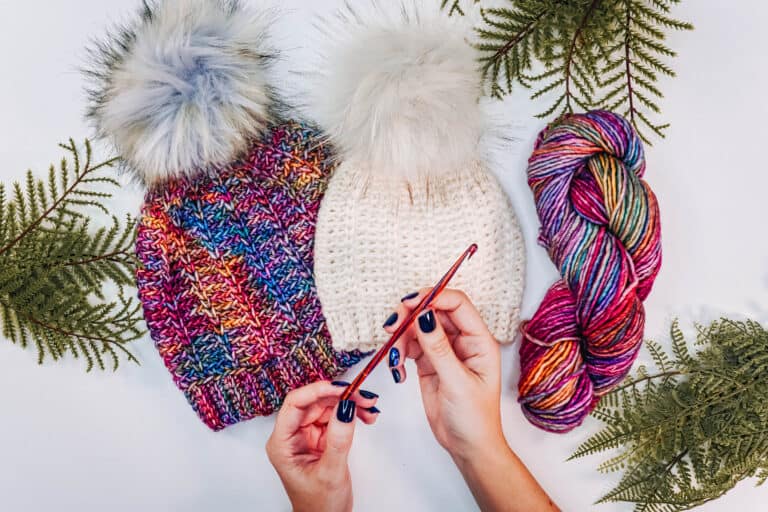
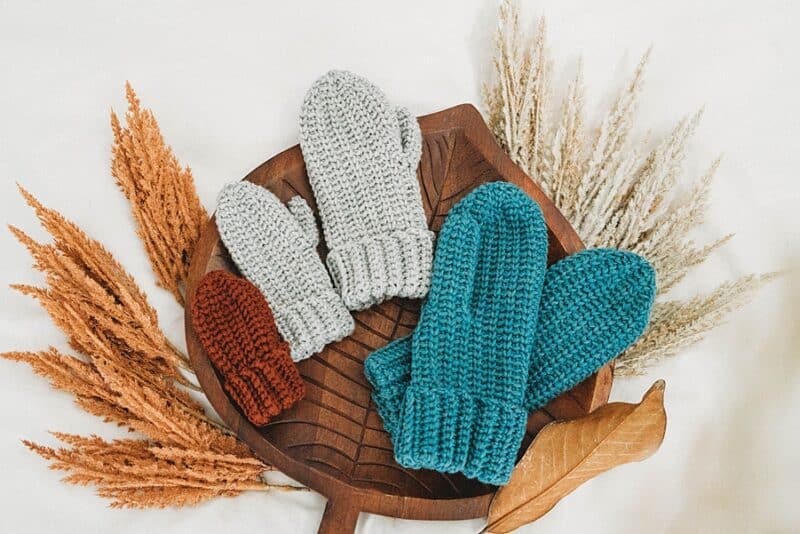
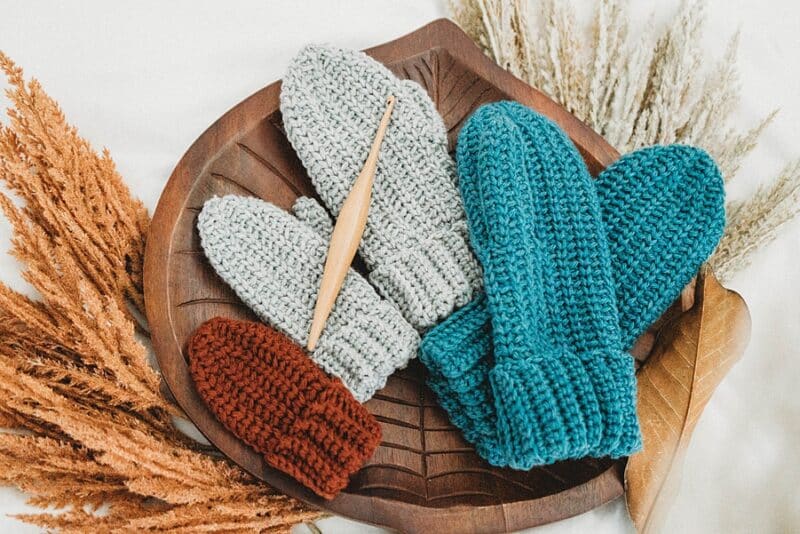
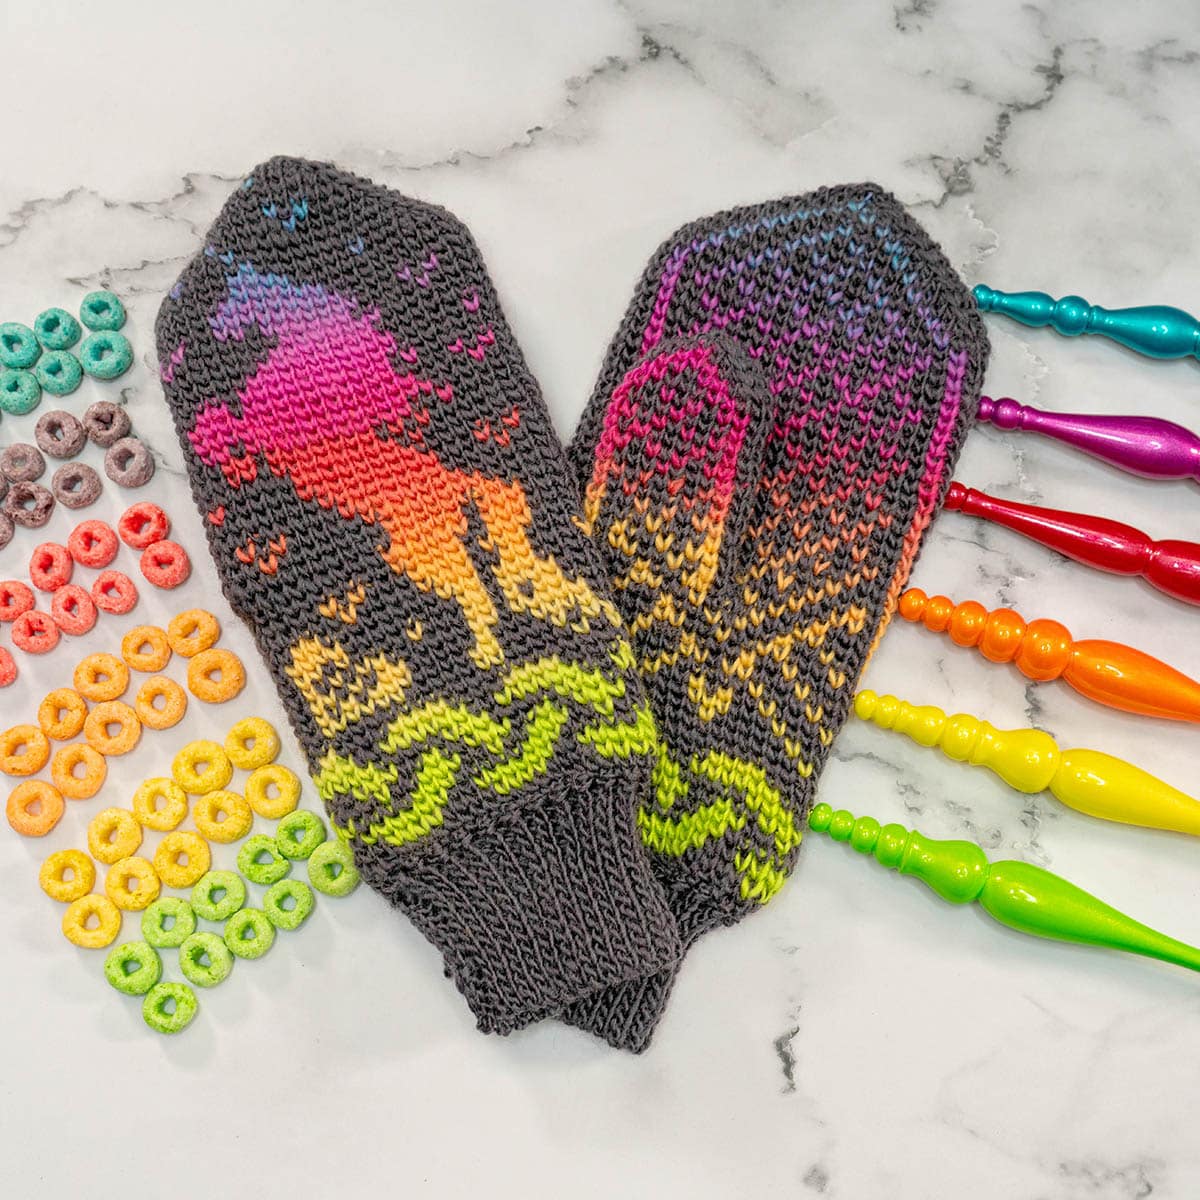
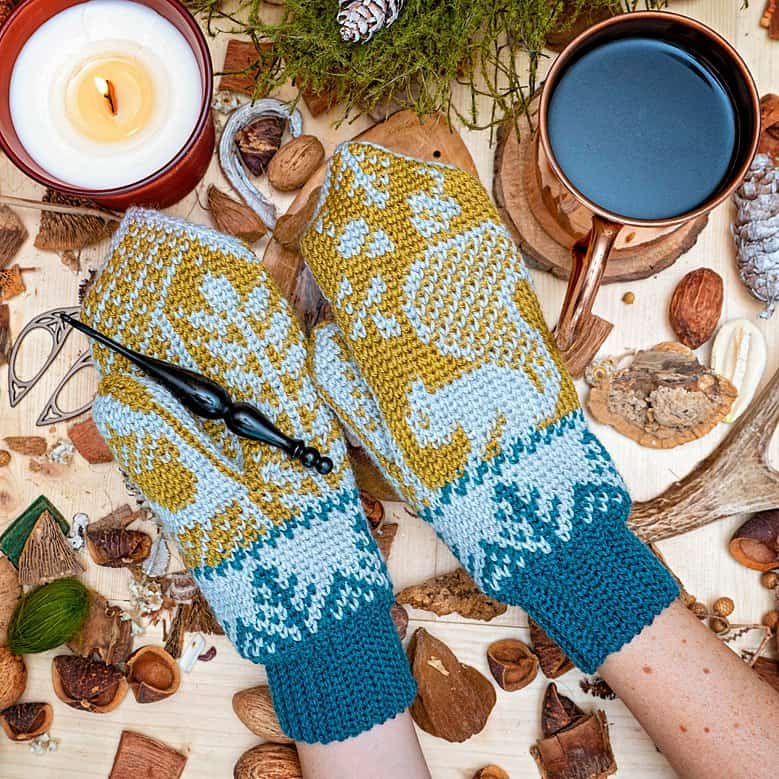
Keep those fingers warm this season and learn how to crochet a mitten. This crochet mitten pattern is done as one piece without seaming and has a unique knit-look stitch. This pattern is designed for the whole family! From baby to adult, everyone will be keeping their hands cozy.
This pattern is free on this blog post, keep reading to enjoy. For an ad-free printable download visit RAVELRY or ETSY.
About The Yarn For These Crochet Mittens
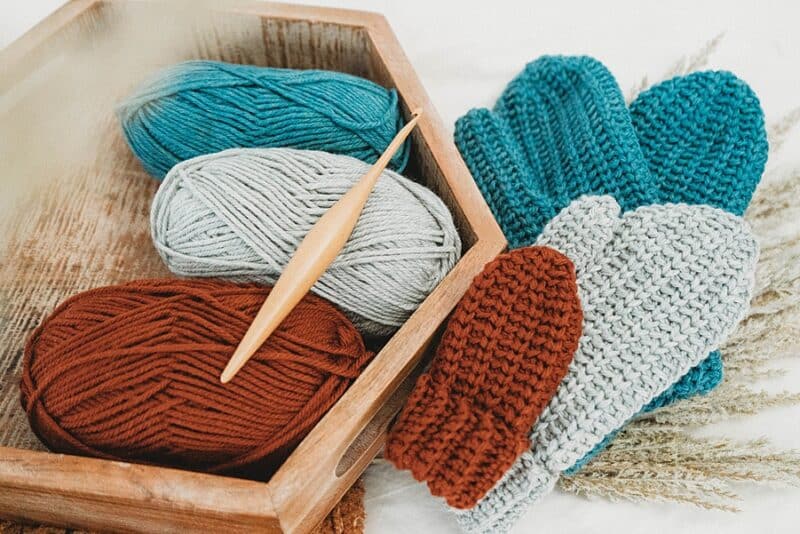
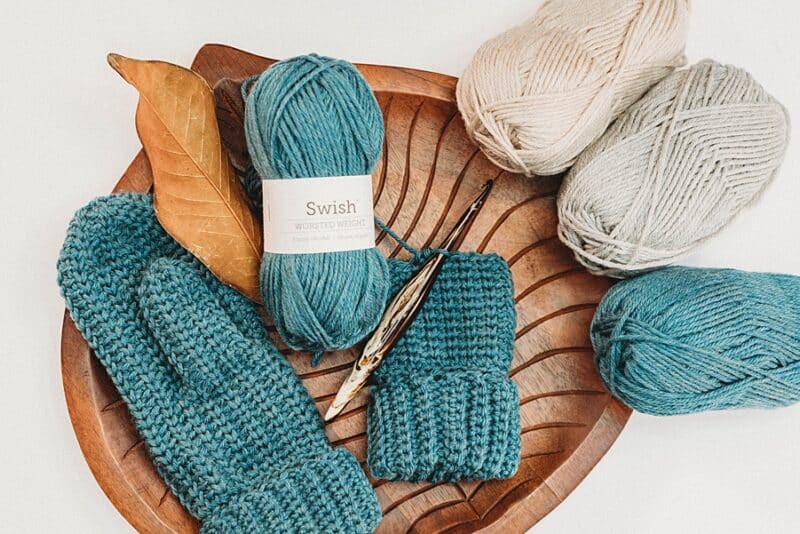
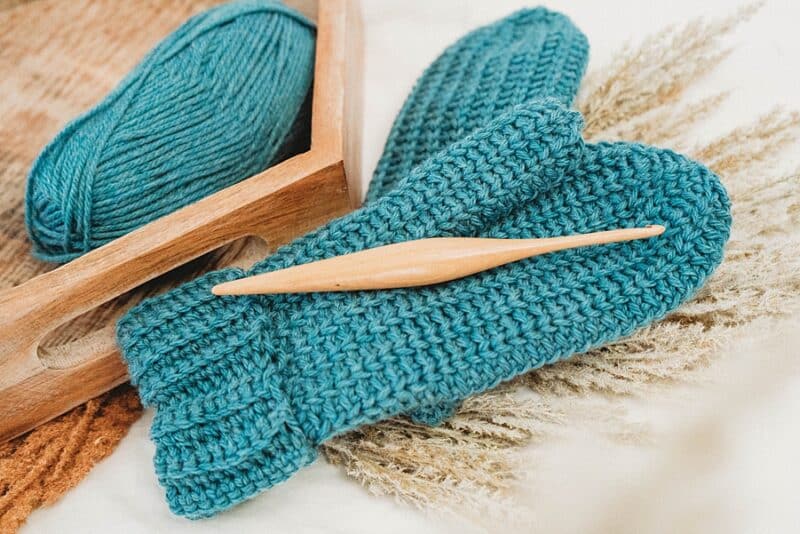
For this mitten pattern, I chose to work with one of my all-time favorite yarns, WeCrochet Swish. This yarn is so squishy and warm without being itchy. The fiber content is 100% Fine Superwash Merino Wool. Merino is my absolute favorite fiber.
And the best part, it’s superwash, which means you don’t have to worry about it shrinking or felting. If you haven’t gotten your hands on some yet, you are missing out.
If you are allergic to wool or would like to use a substitute, here are some substitute yarns:
Brava Worsted (100% Premium Acrylic)
Wool of the Andes (100% Peruvian Highland Wool)
Mighty Stitch (80% Acrylic 20% Superwash Wool)
Lion Brand Vanna’s Choice (100% Acrylic)
Crochet Mittens Video:

Crochet Mittens Supplies:


Crochet Hook:
Notions:
Removable stitch markers if needed
Yarn needle to weave in ends
Scissors
Yarn:
WeCrochet Swish
Worsted Weight, 100% Superwash
Merino Wool, 110 yds/100m, 50g
Shown in Copper, Dove Heather & Estuary Heather
Yardage:
Yards: 75 (85, 130, 160) (200, 220, 240, 260, 290)
Skeins: 1 (1, 2, 2) (2, 2, 3, 3, 3)
Abbreviations/Stitches:
blo – back loop only
ch – chain
dss – double slip stitch
sl st – slip stitch
sc – single crochet
ssc – split single crochet
st(s) -stitch(es)
Gauge:
16 sts by 18 rows =
4×4 inches stitch pattern with H hook
Skill Level:
Easy/Beginner
Size:
Mitten Width in inches:
2.25 (2.5, 3, 3.25) (3.5, 3.75, 4, 4.25, 4.5)
Top of fingers to the wrist in inches:
3 (4, 4.75, 5.25) (6, 6.5, 7.5, 7.75, 8.5)

Notes:
Sizes are written as: Baby, (Toddler, Preschool, Child) (Small, Medium, Large, X-Large, XX-Large)
Note on sizes: These mittens use the suggested measurements from the Craft Yarn Council. The X-Large & XX-Large and very big and would be useful as an extra layer over other mittens.
The Crochet Knit Purl Mittens are worked from the bottom up. It starts with a ribbing (two options available) and then is joined and worked in the round. The thumbhole is created and worked after the top of the mitten is shaped.
The Ch 1 at the beginning of rows for the ribbing is not necessary and can be omitted.
When decreasing the stitches (sc2tog) work in the stitch pattern.
Special Stitches:
Split Single Crochet (ssc): https://brianakdesigns.com/split-stitch-mania/
Double Slip Stitch (dss): yo, insert hook in stitch indicated, yo, pull through all loops on hook.
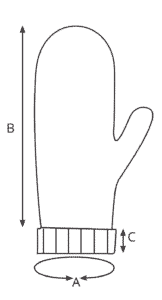
| Measurements In Inches | |
| A | 4.5 (5, 6, 6.5) (7, 7.5, 8, 8.5, 9) |
| B | 3 (4, 4.75, 5.25) (6, 6.5, 7.5, 7.75, 8.5) |
| C | 1.25 (1.25, 1.75, 2) (2.25, 2.25, 2.5, 2.5, 2.5) |
Crochet Knit Purl Mittens Written Pattern:
Ribbing Option 1 (double slip stitch):
Row 1: Using the G (4.00mm) hook, ch 15 (15, 17, 19) (21, 21, 23, 23, 23), double sl st in the second chain from hook and in each across, turn. 14 (14, 16, 18) (20, 20, 22, 22, 22) sts
Row 2: Working in the blo, double sl st in each st across, turn.
Repeats: Repeat Row 2 for a total of 18 (20, 24, 26) (28, 30, 32, 34, 36) rows. Slip Stitch Row 1 with the current Row together by working through the blo of the current row and the loop from the first row.
Ribbing Option 2 (single crochet):
Row 1: Using the G (4.00mm) hook, ch 15 (15, 17, 19) (21, 21, 23, 23, 23), sc in the second chain from hook and in each across, turn. 14 (14, 16, 18) (20, 20, 22, 22, 22) sts
Row 2: Working in the blo, sc in each st across, turn.
Repeats: Repeat Row 2 for a total of 18 (20, 24, 26) (28, 30, 32, 34, 36) rows. Slip Stitch Row 1 with the current Row together by working through the blo of the current row and the loop from the first row.
Mitten Body:
Rnd 1: Use the H (5.00mm) hook for the remainder of the pattern.
Working along the edge of the ribbing, sl st one stitch per row, do NOT join, the rest of the pattern will be worked in continuous rounds. 18 (20, 24, 26) (28, 30, 32, 34, 36) sts
Rnd 2: Working in the blo of the sl sts, sc in each stitch around.
Rnd 3: ssc in first, blo sc in next; repeat from * to * around. This is the established stitch pattern.
Repeats: Repeat Round 3 for 10 (7, 8, 9) (10, 11, 11, 12, 13) rounds from the slip stitch round, or to the desired height for thumb hole.
Thumb Hole:
Rnd 1: For baby go to Top of Mitten. There is no thumbhole for baby size.
Ch 0 (4, 4, 5) (6, 6, 7, 7, 7, 8) and skip the next 0 (4, 4, 5) (6, 6, 7, 7, 7, 8) sts, work the remaining sts in the round as the established stitch pattern. 18 (20, 24, 26) (28, 30, 32, 34, 36) sts
Top of Mitten:
Rnd 1: Work in est st pattern in each stitch around for 0 (9, 10, 11) (13, 15, 19, 21, 23) rounds.
Note: the first round across the chain sts will be worked in single crochet. 18 (20, 24, 26) (28, 30, 32, 34, 36) sts
Rnd 2: sc2tog, ssc in next, blo sc in next; repeat from * to * around. For sizes Baby, Preschool, Small, Medium, Large, and XXL, end with a sc2tog. 13 (15, 17, 19) (20, 22, 24, 27, 28) sts
Rnd 3: ssc 2, blo sc in next; repeat from * to * around. For sizes Baby, Preschool, Small, Medium, Large, and XXL, end with a ssc. 13 (15, 17, 19) (20, 22, 24, 27, 28) sts
Rnd 4: sc2tog, blo sc in next; repeat from * to * around, For sizes Baby, Medium, Large, and XXL, end with an ssc. Preschool, Small ending with a ssc in next, blo sc in last. 9 (10, 12, 13) (14, 15, 16, 18, 19) sts
Rnd 5: Work in est st pattern around. 9 (10, 12, 13) (14, 15, 16, 18, 19) sts
Rnd 6: sc2tog, ssc in next, blo sc in next; repeat from * to * around. Work in the repeat until the round is completed, not all sizes will end on the full repeat. If only one stitch is left after the repeat, work it in the est st pattern. For sizes Baby (Preschool, Toddler, Child), go to closing. 7 (7, 9, 10) (10, 11, 12, 13, 14) sts
Rnd 7: sc2tog, blo sc in next; repeat from * to * around. Work in the repeat until the round is completed, not all sizes will end on the full repeat. If there is only one stitch is left after the repeat, work it in the est st pattern. (7, 7, 8, 9, 9) sts
Closing: Fasten off the yarn leaving a 10-inch tail. Working through the front loops only, weave through all the remaining stitches and pull the opening closed. Weave in end and fasten off. 7 (7, 9, 10) (7, 7, 8, 9, 9) sts
Thumb:
Rnd 1: For Baby size, there will be no thumb hole.
Attach yarn to the bottom right stitch of the thumb, work the 0 (4, 4, 5) (6, 6, 7, 7, 7, 8) sts on the bottom in the est st pattern, and then rotate your mitten to work the 0 (4, 4, 5) (6, 6, 7, 7, 7, 8) ch sts as sc.
There will be holes on the sides of the thumb, the tail ends will be used to sew these closed at finishing. 0 (8, 8, 10) (12, 12, 14, 14, 14, 16) sts
Rnd 2: Work the est st pattern in each st around for 0 (7, 9, 9) (13, 13, 13, 13, 14, 14). 0 (8, 8, 10) (12, 12, 14, 14, 14, 16) sts
Rnd 3: sc2tog around. 0 (4, 4, 5) (6, 6, 7, 7, 7, 8) sts
Closing: Fasten off yarn leaving a 8-inch tail. Working through the front loops only, weave through all the remaining stitches and pull the opening closed. Weave in end and fasten off.
Mitten Finishing:
Use the tail ends by the thumb to sew any holes closed. Fasten off and weave in ends.


CROCHET & TAG
I hope you have enjoyed learning how to crochet mittens!
If you have made this, please share it on social media. Above all, I love to see the projects created with my patterns and also share your beautiful work.
Please use #brianakdesigns or @brianakdesigns
It is much appreciated and adored!