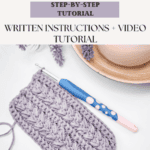
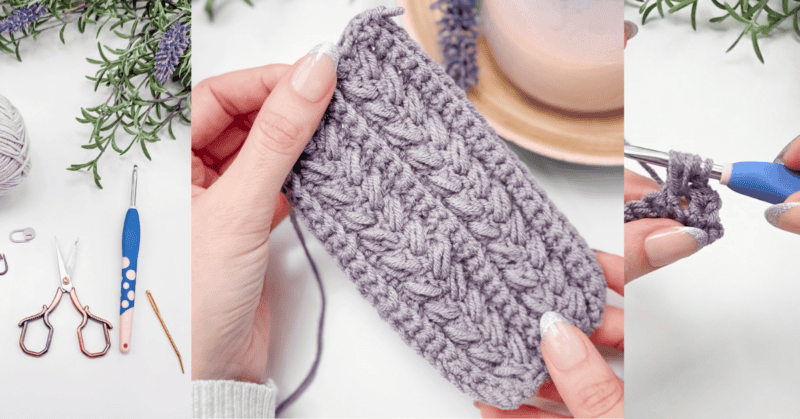
How to Crochet The Wheat Stitch
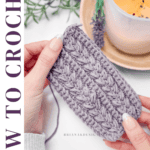
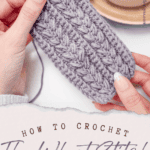

If you’re looking for a crochet stitch that’s beautifully textured, easy to memorize, and endlessly versatile, the Wheat Stitch is for you! This 4-row repeat pattern combines modified puff stitches and single crochets to create a soft, cozy texture that works beautifully for all kinds of projects.
Whether you’re making something for yourself, a gift, a charitable donation, or even to sell, the Wheat Stitch is a must-try. I’ve already used this stitch in several published patterns, and I have even more on the way—so stay tuned!
To make learning this stitch even easier, I’m breaking it all down for you step-by-step with detailed images and a full video tutorial! Whether you’re a beginner looking to expand your skills or an experienced crocheter searching for a fresh new texture, this stitch is a perfect addition to your skill library!
Disclosure: This post contains affiliate links. Please read my disclosure for more info.
What you’ll love about this crochet stitch.
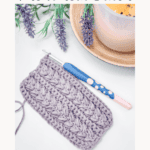
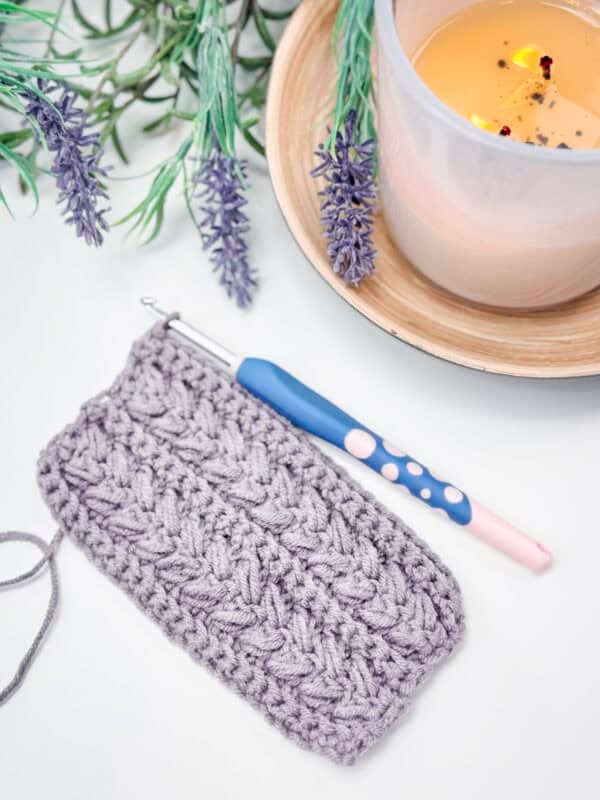
For my Wheat Stitch patterns, worsted weight yarn has been an absolute favorite – especially Lion Brand’s Color Theory! Not only is it affordable (which is always a win!), but it also gives the modified puff stitches amazing definition, making the texture pop beautifully. I love the feel of this yarn, and the color palette fits my aesthetic perfectly. Plus, with so many worsted weight options out there, you might already have the perfect yarn in your stash to start your next Wheat Stitch project!
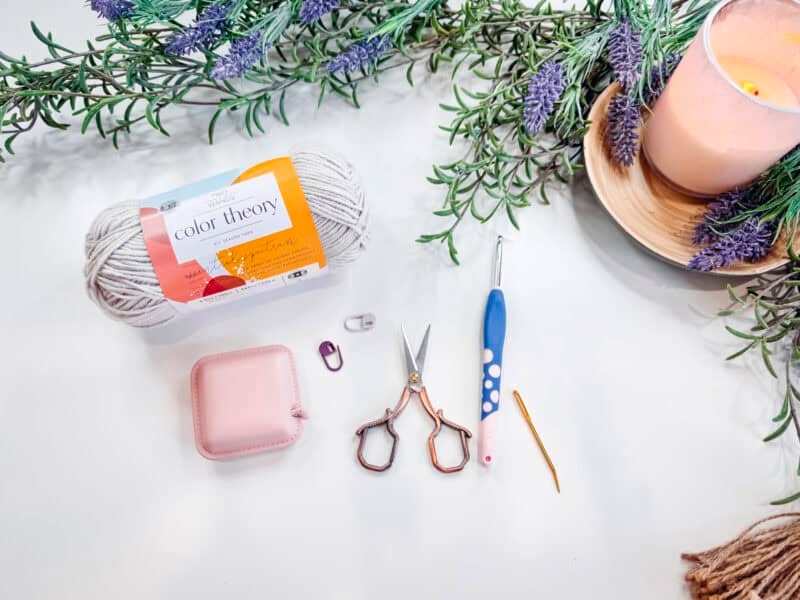
Crochet Supplies
Yarn
Lion Brand Color Theory
100% Acrylic, 246yds/100g
Yarn Quantities
If making a swatch, you will need 50 yards.
Crochet Hook
Size US H (5.0mm) Crochet Hook or hook to obtain gauge.
Notions
Scissors
Yarn Needle
Removable Stitch Marker
Skill Level
Advanced Beginner
Sizing
Sizing is adjustable, get started with a small swatch to see if you like the stitch.
Abbreviations
blo – back loop only
ch – chain
RS – right side
sc – single crochet
sl st – slip stitch
st(s) – stitch(es)
WS – wrong side
Gauge
17 sts and 12 rows = 4″ by 4″ unblocked, in pattern repeat.
How to Crochet A Gauge Swatch
Working a gauge swatch will let you know if you will have the correct sizing for this pattern. It will also help you practice the stitches used in this project and improve your stitch work for a flawless look.
Are you struggling to match the gauge? Check out the blog post on What is Crochet Gauge and How To Fix It
Stitch Instruction Notes
- The Wheat Stitch has a Stitch Mulitple of 2 + 1 turning chain.
- The pattern is a 4-row repeat.
- Work the first row of stitches in the back humps of the starting chain.
- Using a stitch marker at the beginning of the row is recomended.
- Beginning ch 1 doesn’t count as a stitch.
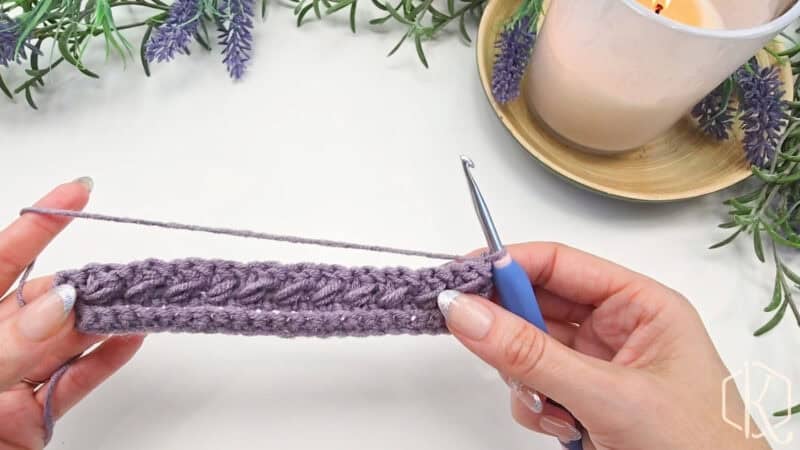
- The RS of the work (even rows facing out) has a ridge line from the blo sc rows.
- This pattern uses Standard US Terminology.
Construction
The Wheat Stitch is worked back and forth in rows. We’ll start by chaining a multiple of 2 + 1 (for a turning chain), and work two rows of single crochet in the back loop. Then we’ll work two rows of the wheat stitch, followed by two rows of blo sc. And that’s our 4-row repeat! Keep working those 4 rows (two wheat stitch, two blo sc) until desired height, or per the directions of the chosen Wheat Stitch pattern.
Special Stitches
Modified Puff Stitch: Yarn over and insert your hook into the stitch/space. Yarn over again and pull up a long loop. Yarn over and insert your hook into the same stitch/space. Yarn over again and pull up a long loop (5 loops on the hook). Yarn over and pull through the first 4 loops, yarn over and pull through remaining loops.
Video Tutorial for the Wheat Stitch
Written Crochet Stitch Pattern Instructions
Setup:
Start by creating a slip knot and placing it on your crochet hook.
Ch 25.
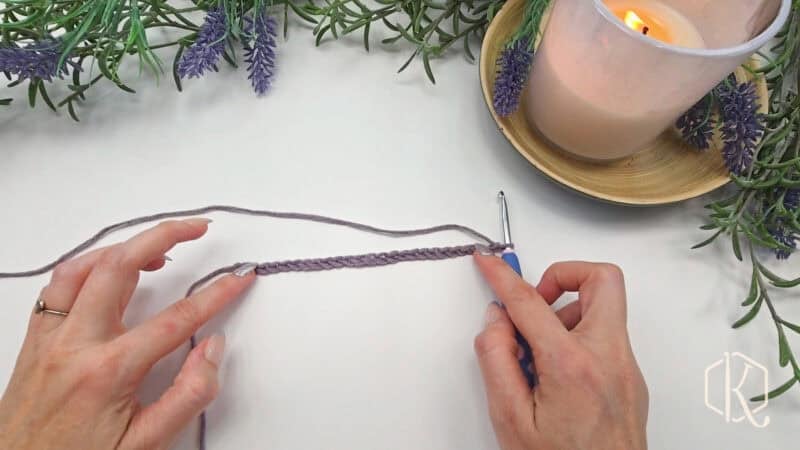
Row 1 (WS):
Starting in the 2nd ch from the hook, sc in each ch across, turn. | 24 sts
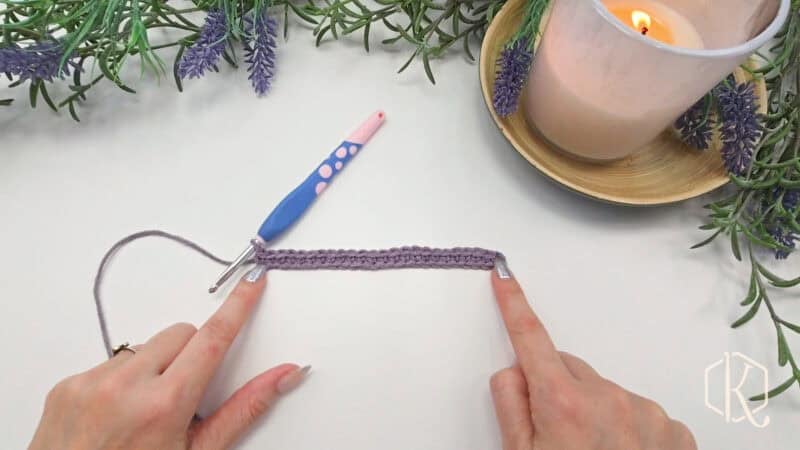
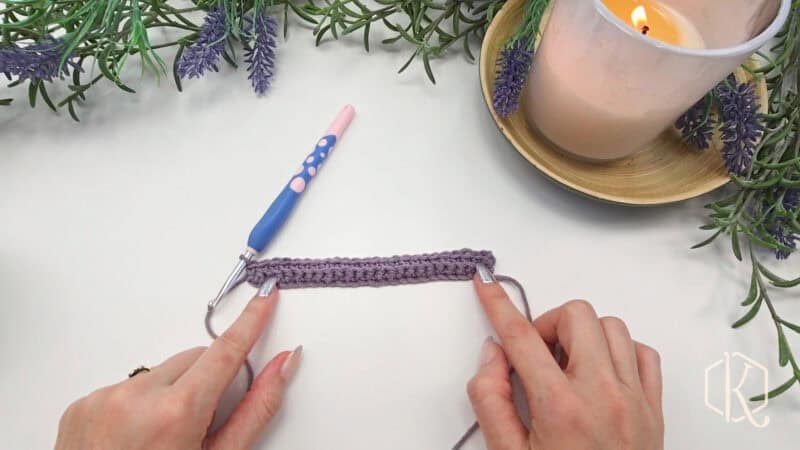
Row 2 (RS):
Ch 1 (doesn’t count as a st throughout), blo sc in each st across, turn. | 24 sts
Join The Kindest Community
Join our vibrant community of crafters on Facebook today. Whether you enjoy crafting with others or simply have burning questions, we’ve got you covered – join us now!
Row 3:
Ch 1, sc 1, [skip the next st, sc in next, work a puff st into the skipped st]. Work across until the last st, sc in last, turn. | 24 sts
Let’s break this down a little.
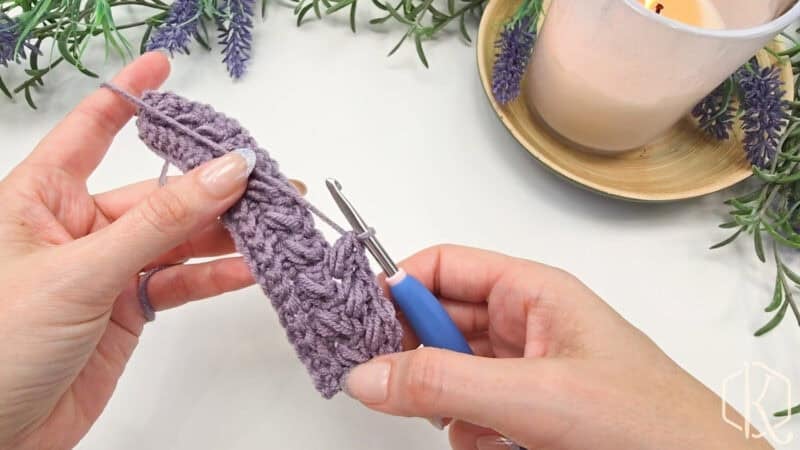
The Wheat Stitch Rows (Rows 3 and 4) are worked under both loops of the previous row’s stitches and will begin and end with a regular sc. I find that this adds a nice little buffer on the ends.
After your first sc, you will skip the next st and sc in the next. Your modified puff stitch will be worked in the stitch you just skipped. It might be helpful to use your fingers (or a needle) to figure out exactly where that skipped stitch is. There will be a gap!
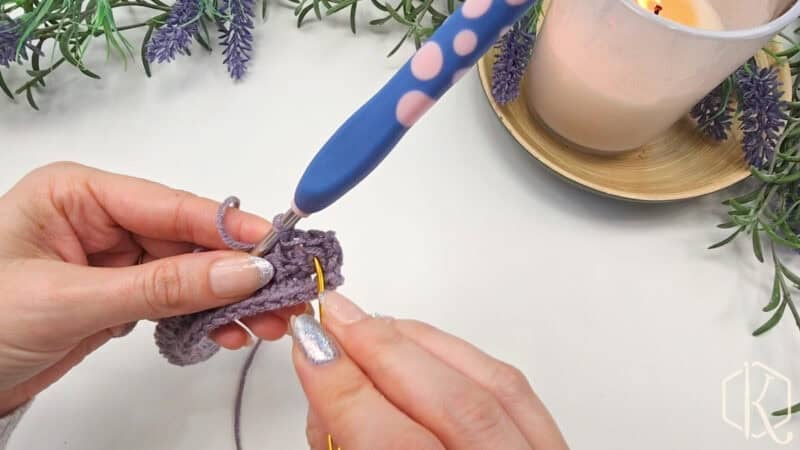
To make our modified puff stitch, we’re going to yarn over, insert our hook into the skipped stitch, yarn over, and pull up a long loop (this just means pull it a little higher so it’s the same height as your hook) for a total of 3 loops on the hook, yarn over again and insert our hook into the same stitch, yarn over and pull up a long loop for a total of 5 loops on the hook.
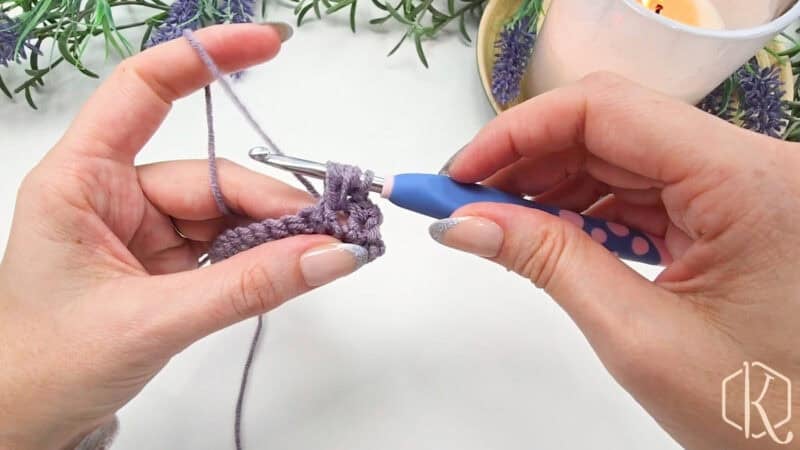
Now we’re going to yarn over and pull through 4 of those loops, then yarn over and pull through the last 2.
You will continue those steps – skip the next st, sc in the next, puff in skipped st – across your row until you reach the last st, then you will sc in the last. You will have 13 sc and 11 puff sts.
Row 4:
Repeat Row 3.
Rows 5 & 6:
Ch 1, blo sc in each st across, turn. | 24 sts
Wheat Stitch Tips
- To adjust the length, work more or fewer rows in increments of the 4-row repeat (Rows 3-6), ending on Row 6.
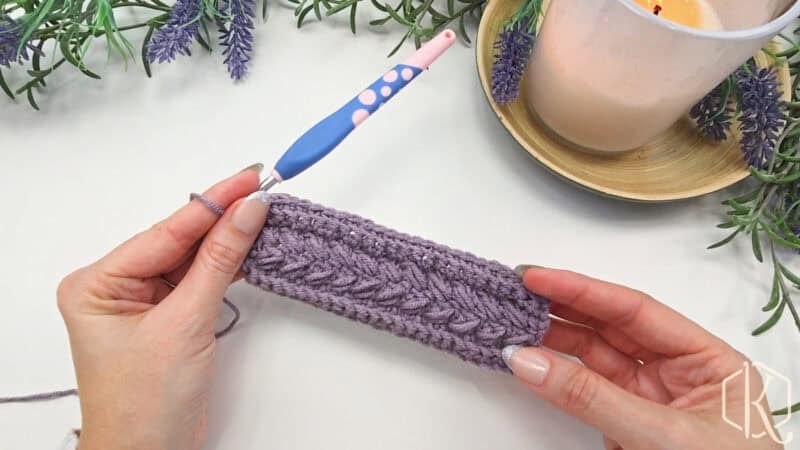
- You will notice that the puff stitches do not perfectly line up – this is intentional! They are a bit offset to make them a bit more organic – like a pretty woven braid.
Now that you know how to crochet the Wheat Stitch, I hope you love it as much as I do! With its gorgeous texture and endless versatility, it’s a stitch that can add something special to so many projects. Whether you’re making a cozy blanket, a stylish scarf, or something completely unique, I can’t wait to see what you create.
Crochet Patterns That Use The Wheat Stitch
Wheat Stitch Chickens
Braided Wheat Summer Top
Wheat Stitch Easter Bunny Basket
Snowy Wheat Crochet Hat
Winter Wheat Sweater Scarf
Braided Wheat Blanket
Snowdrift Slipper Socks
Twisted Wheat Ear Warmer
Winter Wheat Flat Mittens
Toasty Wheat Sweater
Snowy Wheat Ornament
Festive Wheat Stocking
Pumpkin Spice Trio
Cheers, and happy crocheting!
Well That Was Fun! What’s Next?
📌 PIN THIS POST – Don’t lose this project; save it to your Pinterest crochet board so you can quickly come back to it again.
💌 SHARE – Share your yarn choice, in-progress, or finished projects on Facebook or Instagram and use the hashtag #brianakdesigns
🥂 JOIN – Join the kindest crafters in the Briana K Designs Community Group on Facebook. We love yarny friends!
🔗 RAVELRY LINK -Link and share your project on Ravelry. Having inspirational photos can help crafters.