
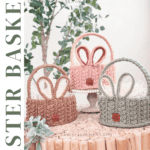
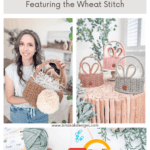
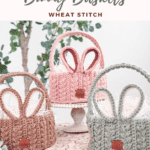
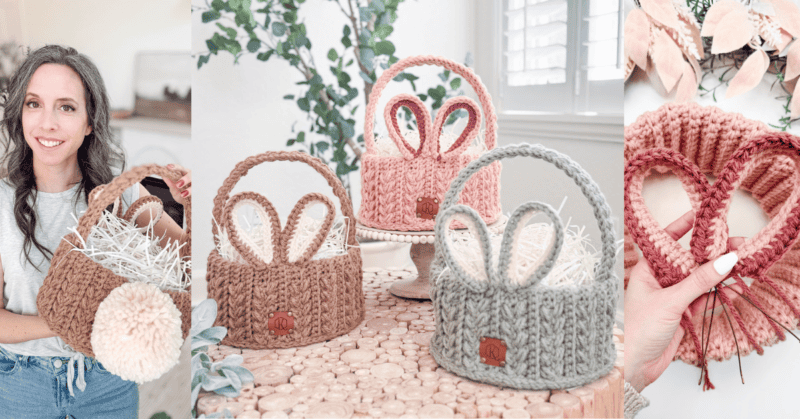
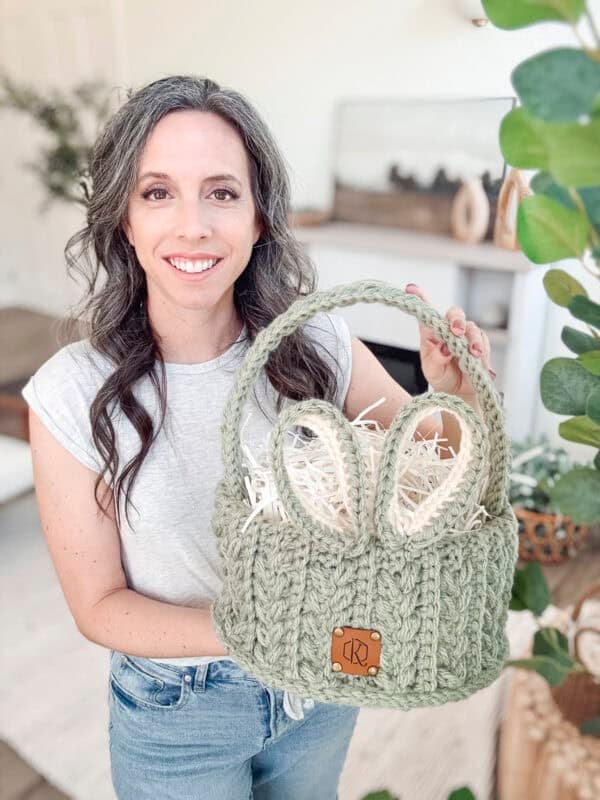
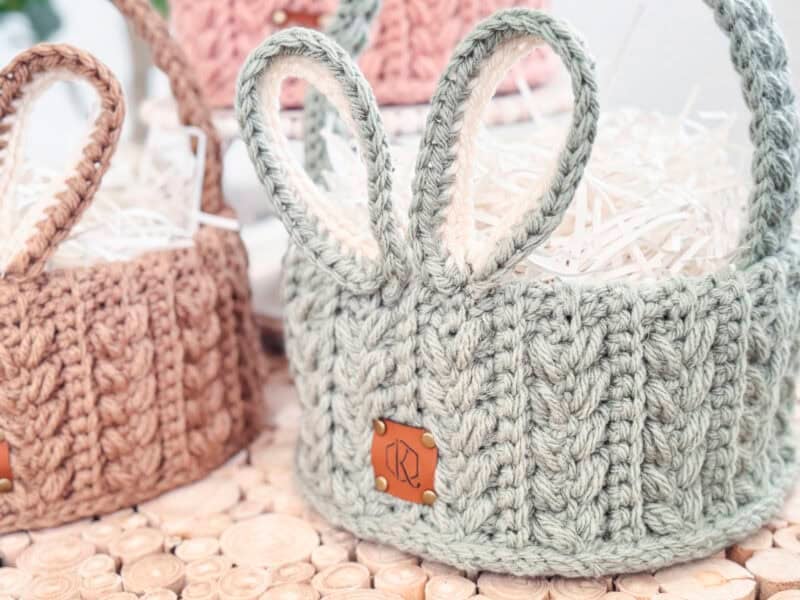
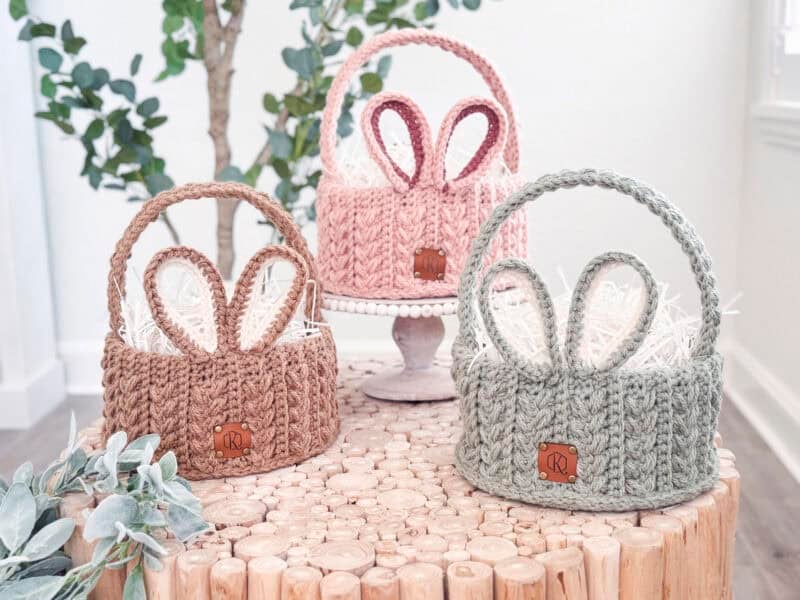
Get ready to welcome spring with the Wheat Stitch Easter Bunny Basket! This charming new pattern features the beautifully textured 4-row repeat Wheat Stitch, making it both simple and fun to create. We’ll start by crocheting a basket bottom in the round. Then, we’ll make the basket body in rows with a fold-over edge for added stability. We’ll finish up by adding the cutest finishing touches—adorable bunny ears, a fluffy tail, and a sturdy handle. Similar techniques are used for the Granny Stitch Easter Basket!
Disclosure: This post contains affiliate links. Please read my disclosure for more info.
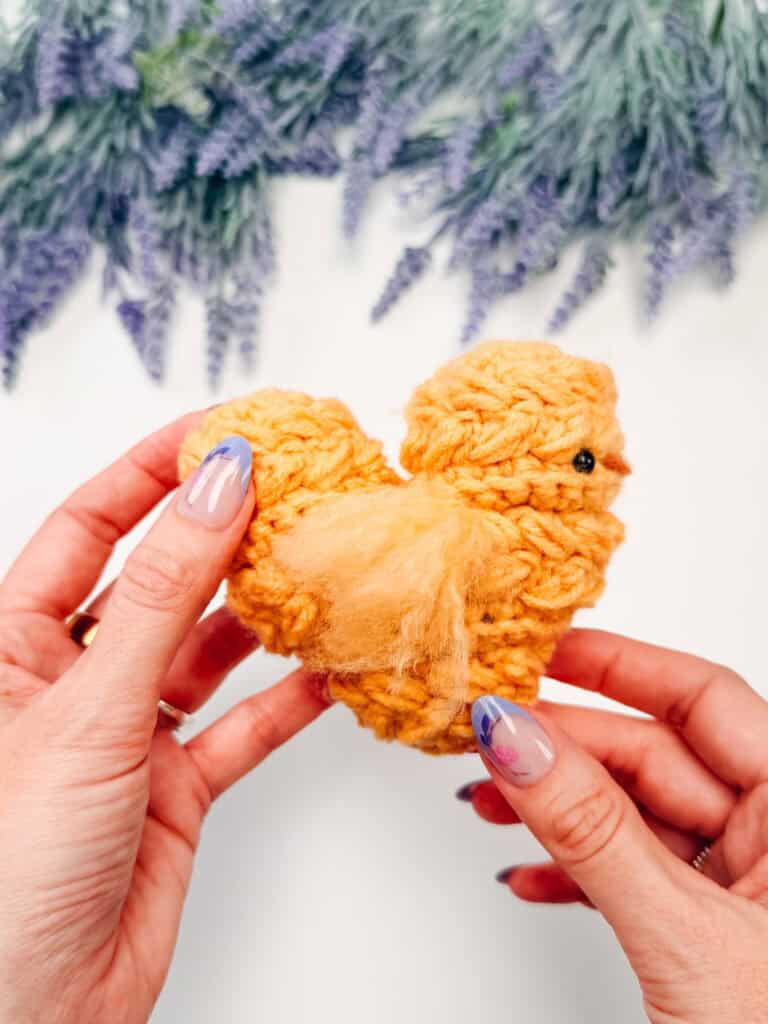
Whether you go for soft pastels, bold brights, or classic neutrals, this basket will look amazing in any color. Perfect for all ages, it’s a delightful way to add handmade charm to Easter celebrations! For more Easter fun, try the Bunny Easter Basket (5 different variations available), the Be My Bunny Buddy or the Wheat Stitch™ Bunny, and the Bunny Ears Hair Ties! You could even add a few Wheat Stitch Chickens to the basket for extra springtime cuteness!
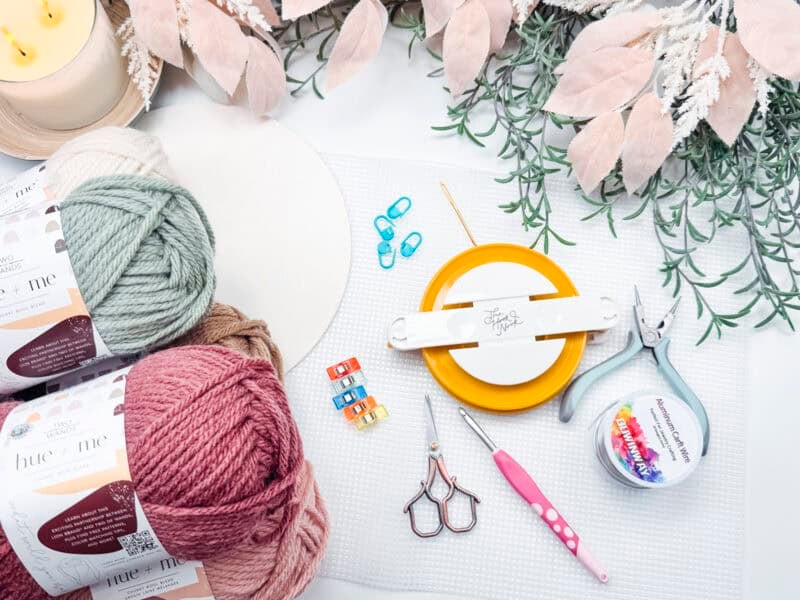
Crochet Supplies
Yarn
Lion Brand Hue & Me
0% Acrylic, 20% Wool, 137yds/125g
Or
Mary Maxim Titan
100% Acrylic, 80yds/85g
Yarn Quantities
360 yds Main Color, 3 Skeins
70 yds Accent Color, 1 Skein
Yardage based off Lion Brand Hue & Me. Yarn substitutions may change yardage.
Yarn Substitutions
Lion Brand Thick & Quick
80% Acrylic, 20% Wool, 106yds/170g
Brava Bulky
100% Premium Acrylic, 136yds/100g
Remember always to check the gauge and drape when substituting yarns.
Crochet Hook
Size US J (6.0mm) Crochet Hook or hook to obtain gauge.
Notions
Scissors
Yarn Needle
Removable Stitch Marker
Large Pompom Maker
16 Gauge Copper Wire
Round Nose Pliers Wire Cutter
Optional: Plastic Canvas
Optional: Sewing Clips
Optional: Wooden Circle For A Flat Sturdy Bottom – 10 inch
Skill Level
Advanced Beginner
What you’ll love about this pattern.
Beautiful texture – The Wheat Stitch is an egg-cellent way to add a pop of dimension to an Easter basket!
Perfect for all ages – Great for Easter egg hunts, gifts, or festive Spring décor!
Looks amazing in any color – Soft pastels, bright spring shades, or timeless neutrals!
One Size
Basket Body is approx. 6″ by 10″ wide.
Abbreviations
blo – back loop only
ch – chain
dc – double crochet
flo – front loop only
hdc – half double crochet
RS – right side
sc – single crochet
sl st – slip stitch
st(s) – stitch(es)
Stsc – stacked single crochet
WS – wrong side
Gauge
12 sts and 10 rows = 4″ by 4″ in st pattern.
How to Crochet A Gauge Swatch
Working a gauge swatch will let you know if you will have the correct sizing for this pattern. It will also help you practice the stitches used in this project and improve your stitch work for a flawless look.
Are you struggling to match the gauge? Check out the blog post on What is Crochet Gauge and How To Fix It
Construction
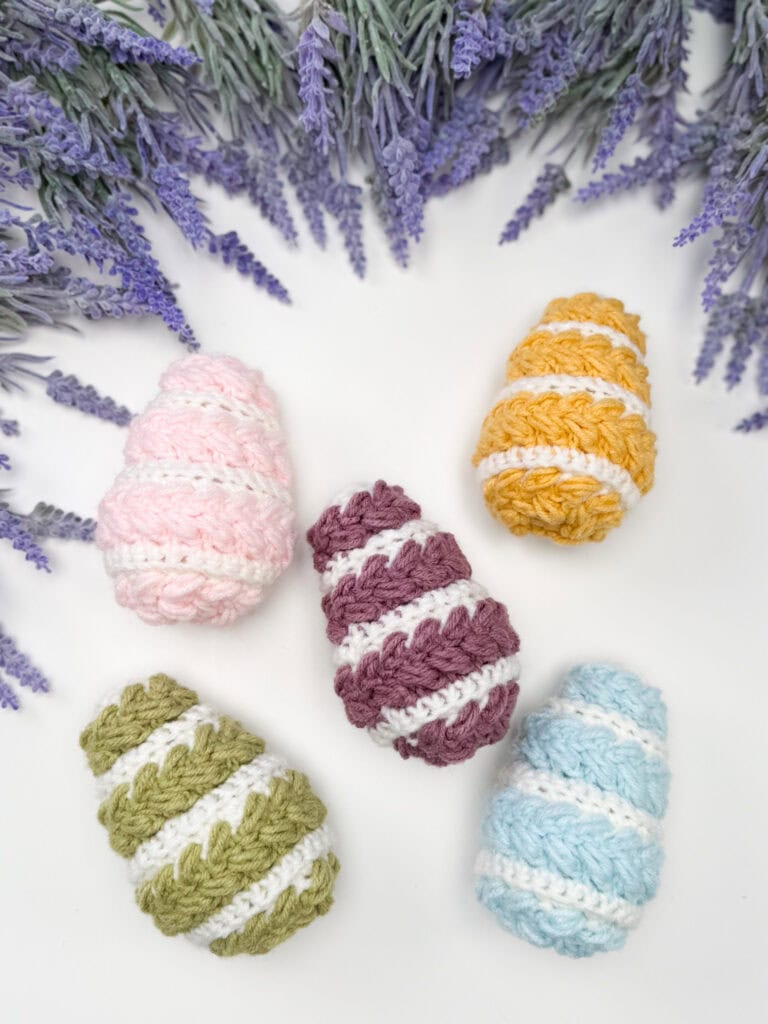
We’ll begin this Easter basket by crocheting the bottom first and setting it aside. Next, we’ll create the body piece, which folds over to form a double layer—perfect for added structure. After that, we’ll crochet the ears, handle, and bunny tail. If you’d like to reinforce your basket, we’ll do that just before adding the finishing touches during assembly. When you’re done, fill your basket with some Reusable Crochet Easter Eggs!
Want to add more Wheat Stitches to your room? Try the Wheat Stitch Nesting Baskets and the Braided Wheat Blanket!
Special Stitches
Modified Puff Stitch: Yarn over and insert your hook into the stitch/space. Yarn over again and pull up a long loop. Yarn over and insert your hook into the same stitch/space. Yarn over again and pull up a long loop (5 loops on the hook). Yarn over and pull through the first 4 loops, yarn over and pull through remaining loops.
Magic Ring: To make a magic ring, wrap the yarn around your fingers to form a loop, then insert your hook under the first strand, grab the working yarn, and pull up a loop. Chain one to secure (if needed), then work your stitches into the ring, crocheting over the tail. Once all stitches are made, pull the tail tightly to close the center, then continue with your pattern.
Pattern Notes
- Before you dive into your project, take a moment to identify the stitch and row counts that match the size you’re making. By highlighting or marking them, you’ll save time and effort later on. Trust us, this small step will make a big difference in your crochet journey!
- A ch 1 at the beginning of a row is not counted as a stitch.
- Using a stitch marker at the beginning (and end) of each row is recommended.
- Work the first row of stitches in the back humps of the starting chain.
- This Pattern Uses Standard US Terminology.
Subscribe & Like
Video Tutorial for the Wheat Stitch Easter Bunny Basket
Relax & Crochet
Upgrade to the Printable PDF
Beautifully formatted to print and relax while crocheting. The paid pattern includes:
The Ad-Free PDF can be purchased on Etsy or Ravelry.

Add your email in the box below to unlock this pattern to view on the blog for free. I’m thrilled to share this amazing crochet pattern with you! Please don’t copy, paste, or distribute this pattern. Prefer an ad-free experience? Purchase a digital PDF file for a small fee from one of my online stores. I appreciate your support and readership. You are why I can keep doing what I love and sharing it with others. Thank you from the bottom of my heart.
Printable Version
This pattern is free to read here on the blog. The ad-free printable PDF is available in the Briana K Designs shop on Etsy and Ravelry.
brianakdesigns.com
Written Crochet Pattern Instructions
Basket Base
With Main Color.
Fasten off and do an invisible join (see video), and set aside for later.
Join The Kindest Community
Join our vibrant community of crafters on Facebook today. Whether you enjoy crafting with others or simply have burning questions, we’ve got you covered – join us now!
Basket Body
With Main Color.
Row 3:
Ch 1, blo sc 13, [skip the next st, sc in next, work a puff st into the skipped st] work until the last st, sc in last, turn.
Row 4:
Ch 1, sc 1, [skip the next st, sc in next, work a puff st into the skipped st] work until the last 13 sts, blo sc in the last 13 sts, turn.
Rows 5-6:
Ch 1 (turning ch does not count as a st throughout), blo sc in each st across, turn.
Row 7:
Ch 1, blo sc 13, [skip the next st, sc in next, work a puff st into the skipped st] work until the last st, sc in last, turn.
Row 8:
Ch 1, sc 1, [skip the next st, sc in next, work a puff st into the skipped st] work until the last 13 sts, blo sc in the last 13 sts, turn.
Rows 9-68:
Repeat Rows 5-8.
With the WS facing out, sl st the last row to the first row by sl stitching the st from the current row and the first row together.
Flip the Basket Body to be RS facing out.
Attaching to the Basket Base
Setup: Use 4 (or as many as needed) stitch markers or clips to pin the Basket Base to the Basket Body evenly around. This will help the fabric to line up correctly, see video.
Working from the bottom edge of the basket body to join to the Basket Base and ch 1, *insert your hook through the bottom edge, then insert through the stitch along the Basket Base, yo and pull through all the sts on the hook.
Continue to evenly sl st the Basket Base to the Basket Body by repeating from * around. | 80 sts
Fasten off and weave in end.
Easter Bunny Basket Video Part 2
Bunny Ears
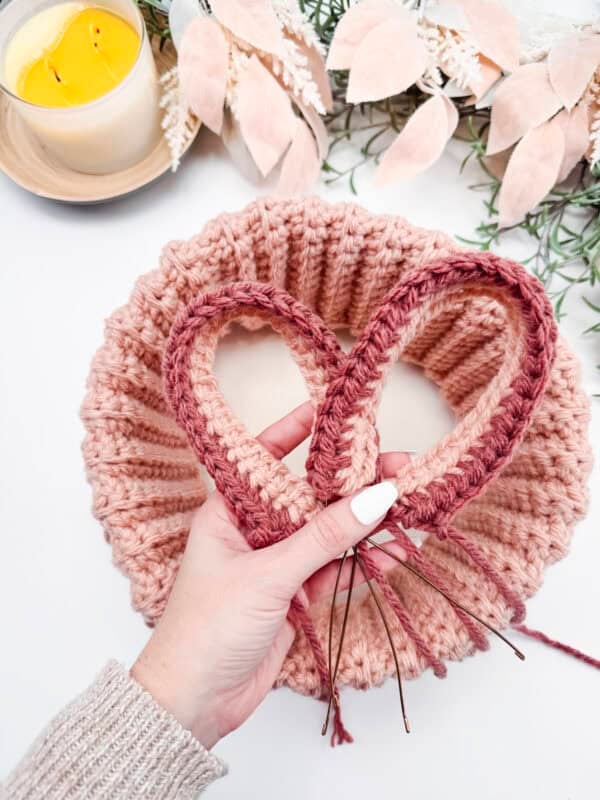
Cut 2 pieces of wire, each 16 inches long, curl the ends to not be sharp points.
Row 1:
With Accent Color place a slip knot onto your hook. Working around the wire, sc 1, *insert your hook into the left front bar of the sc, working over the wire yo and sl st, yo and pull through the two remaining loops on your hook; repeat from * until there are 30 sts worked around the wire, turn. | 30 sts
If working around the wire isn’t for you, foundation single crochet 30 sts and feed the wire through the row.
Row 2:
Join with Main Color and ch 1, flo hdc in each st across, turn.
Fasten off and weave in the Accent Color tail ends. Leave the Main Color tails for attaching to the basket later.
Bunny Tail
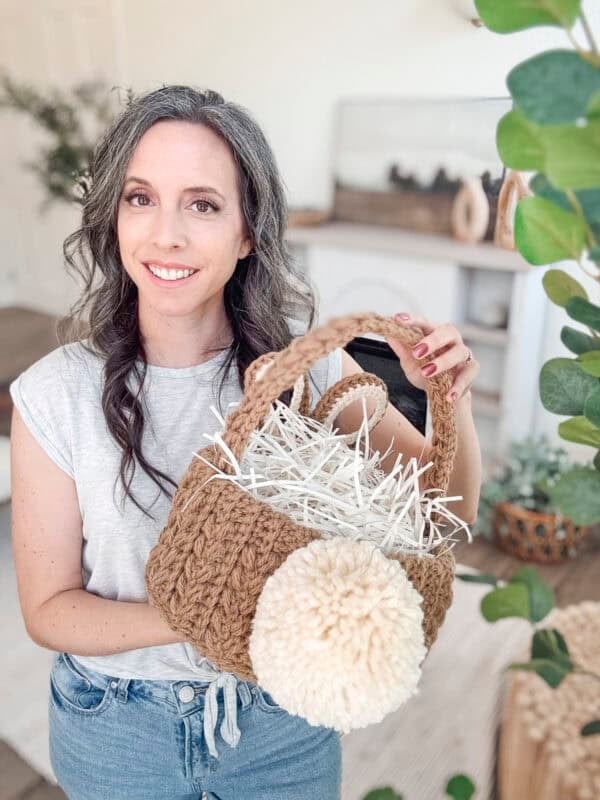
Using an extra large pompom maker, create a large pompom in the accent color. When tying the center of the pompom, leave long tails for attaching to the basket later.
Basket Handle
Row 1 (RS):
Ch 79, starting in the 2nd ch from the hook, sl st in each st across, turn. | 78 sts
Rows 2-3:
Ch 1, sc 1 in the first st, [skip the next st, sc in next, work a puff st into the skipped st] work until the last st, sc in last, turn.
Cut 2 pieces of wire, each 28 inches long, curl the ends to not be sharp points.
Feed the wire through each long edge side of the basket handle, working it through the wrong side of the handle.
Easter Bunny Basket Video Part 3
Assembly & Finishing
If desired, place the wooden 10-inch circle into the bottom of the basket.
To strengthen the sides, cut the plastic canvas into approximately 5-inch-wide strips. If needed, sew multiple pieces together to ensure it’s long enough to wrap around the basket’s sides. Secure the ends of the canvas and position it inside the basket at the base. Then, fold the crochet fabric inward toward the center, allowing it to wrap over the canvas. Hold off on stitching it down for now.
Attaching the Bunny Ears: Insert the wire from the bunny ears through the top edge of the basket. Using a yarn needle and Main Color yarn tails, stitch the ears securely to the inside of the basket. Wrap the yarn around the wire to firmly attach it to the edge of the canvas or crochet fabric.
Adding the Pompom Tail: Position the pompom at the center of the back of the basket. Thread the long yarn tails through the fabric and canvas, weaving them from the outer edge to the inside. Pull tight and knot the ends securely to hold the pompom in place.
Attaching the Handle: Align the handle ends on the inside of the basket, positioning them on each side of the center. Using a yarn needle and coordinating yarn, stitch through both the handle and the basket’s edge/canvas, weaving back and forth to secure it firmly.
Subscribe to my youtube channel
Weave in all ends. Fill your basket with Easter grass and have fun hunting for Easter eggs!
Seasonal home décor is a simple yet meaningful way to make your home feel warm, inviting, and in tune with the time of year. Whether it’s soft pastels and floral accents for spring, cozy textures and rich colors for fall, or twinkling lights and festive touches for the holidays, decorating with the seasons brings fresh energy into your space.
These small changes not only add charm and personality but also create a sense of comfort and joy, making your home a place where you truly love to be. To add some springy vibes to your room, swap out the darker holiday colors in the Macchiato Coaster and Ornament pattern for bold brights or pretty pastels, add some colorwork to your cozy with the Bloom Pillow Cover, or soak up sunny warmth even when it’s dreary with the Hello Sunshine Pillow Blanket.
Cheers, and happy crocheting!
Hook down? Not so fast…
I’d Love to See Yours!
You made something beautiful. Here’s how to keep it, show it off, and inspire the next maker.

What should you make next?
Keep the hook movingReaders Are Loving
 Wheatfield Sun Hat
 Stretchy Edging
 Pine Tree Skirt
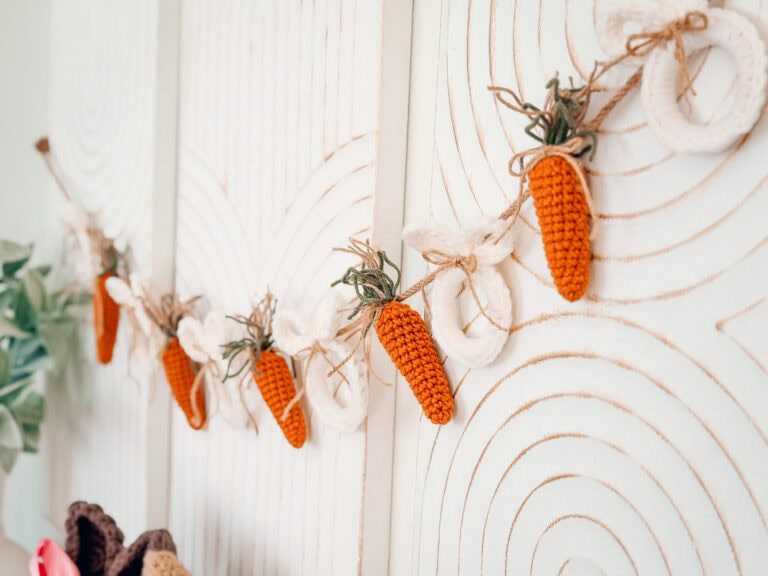 Cottontail Garland