Learning how to crochet a slip knot is typically the very first thing that you learn as a newbie crocheter. You’ll begin almost every crochet project for the rest of your life with a slip knot. Therefore, it behooves you to practice a lot and really get it down. Since you’re new to crochet, you might find that there’s a small learning curve, as you figure out the right way to hold the yarn. Overall, though, it is is a really easy technique. I’ll show you exactly how to do it with both the written instructions and video tutorial below.
What Is A Crochet Slip Knot?
This is a sliding knot that you make with your yarn before you even pick up your crochet hook. You can (and in the future, you will) make this with any type of yarn. Once you’ve made the slip knot, you’ll insert your crochet hook through the knot, then you’ll pull on one end of the knot to tighten it to just the right tension on your crochet hook. That’s how you’ll start a crochet project.
Crochet, you see, is built by forming one loop on top of another. While there’s more to it than that, that’s honestly the gist of things. You make a loop, then you put another loop on that, and another one on that. You add loops of various sizes, and you turn the work to make the loops go in rows and rounds of different sizes. But really, it’s just loop after loop.
The crochet slip knot is how you put the yarn on to your hook and secure it there so that you can start building those loops!
How to Crochet a Slip Knot
Okay, so how will you crochet a slip knot? You’ll begin by gathering your materials. All that you really need at this stage is your yarn. However, you’ll want your crochet hook handy, too, since the point of a slip knot is to put it onto the hook.
Materials for Crochet Slip Knot
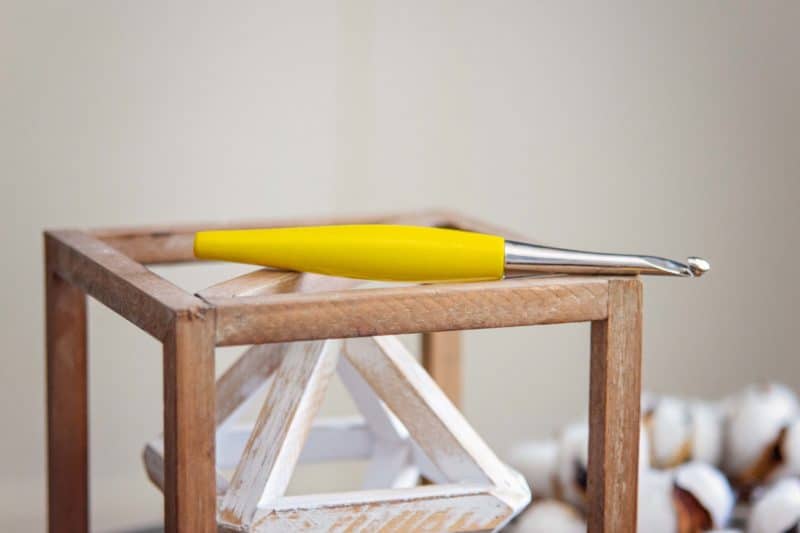
Hook: I used the H (5.0mm) Odyssey Hook, from Furls (discontinued). See some of my favorite crochet hooks below. Learn how to choose crochet hooks here.
Yarn: I used Lion Brand Color Made Easy which has since been discontinued. A great yarn that’s similar to use is WeCrochet Brava Bulky.
Optional: use a stitch marker to keep track of stitches if necessary. (After you’ve made the slip knot, you’ll add additional crochet chains, and you can use a stitch marker to count those.)
Disclosure: To cover the cost of publishing my blog and bringing you awesome content, this page may contain affiliate links. Should you choose to make a purchase, at no additional cost to you, I may earn a small percentage of the sale.
Favorite Crochet Hooks:


Crochet Slip Knot Tutorial Video

Written Instructions for Crochet Slip Knot
The video tutorial above should teach you how to crochet a slip knot. However, here are written instructions to supplement what you see above.
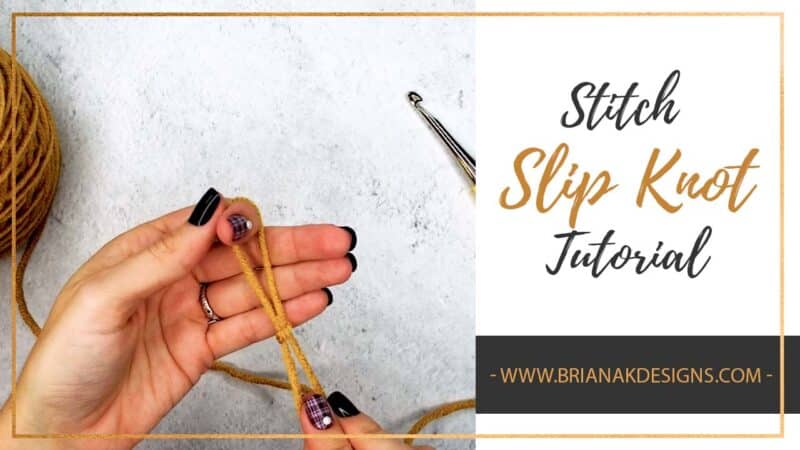
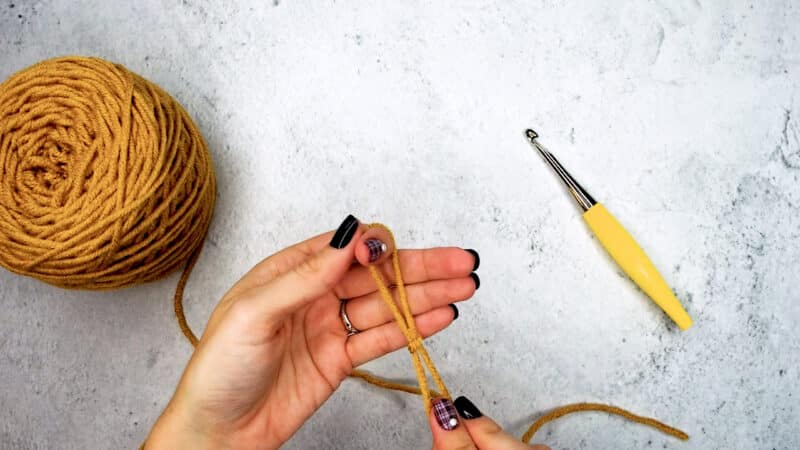
Step 1: First, take your yarn and bend it to create a loop in the yarn. Note that one end of the yarn is pulling from the yarn ball; the other end is called the yarn tail. You’ll want to leave about 4″ – 6″ of yarn tail hanging off after the loop, so that should give you a good idea of where to place that bend in the yarn.
Step 2: You should now have a loop, with a yarn tail going off to the right and the ball of yarn on the left. Hold the loop in place with your left hand (assuming that you are a right-handed crafter.) With your right hand, put your thumb and forefinger into a pinching motion. Reach through the loop that you’ve created.
Step 3: Bring your pinching fingers backwards, back through the loop, holding on to that yarn from the ball.
Step 4: Let go of the pinch. Use your left hand to pull the yarn tail to secure the slip knot in place. That’s it; you just learned how to crochet a slip knot!
After this, you will insert your crochet hook through the slip knot. Then you will pull that sliding knot until it’s fairly tight against your crochet hook. Then you’re ready to begin crocheting!
Crochet & Tag
I hope you have enjoyed this crochet tutorial! Learning how to crochet a slip knot is the first step on your crochet journey. You have so many more wonderful adventures to come!
Check out More Crochet Tutorials right here on the blog.
If you have made this, please share it on social media. Above all, I love to see the projects created with my patterns and also share your beautiful work.
Please use #brianakdesigns or @brianakdesigns
It is much appreciated and adored!