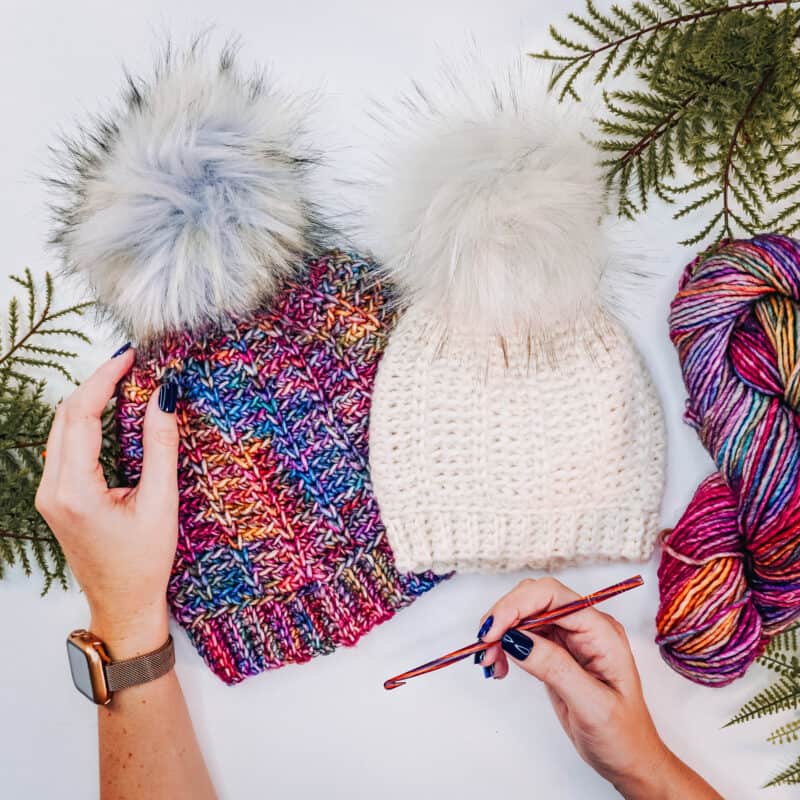
And the fun with Magical Stitches continues, this time with the Juniper Knit-Look Crochet Hat!
The Juniper Knit-Look Crochet Hat has been in the works for quite some time now and was part of the early inspiration for the Magical Stitches Course. As I was playing with the split single crochet for the Juniper Hat I really saw what the combination of stitches could do.

Disclosure: This post contains affiliate links. Please read my disclosure for more info.
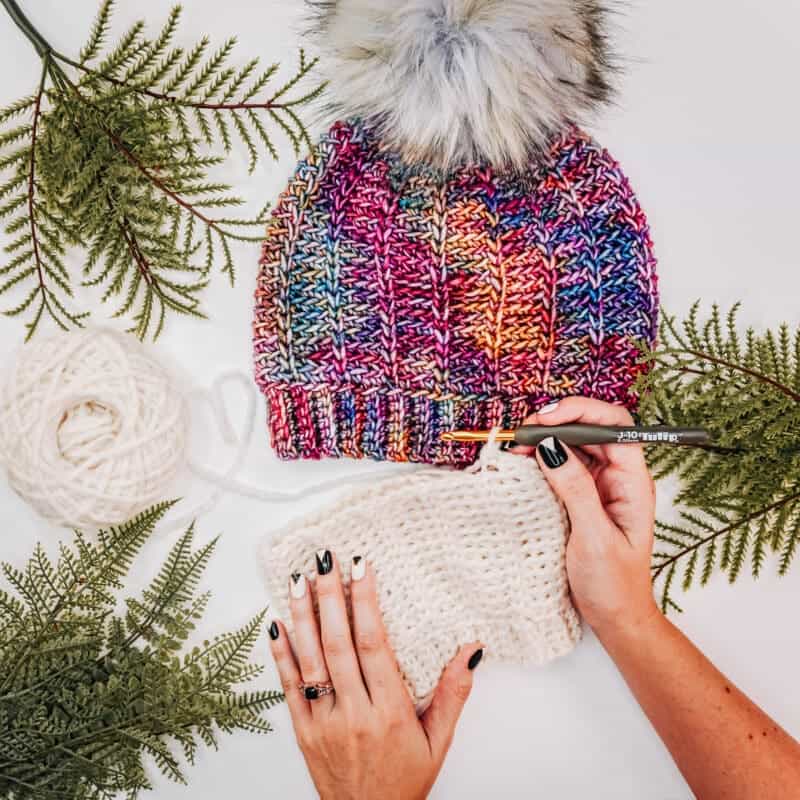
If you are new to Knit-Look crocheting the Juniper Hat is a great place to start. You will be able to practice the placement of your hook and really see just how special these stitches are.
The Juniper Knit-Look Crochet Hat is a bottom-to-top design, with an easy-to-modify stitch repeat to get the perfect fit each and every time.
If you love the Knit-Look crocheting technique I would recommend taking a look at the Fair-Isle Crochet Hat and the Crochet Knit Purl Hat Pattern. And if you want a quick and easy crochet hat for the whole family, check out Create A Cozy Beanie With This Easy Crochet Pattern!
Supplies


Crochet Hook:
Notions:
Removable stitch marker
Yarn needle to weave in ends
Scissors
Faux Fur Pom Pom if desired
Yarn:
Muse Hand Paint 100% Superwash Merino Wool, 114 yds/100g
Shown in colorway Impulse
Yardage:
64 (70, 80, 85) (90, 100, 110)(120, 130, 140) yds. 1 (1, 1, 1) (1, 1, 1) (2, 2, 2) hanks
Abbreviations/Stitches:
ch – chain
rnd- round
sc – single crochet
ssc – split single crochet
sc2tog – single crochet two together
ssc2tog – split single crochet two together
sl st – slip stitch
st(s) – stitch(es)
tbl(s) – through back loop(s) only
12 sts by 13 rows = 4×4” in stitch pattern
Skill Level:
Easy Beginner
Size:
Preemie (Newborn, 3-6 Months, 6-12 Months) (12-24 Months, Toddler, Child) (Adult Small, Adult Medium, Adult Large)
Head Circumference: 10 (13.5, 15, 16.5) (17.5, 18.5, 19.5) (21, 22, 23)
See measurement chart & Schematic below.
Notes:
The Juniper Knit-Look Crochet Hat is worked in rounds from bottom-up. First, a single crochet ribbing is worked in rows and joined. Then the bodywork portion of the hat is worked with a 4-stitch repeat. Last, a pompom is placed on top if desired, and then it’s ready to wear.
Since this is worked continuously, a ch 1 at the beginning of the round is not needed. It is helpful to place a stitch marker on the first stitch of each round.
Sizes are written as: Preemie (Newborn, 3-6 Months, 6-12 Months) (12-24 Months, Toddler, Child) (Adult Small, Adult Medium, Adult Large)
Special Stitches:
Split Single Crochet (ssc), also known as the waistcoat stitch: Insert hook between the legs of the stitch (on the back of work the hook should be under the horizontal bar and between the upside-down ‘V’ shape as well), yarn over, pull up a loop to the height of a single crochet, yarn over, pull through both loops on hook. Tip: Keep a loose tension so the stitches are easily worked.

Juniper Knit-Look Crochet Hat Video Tutorial:

Measurement Chart & Schematic
Click the box below to unlock this exclusive subscriber content for free. Add your email and create a password. If you are having trouble, reset your password or log in to the Grow Portal.
I’m thrilled to share this amazing crochet pattern with you! Please don’t copy, paste, or distribute this pattern. Prefer an ad-free experience? Purchase a digital PDF file for a small fee from one of my online stores. I appreciate your support and readership. You are why I can keep doing what I love and sharing it with others. Thank you from the bottom of my heart.
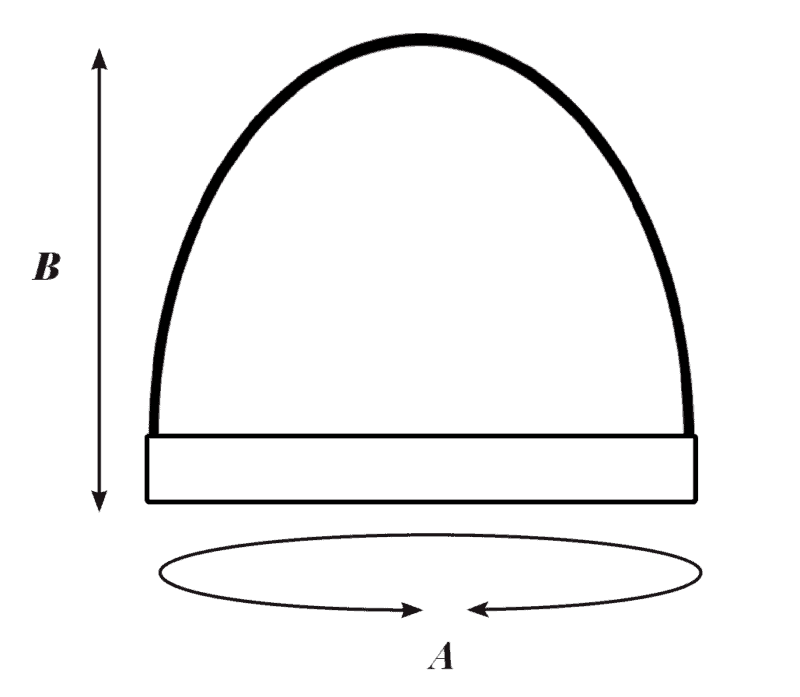
Hat Schematic
A: Finished Circumference:
9 (12.5, 14, 15.5 ) (16.5, 17 1/2, 18.5) (20, 21, 22)”
B: Hat Height with Brim:
3.5 (4, 5, 6) (6.5, 7, 7) (8.5, 9, 9.5)”
Juniper Knit-Look Crochet Hat Ribbing Brim – All Sizes
Row 1 (WS): With I 5.5mm hook, ch 4 (4, 6, 6) (6, 6, 8) (8, 8, 8), sc in the second chain from hook and across, turn. 3 (3, 5, 5) (5, 5, 7) (7, 7, 7) sts
Row 2 (RS): Ch 1 (not included as a st here and throughout), 1 sc in the blo of each st across, turn. 3 (3, 5, 5) (5, 5, 7) (7, 7, 7) sts
Repeats: Rep Row 2 for a total of 28 (36, 44, 48) (48, 52, 56) (60, 64, 68) rows.
After the final Row, turn. With the RS facing fold band together, ch 1, sl st band together using the blo on the current row and the loops from the first row. 3 (3, 5, 5) (5, 5, 7) (7, 7, 7) sts
Set Up: Working with J (6mm) Hook, sl st around the edge of the band placing one sl st per row, do not join as the rest of that will be worked continuously. 28 (36, 44, 48) (48, 52, 56) (60, 64, 68) sts
Juniper Knit-Look Crochet Hat Body
Rnd 1: Working in the blo, sc in each st around. Place stitch marker in first stitch and move up each round. 28 (36, 44, 48) (48, 52, 56) (60, 64, 68) sts
Rnd 2: Ssc in first st, blo sc in next 3 sts, *ssc in next, blo sc in next 3 sts*; repeat from * to * around. 28 (36, 44, 48) (48, 52, 56) (60, 64, 68) sts
Repeats: Repeat Round 2 for 6 (9, 11, 13) (15, 17, 19) (19, 21, 23) more rounds. 28 (36, 44, 48) (48, 52, 56) (60, 64, 68) sts
Hat Decreasing
Rnd 1: Ssc in first, sc2tog tbls, blo sc in next, *Ssc in next, sc2tog tbls, blo sc in next*; repeat from * to * around 21 (27, 33, 36) (36, 39, 42) (45, 48, 51) sts
Rnd 2: Ssc in first, blo sc in next 2 sts, *ssc in next, blo sc in next 2 sts*; repeat from * to * around. 21 (27, 33, 36) (36, 39, 42) (45, 48, 51) sts
Rnd 3: Ssc in first, sc2tog tbls, *ssc in next, sc2tog tbls*; repeat from * to * around 14 (18, 22, 24) (24, 26, 28) (30, 32, 34) sts
Rnd 4: Ssc in first, blo sc in next, *ssc in next, blo sc in next*; repeat from * to * around. 14 (18, 22, 24) (24, 26, 28) (30, 32, 34) sts
Rnd 5: *Sc2tog through the front ‘V’ st & the blo of the second st*; repeat from * to * around.
For size preemie & newborn go to Finishing. 7 (9, 11, 12) (12, 13, 14) (15, 16, 17) sts
Rnd 6: Ssc in each st around. 0 (0, 11, 12) (12, 13, 14) (15, 16, 17) sts
Rnd 7: Ssc2tog around, if the stitch count is an odd number, simply ssc in last without decreasing. 0 (0, 6, 6) (6, 7, 7)(8, 8, 9) sts
Finishing
Fasten off yarn, leaving a tail end to close the top of the hat. With a yarn needle, weave through the front loops of the remaining stitches and pull the hole closed, weave in ends, block and wear. Add pompom if desired.
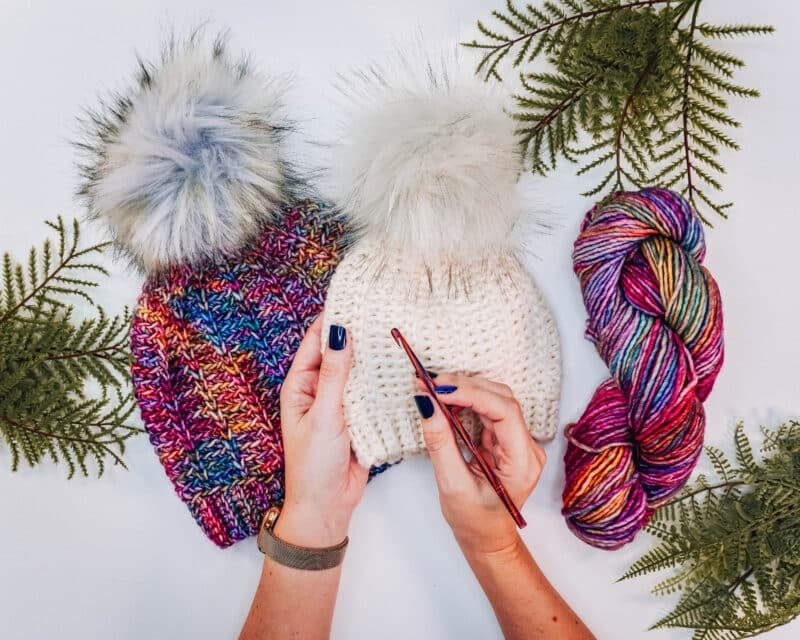
Well, That Was Fun! What’s Next?