How to Make A Tassel With Yarn
The finishing touches on a project can add so much to the final look. It can take something plain and add that extra pizzaz. Learn how to make a tassel and add some flare to your next project.
Disclosure: This post contains affiliate links. Please read my disclosure for more info.
How to Make A Tassel Supplies
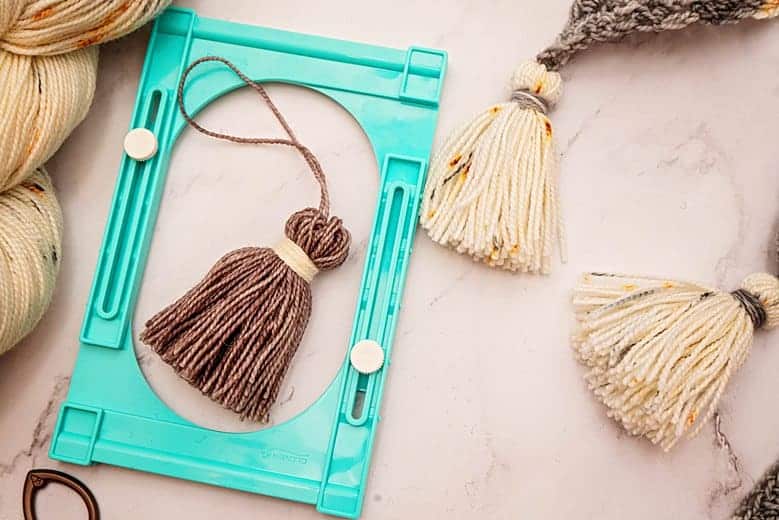
- Clover Tassel Maker
- Yarn of choice (any weight). For this tutorial, I used Hawthorne Tonal.
- Scissors
- Scrap Cardstock
How to Make a Tassel Video
How to Make a Tassel Instructions
Step 1:
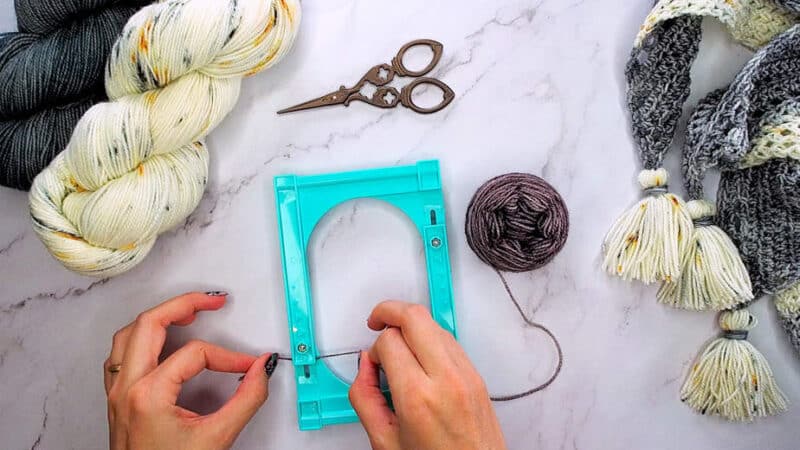
Hook the yarn under the left side of the Clover Tassel Maker and or hold with your thumb.
Step 2:
Wrap the yarn around the outside center of the tassel maker. The more you wrap the fuller your tassel will be.

Step 3:
Hook the yarn under the tab on the right side of the tassel maker or set down to hold it in place.


Step 4:
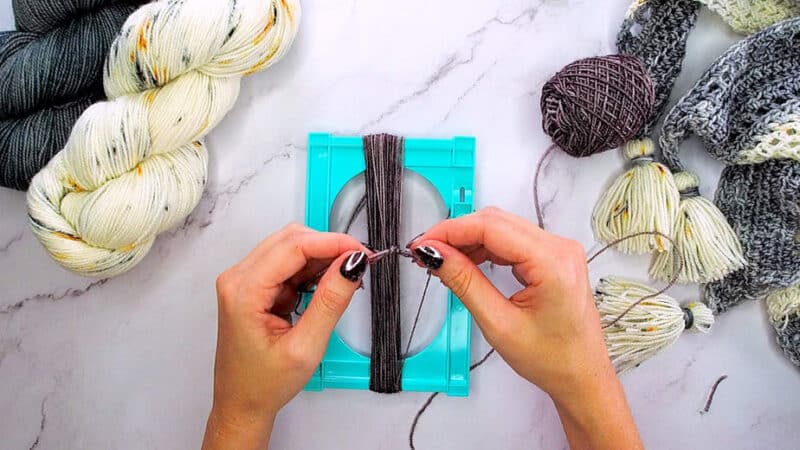
To create a center tie/cord, fold an 8-inch strand of yarn in half and tie a thick knot in the end. You might have to tie a couple of knots to make it a thick knot.
Step 5:
Place the knot end of your cord into the center of the tassel strands. Let it sit in the middle of all the strands and shift it slightly below center.


Step 6:
With another strand of yarn, loop around all the tassel strand in the center and tie a knot. This knot should be tied as tightly as possible.

Step 7:
Using your scissors, cut in the grove space on one end of the Clover Tassel Maker.
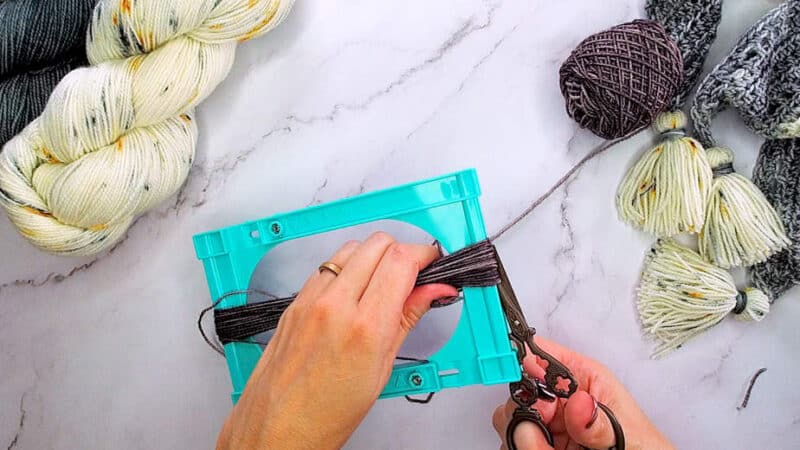
Holding the yarn strands in place, rotate to the other side and repeat.
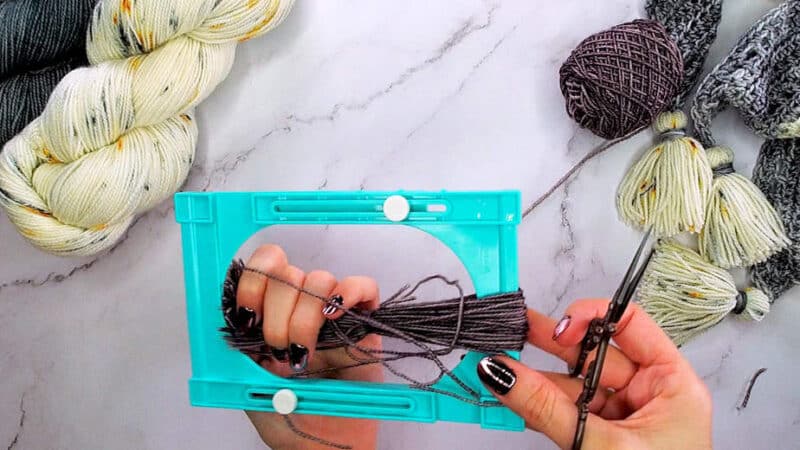
Now your yarn strands are free and the Clover Tassel Maker can be set aside.

Step 8:
Find the center cord and let all the yarn strands fall around the center cord. Feel free to play with the yarn strands a little to get them to lay nicely around the center cord.

Step 9:
Using your yarn (I'm using a different color for clarification), place the beginning end at the top of the tassel and wrap a loop as shown below.
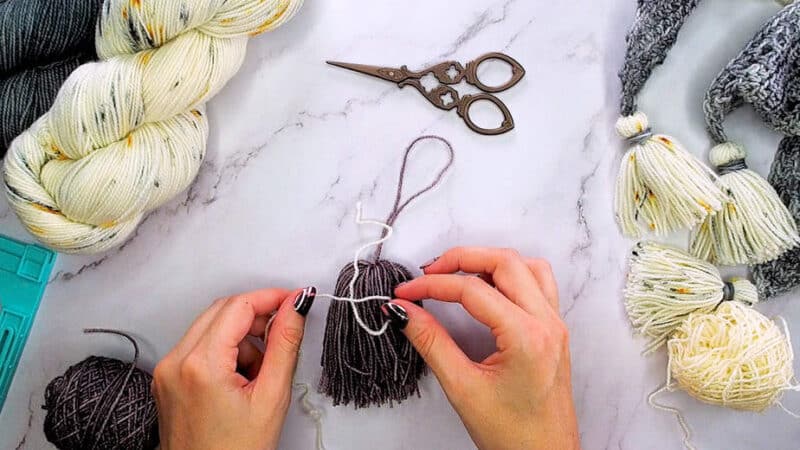
Now wrap the yarn around the top of the tassel clockwise several times, keeping a tight tension.


Step 10:
Cut the yarn.

Pull the end of the yarn through the beginning loop that was made.
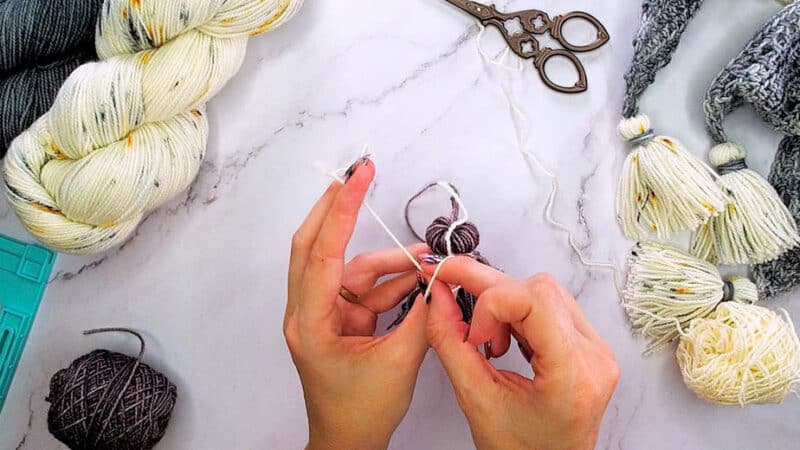
Pull both ends of the yarn at once until the knot is hidden.

Cut the yarn.
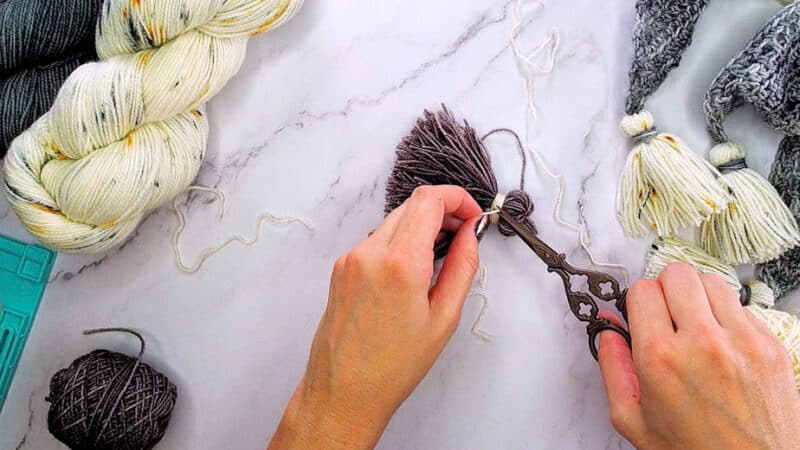
Step 11:
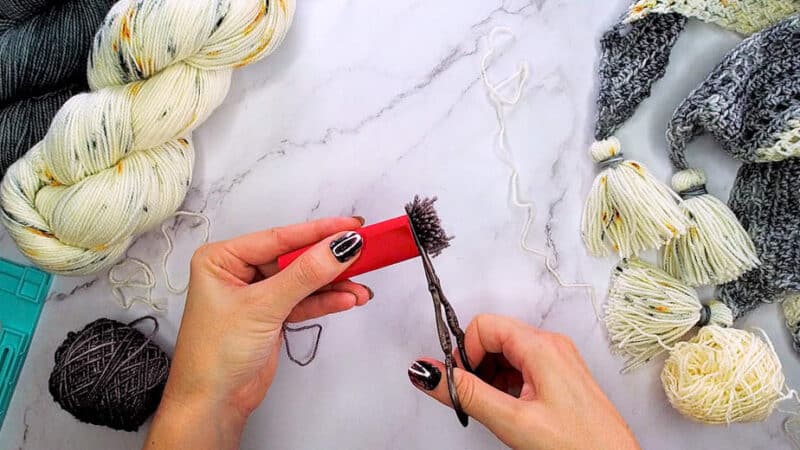
With a piece of paper or cardstock, wrap around the tassel.

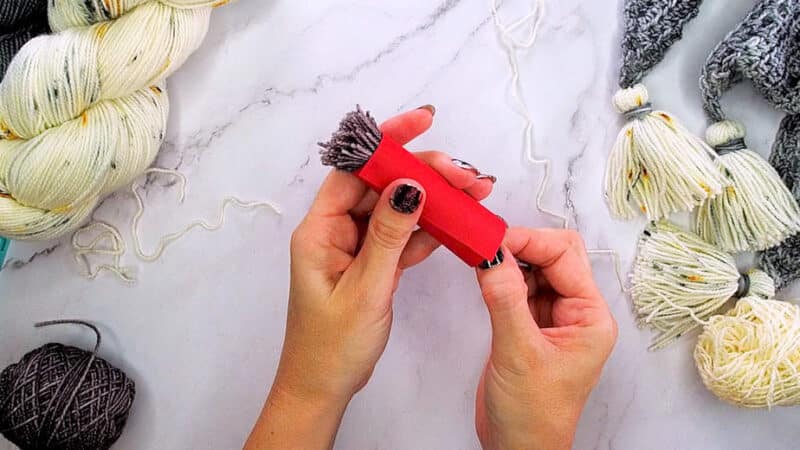
Cut the ends of the yarn to create a straight bottom.
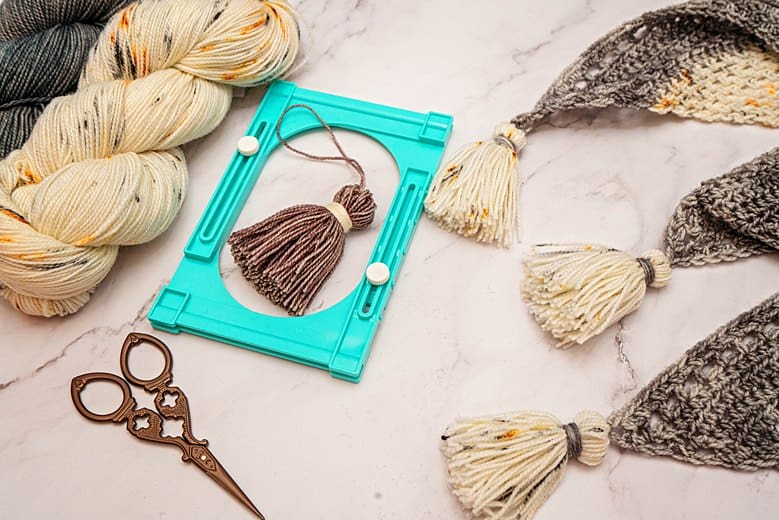
And enjoy!
Well That Was Fun! What's Next?
📌 PIN THIS POST - Don't lose this project; save it to your Pinterest crochet board so you can quickly come back to it again.
💌 SHARE - Share your yarn choice, in-progress, or finished projects on Facebook or Instagram and use the hashtag #brianakdesigns
🥂 JOIN - Join the kindest crafters in the Briana K Designs Community Group on Facebook. We love yarny friends!
🔗 RAVELRY LINK -Link and share your project on Ravelry. Having inspirational photos can help crafters.
