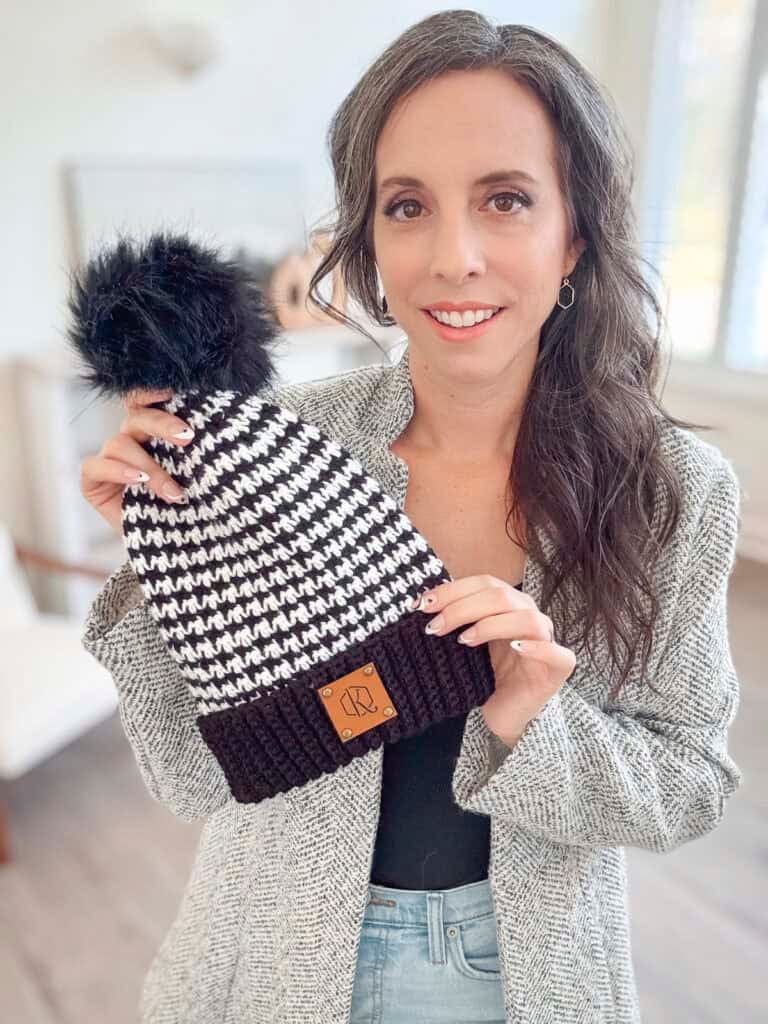
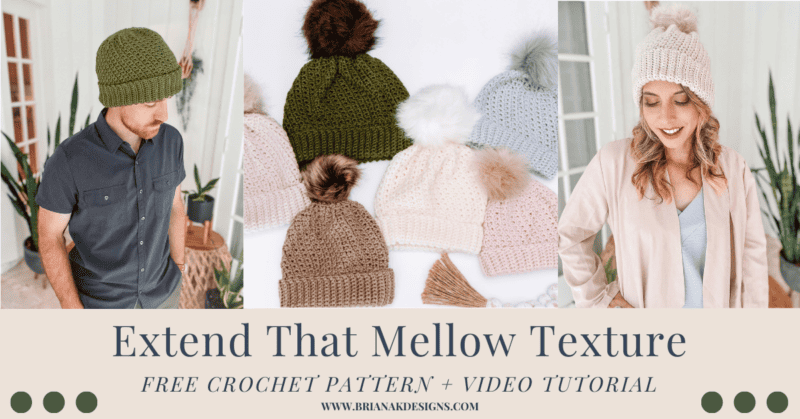
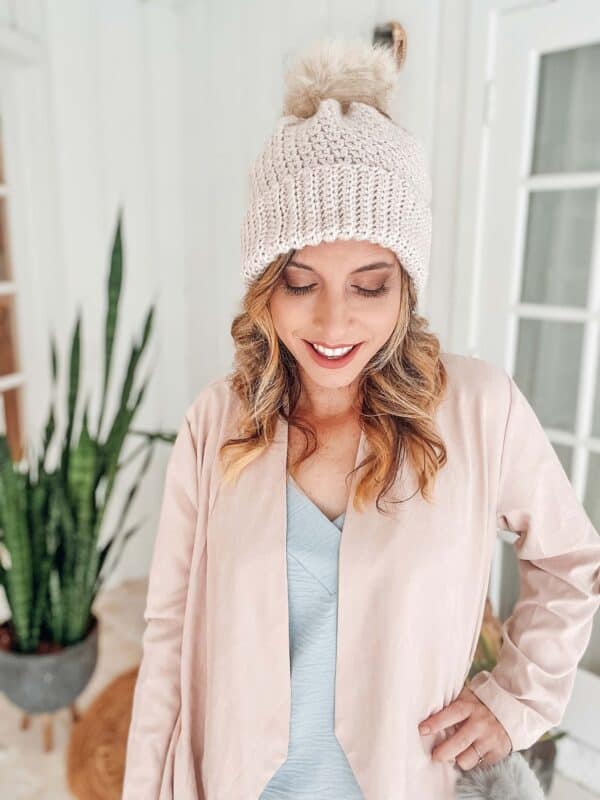
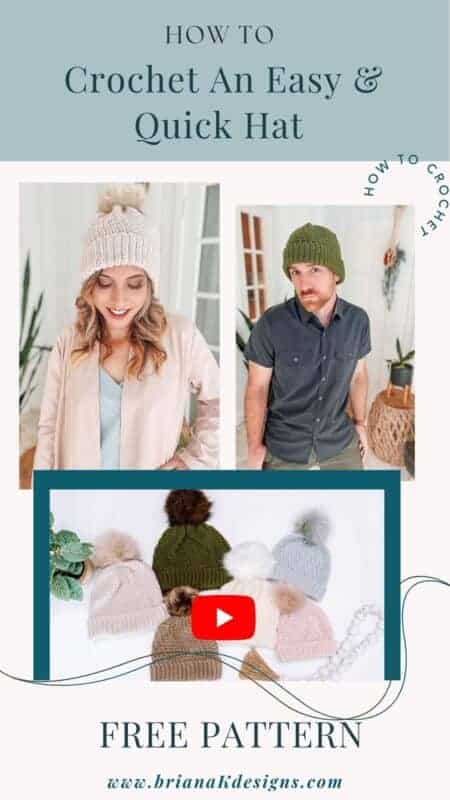
Whether you’re a beginner crocheter, an experienced yarn enthusiast, or just looking for a quick and easy project for yourself or someone else – the Extend That Mellow Texture Crochet Hat Pattern is for you!
Disclosure: This post contains affiliate links. Please read my disclosure for more info.
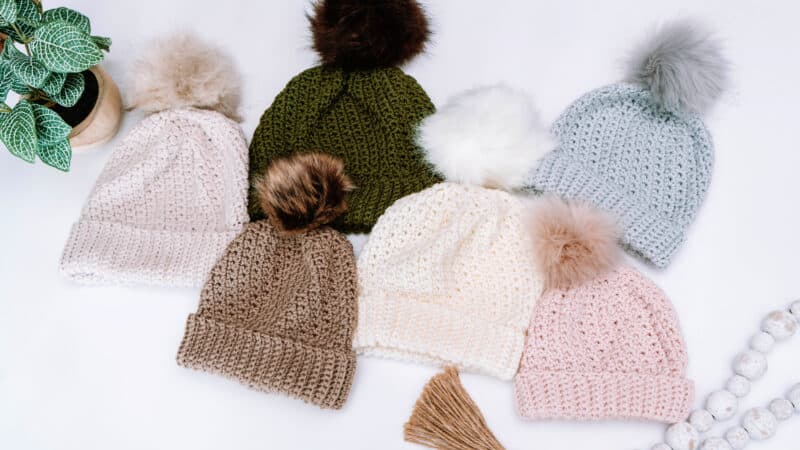
This crochet beanie uses the extended single crochet stitch in the round to create a fantastic texture. I find the height of this stitch is between a half double crochet and a double crochet stitch.
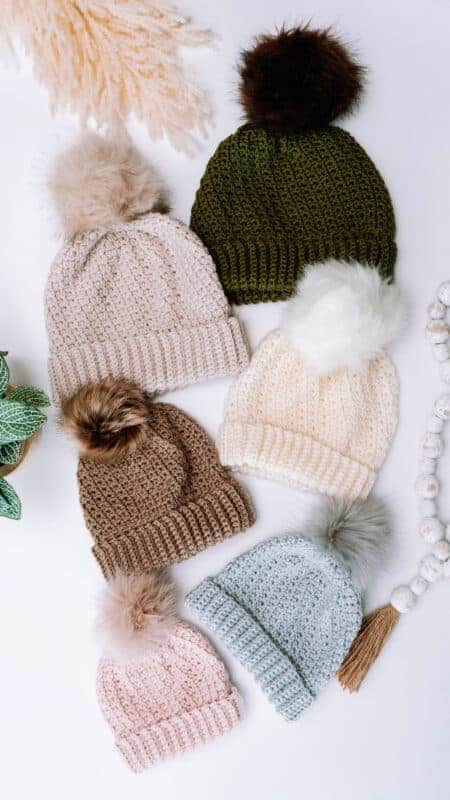
This simple pattern works quickly, so it’s perfect for last-minute gifts or charity projects. It’s a great addition to a winter wardrobe or as an extra layer in the fall. And if you love hats, you might enjoy the playful granny stitches in the Diamond Granny Stitch Crochet Hat Pattern.
Is a crochet hat a beginner crochet project?
Yes, a basic beanie is an ideal beginner crochet project. I like to call it a ‘snackable’ project, which means you aren’t committing to something like Thanksgiving dinner; that’s more of a marathon. I find getting quick success with an easy crochet project leads to feeling accomplished. And that’s a big part of practicing positive mindfulness.
The great thing about this crochet beanie pattern is that it’s super easy to work up, even if you’re starting with crochet. The extended single crochet stitch is one spin on one of the most common basic crochet stitches you may have already used in crocheting, so learning it will give you more skills in your toolbox for your crocheting journey.
What yarn to use for a crochet beanie?
When creating your crochet hat, make sure that you use the correct weight of yarn and hook size to meet the gauge, as this will affect how tight your stitches are and how well your hat holds its shape. However, because of the simplistic stitch combination of this pattern, it is flexible with substitutions.
Not all crochet hat patterns are this way, but there are some exceptions for more simple crochet hats. But let’s first talk about fiber content.
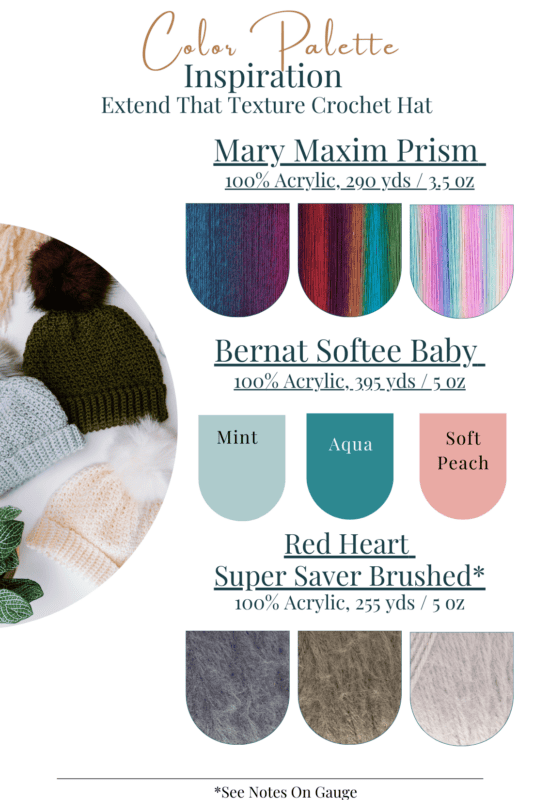
The type of fiber you use for a crochet hat is totally up to you! Most dk weight yarns such as acrylic, wool, alpaca, and cotton are the most popular and widely available options. I used Mary Maxim Mellowspun DK Weight Yarn for this free crochet pattern.
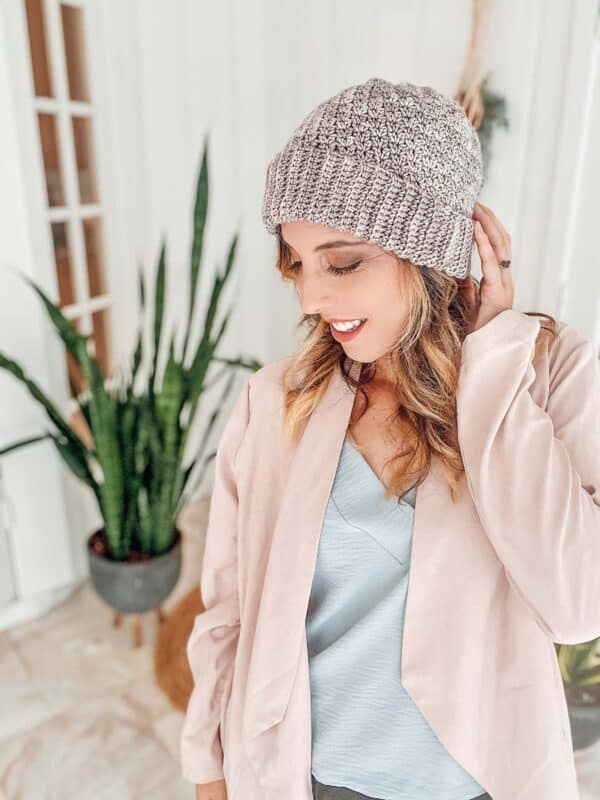
When making crochet hats for children, I use acrylic for washability. But for myself, I may work one up with merino wool, as I did for this crochet hat using Madelinetosh Tosh DK. I also love making crochet beanies with WeCrochet Swish DK because of the variety of color choices and the warmth of the fiber.
However, if you want to try something more unique or luxurious, there are also other fibers like bamboo, linen, silk, mohair, and cashmere. As you try different fibers, be conscious of the drape and texture, it’s best to make a swatch and see if you like how the crochet stitches look with the yarn.
Experiment with different types of fibers to find the perfect one that suits your project! Make sure you match the gauge or make the proper adjustments for the correct beanie fit.
Can I use a substitute yarn for this crochet hat?
This is one of my commonly asked questions. And on this hat, I am taking on the challenge of showing what happens when you substitute with a different yarn weight. While shopping in a craft store with my crochet besties, we came across Red Heart Super Wash Brushed, a worsted weight yarn. We were confident it would work as a substitute, knowing that the best yarn would have been to stick with a dk weight.
But guess what, not really. However, it can work because this hat is such an easy stitch repeat. So here are the steps to take to use a different yarn weight for this hat. The first thing you will want to do for this easy crochet hat is to make a swatch.
Most of the time, we are trying to match gauge, but for this crochet hat, it’s most important to find what hook size gets you the desired drape, not gauge if you are substituting with a chunky yarn. Gauge isn’t the key for substituting yarn in this hat because we will change the stitch count to make this work. It could be possible to follow these instructions and even use a bulky weight yarn.
How to use a substitute yarn for a beginner crochet beanie in 4 steps.
Step 1: Get a measuring tape. You can’t skip this, as it’s an important tool to get this hat just right with a substitute. Create your brim width according to the measurements, not the stitch count. The brim band should measure approx. 10 1/2 (13, 14) (16, 17 1/2, 19 1/2) inches wide by 3 (3 1/2, 3 3/4) (4, 4 1/2, 4 1/2) inches tall.
So chain the number of stitches to get the brim height, then follow the instructions until you measure the width. It’s important not to stretch or pull on your band during this process, as it would affect your sizing incorrectly.
Step 2: Once you have your brim to the approx width, count how many rows you have. Adjust to make this a multiple of 6; this will matter when decreasing the top of the hat.
Step 3: Now join the brim and follow the remainder of the hat as instructed. You won’t need to pay attention to stitch counts, just the stitch pattern repeats until about 2 inches short of the final hat height.
Step 4: Lastly, follow the decreasing and finishing instructions. And that’s it, and now you have a hat in a different yarn weight!
How many inches should a crochet hat be?
This will depend on the size of the person you are making it for. However, if you are making a beanie for someone with a larger head or would like to increase the length, add more rounds until it is the desired length. You can adjust the size by changing the hook size accordingly to change the gauge of the crochet pattern slightly.
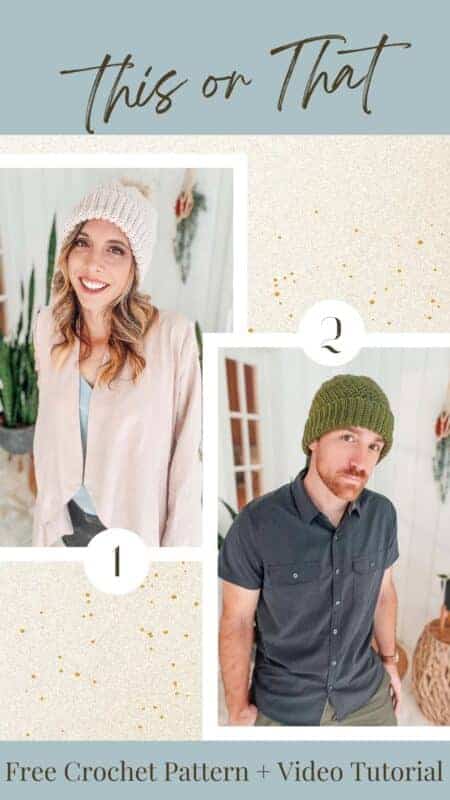
For this beginner crochet hat, you can make it fitted by doing fewer rounds or make it into a slouchy hat by adding more rounds before decreasing. Measuring the head circumference of the person intended to wear the crochet hat will help you know what size in the crochet pattern to use. This is the perfect crochet hat pattern for any head size or family member since it’s gender-neutral.

How to modify the free crochet hat pattern.
Supplies for the free crochet beanie pattern:
Crochet Hook:
Size (4.5mm) & G (4mm) Crochet Hooks
Notions:
Removable stitch markers if needed
Yarn needle to weave in ends
Scissors
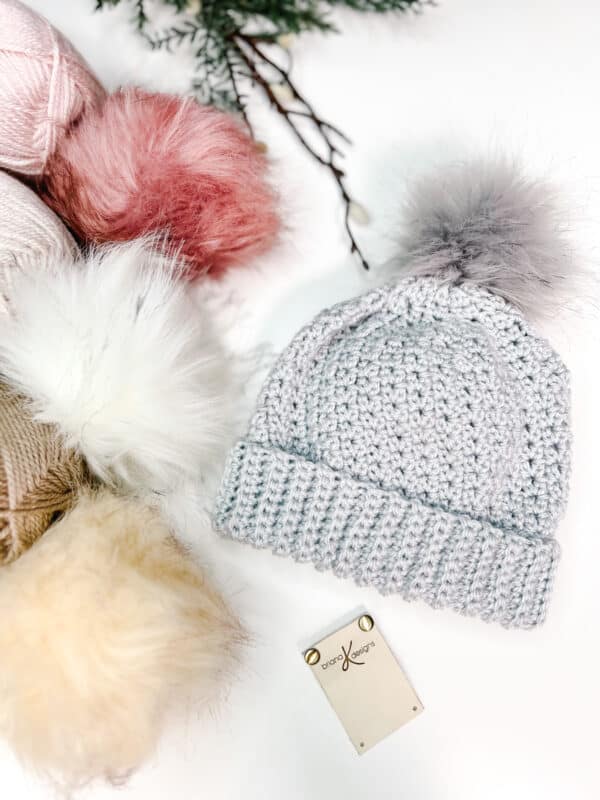
Faux Fur Pom
Tool to create your own pompom
Crochet Yarn:
Mary Maxim Mellowspun DK Weight Yarn
100% Acrylic, 284 yds/100g, 1 skein will make any size.
OR – these yarns can match the gauge:
WeCrochet Swish DK Weight Yarn, 100% Superwash, Merino Wool, 123 yds/50g
Bernat Softee Baby, 100% Acrylic, 395yds/5oz
Yardage:
Newborn: 105 yds
Baby: 150 yds
Toddler: 175 yds
Child/Small Adult: 200 yds
Adult: 250 yds
Large Adult: 275 yds
Abbreviations/Stitches:
blo – back loop only
ch – chain
esc – extended single crochet
esc2tog – extended single crochet 2 together
rnd- round
sc – single crochet
sl st – slip stitch
st(s) – stitch(es)
Gauge:
16 sts x 11 rows = 4×4 inches in esc stitch pattern
Measurements/ Hat Sizes:
To Fit Head Circumference:
Newborn: 13-14” (33-36 cm)
Baby: 16-17” (41-43 cm)
Toddler: 18-19” (46-48 cm)
Child: 20-21” (51-53 cm)
Adult: 22-23” (56-58 cm)
Large Adult: 24-25 (61-64 cm)
Skill Level:
Easy Pattern/Beginner Crocheter
Simple Crochet Beanie Pattern Video:

Pattern Notes on the Easy Crochet Hat
Working will a mellow repeat is good for your mental health, but we still want a hat that has a textured punch. We are playing on the traditional single crochet stitch and working on an extended single crochet. If you’ve never done this stitch, you might love it.
For a gauge swatch, check out the What Is Gauge And How To Fix It for maximum success. If you want to substitute yarn weights; I also discuss this on the link above.
The Extend That Mellow Texture Crochet Hat is worked from the bottom up. This crochet hat has a simple repeat to create a unique fabric. The body of the hat is worked in continuous rounds and decreased at the top.
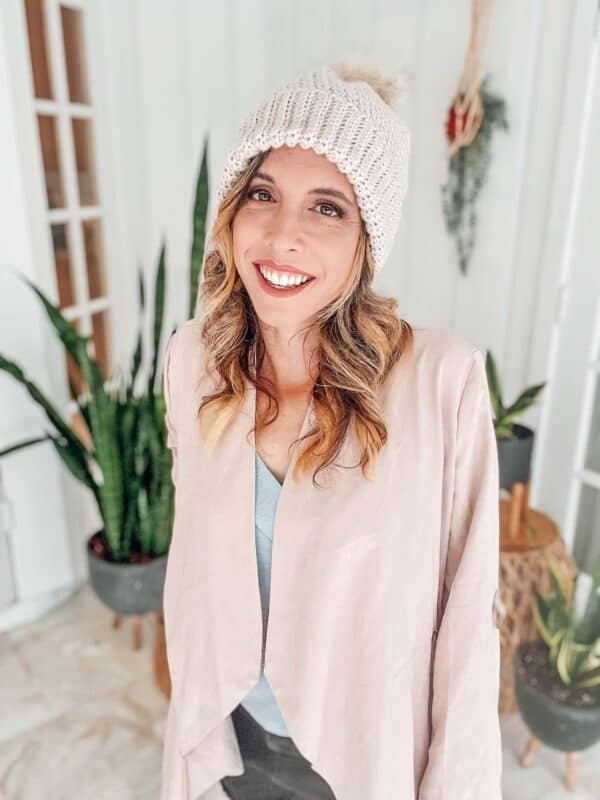
This crochet hat style can also be a bun hat by stopping after a few rounds of decrease and sc around an elastic in the last round. Sizes are written as: newborn (baby, toddler) (child, adult, large adult)
Keep on reading for the free version of this easy crochet hat pattern, for the ad-free downloadable pdf visit Etsy or Ravelry.
Click the box below to unlock this exclusive subscriber content for free. Add your email and create a password. If you are having trouble, reset your password or log in to the Grow Portal.
I’m thrilled to share this amazing crochet pattern with you! Please don’t copy, paste, or distribute this pattern. Prefer an ad-free experience? Purchase a digital PDF file for a small fee from one of my online stores. I appreciate your support and readership. You are why I can keep doing what I love and sharing it with others. Thank you from the bottom of my heart.
Schematic for the Easy Crochet Hat Pattern
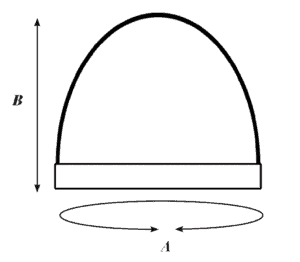
A: Finished Circumference:
11 (13 1/2, 14 1/2) (16 1/2, 18, 20)”
To fit: 13 (16, 18) (20, 22, 24))”
B: Hat Height with Brim Folded
5 1/2 (6 1/2, 6 3/4) (7 1/4, 8, 8 1/2)”
How To Crochet The Easy Crochet Hat Pattern
Ribbed Brim of the Crochet Hat
With G (4mm) Crochet Hook
Row 1: Ch 15 (17, 19) (21, 23, 23), sc in the second chain from hook and in each across, turn. 14 (16, 18) (20, 22, 22) sts
Row 2: Working in the blo, sc in each st across, turn.
Repeats: Repeat Row 2 for a total of 54 (60, 66), (72, 78, 84) rows. The brim band should measure approx. 10 1/2 (13, 14) (16, 17 1/2, 19 1/2) inches wide by 3 (3 1/2, 3 3/4) (4, 4 1/2, 4 1/2) inches tall.
Joining The Crochet Hat Brim: Slip Stitch Row 1 with the last row together by working through the back loop of the last row and the loop from the first row. The slip stitch seam will not be noticeable.
Working Around The Top Of The Hat Brim
Set Up: Working around one edge of the brim ribbing, loosely work the slip stitches as one stitch per row, do not join, the rest of the pattern will be worked in continuous Rnds. 54 (60, 66) (72, 78, 84) sts
Body of the Beanie Crochet Pattern
With 4.5mm Crochet Hook
Rnd 1:
Work this rnd in the blo. Skip the first st, 2 esc in the next, *skip 1, 2 esc in the next st; repeat from * to * until the end of the rnd, do not join and work continuously. 54 (60, 66) (72, 78, 84) sts
Repeats:
Repeat Rnd 1 until there are 8 (9, 10) (11, 12, 13) total Rnds from the ribbed brim.
Decreasing the Top of the Beanie Crochet Pattern
Rnd 1:
*Esc2tog, (skip 1, 2 esc in next) twice*; repeat from * to * until the end of the rnd. 45 (50, 55) (60, 65, 70) sts
Rnd 2:
*Esc 1, esc2tog, skip 1, 2 esc in next*; repeat from * to * until the end of the rnd. 36 (40, 44) (48, 52, 56) sts
Rnd 3:
*Esc2tog, skip 1, 2 esc in next*; repeat from * to * until the end of the rnd. 27 (30, 33) (36, 39, 42) sts
Rnd 4:
*Esc 1, esc2tog*; repeat from * to * until the end of the rnd. 18 (20, 22) (24, 26, 28) sts
Rnd 5:
Esc2tog until the end of the rnd. 9 (10, 11) (12, 13, 14) sts
Rnd 6:
Esc in each stitch around. 9 (10, 11) (12, 13, 14) sts
Closing the Top of the Crochet Beanie
Fasten off, leaving a 12-15 inch tail. With a yarn needle, weave through the front loop of every
stitch around the hat. Pull the opening closed, cut yarn, and weave in the end.
Finishing the Crochet Beanie
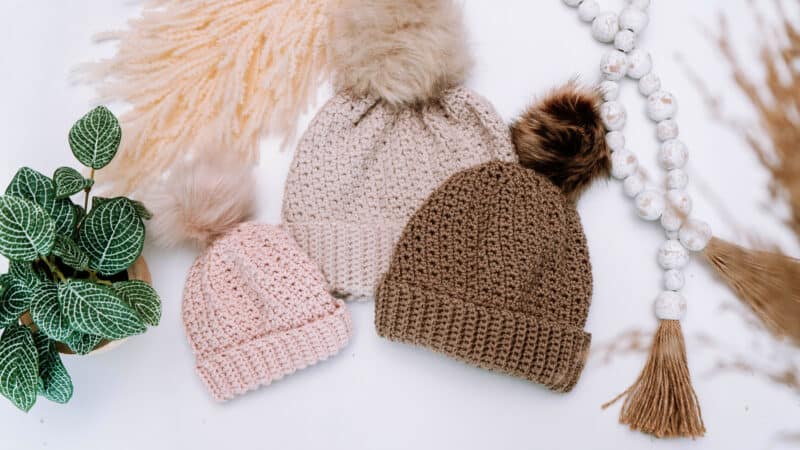
Weave in all the yarn ends. Attach a pompom to the top if desired and wear. Read the Quick Faux Fur Pompom Tutorial to make your own faux fur pom from fabric.
Once you have completed your beanie, why not make some more? Crocheting hats a great way to practice different stitches and color combinations while making something fun at the same time! With all these possibilities, there isn’t any reason why you shouldn’t try this pattern in an size hat, happy crocheting!
Want more crochet hats?
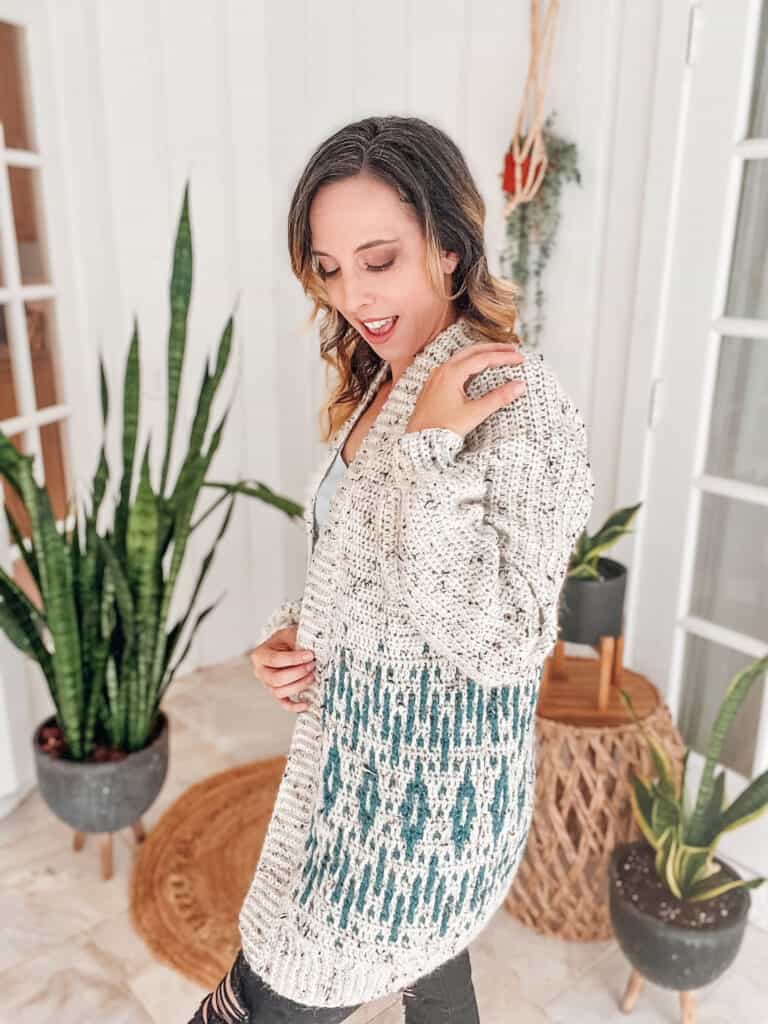
And of course, I have other incredible crochet hat free patterns on my blog as well, if you want to try your hand at colorwork check out the Forest Brooks Crochet Beanie Hat – Free Pattern, or create knit-look stitches with the Amazing Juniper Knit-Look Crochet Hat Free Pattern. Both of these are free crochet patterns.
But if you want to stick with easy crochet hat patterns, I suggest crocheting the Super Cute Poppy Crochet Hat Pattern For All Ages or the Ehdc Between Stitches Free Crochet Beanie Hat Pattern. Most importantly, keep on living that crochet life!
Now let’s say you really want to up your crochet skills and try your hand at an intermediate colorwork crochet hat. Head on over to the How To Crochet An Amanita Mushroom Hat Free Crochet Pattern or the Forest Brooks Crochet Beanie Hat – Free Pattern.
Even more crochet hats below!
Crochet Hat Pine Free Pattern Cozy & Warm Gorgeous Colorwork
Fair Isle Crochet Hat Free Pattern
Infinity Crochet Cable Swirl Hat Pattern
Infinity Crochet Whirl Slouchy
Frost Swirl Infinity Crochet Hat Pattern
Quilted Lattice Crochet Hat with Textured Fabric – Free Pattern
Macchiato Sweater & Beanie Crochet Pattern
How to Get Bulky Yarn from 1 Skein
Well, That Was Fun! What’s Next?