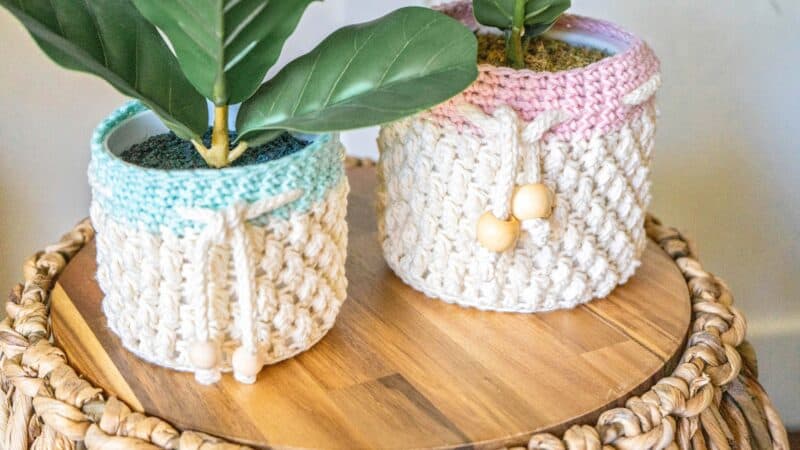
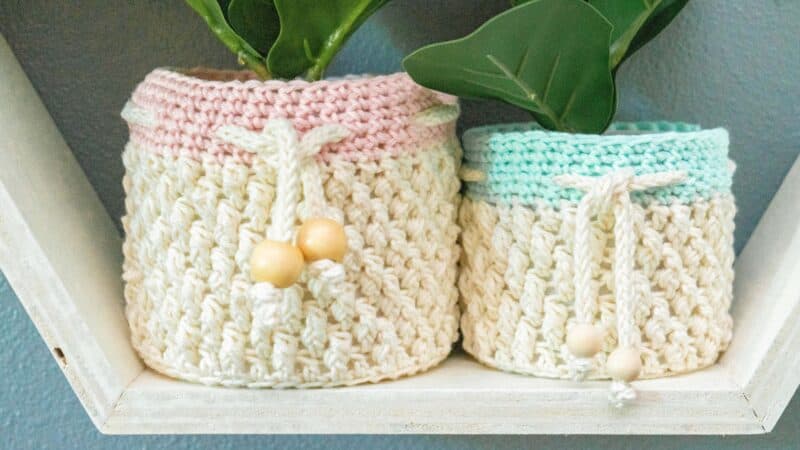
The Teton Crochet Basket Pattern is a flexible pattern that can be created in many sizes. I’m going to walk you through a few sizes, but with the easy stitch repeat, feel free to customize and adjust. And the best part is this crochet pattern comes with a video tutorial.
Disclosure: This post contains affiliate links. Please read my disclosure for more info.
This crochet basket pattern is worked from bottom-up and in the round.
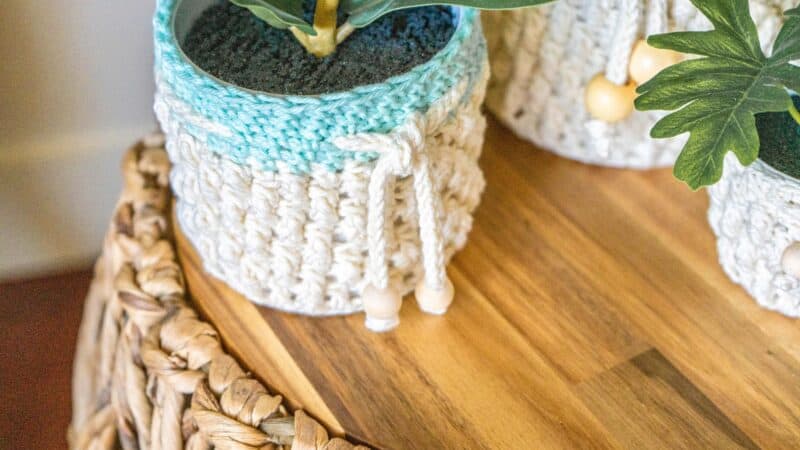
If you don’t want to use this as a plant cover, going down a hook size can help the basket be firmer and it will stand up better.
Continue reading this post for the free crochet pattern. For an ad-free downloadable pdf visit Ravelry.
Do you love crochet baskets? Check out these patterns:
Lace Top Crochet Basket Pattern
Herringbone Single Crochet Basket Free Pattern
Teton Crochet Basket Supplies


Crochet Hook:
Size I (5.5mm) Hook, or hook to obtain gauge
Notions:
Removable stitch markers if needed
Yarn needle to weave in ends
Scissors
Wood Beads (optional)
Yarn:
100% Cotton, 190yds/100g

Yardage:
Small: 40yds
Medium: 85yds
Large: 135yds
Abbreviations/Stitches:
blo – back loop only ch – chain
dc – couble crochet rnd- round
sc – single crochet
stsc – stacked single crochet sl st – slip stitch
st(s) – stitch(es)
12 sts x 10 rows = 4×4 inches basket body stitch
Skill Level:
Easy Beginner
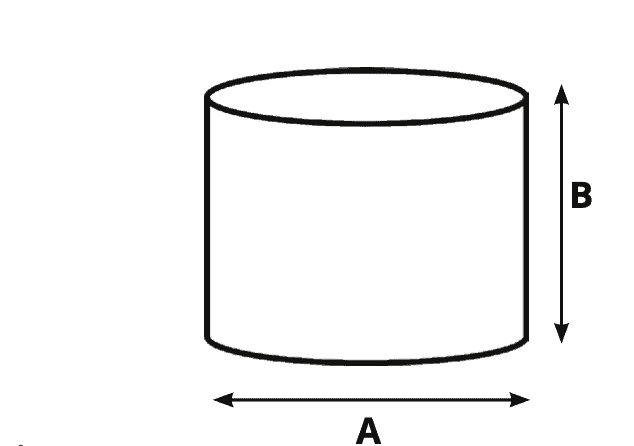
Size:
In inches S (M, L) A: 3 (4, 5) B: 2.5 (4, 5)
Notes
Some of this pattern is worked continuously, a ch 1 at the beginning of the round is not needed. It is helpful to place a stitch marker on the first stitch of each row.
Teton Crochet Basket Video

Special Stitches:
Puffy Post Double Crochet (Puffy DC): Yarn over, insert the hook under the post of the next stitch, yarn over and pull up a loop, yarn over and pull through two loops on the hook (2 loops remain on the hook), yarn over and insert the hook under the post of the same stitch, yarn over and pull up a loop, then pull through two loops on the hook (3 loops remain on the hook), yarn over and pull through the remaining three loops on the hook.
Magic Circle (MC): Start by creating a loop with your yarn. The tail of the working yarn will be over the working end. Insert your hook into the loop from behind. Yarn over and pull through the loop. Work the stitches as instructed into the loop.
Stacked Single Crochet (Stsc): Do NOT chain, insert hook into next stitch, yo, pull up a loop, yo and pull through both loops, insert hook in the vertical bar below, yo, pull up a loop, yo and pull through both loop on hook.
Bottom of the Teton Basket
Rnd 1:
Inside MC: Stsc, dc 9, join. (10)sts
Rnd 2:
Stsc & dc in the first stitch, 2dc in each of the remaining sts around, join. (20)sts
Stop here for small and go to Rnd 5
Rnd 3:
Stsc & dc in the first stitch, 1dc in the next, *2dc in the next, 1dc in the next*; repeat from * to * around, join. (30)sts
Stop here for medium and go to Rnd 5
Rnd 4:
Stsc & dc in the first stitch, dc in each of the next 2 sts, *2dc in the next st, dc in each of the next 2 sts*; repeat from * to * around, join. (40)sts
Want a bigger basket? Continue to increase the bottom until the desired size.
Rnd 5:
Stsc & dc in the first stitch, dc in the remaining sts around, join. 21 (31, 41)sts
Body of the Teton Basket
Rnd 1:
Working in the blo, Stsc in first, dc in each of the remaining sts around, do not join. 21 (31, 41)sts
Rnd 2:
Puffy dc in first, *dc in next, puffy dc in next*; repeat from * to * around, do not join. 21 (31, 41)sts
Rnd 3:
Dc in first, *puffy dc in next, dc in next*; repeat from * to * around, do not join. 21 (31, 41) sts
Repeats:
Repeat Rnd 2-3 until about 1.5 inches from the desired height of the basket.
Top of the Teton Basket
This portion can be done in a different color if desired.
Rnd 1:
Sl st to join to the first st in the rnd (this will help even out the row height), sc in each st around, do not join. 21 (31, 41)sts
Rnd 2:
Sc in each st around, do not join.
Rnd 3:
Sc in first st, *ch 1, skip 1, sc 3*; repeat from * to * around, do not join.
Rnd 4:
Sc in each st and chain space around, do not join.
Rnd 5-6:
Repeat Rnd 2.
Finishing the Teton Basket
Sl st to join on the last rnd (or see video for invisible join), fasten off and weave in ends.
Basket Cord
There are several ways to make a crochet cord. A basic crochet chain can work great. To make an i-cord with a Lucet Fork.
For an i-cord with a crochet hook visit the end of the basket video.

Well, That Was Fun! What’s Next?