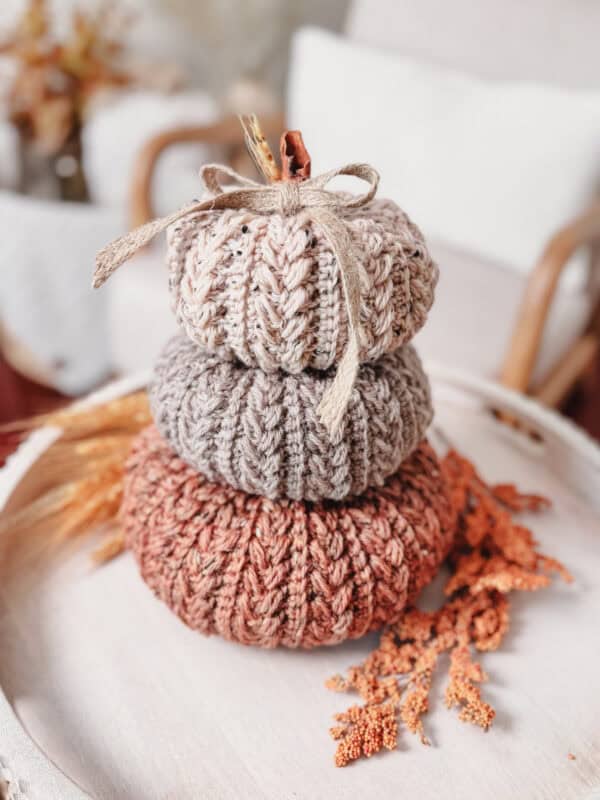
Pumpkin Spice Crochet Stackable Trio
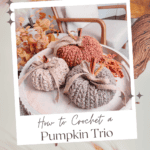
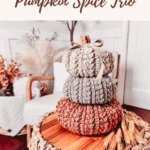
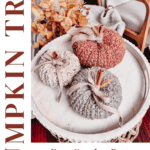
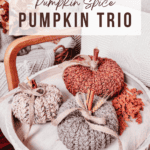
Get into cozy fall vibes with the Pumpkin Spice Crochet Trio! This charming crochet pumpkin pattern offers a delightfully textured stitch and comes in three sizes, weaving the warmth of autumn and the joy of crafting into one lovely project. These pretty pumpkins are crocheted flat, then seamed and stuffed, and would look amazing with the Fall Skies and Apple Pies Table Runner and the Pumpkin Mug Rugs!
Disclosure: This post contains affiliate links. Please read my disclosure for more info.
Love everything, pumpkin? The Fall Pumpkins wth Leaf Coasters is functional and cute. And if you want to add a little extra bedazlle, learn How To Crochet With Beads.
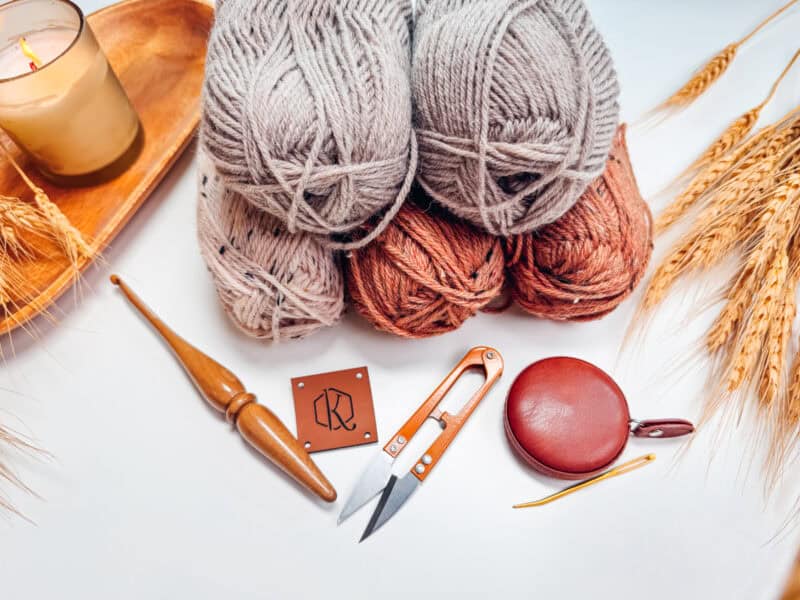
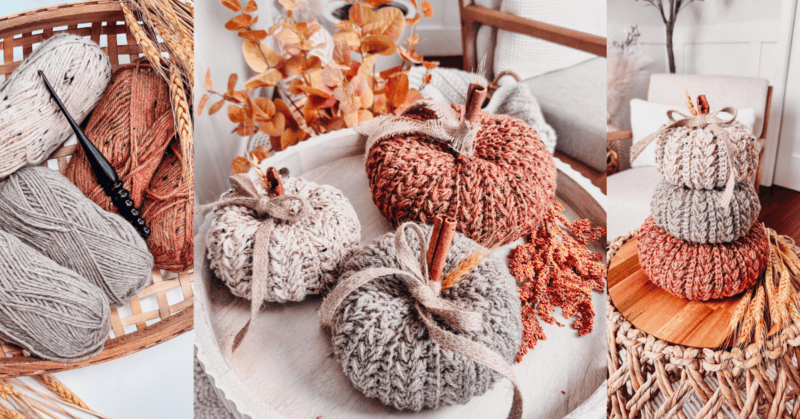
Crochet Supplies
Yarn
Wool of the Andes Tweed Worsted
80% Peruvian Highland Wool, 20% Donegal Tweed, 110yds/50g
Colorways: Sarsaparilla Heather and Oyster
Wool of the Andes Tweed Worsted
100% Peruvian Highland Wool, 110yds/50g
Colorway: Crane Heather
Yarn Quantities
Small (Medium, Large)
80 (100, 210) yds
Yarn Substitutions
WeCrochet Brava
100% Premium Acrylic, 218yds/100g
WeCrochet Brava Tweed
97% Premium Acrylic, 3% Viscose, 218yds/100g
Lion Brand Color Theory
100% Acrylic, 246yds/100g
Remember always to check the gauge and drape when substituting yarns.
Crochet Hook
Size US H (5.0mm) Crochet Hook or hook to obtain gauge.
Notions
Scissors
Yarn Needle
Removable Stitch Marker
Fiberfill
Cinnamon Stick
Burlap Ribbon
Skill Level
Intermediate
What you'll love about this pattern.
🩶 Three Sizes - Make your pumpkins in any size you prefer.
🩶 Gorgeous Texture - The puff stitch adds eye-catching dimension to this home decor project.
🩶 Customizable - Try using different weights and colors of yarn to make these pumpkins your own.
Three Sizes
Three Sizes (Flat/Finished width x height):
Size Small: (10 x 6/4 x 2.75)
Size Medium: (15.5 x 7.25/5 x 3.25)
Size Large: (22 x 8/6.5 x 3.75)
Abbreviations
blo - back loop only
ch - chain
RS - right side
sc - single crochet
sl st - slip stitch
st(s) - stitch(es)
WS - wrong side
Gauge
16 sts by 8 rows = 4x4 inches stitch pattern. Not Critical for this pattern.
How to Crochet A Gauge Swatch
Working a gauge swatch will let you know if you will have the correct sizing for this pattern. It will also help you practice the stitches used in this project and improve your stitch work for a flawless look.
Are you struggling to match the gauge? Check out the blog post on What is Crochet Gauge and How To Fix It
Construction
The pumpkins are crocheted flat, seamed, and then stuffed, leaving room for a cinnamon stick stem at the top. You can stack them together or display them individually, with the option to finish them off with a ribbon for an extra touch of charm.
Want more puff stitch patterns? Check out the Autumn Wheat Bauble and the Seven Hexi Granny Bag!
Special Stitches
Puff Stitch: Yarn over and insert your hook into the stitch. Yarn over again and pull up a long loop. (Yarn over and insert your hook into the same stitch. Yarn over again and pull up a long loop) two more times (7 loops on hook). Yarn over and pull through the first 6 loops, yarn over and pull through remaining loops.
Subscribe & Like
Video Tutorial for the Pumpkin Spice Trio
Relax & Crochet
Upgrade to the Printable PDF
Beautifully formatted to print and relax while crocheting. The paid pattern includes:
The Ad-Free PDF can be purchased on Etsy or Ravelry.
Click the box below to unlock this exclusive subscriber content for free. Add your email and create a password. If you are having trouble, reset your password or login to the Grow Portal.
I'm thrilled to share this amazing crochet pattern with you! Please don't copy, paste, or distribute this pattern. Prefer an ad-free experience? Purchase a digital PDF file for a small fee from one of my online stores. I appreciate your support and readership. You are why I can keep doing what I love and sharing it with others. Thank you from the bottom of my heart.
Written Crochet Pattern Instructions
Row 8:
Ch 1, blo sc in first 4 sts, [skip the next st, sc in next, work a puff st into the skipped st] work until the last 4 sts, blo sc in last 4 sts, turn.
Repeats:
Rows 9-36 (52, 68):
Repeat Rows 5-8.
Join The Kindest Community
Join our vibrant community of crafters on Facebook today. Whether you enjoy crafting with others or simply have burning questions, we've got you covered - join us now!
Joining and Stuffing
With the wrong side facing out, slip stitch Row 1 to the current row by working through the blo of the current row and the blo loop from the first row.
Fasten off leaving a long tail, flip the fabric so the right side is facing out.
Using the long tail and your yarn needle, loop through each point (every two rows) of the pumpkin all the way around. Pull closed and weave in end.
Stuff the pumpkin with fiberfill (don't overstuff), and keep stuffing as we begin to close the top.
Using your yarn needle, attach a strand of yarn to the top of the pumpkin, loop through each point (every two rows) of the pumpkin all the way around, and cinch the top opening closed around the stem/cinnamon stick.
If you are going to permanently stack the pumpkins, only leave an opening for a stem on the smallest pumpkin.
Next, weave the tail end through the center of the pumpkin and out the bottom. Weave through a few strands of the center bottom, then back through the center of the pumpkin to the top.
Repeat if necessary to shape the pumpkin.
Style
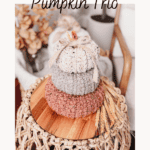
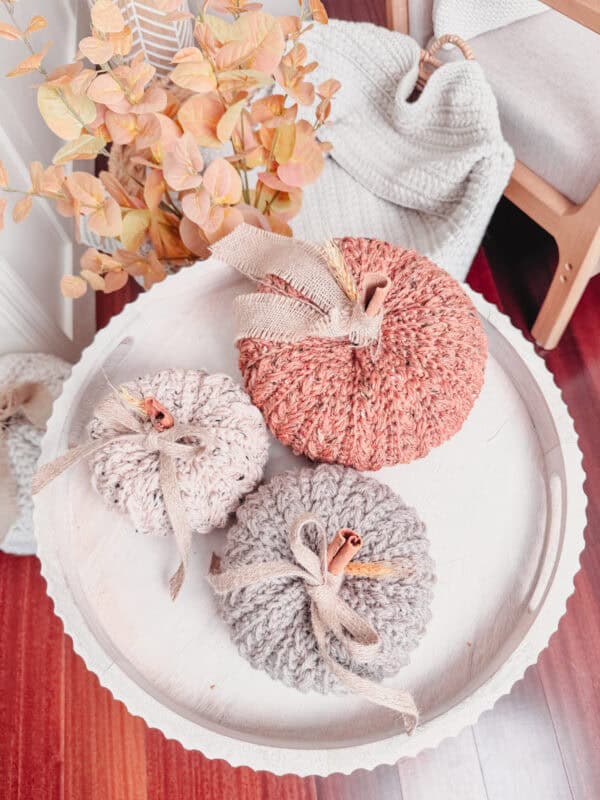
When decorating with the Pumpkin Spice Trio, you can create a charming display by stacking the different-sized pumpkins to add height and visual interest. Alternatively, leaving the pumpkins flat and scattered across a surface can evoke a more relaxed, casual vibe, perfect for a laid-back autumn ambiance. Add Cinderella’s Pumpkins and some Woodland Fox Amigurumi friends to your little pumpkin patch!
Finishing
Subscribe to my youtube channel
Fasten off and weave in ends. Tie a ribbon into a bow around the stem if desired.
If the pumpkins are going to be permanently stacked, use your yarn needle to stitch and secure them together, similarly to how we shaped an individual pumpkin by weaving down the center and back up.
And finally, display in your home all season long.
Spice things up by using some bulky or ultra-textured yarn to give your Pumpkin Trio more visual depth. And don't forget to dust your pumpkins off before storing them for the season! Want more pumpkins? The Hello Pumpkin Pillow and the Pumpkin with Leaf Coasters are perfect for adding a dash of seasonal cheer and handmade charm to your fall decor!
Cheers, and happy crocheting!
Well That Was Fun! What's Next?
📌 PIN THIS POST - Don't lose this project; save it to your Pinterest crochet board so you can quickly come back to it again.
💌 SHARE - Share your yarn choice, in-progress, or finished projects on Facebook or Instagram and use the hashtag #brianakdesigns
🥂 JOIN - Join the kindest crafters in the Briana K Designs Community Group on Facebook. We love yarny friends!
🔗 RAVELRY LINK -Link and share your project on Ravelry. Having inspirational photos can help crafters.