
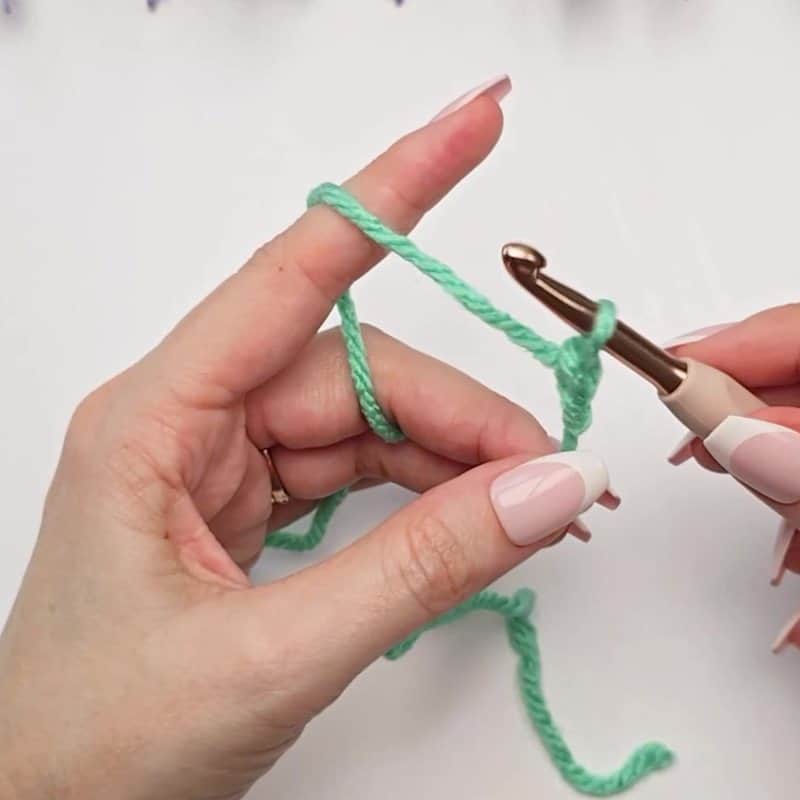
- Yarn over: bring the working yarn over the hook from back to front.
- Pull it through the loop on your hook. That’s one chain.
- Repeat. Each one adds a V to your chain.
Practice this stitch in the app
Here’s where you make your very first stitches. When a pattern says “ch 20,” it just means make twenty chains. That’s it. Chain a lot. Chain twenty, pull them out, chain twenty more. Chain in the carpool line. It becomes second nature in about an hour.
This is part of my free learn to crochet series. If you don’t have a slip knot on your hook yet, start with how to make a slip knot, then come right back.
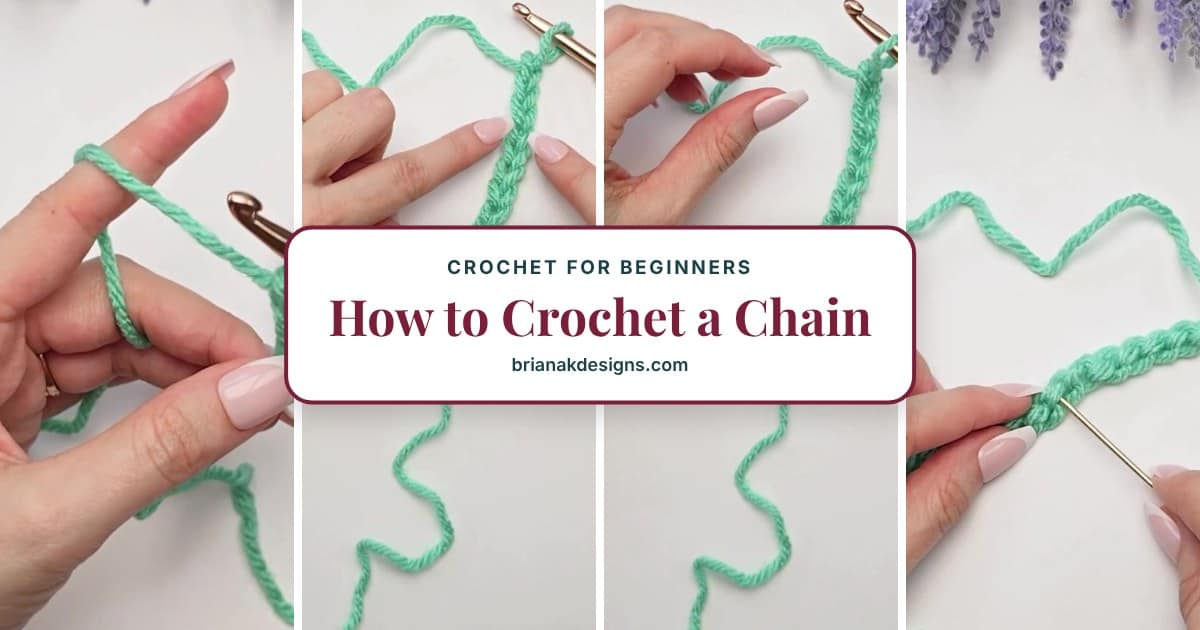
How to Crochet a Chain Stitch, Step by Step
Hold your hook in your dominant hand and the yarn in your other hand, wrapped around your fingers for tension. Your slip knot is on the hook.
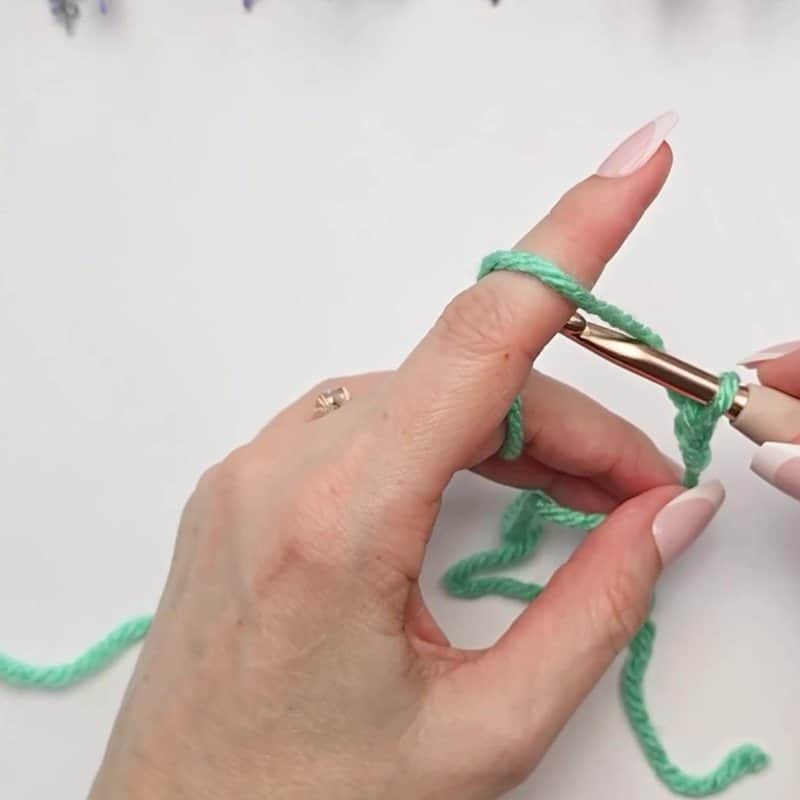
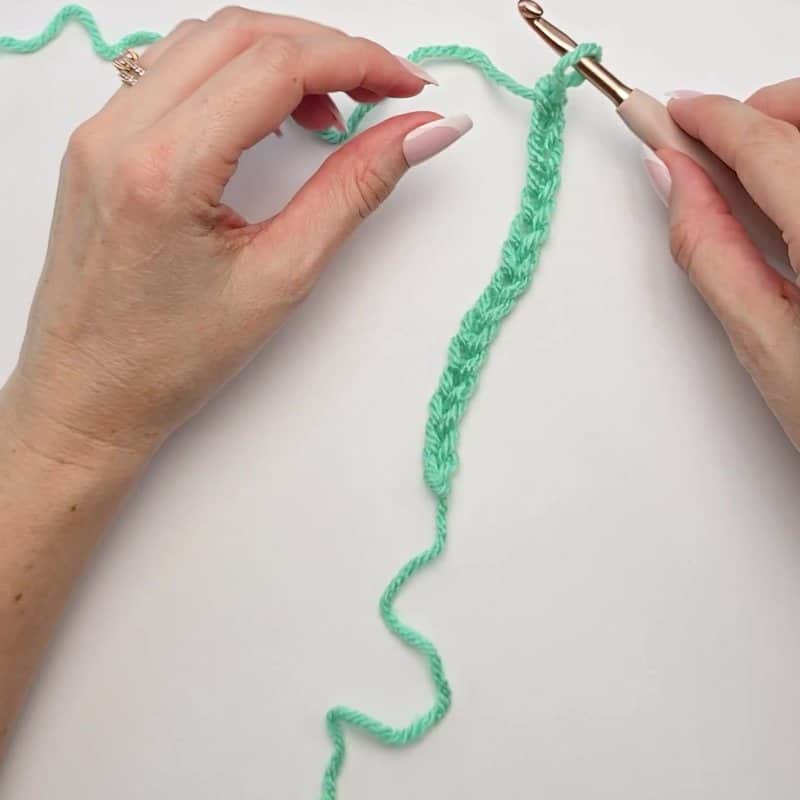
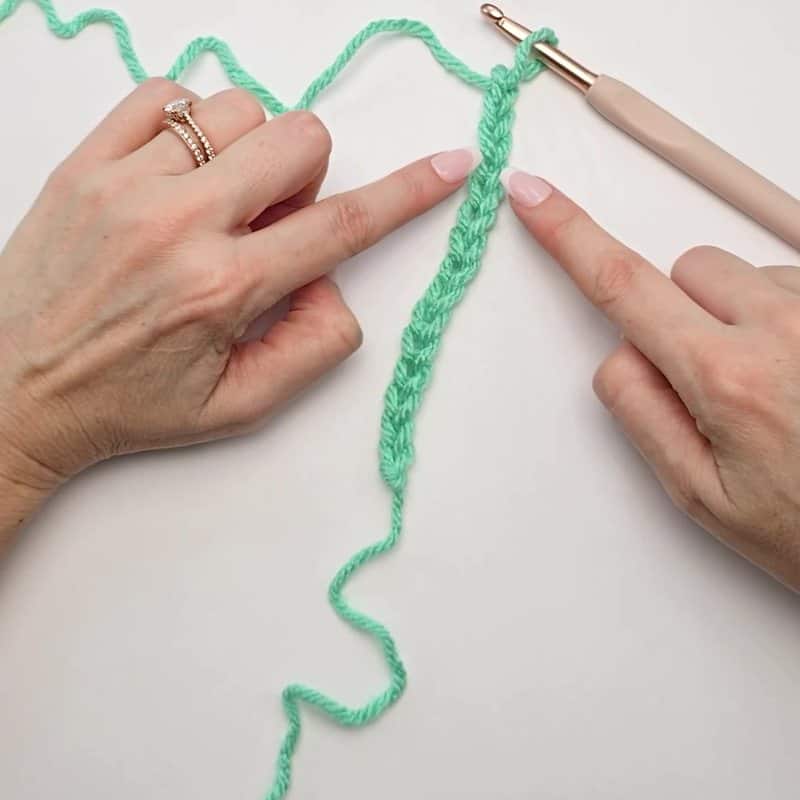
Watch it on YouTube: I show the chain up close, step by step, in my Crochet Stitches for Beginners video (the link jumps right to it).
What a Good Chain Looks Like
- It looks like a row of V’s. Each V is one chain. Flip it over and you’ll see a row of bumps on the back. We’ll use those in a minute.
- It’s even. Some unevenness is normal at first. One giant chain next to a tiny one usually means your tension is jumping around.
- It’s not too tight. This is the most common beginner issue. If you can’t easily fit your hook back into each chain, it’s too tight.
- It’s not too loose. Less common, but if the V’s gape open, your tension is too relaxed.
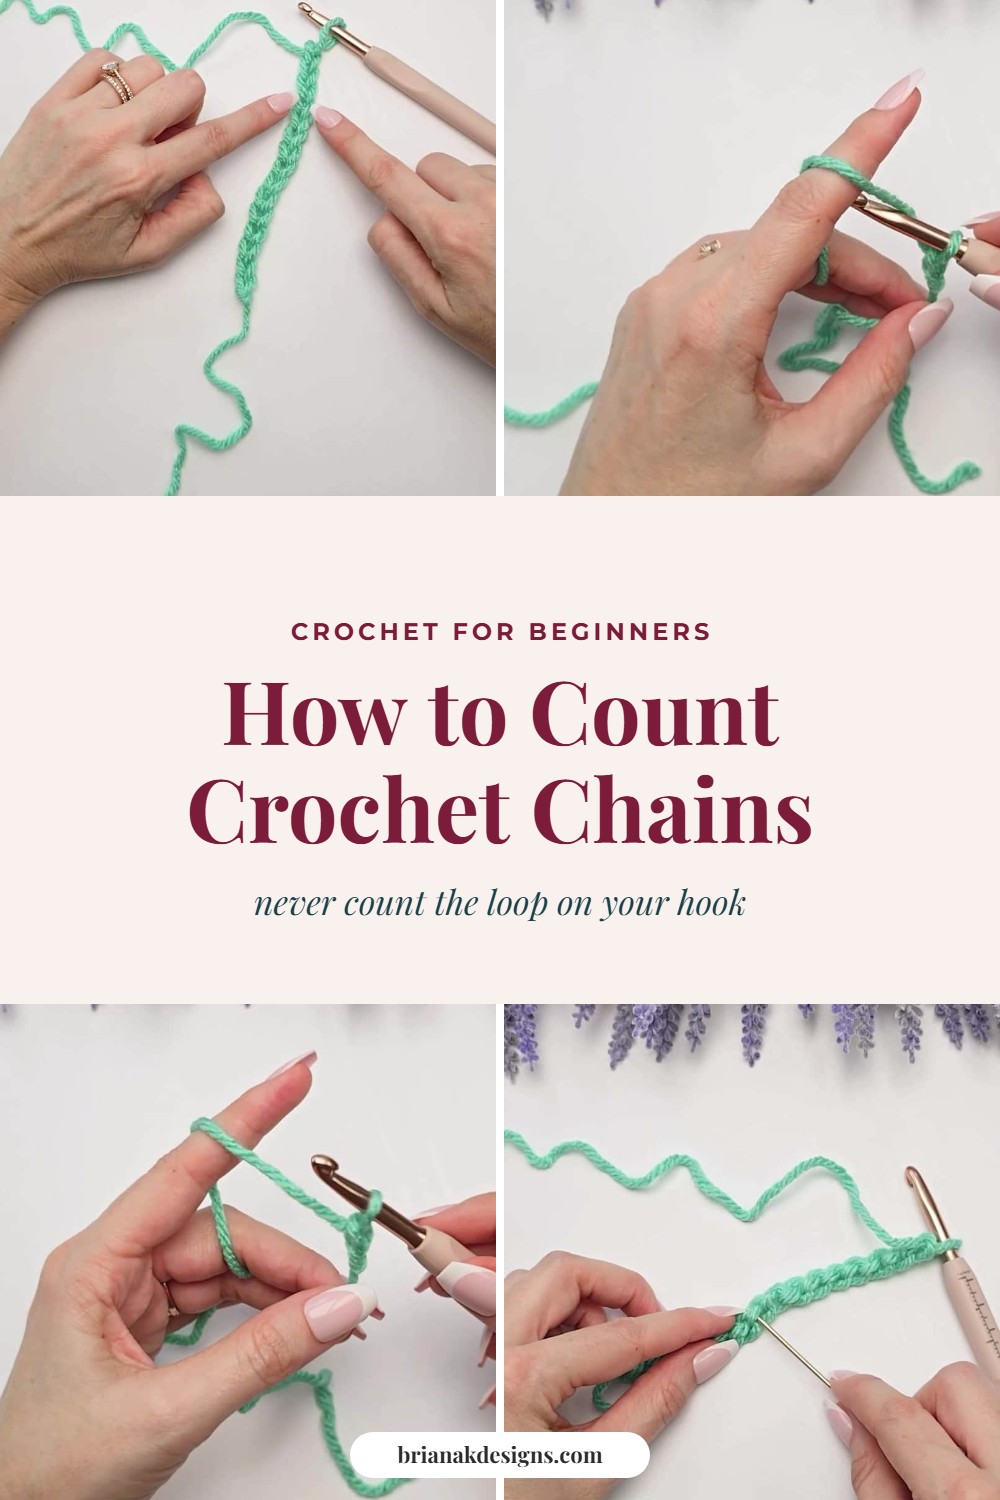
How to Count Your Chains
This is where new crocheters get tripped up, so let’s go slow. Never count the loop on your hook. It’s still active, not a finished stitch. The slip knot doesn’t count either. Count only the finished V’s below your hook.
So “ch 10” means ten V’s below your hook, plus the working loop on your hook. That rule never changes in crochet. My tip: count out loud as you make them. Yes, really. It builds the habit of watching your stitch counts, the single most important skill in crochet.
Count Your Chains Check
Count the chains in this drawing, the same way you’d count your own. Then type your number. (This drawing has between 8 and 12.)
Making a blanket and wondering how many chains to start with? My free blanket size calculator works it out for you. And if you ever end up with too many, I share a trick for too many starting chains.
The Foundation Chain and the Back Bumps
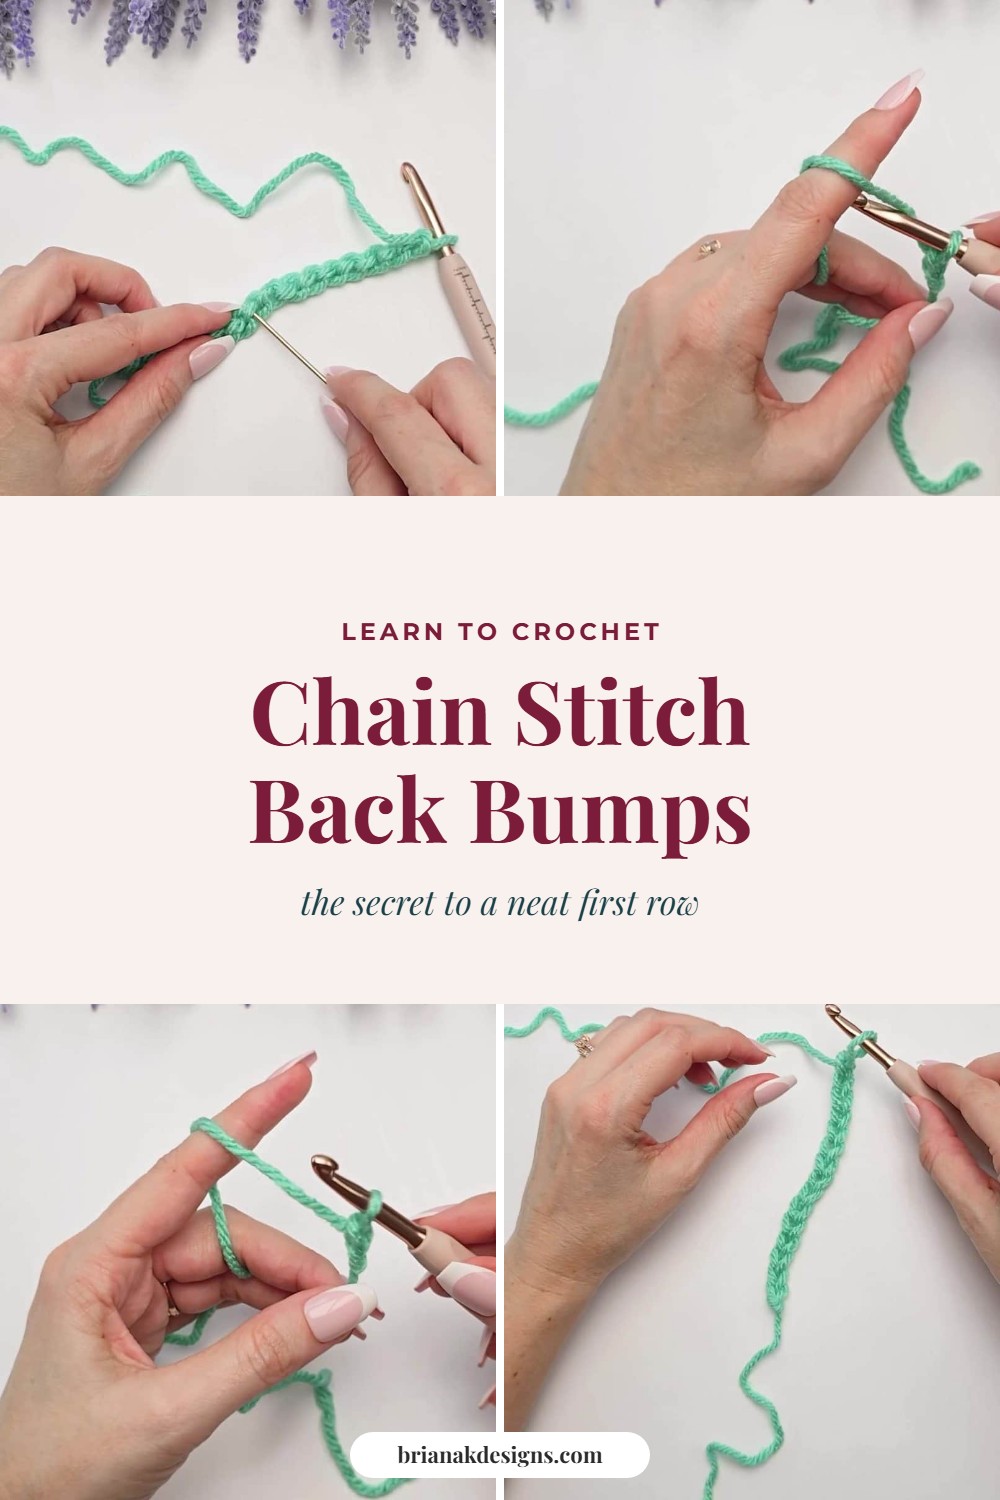
The row of chains you start a flat project on is called the foundation chain. Flip it over and you’ll see a row of little bumps running down the back. Those are the back bumps.
When you work your first row, insert your hook into the back bump of the second chain from your hook. That gives you a bottom edge that looks just like the top edge of your work, with the V’s of the chain still showing. It’s a little harder to find at first. It’s worth it. This one habit makes your work look polished from your very first project.
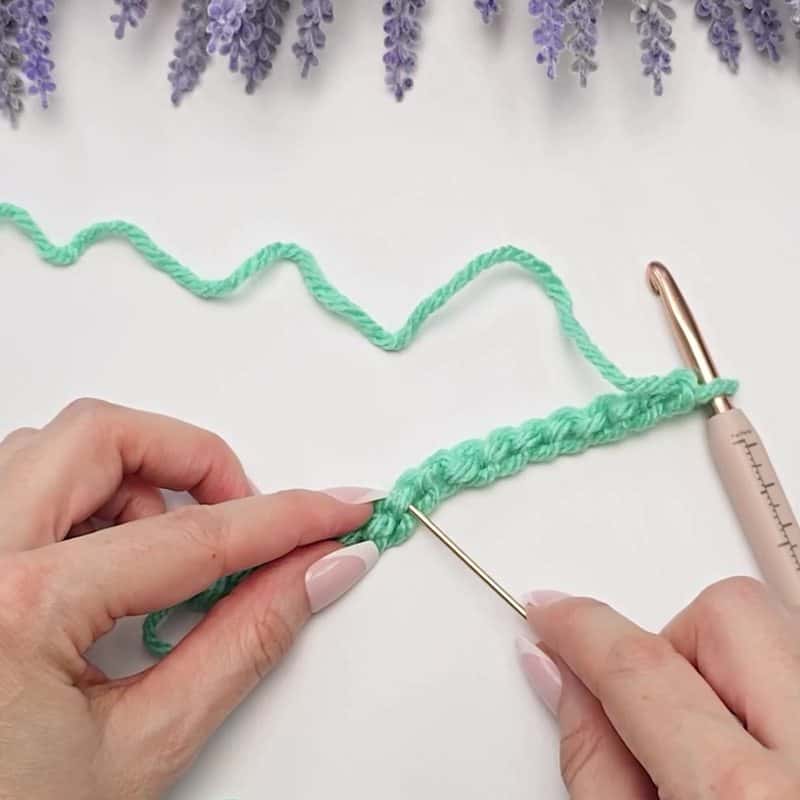
Watch the back bumps in the app
Ready to skip the chain someday? Try my foundation single crochet. It makes the chain and the first row at the same time.
How to Fix a Tight Chain
Use a hook one size larger for the chain only, then switch back to your project’s hook for everything else. Some patterns tell you to do this. Some don’t, and you can do it anyway. Only have one hook? Pull each loop a hair longer than feels natural. Chains are supposed to be a little looser than the stitches that come next.
Is your chain twisting like a corkscrew when you join it? Here’s the fix.
How to Join a Chain Without Twisting
Patterns worked in the round often say “join without twisting.” A long chain loves to twist before you get there. This trick locks the chain into a circle as you go, so it can’t twist.
- Chain about 10.
- Take your hook out of the last chain.
- Put your hook into the very first chain.
- Put the working loop back on your hook.
- Keep chaining as many as your pattern needs. The chain stays in place and can’t twist.
- To join, pull through the first chain that’s already on your hook.

Too Many Chains? Take Them Out
Found extra chains once you’re on row 2? You don’t have to rip out the row. Undo the slip knot at the tail end and pull out the extra chains one at a time from the start of the chain. That means you can chain a few extra for a blanket or scarf and take out what you don’t need.

Common Chain Mistakes
- Counting the loop on the hook. It’s never a stitch. Count the V’s below it.
- Counting the slip knot. It doesn’t count either.
- Chaining too tight. If you can’t get your hook back in, go up a hook size for the chain.
- Uneven chains. A giant chain next to a tiny one means your tension is jumping around. Keep the yarn wrapped the same way every time and keep going. It evens out with practice.
- Losing count. Count out loud, and count twice before you start your first row.
Try It
Chain 15 and count them twice. Then work your first row of single crochet into the back bumps. That’s exactly how my free Even Moss Stitch starts, and it’s the perfect first project.
What I Used
- Yarn: Brava Bulky from Crochet.com in mint. A smooth, light color makes every V easy to see and count.
- Hook: a 6 mm hook from my Heart Hook Home hook set. Going up a size for a tight chain? The crochet hook size chart shows what’s next.
Some links are affiliate links, which means I may earn a small commission at no extra cost to you.
Crochet Chain FAQs
Does the loop on my hook count as a chain?
No. The loop on your hook is still active, so it never counts. The slip knot doesn’t count either. “Ch 10” means ten V’s below your hook, plus the loop on your hook.
What is a foundation chain?
It’s the row of chains you start most flat projects on. Your first row of stitches is worked into it.
Why is my crochet chain so tight?
Your tension is pulling hard on each loop. It’s the most common beginner issue. Go up one hook size just for the chain, or pull each loop a little longer before you start the next one.
Where do I put my hook for the first row?
For a neat edge, go into the back bump of the second chain from your hook. The back bump is the little ridge on the back of each chain.
What does “ch” mean in a pattern?
Ch is short for chain. “Ch 20” means make twenty chains. The chain has the same name in US and UK patterns.
How do I crochet a chain left-handed?
Same motion, hands swapped. Open the chain card in my app and tap the left-handed button. The video flips so my hands match yours, and you can slow it down too.
Keep Going: Your Next Lesson
You’ve got the foundation. Every blanket, sweater, and scrunchie you ever make starts right here. Next up in the learn to crochet series is slip stitch, the shortest stitch in crochet and the one you’ll use to join rounds.
Sources: steps, counting rule, and tips from my book Crochet for Beginners, Lesson 4.
Which stitch is your soulmate?
Keep the hook movingReaders Are Loving
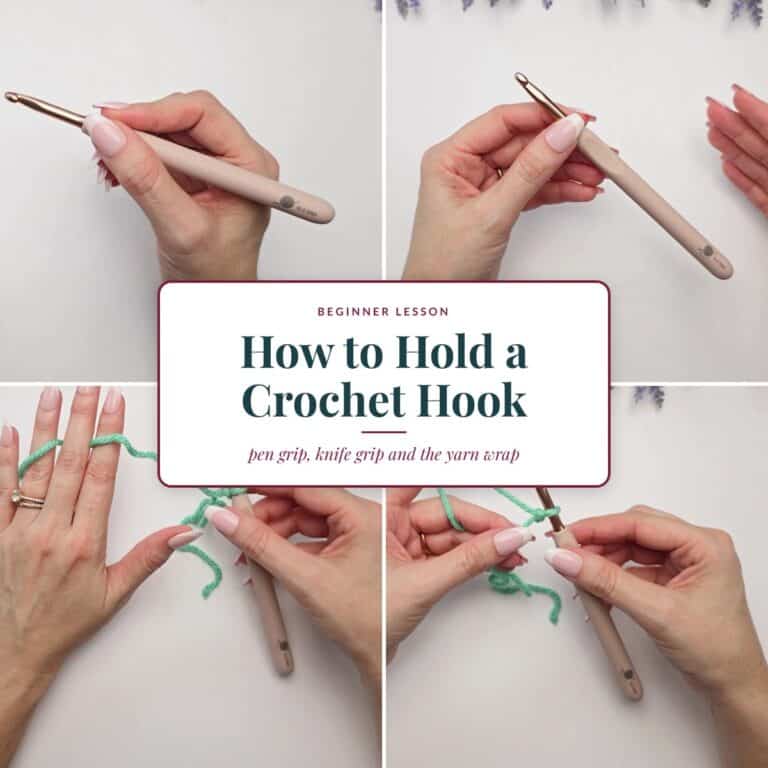
 Best Beginner Hooks
 Mosaic for Beginners
 Twisted Fringe
 Split Single Crochet