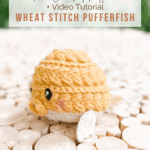
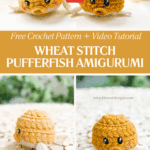
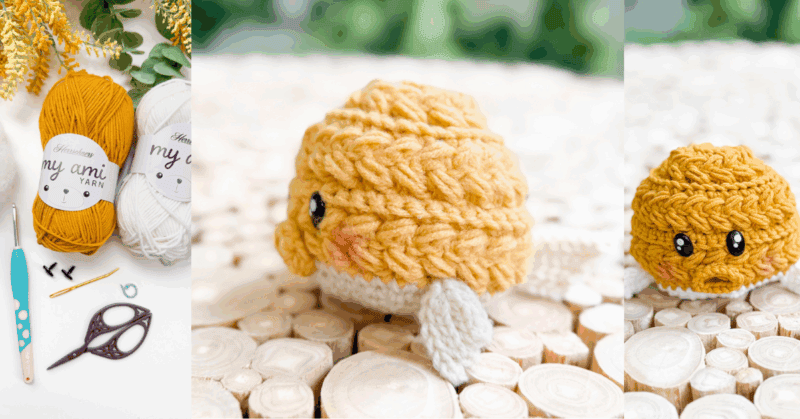
The Wheat Stitch Pufferfish is a free amigurumi crochet pattern that’s quick, beginner-friendly, and full of texture. This adorable sea creature is worked in the round using the unique wheat stitch to create a soft, bubbly surface. With a round, puffy body, little fins, and a sweet expression, it’s the perfect stash-busting project for ocean lovers and handmade gift givers.
Disclosure: This post contains affiliate links. Please read my disclosure for more info.
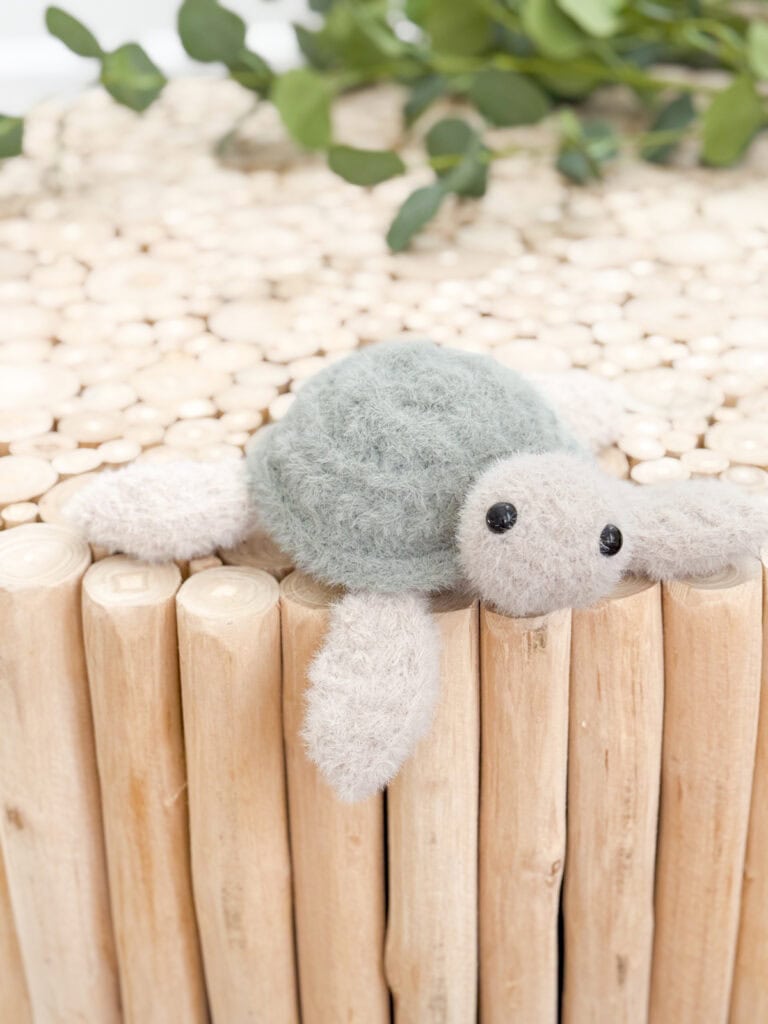
Plus, you’ll love that this is a no-fuss project. If you’ve already made friends with the Wheat Stitch Whale, Octopus, Jellyfish, or Turtle, the Pufferfish is the next must-make in your Hooked on the Sea collection. And don’t forget about the Whale and Clam!
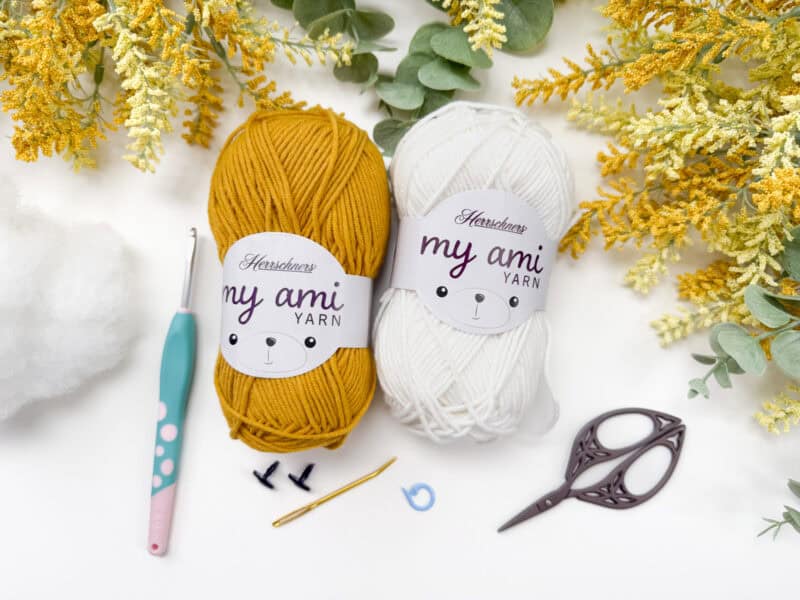
Crochet Supplies for the Pufferfish Amigurumi
Yarn
Herrschners My Ami
55% Acrylic/45% Cotton Blend
120yds/50g
Yarn Quantities
Beeswax (Yellow): 55 yds
White: 15 yds
Yarn Substitutions
Brava Worsted – 100% Premium Acrylic, 218yds/100g
Herrschners Worsted 8 – 100% Acrylic, 489yds/226g
Dishie – 100% Cotton; 190yds/100g
Remember always to check the gauge and drape when substituting yarns.
Crochet Hook
Size US G (4.0mm) Crochet Hook or hook to obtain gauge.
Notions
Scissors
Yarn Needle
Removable Stitch Marker
Fiberfill
Safety Eyes
Skill Level
Advanced Beginner
Hooked on the Sea
GET THE COLLECTION
Make a splash with the Hooked on the Sea Crochet Collection—6 adorable no-sew sea creature patterns perfect for gifting, decorating, or selling at markets!
What you’ll love about this pattern.
? The wheat stitch adds a soft, cozy texture that’s perfect for plushies!
? Use any yarn weight or color to customize your fishy friend!
? Minimal sewing required — just one part to attach!
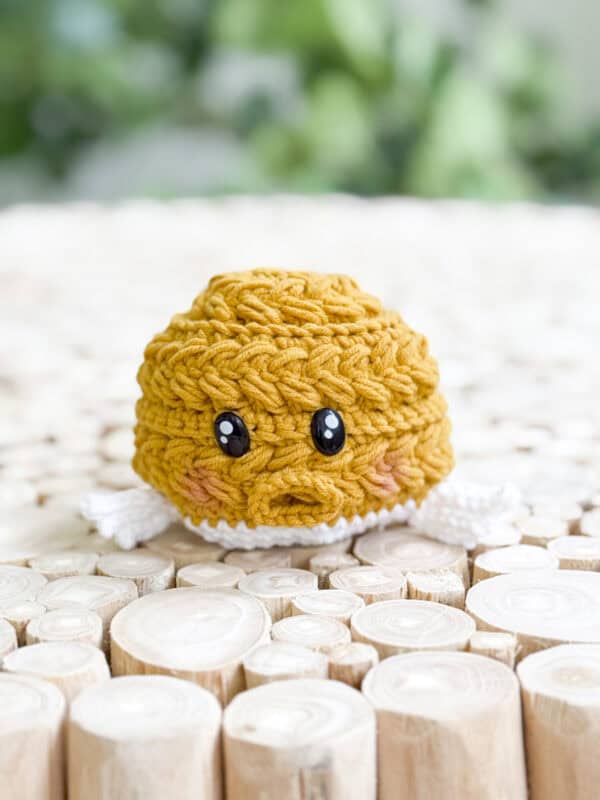
One Size
Using suggested yarn, Pufferfish is approximately 3.5 inches x 4 inches.
Abbreviations
blo – back loop only
ch – chain
flo – front loop only
RS – right side
sc – single crochet
sc2tog – single crochet two together
sl st – slip stitch
st(s) – stitch(es)
WS – wrong side
Gauge
Not critical for this pattern.
How to Crochet A Gauge Swatch
Working a gauge swatch will let you know if you will have the correct sizing for this pattern. It will also help you practice the stitches used in this project and improve your stitch work for a flawless look.
Are you struggling to match the gauge? Check out the blog post on What is Crochet Gauge and How To Fix It
Construction
The Wheat Stitch Pufferfish is worked in the round from the top down, making it a seamless and beginner-friendly amigurumi project. You’ll start by crocheting the side fins, tail, and small fishy mouth, which are set aside while you build the main body. The body is crocheted in one piece using the textured wheat stitch, giving the pufferfish its signature ripple-like surface. As you go, you’ll attach the fins and features — no sewing needed! Add safety eyes, a bit of stuffing, and close up the bottom with a few simple stitches. It’s a relaxing and satisfying pattern that works up quickly and is perfect for using leftover yarn. This fun, fuss-free construction makes it an ideal weekend project for crocheters of all levels.
Love small wheat stitch projects like these sea creatures? Check out the Wheat Stitch Chickens and the Snowy Wheat Ornaments!
Special Stitches
Puff Stitch: Yarn over and insert your hook into the stitch/space. Yarn over again and pull up a long loop. Yarn over and insert your hook into the same stitch/space. Yarn over again and pull up a long loop (5 loops on the hook). Yarn over and pull through the first 4 loops, yarn over and pull through remaining loops.
Invisible sc2tog: Insert your hook into the front loop of the first st, and then insert into the front loop of the second st (3 loops on the hook). Yarn over and pull through both front loops (2 loops on the hook), yarn over and pull through the remaining loops on the hook.
Pattern Notes
- Warning: Safety eyes are not suitable for children under three years old, as they can pose a choking hazard if they become detached. Adult supervision is recommended. Feel free to embroider the eyes.
- A ch 1 at the beginning of a row is not counted as a stitch.
- Using a stitch marker at the beginning (or end) of the round is recommended.
- Invisible Join: Cut the yarn, leaving a 6-8 inch tail. Using your yarn needle, insert the needle under both loops of the second stitch of the round. Pull the yarn through gently, then insert the needle back into the center of the last stitch you made, going straight down through the middle (where the yarn exited).
- This Pattern Uses Standard US Terminology. I use affiliate links and follow GPSR Compliance: privacy & disclosure policy here.
Subscribe & Like
What is the Wheat Stitch Pufferfish?
It’s a free crochet amigurumi pattern made using the wheat stitch, known for its soft, ripple-like texture. The pufferfish is worked in the round and requires no sewing.
Is this crochet pattern beginner-friendly?
Yes! This is a simple project suitable for beginners who are comfortable crocheting in the round.
How long does it take to crochet a jellyfish?
This pattern can be completed in 1–2 hours, making it a quick gift or stash-buster project.
What yarn is best for crocheting the pufferfish?
Cotton or cotton-blend yarns are ideal for structure and durability. Light worsted or DK weight works great. But you can use ANY yarn you prefer!
Video Tutorial for the Free Pufferfish Amigurumi
Relax & Crochet
Upgrade to the Printable PDF
Beautifully formatted to print and relax while crocheting. The paid pattern includes:
The Ad-Free PDF can be purchased on Etsy or Ravelry.
Click the box below to unlock this exclusive subscriber content for free. Add your email and create a password. If you are having trouble, reset your password or log in to the Grow Portal.
I’m thrilled to share this amazing crochet pattern with you! Please don’t copy, paste, or distribute this pattern. Prefer an ad-free experience? Purchase a digital PDF file for a small fee from one of my online stores. I appreciate your support and readership. You are why I can keep doing what I love and sharing it with others. Thank you from the bottom of my heart.
How To Crochet A Pufferfish (Step-by-Step)
Rows 2-3:
Ch 1, in blo sl st 7, turn.
Rows 4-5:
Ch 1, in blo sl st 6, turn.
Rows 6-7:
Ch 1, in blo sl st 5, turn.
Sl st into first st on Row 1 at the base of the Fin, fasten off leaving the tail ends and set aside.
3. Make the Pufferfish Mouth
With Yellow Yarn
We will be using a DIY easy i-cord; no special tools are required. Watch this video to learn how to create the i-cord: https://youtu.be/CSDtR_Kv_oA
Create 14 i-cord sts, fasten off leaving the tail ends, and set aside.
Join The Kindest Community
Join our vibrant community of crafters on Facebook today. Whether you enjoy crafting with others or simply have burning questions, we’ve got you covered – join us now!
4. Crochet the Pufferfish Body
With Yellow Yarn
Rnd 1:
Inside a Magic Ring, sc 12, join and turn. | 12 sts
Rnd 2:
Ch 1, blo 2 sc in each st around, join and turn. | 24 sts
Rnds 3-4:
Ch 1, skip the first st, sc in next, work a puff st into the skipped st, *skip the next st, sc in next, work a puff st into the skipped st; repeat from * around, join and turn.
Rnd 5:
Ch 1, blo 2 sc in first, blo sc in next, *blo 2 sc in next, blo sc in next; repeat from * around, join and turn. | 36 sts
Rnd 6:
Ch 1, blo 2 sc in first, blo sc in the next 2 sts, *blo 2 sc in next, blo sc in the next 2 sts; repeat from * around, join and turn. | 48 sts
Rnds 7-8:
Ch 1, skip the first st, sc in next, work a puff st into the skipped st, *skip the next st, sc in next, work a puff st into the skipped st; repeat from * around, join and turn.
Rnds 9-10:
Ch 1, blo sc in each st around, join and turn.
Rnds 11-12:
Repeat Rnds 7-8. At the end of Rnd 12 do not turn.
Rnd 13:
Sc in each st around, do not join and work continuously.
5. Create the Pufferfish Bottom
With White Yarn
Rnd 1:
*sc2tog, sc 6; repeat from * around and do not join and work continuously. | 42 sts
Rnd 2:
*sc2tog, sc 5; repeat from * around. | 36 sts
6. Assembly of Eyes, Fin Placement, and Stuffing
Place the safety eyes (or embroider eyes with yarn) on the front between Rnds 10-11. Stitch the Mouth onto the front center below the eyes.
Take the tail ends of the Fins and use your hook to pull them through the body on the color change rounds from the outside to the inside. Make sure the Side Fins sit horizontal and the Tail Fin is vertical, tie them in place.
Rnd 3:
*sc2tog, sc 4; repeat from * around. | 30 sts
Rnd 4:
*sc2tog, sc 3; repeat from * around. | 24 sts
Stuff fish with fiberfill.
Rnd 5:
*sc2tog, sc 2; repeat from * around. | 18 sts
Rnd 6:
*sc2tog, sc 1; repeat from * around. | 12 sts
Rnd 7:
*sc2tog around, fasten off and use the tail end to weave through the front loop only of the remaining stitches and close. | 12 sts
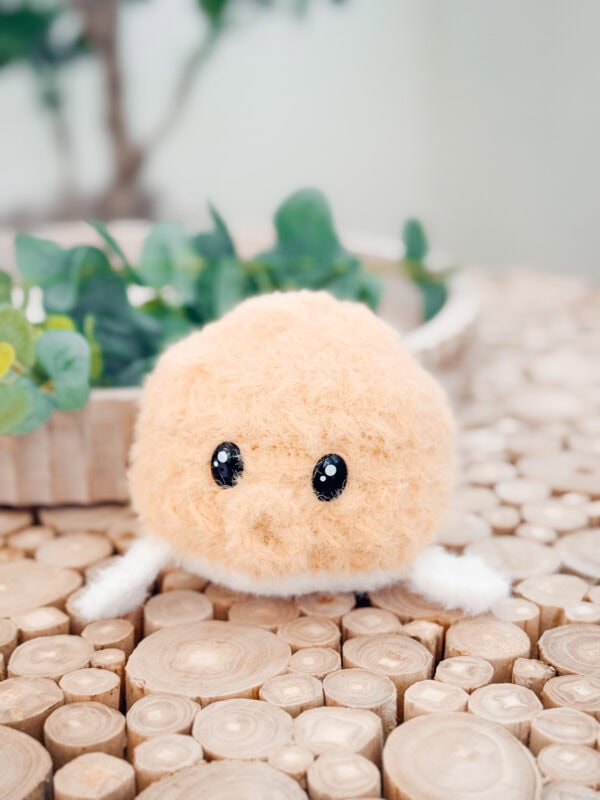
Tips for Choosing Yarn
One of the great things about crocheting amigurumi is the freedom to experiment with any yarn you love — from fingering weight to bulky! Simply adjust your hook size to match your yarn choice, and have fun creating all kinds of sea friends!
Love the fuzzy yarn shown in this photo? Check out Lion Brand Feels Like Bliss! (We also have the yarn linked in our YouTube video! Visit YouTube and click on the product below the video.)
Subscribe to my youtube channel
Finishing Your Pufferfish
Weave in those yarn tails nice and tidy — even pufferfish like to look their best!
The Wheat Stitch Pufferfish is more than just a quick and fun crochet project — it’s a playful piece of handmade happiness that’s perfect for gifting, decorating, or adding to your amigurumi collection.
With its seamless construction, textured wheat stitch body, and charming features, this little sea friend is as joyful to make as it is to squish! Whether you’re a beginner or a seasoned crocheter, this pattern offers a relaxing, rewarding experience that will leave you smiling.
Want to create a whole ocean crew? Don’t miss the rest of the Hooked on the Sea collection, and be sure to tag your makes so I can “sea” what you create!
You’ll Also Love
? Hello Sunshine Pillow Blanket
? Circle Leaf Water Bottle Holder
Cheers, and happy crocheting!
Well, That Was Fun! What’s Next?