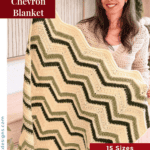
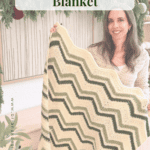
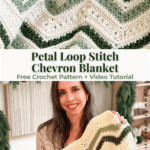
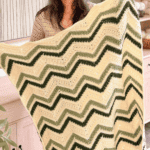
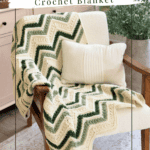
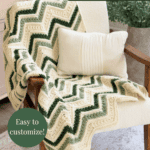
A chevron lives and dies by its peaks. When the points stay crisp, the whole blanket reads clean and intentional, and the stitch you choose is what holds those points. The Petal Loop Stitch is one of my favorites for this, because the raised petals give each row real body, so the chevron stays sharp and defined all the way up while the petals catch the light down every ripple. It is a different feel from a flat single crochet zigzag, dimensional and squishy, without tipping into a fussy stitch that takes an advanced class to work.
Disclosure: This post contains affiliate links. Please read my disclosure for more info.
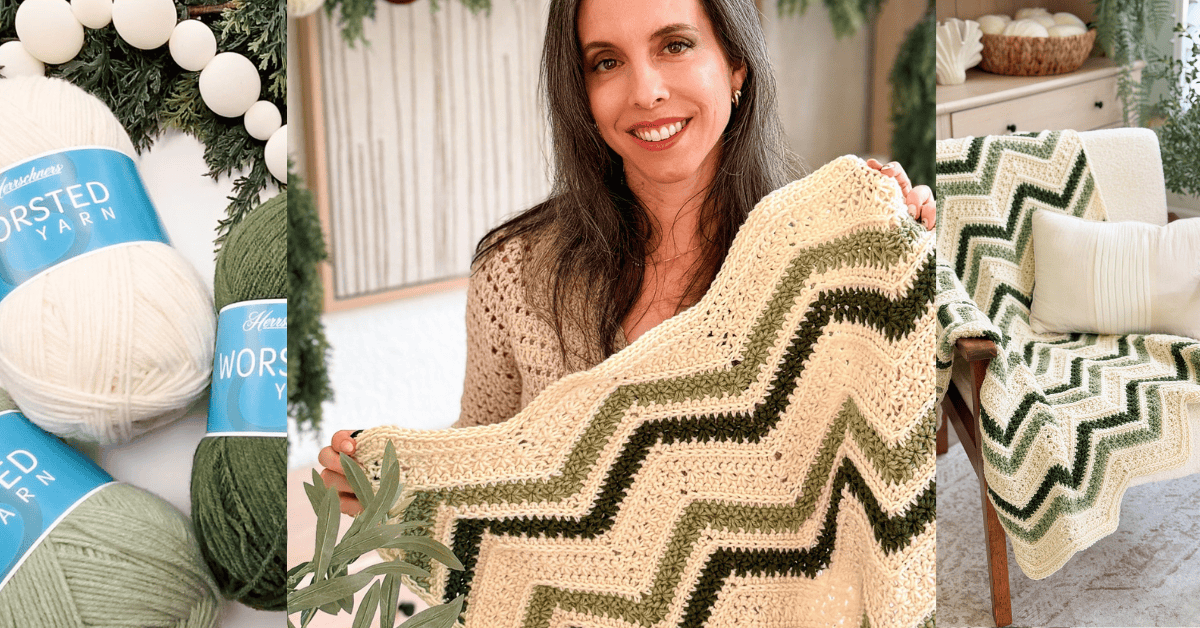
The colorways shown here are Aran, Light Green, and Dark Green in Herrschners Worsted 8. The creamy Aran stays in the background throughout, and the two greens rotate through the petal rows to build the stripes. You change colors every two rows, which sounds like a lot of ends until you realize you carry the colors up the side as you go instead of cutting them. That is the trick that makes this blanket actually enjoyable to stripe. And the striping is entirely your call. You can work the whole blanket in a single color for a solid, textured chevron, stick with the three greens shown, or bring in as many colors as you like. The stitch pattern stays exactly the same either way.
I have been designing crochet patterns for over a decade, and blankets are where I am pickiest because they take a lot of hours. The stitch has to be worth it, and the instructions have to still make sense at row 130 when you are tired. This one earned its spot, and it is the blanket I reach for on the couch now.
Before You Hook: Petal Loop Chevron Blanket Pattern Details
🧶 Yarn Used: Herrschners Worsted 8 – 100% Acrylic, 489yds/226g
⚖️ Yarn Weight: Worsted, #4
🧵 Featured Stitch: Petal Loop Stitch
🪝 Hook Size: US I (5.5mm) Crochet Hook, or hook to obtain gauge
📏 Sizes: Small Throw (51 x 60 inches) free on the blog. All 15 sizes, Lovey through King, in the ad-free PDF on Etsy and Ravelry.
🩷🩷🩷🤍 Difficulty level: Intermediate
🕐 Approx Crochet Time: About 15 to 25 hours for the Small Throw, depending on your pace and how generously you work the petal rows.
🏷️ Project Type: A textured crochet chevron blanket worked flat in rows, ideal for a cozy throw, a baby gift, or home decor, with 15 sizes in the full pattern.
Save for Later • Get a Summary • Pick Up Where You Left Off
Why You’ll Love This Petal Loop Chevron Blanket
- Acrylic that is made for real life. Worked in Herrschners Worsted 8, it is machine washable, soft, and the kind of blanket you can actually hand down instead of babying.
- The texture holds the points. The Petal Loop Stitch gives you a raised, dimensional ripple that a plain single-crochet chevron simply cannot match, and the peaks stay crisp rather than softening.
- Hardly any ends to weave in. You carry your colors up the side as you work instead of cutting and rejoining every couple of rows, which is the single biggest complaint people have about chevron blankets.
- The number of colors used is your call. Work a simple stripe with one background and one accent; work a three-color version… stick with a solid. Make this blanket your own.
- It grows with whatever you need. The free pattern here makes the Small Throw, and the full PDF includes 15 sizes from a tiny Lovey up to a King, so the same stitch pattern covers a baby gift, a lapghan, or a full bed blanket.
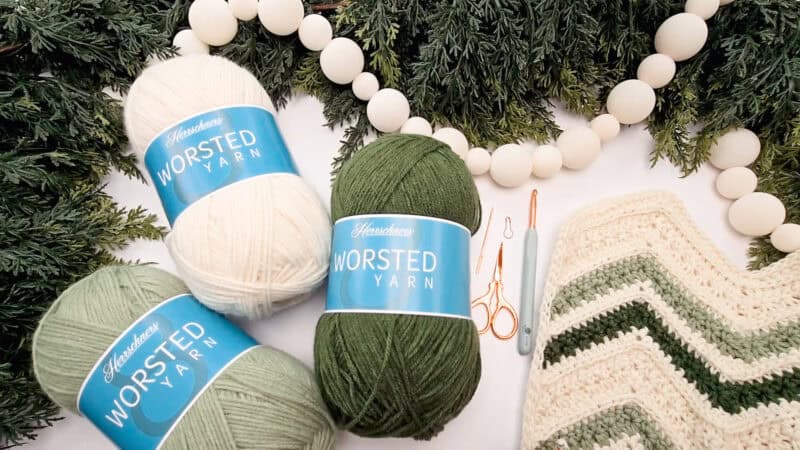
Petal Loop Chevron Blanket Pattern Supplies
Yarn
Herrschners Worsted 8
100% Acrylic, 489yds/226g
Yarn Quantities
Small Throw Total Yardage
3150 yards
Ad-free PDF includes a full yardage chart for 15 sizes.
Crochet Hook
Size US I (5.5mm) Crochet Hook or hook to obtain gauge.
Notions
Scissors
Yarn Needle
Removable Stitch Marker
Tape Measure
Be sure to check out the full pattern tips below
Yarn Substitutions
Acrylic is my pick here on purpose. It is washable, holds up to years of use, and comes in deep, saturated colors that make the chevron pop.
Yarn needed for the Small Throw. Plan on about 3,150 total yards. In the three-color version shown, that works out to roughly 1,650 yards of Aran background, 760 yards of light green, and 760 yards of dark green. If you stripe it in just two colors, you will need about 1,250 yards of your background fabric and 1,900 yards of your accent fabric. Everyone’s tension runs a little differently, so grab an extra skein of your background color for wiggle room.
Use the leftover yarn for some Petal Loop Ornaments or a Petal Loop Stocking.
Yarn substitutions. Any smooth worsted acrylic will work. A few I reach for:
- Herrschners Be-Stripey, 100% Acrylic, 227yds/141g
- Brava Worsted, 100% Premium Acrylic, 218yds/100g
- Mary Maxim Maximum Value, 100% Acrylic, 474yds/227g
Want the Color Changing Done For You?
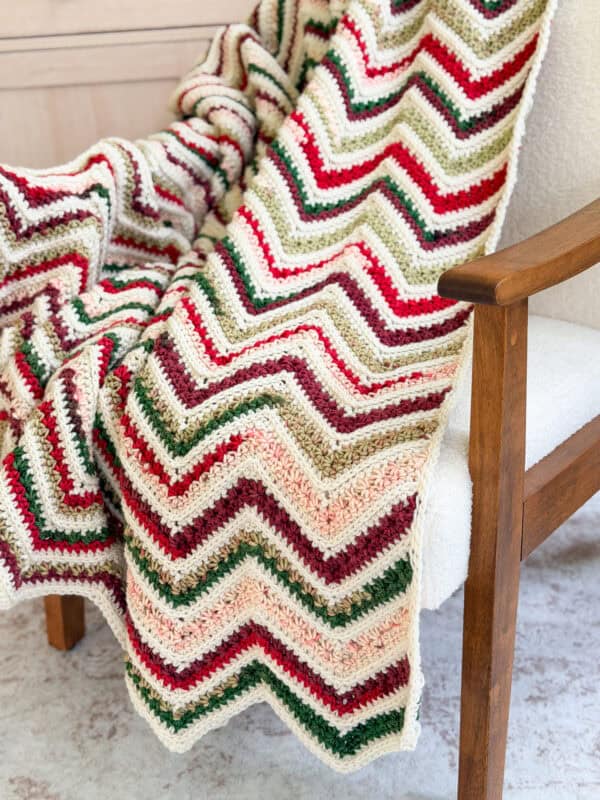
If you would rather not manage separate colors, a self-striping yarn like Herrschners Worsted 12 Stripes in Very Merry (100% Acrylic, 743yds/340g) does the color work for you and gives you a striped chevron from a single ball. One honest heads up from making it myself: self-striping yarns stripe based on how long each color run is, so on a wide project like a blanket, the colors can pool or stack in ways you cannot fully predict, and where the stripes land is a bit of a surprise. I love the pattern in this yarn, but I am just not always in love with exactly how the colors pooled. If you want full control over where each color sits, choosing your own solids and striping them yourself, the way the green version is worked, is the more predictable route
Skill Level
This one is rated Intermediate, but do not let that scare you off. The whole blanket is a four-row repeat, and once that rhythm clicks, it turns into muscle memory. If you are comfortable keeping a chevron aligned and you have worked increases and decreases before, you are ready.
Sizing & Finished Measurements
Small Throw: 51″ x 60″
This is my favorite everyday size, big enough to actually cover you on the couch but not so big that it takes a month to finish. It is a genuine throw, not a lapghan.
If you want a different size, the full PDF pattern includes all 15 sizes, from a 13″ by 12″ Lovey up to a 101″ by 108″ King, each with its own starting chain, row count, and yardage, broken down by color (following my three-color version).
Find the ad-free version on Etsy.
Abbreviations
2tog – 2 together (decrease)
ch – chain
hdc – half double crochet
RS/WS – Right Side/Wrong Side
sc – single crochet
sl st – slip stitch
st(s) – stitch(es)
Stsc – stacked single crochet
Third Loop – see video
Gauge
15 sts and 12 rows = 4″ by 4″in stitch repeat.
Gauge matters most here for hitting the finished measurements and the yardage estimates, so it is worth a quick swatch before you start. But if you’re using up stash yarn or want to use a larger (or smaller) hook, gauge isn’t critical for this blanket. (Just be aware that you may use more or less yarn than the pattern guidelines.)
Tips
How to Crochet A Gauge Swatch
- Working a gauge swatch will let you know if you will have the correct sizing for this pattern. It will also help you practice the stitches used in this project and improve your stitch work for a flawless look.
- Are you struggling to match the gauge? Check out the blog post on What is Crochet Gauge and How To Fix It
Special Stitches Used in This Pattern
The star of this blanket is the Petal Loop Stitch. It is worked by pulling up loops through the back of the previous stitch and the next stitches, then closing them all together so a little raised petal forms across the row.
3-Loop-Petal: Insert the hook into the loop on the back of the previously worked stitch and pull up a loop. Pull up one loop in each of the next two stitches of the previous row, for a total of four loops on the hook. Yarn over and draw through all four loops to complete the stitch.
Stacked single crochet (Stsc): Used to start rows so you get a clean, straight edge instead of a bulky turning chain. Full walkthrough in the stacked single crochet tutorial.
Clean single crochet edge: Worked around the whole blanket at the end for a tidy border. See the clean straight edge technique.
Important Pattern Notes
How the Petal Loop Chevron Blanket Is Made
The blanket is worked flat in rows, back and forth, using a four-row Petal Loop Stitch repeat. You start with a foundation chain sized for your blanket, then build the chevron by adding stitches at the peaks and working stitches together at the valleys. Keep those increases and decreases stacked in the same spots row after row, and the zigzag stays crisp and consistent all the way up.
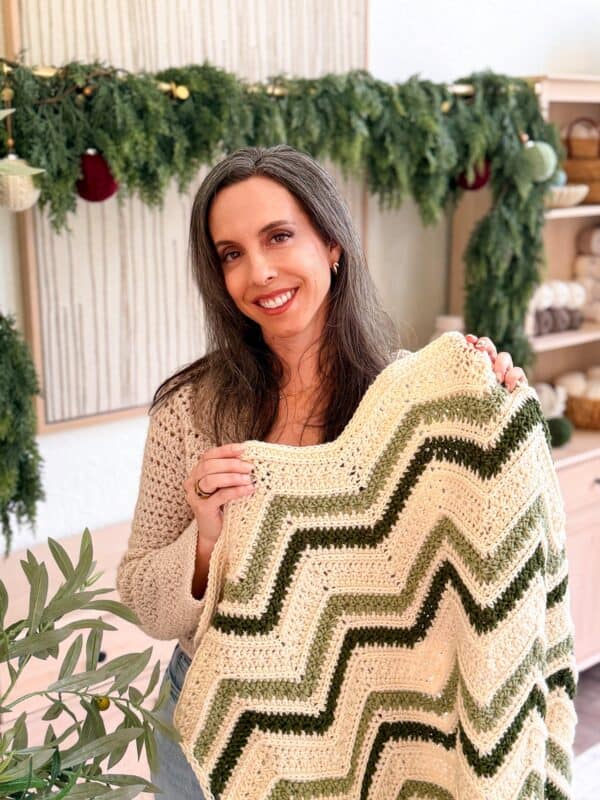
In the three-color version shown, Aran stays as your background throughout, and the two greens rotate in on the petal rows to create the stripe. Because the accent colors land on the raised petal rows, they become the feature while the Aran quietly does the structural work and carries the border. When you finish the body, you work one clean single-crochet edge down the sides, then a simple border all the way around, which is what takes it from “done” to “actually finished.”
The nicest part, and the thing that sets this apart from most chevron patterns, is that you carry your colors up the side as you go instead of cutting them. That means when you reach the end, you have a handful of ends to weave in, not a hundred.
Planning Your Colors
You get to decide how much color play you want, and every version uses the same stitch pattern, so pick whichever look you love.
One solid color. Work the entire blanket in a single color, letting the Petal Loop texture carry the whole thing. You get a tonal, dimensional chevron with zero color changes and almost no ends to weave in.
Two colors. Keep one color as your background and add a single accent to the rows of petals. Clean, classic, and the fastest to plan because you only track two skeins.
Three colors. This is the version in the photos. Aran stays in the background throughout, and light green and dark green rotate through the petal rows to create the chevron stripe. It reads richer and more custom, and the yardage chart in the PDF breaks down exactly how much of each color you need. Want a scrappy stash buster instead? Go for it, just make sure your background color has enough yardage to carry the whole blanket and the border.
Making a smaller project is a great way to make sure you like your color plans – and the Petal Loop Chevron Washcloth is the perfect practice piece.
Subscribe, Like & Watch on YouTube
Petal Loop Chevron Crochet Blanket Video Tutorial
Relax & Crochet with NO Ads
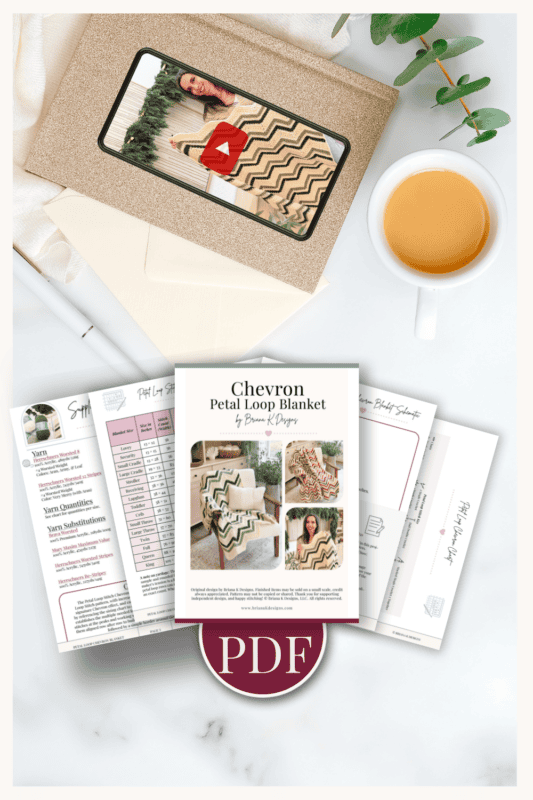
Upgrade to the Printable PDF
Beautifully formatted to print and take with you anywhere. The paid pattern includes:
Add your email in the box below to unlock this pattern to view on the blog for free. I’m thrilled to share this amazing crochet pattern with you! Please don’t copy, paste, or distribute this pattern. Prefer an ad-free experience? Purchase a digital PDF file for a small fee from one of my online stores. I appreciate your support and readership. You are why I can keep doing what I love and sharing it with others. Thank you from the bottom of my heart.
Printable Version
This pattern is free to read here on the blog. The ad-free printable PDF is available in the Briana K Designs shop on Etsy and Ravelry.
brianakdesigns.com
Petal Loop Chevron Blanket (Small Throw) Written Pattern
With Color A
Join The Kindest Community
Join our vibrant community of crafters on Facebook today. Whether you enjoy crafting with others or simply have burning questions, we’ve got you covered – join us now!
Finishing
Join to the first stitch of your edging and fasten off, leaving a tail a few inches long. Weave in all your ends along the back of the blanket following the direction of your stitches, working each tail one way for an inch, then doubling back the opposite way to lock it. If you carried colors up the side, check that those strands sit flat and are not pulling the edge in, and give the edge a gentle tug to even the tension. Block if you like for crisp points, and you are done.
Blocking an Acrylic Chevron Blanket Without Flattening the Texture
Blocking is what makes your chevron points crisp, and your stitches sit evenly, and with this blanket, it is worth the effort for gifts and photos. The catch is that your blanket is a mix of flat single crochet and raised Petal Loop texture, so you want to relax the fabric without flattening that dimensional petal stitch.
For acrylic, both wet blocking and steam blocking work. To wet block, soak the finished blanket in cool water, gently squeeze out the excess, never wring, and lay it flat. Shape it into a true rectangle, coax the chevron points into even peaks and valleys, and let it dry completely before you move it. If you steam block instead, hover your iron or steamer an inch above the surface and let the steam do the work, never pressing down on the petals. Move slowly and shape as you go.
One real caution with acrylic: hold the heat back and keep it moving. Too much direct heat can “kill” acrylic fibers and leave them limp and shiny, and there is no undoing that. Easy does it, and honestly, a cozy throw headed straight for the couch does not need blocking at all. Save it for the ones you want camera-ready.
Petal Loop Chevron Blanket FAQs
What is the Petal Loop Stitch?
The Petal Loop Stitch is a textured crochet stitch that creates a row of little raised petals across your work. You make it by pulling up loops through the back of the previous stitch and the next stitches, then closing them all together, so the finished stitch stands up off the surface. In this blanket, it is worked into a chevron pattern, so the petals ripple down each wave.
How much yarn do I need for the Small Throw?
For the Small Throw at 51 by 60 inches, plan on roughly 3,150 total yards of worsted-weight acrylic. In the three-color version, it works out to about 1,650 Aran, 760 light green, and 760 dark green. If you stripe it in two colors, that splits to about 1,250 yards of your background and 1,900 of your accent. Everyone’s tension is a little different, so grab an extra skein of your background color for wiggle room. Your future self and your stash will thank you.
How do I keep my chevron edges straight?
Two things do the heavy lifting. First, the pattern starts each row with a stacked single crochet instead of a turning chain, which keeps the side edge from bowing in. Second, you finish with a clean single crochet edge worked down the sides before the border. If your edges have been a struggle on past chevrons, the clean, straight-edge tutorial is the fix.
How do I change colors on a chevron blanket without a muddy line?
Complete the last stitch of your old color only up to its final yarn-over, then finish that yarn-over with the new color. That way, the new color owns the whole next stitch, and you never get a blended half-color stitch at the seam. Carry the unused color loosely up the side if you will need it again in a row or two, rather than cutting and rejoining.
Can I make this blanket in a different size?
Yes. The free pattern here makes the Small Throw. The full PDF includes all 15 sizes from Lovey to King, each with its own starting chain, row count, and per-color yardage, using the exact same stitch pattern. So you can make the free size to learn the rhythm, then size up or down from the chart for your next one.
What yarn is best for a chevron blanket?
A smooth worsted-weight yarn with good stitch definition is ideal, because you want the peaks, valleys, and petal texture to read clearly. I use acrylic for blankets because it is washable, durable, and affordable across a big project, but a cotton-acrylic blend works too. Avoid anything fuzzy or with a heavy halo, since it hides the chevron and the petals.
More Crochet Patterns You’ll Love
If this chevron scratched the itch for textured blankets, here are a few more to line up next.
🥂 Cheers, and happy crocheting!
Hook down? Not so fast…
I’d Love to See Yours!
You made something beautiful. Here’s how to keep it, show it off, and inspire the next maker.
The Crochet Smarter Starter Pack
Crochet smarter.
Rip out less.
Three printables I actually use, free when you join my email list.
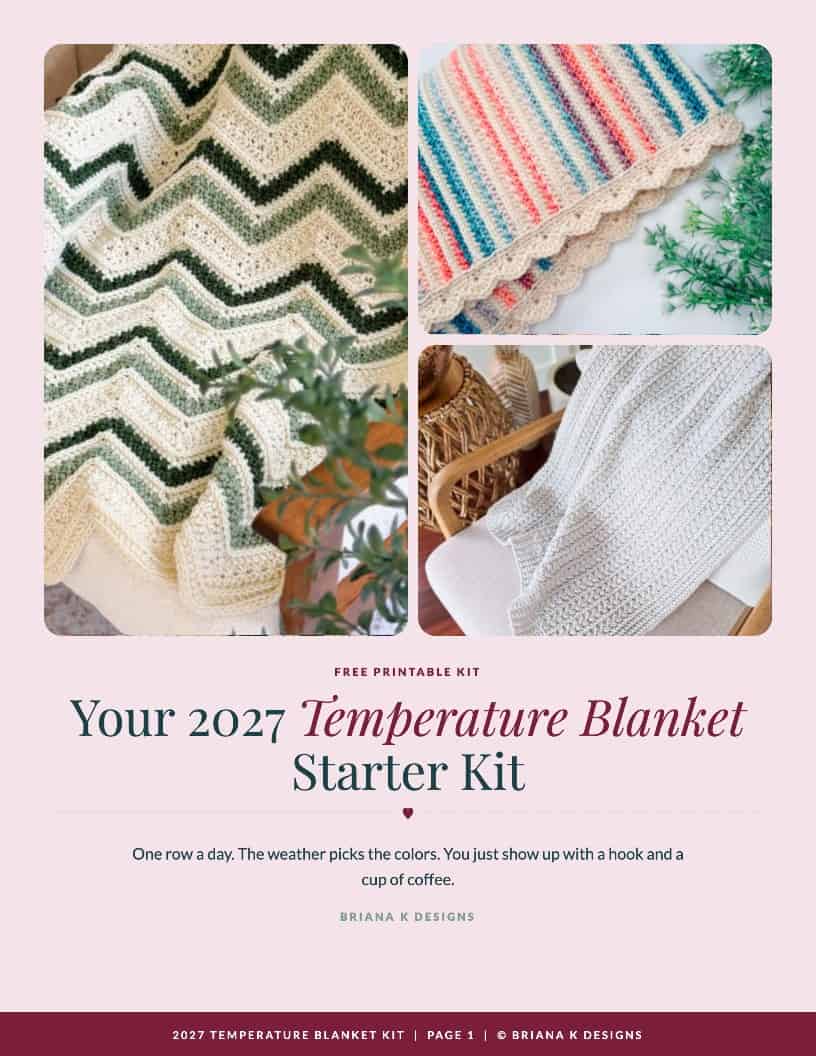
- ✓Temperature Blanket Starter Kit: color key, 2027 and any year trackers, and how to look up the weather.
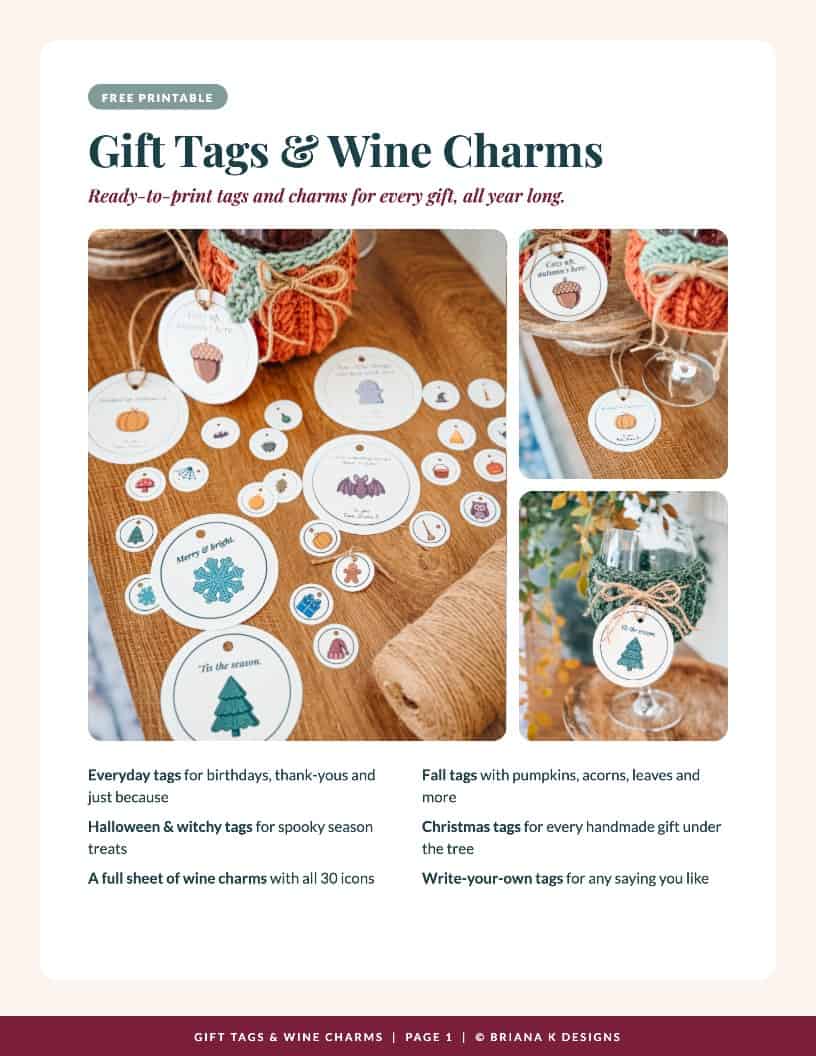
- ✓Gift Tags & Wine Charms: 30 icons, ready to print, punch and tie.
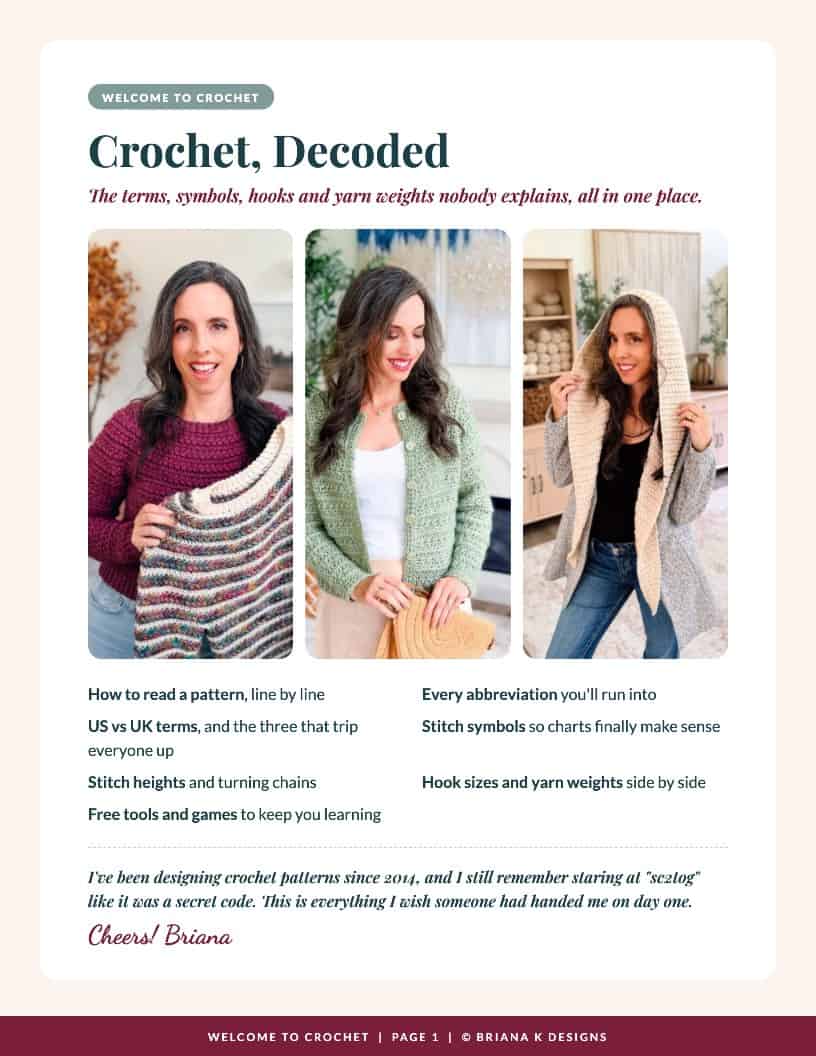
- ✓Crochet, Decoded: US vs UK terms, stitch symbols, hook sizes, all in one place.
Plus 30% off any two crochet tools in my app, tucked inside. You'll land on my email list too, so we can be pen pals. Bail out whenever you like, no hard feelings. Privacy policy
Who are you making for this year?
Keep the hook movingReaders Are Loving
 Crochet Book Cover
 Petal Loop Pumpkins
 Wheat Ripple Blanket
 Wheat Stitch Trees