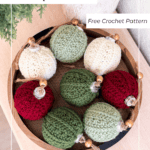
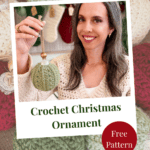
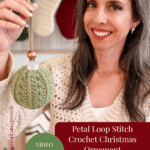
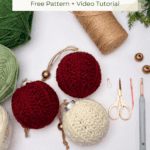
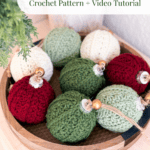
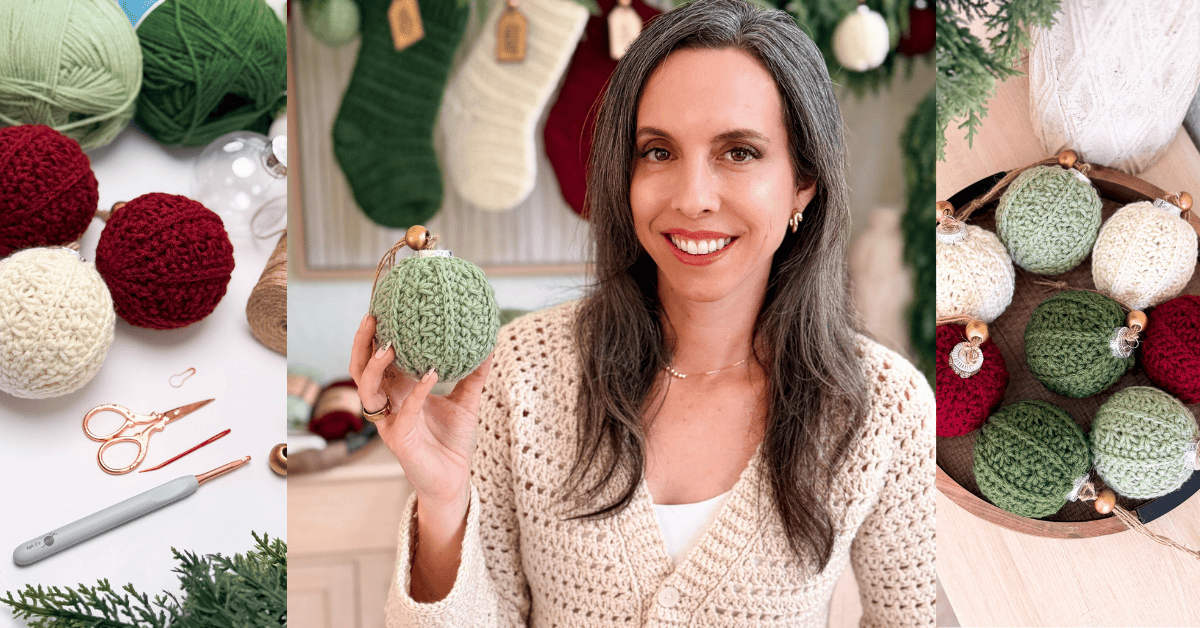
I have a bin of clear plastic ornaments that has followed me through three Christmases, bought on a whim after the holidays one year because they were almost free, then promptly ignored. This is the crochet ornament pattern that finally emptied it. I sat down with a skein of Herrschners Worsted 8 in a soft sage, meant to make one ornament, and got up two hours later with a bowl of them in sage, cream, and a deep Christmas red.
Disclosure: This post contains affiliate links. Please read my disclosure for more info.
What kept me going was the texture. The Petal Loop Stitch gives this crochet ornament pattern a raised, almost quilted look that makes people pick them up off the tree and turn them over, which is not something anyone has ever done with a plain single crochet ball. And unlike most ornament covers, this one is worked flat in rows, not in the round, so there is no fighting a magic ring or counting rounds on a tiny tube.
I have been designing crochet patterns for over a decade, and I love a make that looks fancier than the effort it takes. These land squarely in that camp: the texture does all the heavy lifting, and a whole coordinating set comes together faster than you would expect.
Before You Hook: Petal Loop Ornament Details
🧶 Yarn Used: Herrschners Worsted 8 (100% Acrylic, 489yds/226g)
⚖️ Yarn Weight: Worsted, #4
🧵 Featured Stitch: Petal Loop Stitch
🪝 Hook Size: G+/7 (4.5mm) Crochet Hook, or hook to obtain gauge
📏 Sizes: 4 sizes (adjustable instructions included in ad-free PDF)
🩷🩷🩷🤍 Difficulty level: Intermediate
🕐 Approx Crochet Time: 1 to 3 hours per ornament, depending on size.
🏷️ Project Type: An intermediate crochet ornament cover that slips over a plastic ball for textured, handmade Christmas decor
Save for Later • Get a Summary • Pick Up Where You Left Off
Why You’ll Love This Petal Loop Crochet Ornament Pattern
- A single ornament takes an evening, so a whole coordinating set is a realistic weekend project.
- The Petal Loop Stitch texture looks intricate and heirloom-worthy, yet it works with a simple four-row repeat.
- It is worked flat in rows, then seamed, so no working in the round and no magic ring.
- It comes in four sizes plus adjustable instructions, so there is an option for the ornaments you already have.
- Worsted-weight yarn makes it fast and affordable, and it eats into scrap skeins beautifully.
- Make a coordinating Petal Loop Holiday set with the Petal Loop Chevron Blanket and Stocking.
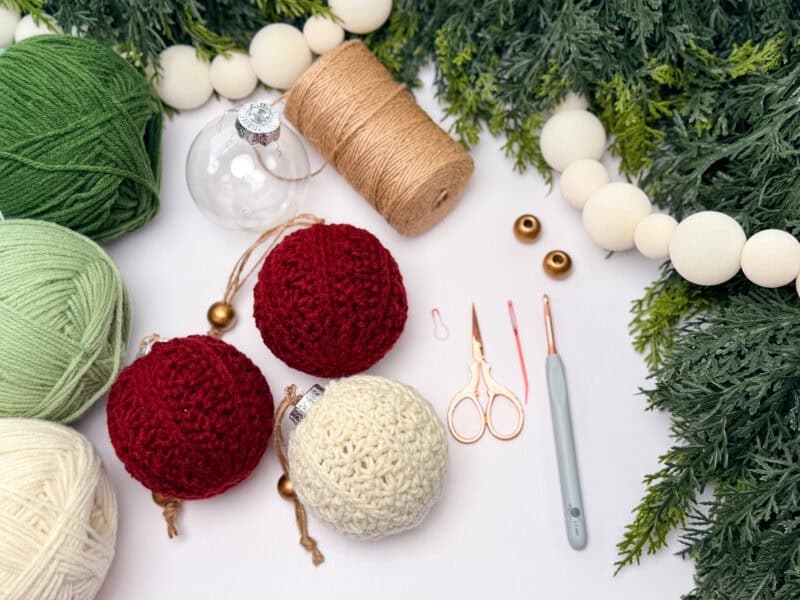
Petal Loop Crochet Ornament Pattern Supplies
Yarn
Herrschners Worsted 8
100% Acrylic, 489yds/226g
Yarn Quantities
Flattened (Small, Medium, Large)
40 (40, 65, 75) yds
Less than 1 skein for all 4 sizes
Crochet Hook
Size G+/7 (4.5mm) Crochet Hook or hook to obtain gauge.
Notions
Scissors
Yarn Needle
Removable Stitch Marker
Clear plastic ornaments, one per cover: Flattened Round 3.15″, Small Round 2.36″, Medium Round 3.15″, Large Round 3.94″
Optional: twine for hanging and a few wooden beads to dress up the top
Be sure to check out the full pattern tips below
Yarn Substitutions
The sample is made with Herrschners Worsted 8, a 100% acrylic worsted-weight yarn (489 yds / 226 g).
t is smooth, comes in rich holiday colors, and one skein makes several ornaments. You will use roughly 40 yards for a small ornament and up to 75 yards for the largest size.
I reached for worsted-weight yarn for a reason. It has enough body to make the petal texture stand up and catch the light, but it is still fine enough to gather smoothly at the top and bottom without bunching. Worsted is also the weight most of us already have in the stash, and a single skein stretches across a whole set, so a coordinating bowl of ornaments costs next to nothing. If you want to swap, any of these worsted weight options work well:
- Herrschners Holiday Sparkle for a bit of festive shimmer
- Herrschners Supreme Worsted
- Mary Maxim Maximum Value
- Brava Tweed for a cozy, speckled look
Remember always to check the gauge and drape when substituting yarns.
Skill Level
You will want to be comfortable with single crochet and half double crochet and with following a stitch repeat. The Petal Loop Stitch itself is the only new part, and it is taught fully in the video, so an adventurous, confident beginner can absolutely manage it with the tutorial open.
Sizing & Finished Measurements
The pattern comes in four sizes plus adjustable instructions. Ornament width (not diameter):
- Small Round: 2.3″
- Flattened Round: 3.15″
- Medium Round: 3.15″
- Large Round: 3.94″
Abbreviations
blo – back loop only
ch – chain
RS/WS – Right Side/Wrong Side
sc – single crochet
sl st – slip stitch
st(s) – stitch(es)
Gauge
15 sts and 13 rows = 4″ by 4″ in stitch pattern repeat
Not critical for this pattern.
Tips
How to Crochet A Gauge Swatch
- Working a gauge swatch will let you know if you will have the correct sizing for this pattern. It will also help you practice the stitches used in this project and improve your stitch work for a flawless look.
- Are you struggling to match the gauge? Check out the blog post on What is Crochet Gauge and How To Fix It
Special Stitches Used in This Crochet Ornament Pattern
Third Loop – see video tutorial
3-Loop-Petal: Insert the hook into the back loop of the previously worked stitch (or petal) and pull up a loop. Pull up one loop in each of the next two stitches of the previous row, for a total of four loops on the hook. Yarn over and
draw through all four loops to complete the stitch.
2-Loop-Petal: Insert the hook into the back loop of the previously worked stitch (or “petal”) and pull up a loop. Pull up one loop in the next st/space, for a total of three loops on the hook. Yarn over and draw through all three loops to
complete the stitch.
Stsc: Insert your hook into the first stitch, yarn over, and pull up a loop. Yarn over and pull through both loops on the hook. (This will now look similar to a single crochet stitch, but we aren’t done yet.) Insert your hook into the
vertical bar below in the stitch made, yarn over, and pull up a loop. Yarn over and pull through both loops on the hook.
The Petal Loop Stitch
The star of this ornament is the Petal Loop Stitch, a raised, looped texture that sits up off the fabric in little rows of petals. It is built from a stacked single crochet, and a pair of pulled-up loop stitches worked in a four-row repeat, which is what gives the cover its quilted, dimensional surface.
If the stitch is new to you, watch it before you start. I filmed a full walkthrough here: how to crochet the Petal Loop Stitch. Seeing the loops pulled up and closed on camera makes it click far faster than any written description can, and once the rhythm of the four rows is in your hands, the ornament flies. (I also have a step-by-step blog post – How to Crochet the Petal Loop Stitch.)

Important Pattern Notes
How the Petal Loop Ornament is Made
The whole cover is worked flat, which is what surprises people. You crochet a small rectangle of fabric in the Petal Loop Stitch. No rounds, no joins, just rows you can lay flat as you go.
Once the fabric is the right size, you fold it and seam the first row to the last, forming a tube. Then you weave your yarn tail through the stitches around one open end, gather it tight to close the bottom, slip the plastic ornament inside, and cinch the top the same way. Weave in your ends, and it is done. If you want to dress it up, add a loop of twine for hanging and thread on a couple of beads.
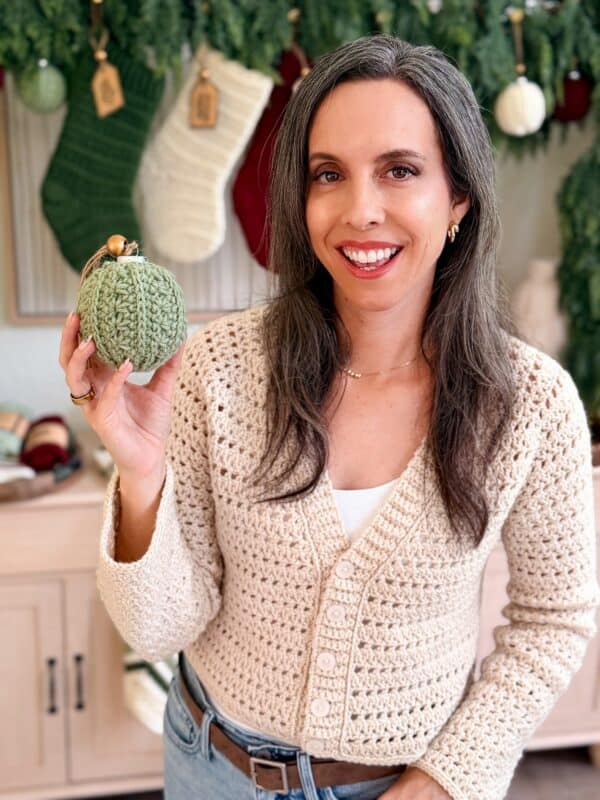
Using Worsted Weight and Other Yarn Swaps
A lot of ornament cover patterns are written for bulky or velvet yarn, which is great until you open your stash and find it full of worsted. This pattern is worsted-weight, so you do not have to convert anything to use what you most likely already have.
If you want to swap yarns, stay in the worsted-weight family so the sizing holds, and lean toward the largest hook the yarn recommends so the fabric stays flexible and stretches nicely over the ball. A sparkle or tweed yarn changes the whole mood of the ornament without changing the pattern. If you drop down to a lighter yarn, expect to add rows to reach the same width, and swatch first so you are not guessing.
To use up even more scraps, check out the Granny All the Way Ornament Collection.
Troubleshooting: Getting a Tube, Not a Coaster
The most common complaint about any ornament cover, mine included, is that the piece starts to look like a flat coaster rather than something that will wrap around a ball. Because this pattern is worked flat and then seamed, you sidestep most of that. Your fabric should stay flat while you work it. It only becomes round when you seam and cinch.
A couple of things to check as you go. First, keep your tension a little firmer than usual. A loose, floppy fabric will not hug the ornament, and the texture will not pop. Second, always finish a full four-row repeat before you measure, because stopping partway leaves the petal texture unfinished and your width reading will be off. Third, before you seam, hold the fabric around the actual ornament and check the fit. It is far easier to add or remove a repeat now than after everything is sewn shut.
Subscribe, Like & Watch on YouTube
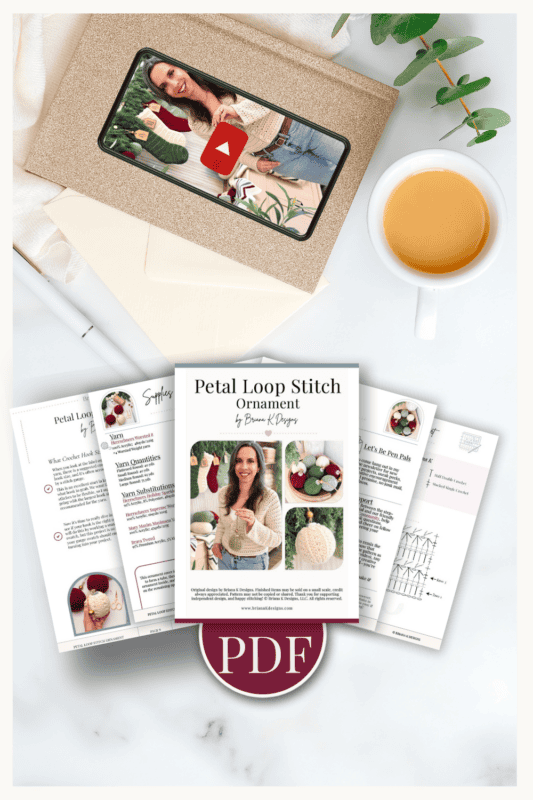
Relax & Crochet with NO Ads
Upgrade to the Printable PDF
Beautifully formatted to print and take with you anywhere. The paid pattern includes:
Add your email in the box below to unlock this pattern to view on the blog for free. I’m thrilled to share this amazing crochet pattern with you! Please don’t copy, paste, or distribute this pattern. Prefer an ad-free experience? Purchase a digital PDF file for a small fee from one of my online stores. I appreciate your support and readership. You are why I can keep doing what I love and sharing it with others. Thank you from the bottom of my heart.
Petal Loop Crochet Ornament Pattern Written Instructions
Row 3:
Stsc in first, insert your hook into the loop on the back of the Stsc, yo and pull up a loop, insert your hook into the next st, yo and pull up a loop, insert into the next st, yo and pull up a loop (4 loops on the hook), yo and pull through all the loops on the hook, ch 1, *insert into the loop on the back of the previous st, yo and pull up a loop, [insert your hook into the next st, yo and pull up a loop] twice (4 loops on the hook), yo and pull through all the loops on the hook, ch 1; repeat from * across until last 5 sts, insert into the loop on the back of the previous st, yo and pull up a loop, insert your hook into the next st, yo and pull up a loop (2 loops on the hook), yo and pull through all the loops on hook, blo sl st into the last 4 sts, turn.
Row 4:
Ch 1, blo sl st into the first 4 sts, sc in the next, 2 sc in next st, *skip 1, 2 sc in next; repeat from * across until the last 2 sts, skip 1, sc in last, turn.
Repeats:
Repeat Rows 1-4 until there are a total of 24 (28, 32, 36) rows.
Check the final measurement of the crochet piece by wrapping it around the ornament, and add or remove rows as needed.
Styling & Gift Ideas
A single Petal Loop ornament is pretty on its own, but they really shine in groups. Cluster a few in coordinating colors and wire them onto a grapevine or evergreen wreath for a soft, textural focal point. Tuck them into a mantel garland or gather a bowlful as a centerpiece, as I ended up doing.
They also make lovely little gifts. Tie one onto a wrapped present in place of a bow, clip them to place settings as party favors, or hang a single one from a cabinet knob or window latch for a small, charming touch. A set of three in a gift box is the kind of handmade present people actually keep. If you love this classic look, one of the designs from my Granny All the Way Ornament Collection and the Snowy Wheat Ornament beautifully round out a coordinating set.
Seaming
With WS facing out, fold the fabric to make the seam (the first row with the last row worked).
Insert your hook through the first stitch closest to you and into the stitch on the side farthest from you. Yarn over and sl st to join. Continue working down the row until all sts are joined.
Fasten off, leaving a long tail. You will weave this tail end to the other end of the fabric tube, so give yourself plenty of length.
Now flip your ornament fabric so the RS is facing out.
Join The Kindest Community
Join our vibrant community of crafters on Facebook today. Whether you enjoy crafting with others or simply have burning questions, we’ve got you covered – join us now!
Finishing
Using the long tail and your yarn needle, loop through each point (every two rows) around the bottom of the ornament and cinch closed to gather the fabric, then continue seaming up the side to close the tube. Place your ornament inside, then weave the tail up to the top and loop through each point around the opening, cinching it closed with the same motion to snug the fabric around the top. Fasten off and weave in any remaining ends.
If you would like to dress it up, add a length of twine for hanging and thread on a few beads for an extra special touch.
Petal Loop Ornament FAQs
How much yarn do I need per ornament?
Plan on roughly 40 yards for a small or flattened round ornament, about 65 yards for a medium, and around 75 yards for the largest size. A single 489-yard skein of worsted-weight yarn will make a whole coordinating set with yarn to spare, which is part of why these are such good scrap-buster and gift projects.
What size crochet hook should I use for an ornament cover?
The sample uses a G+ (4.5 mm) hook and worsted-weight yarn. As a general rule for ornament covers, reach for the largest hook the yarn label recommends. A slightly larger hook keeps the fabric flexible, so it stretches smoothly over the plastic ball and shows off the texture rather than squashing it.
Can I use worsted-weight yarn instead of bulky yarn?
Yes, in fact, this pattern is written for worsted-weight yarn from the start. Many ornament patterns assume bulky or velvet yarn, so if your stash is mostly worsted, this one saves you from converting anything. Stick within the worsted family if you substitute, and swatch so your sizing stays true.
Why is my ornament cover coming out flat like a coaster?
With this pattern, that is actually expected, because the fabric is worked flat and only becomes round when you seam and cinch it closed. If it feels too loose or floppy, slightly increase the tension and make sure you finish full four-row repeats before measuring. Hold the fabric around your ornament before seaming to confirm the fit.
Can I sell ornaments I make from this pattern?
Yes. You are welcome to sell finished items made from this pattern on a small scale, and a credit to Briana K Designs is always appreciated. You may not copy, share, or redistribute the pattern itself, but the ornaments you make with it are yours to sell.
What yarn is best for crochet ornaments?
A smooth worsted-weight acrylic like Herrschners Worsted 8 is a great all-rounder: it is affordable, comes in holiday colors, and has enough give to fit snugly. Sparkle and tweed yarns are fun for a festive or rustic look. Whatever you choose, a yarn with a little stretch will always fit an ornament better than a stiff one.
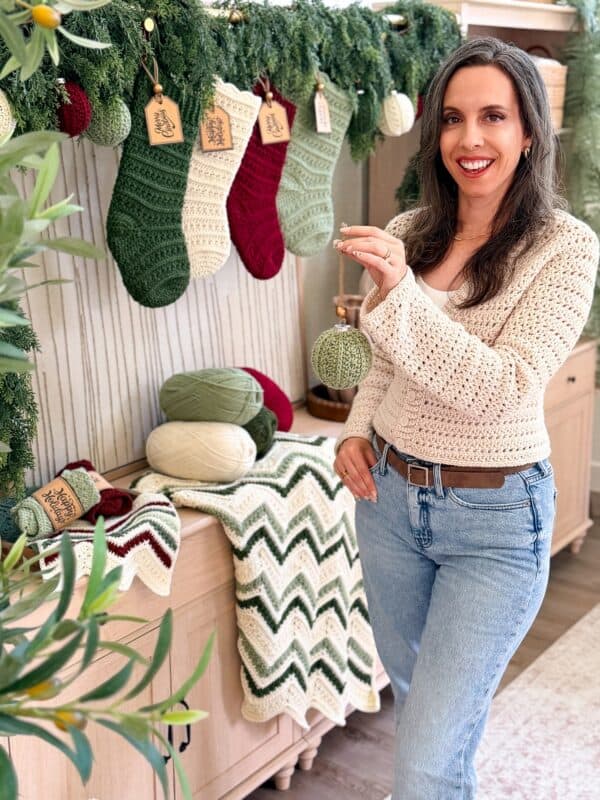
Whether you make one or fill a whole bowl, these little ornaments have a way of turning a bin of forgotten plastic balls into something you actually want on the tree. Grab your favorite worsted, pour a warm drink, and cover a few. I think you’ll find it hard to stop at one.
More Festive Crochet Patterns You’ll Love
If a textured holiday make is your thing, these are worth a look next:
🥂 Cheers, and happy crocheting!
Hook down? Not so fast…
I’d Love to See Yours!
You made something beautiful. Here’s how to keep it, show it off, and inspire the next maker.

Who are you making for this year?
Keep the hook movingReaders Are Loving
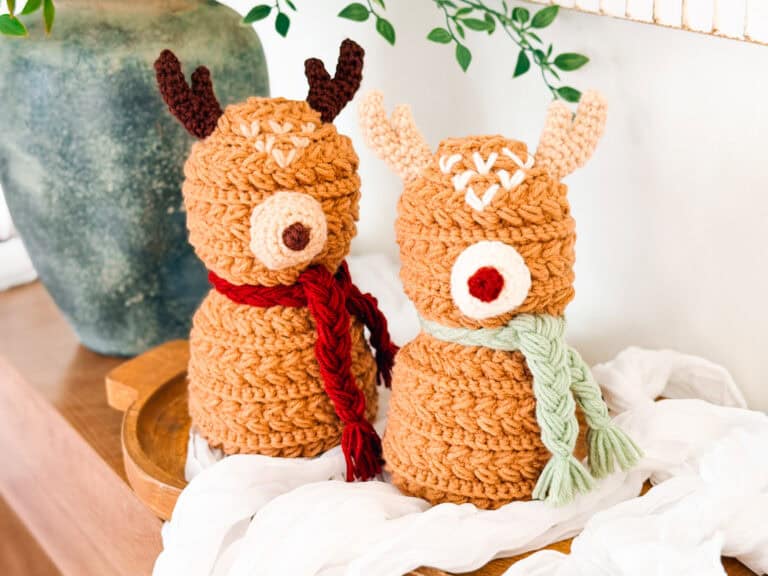
 Petal Loop Pumpkins
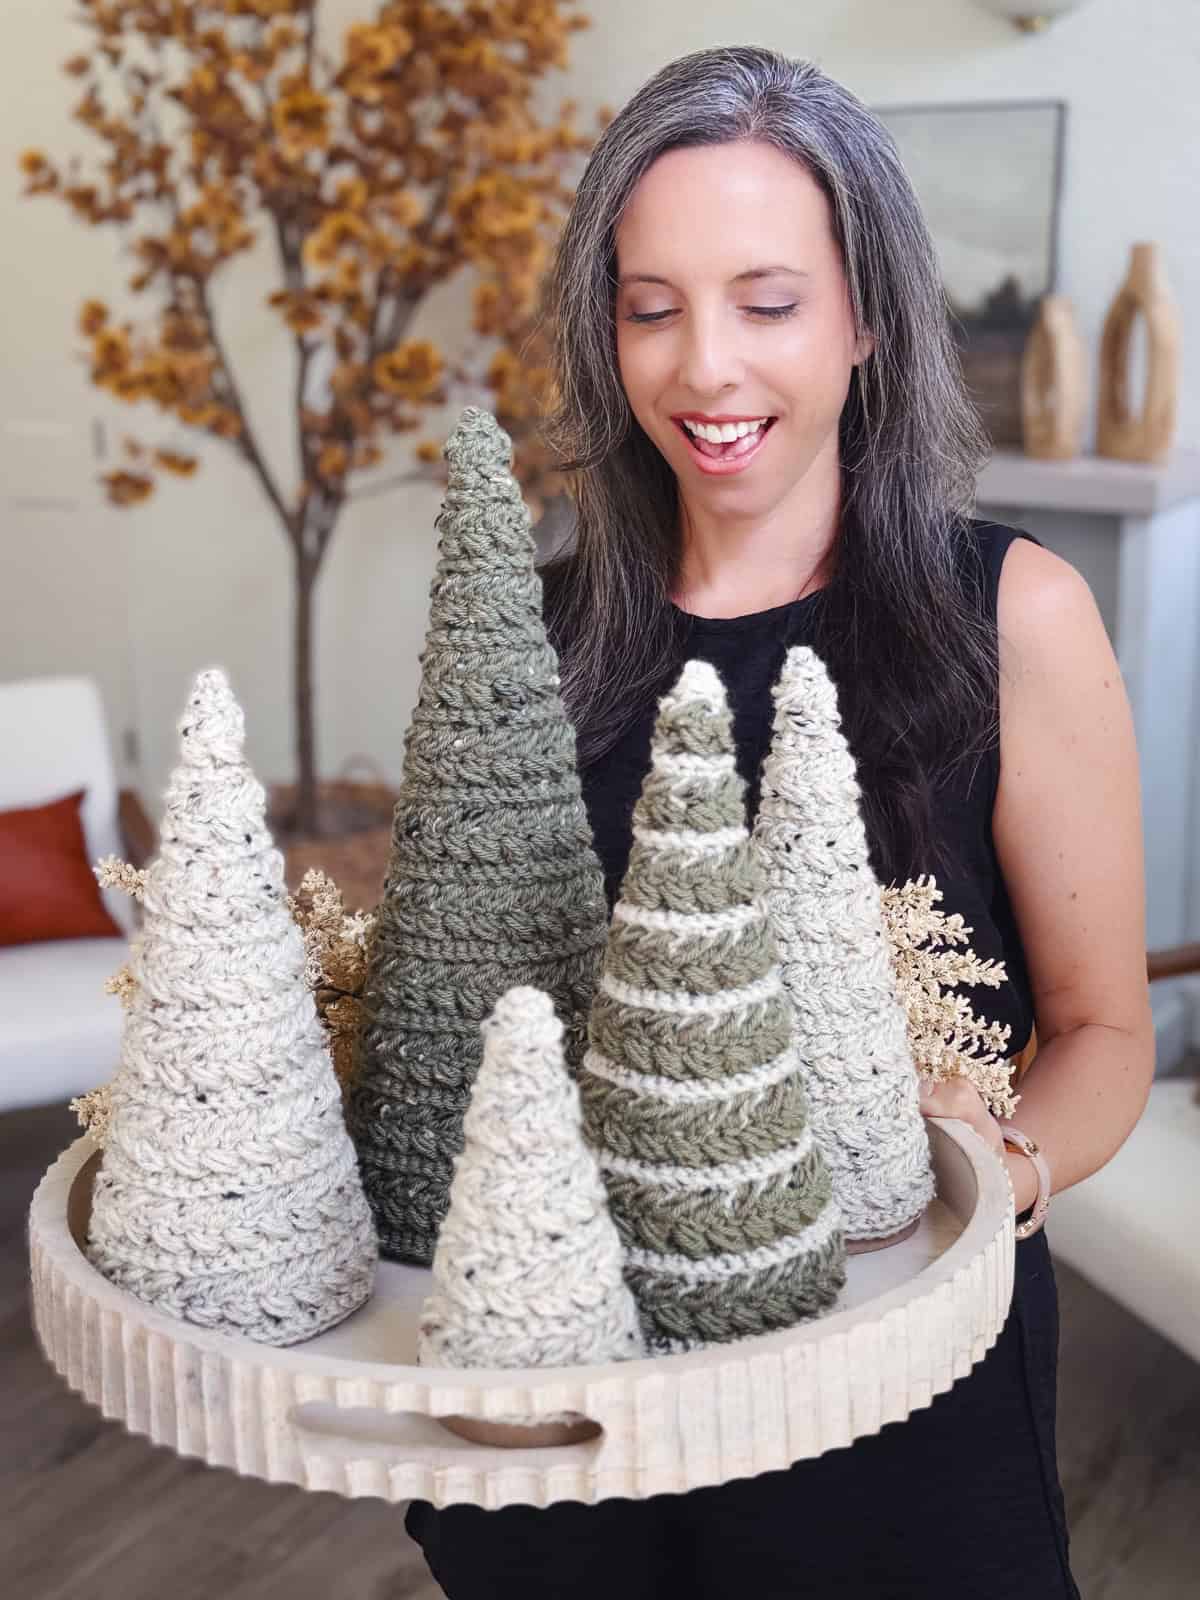 Wheat Stitch Trees
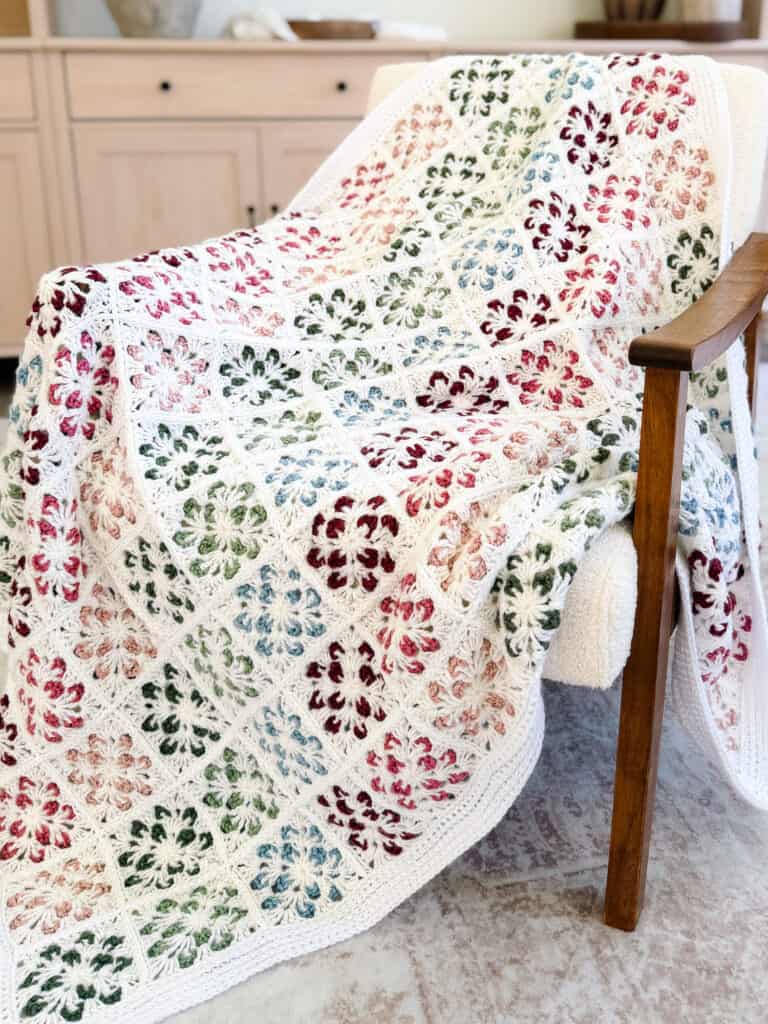 Blossom Granny
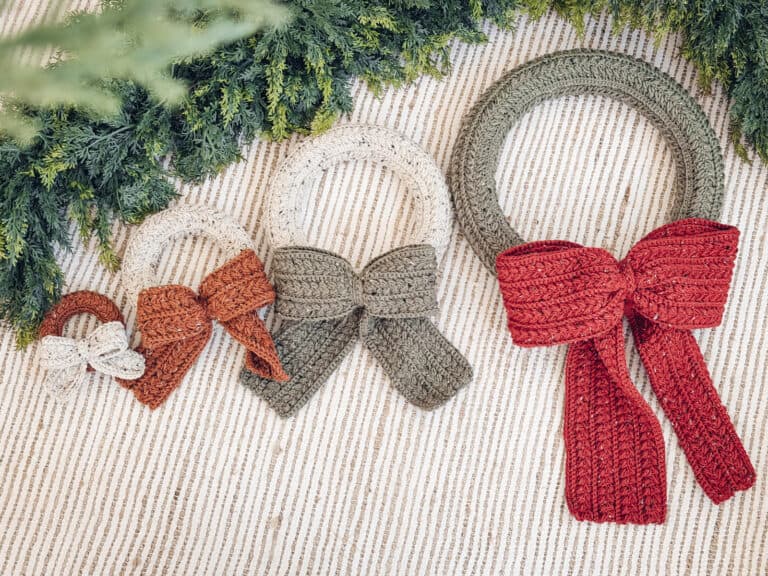 Wheat Stitch Wreath