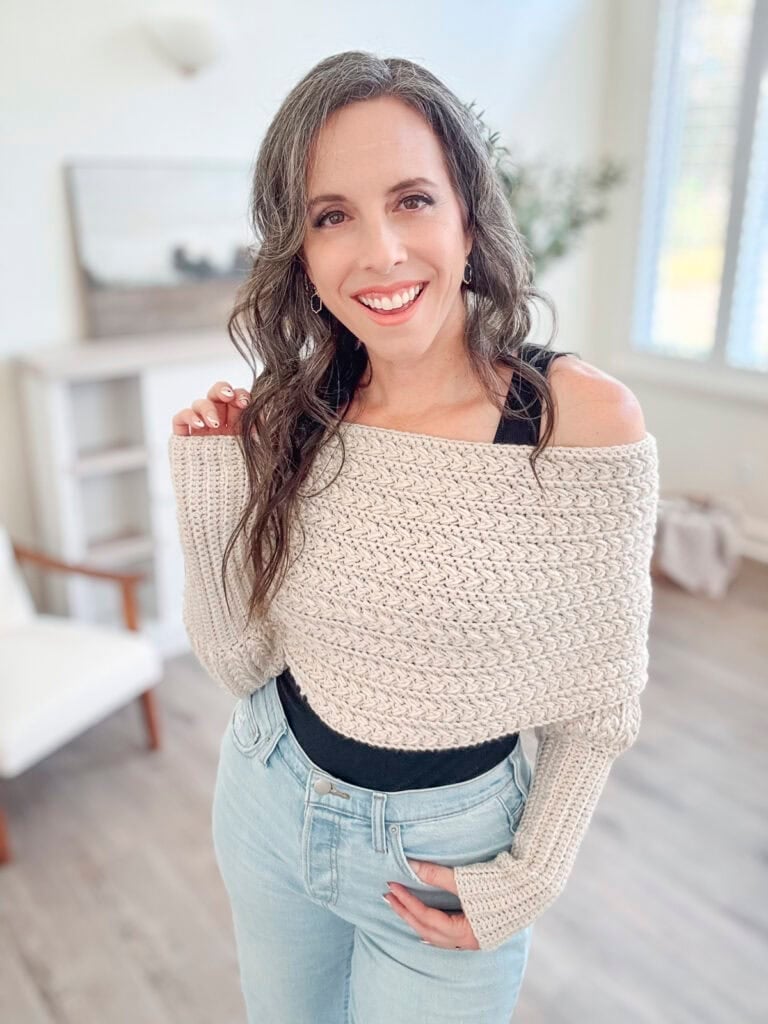
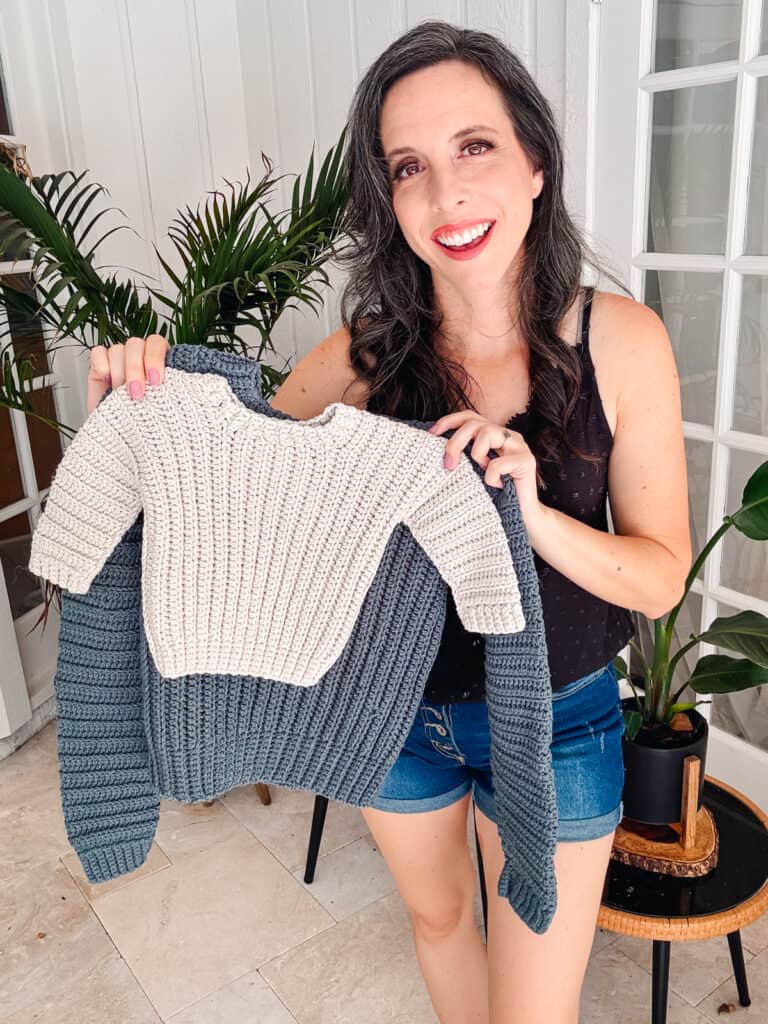
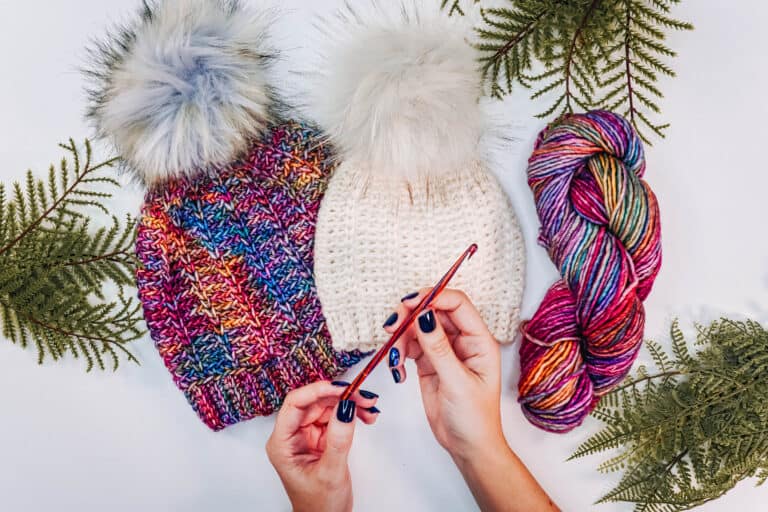
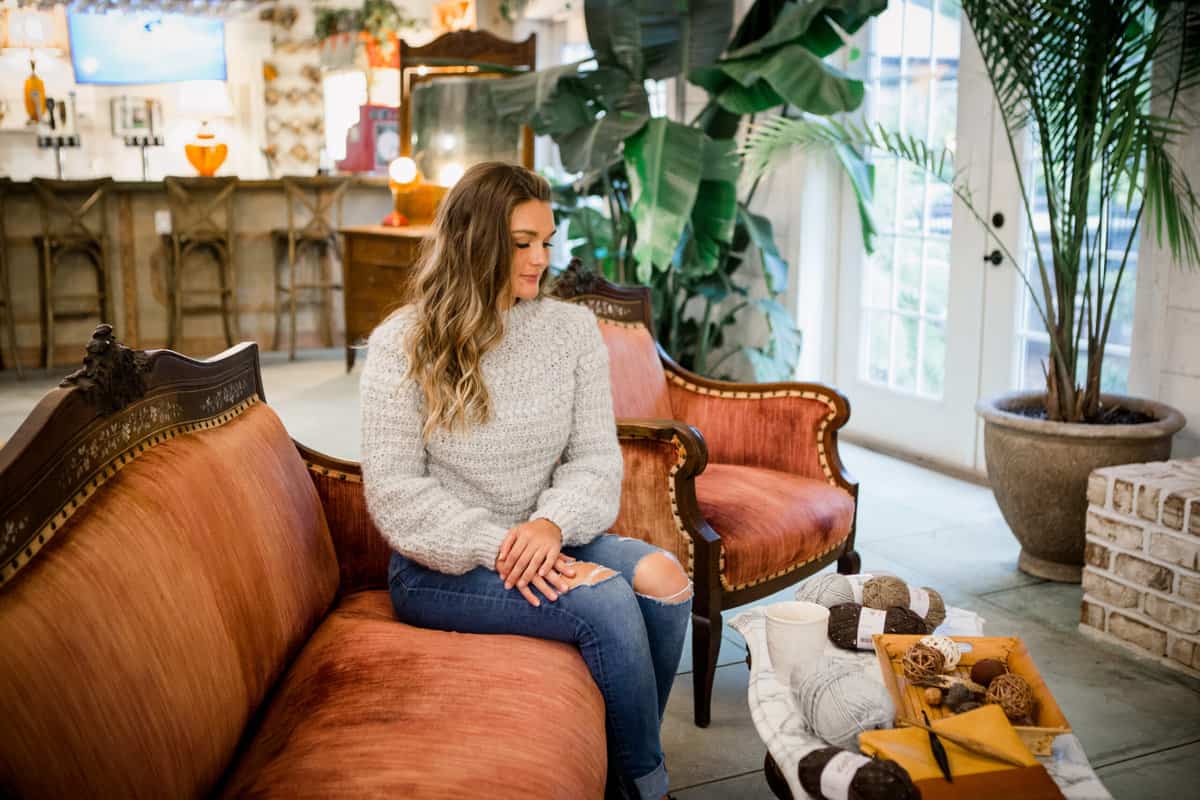
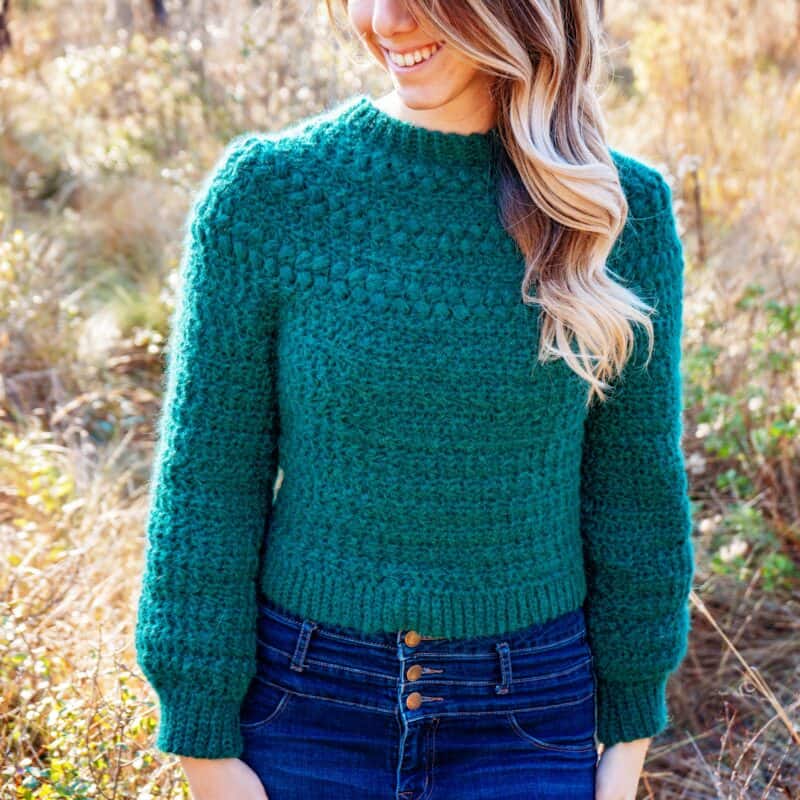
Have you ever wondered what it would be like to snuggle up with a cloud? No more wondering with this soft textured sweater, it’s as cozy as it looks. The Macchiato Crochet Sweater is worked as a yoke sweater in one piece from the top down, similar to the Traveler Fair Isle Sweater. The puff stitch rows in the yoke add a soft wreath like detail in the round yoke. The easy crochet stitches are reminiscent of the puffy cream in coffee a barista turns into a piece of art. This raglan sweater can be a mommy-and-me set with the Macchiato Child Crochet Sweater Free Pattern and there is also a Macchiato Crochet Beanie Pattern.
Disclosure: This post contains affiliate links. Please read my disclosure for more info.
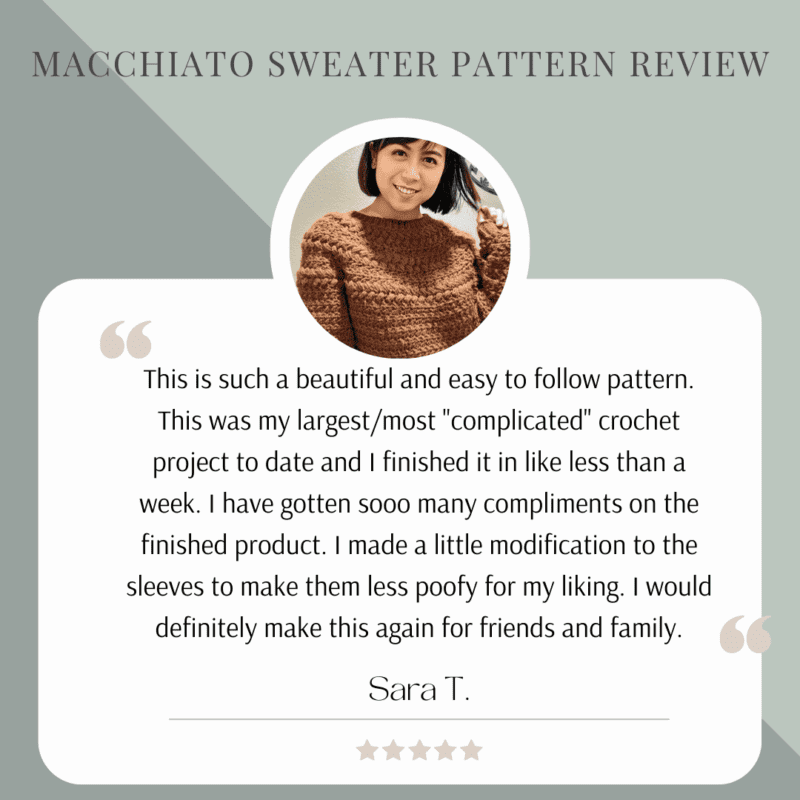
What you’ll love about this adult sweater pattern.
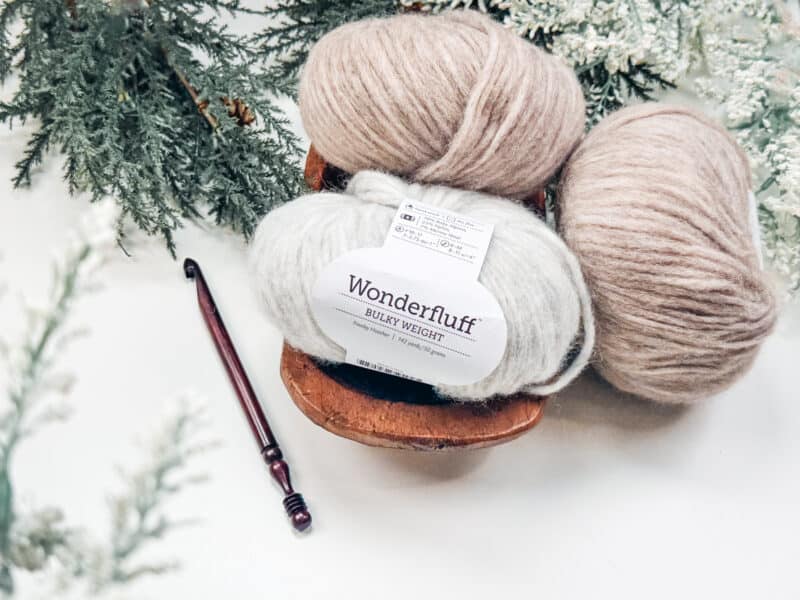
About the Soft Wonderfluff Yarn
Gentler than a kitten, more delicate than a cloud, Wonderfluff Yarn stands as a technological wonder! Luxuriously soft baby alpaca and fluffy merino fibers are gently blown into and captured within a feather-light nylon mesh tube. The outcome is a yarn that combines stunning bulkiness with lightness and warmth, showcasing unexpected resilience.
Wonderfluff adapts seamlessly to various hook sizes, and with a generous yardage of 142 yards per 50g, it enables the creation of ample, lavish projects without straining the budget.
But what do I love most about this yarn? The fuzz halo, and you can really see those soft fibers on the Be My Bunny Crochet Ami. It adds a soft romantic touch to this sweater and it’s as light as it looks! Most of the time when using a bulky weight yarn, the sweater ends up feeling heavy. But this fabric is light and has an excellent drape.
The Macchiato Collection can be purchased on Etsy or Ravelry.
Why crochet a top-down yoke sweater?
- Customization: Starting from the top allows for easy customization. You can adjust the size and length as you go, ensuring a perfect fit for your body shape.
- Fit Testing: With a top-down approach, you can try on the sweater as you crochet. This helps you check the fit and make any necessary adjustments in real-time, ensuring a tailored and comfortable garment.
- Seamless Construction: Top-down yoke sweaters are often worked seamlessly, meaning there are minimal or no seams to sew. This not only saves time but also enhances the overall look of the finished piece.
- Ease of Construction: Top-down construction simplifies the crochet process. You begin with the yoke and then work down to the body and sleeves. This straightforward approach is beginner-friendly and eliminates the need for complex assembly.
- Easy Sleeve Adjustments: Sleeve length and style can be easily modified during the top-down construction. You can customize the sleeves to be short, three-quarter, or full length according to your preference.
I cannot get enough of top-down sweaters because it let’s us play with stitches and colorwork. The Lace Sleeve Crochet Sweater is a great example of this where the detail is in the sleeves, and this is a top-down raglan sweater. And then we all know I love patterns and colors resulting the gorgeous yokes. If you want to try you hand at a circular yoke, check out the Arizona Sweater Dress or the Fawning Over You Crochet Sweater.
Supplies for the Adult Crochet Sweater
Yarn
WeCrochet Wonderfluff Bulky (5 Weight) in Finnley Heather, 70% Baby Alpaca, 23% Nylon, 7% Merino Wool; 142 yds/50g.
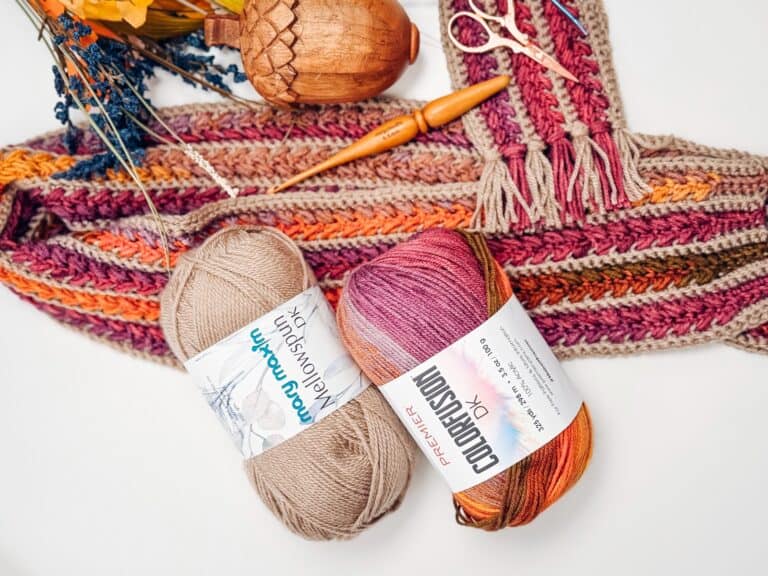
Color Inspiration For Your Sweater
Yarn Quantities
(850; 950; 1,125; 1,225; 1,350; 1,475; 1,600; 1800)
6 (6, 7, 8, 9, 10, 11, 12, 12) Balls
Yarn Substitutions
Brava Bulky
100% Premium Acrylic
136yds/100g
Swish Bulky
100% Fine Superwash Merino Wool 137yds/100g
Remember to always check gauge and drape when substituting yarns.
Crochet Hook
Size J (6.0mm) Crochet Hook, or hook to obtain gauge.
Notions
Scissors
Yarn Needle
Removable Stitch Marker
Skill Level
Advanced Beginner
Sizing
XS (S, M, L, 1X) (2X, 3X, 4X, 5X)
To fit chest:
32 (34, 38, 42, 46) (50, 54, 58, 62)
Actual measurements are in schematic.
Ease: Finished bust measurements, includes 4 inches of ease: 32 (36, 40, 44, 48, 52, 56, 60, 64)
Abbreviations
Alt –Alternatively
BLO -back loop only
Ch -chain
FLO -front loop only
Hdc -half double crochet
Hdc2tog -half double crochet two stitches together
Inc. – increase
Gauge
13 sts by 8.5 rows = 4” square
How to Crochet A Gauge Swatch
Working a gauge swatch will let you know if you will have the correct sizing for this pattern. A gauge swatch helps you practice the stitches used in this project and improve your stitch work for a flawless look.
Are you struggling to match gauge? Check out the blog post on What is Crochet Gauge and How To Fix It
Gauge Swatch Instructions:
Stitch pattern for gauge swatch: Ch 17, in second chain from hook hdc 1 in blo, hdc 1 in flo; repeat from * to * across, turn. Repeat these steps to make the gauge swatch with a ch 1 at the beginning of the row.
Construction
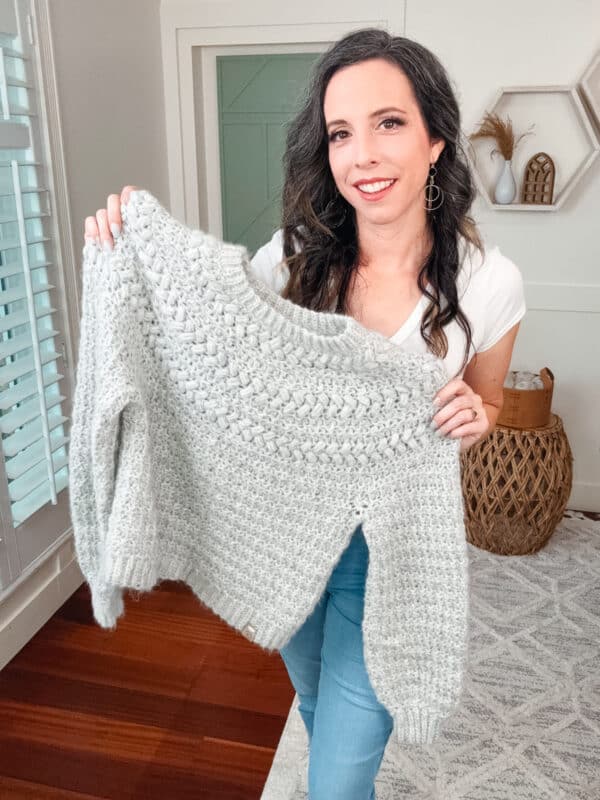
This is a top-down yoke sweater. We will start with the neck ribbing then work the yoke (shoulders) while evenly increasing on rounds. During this section we will add the beautiful puff details. Next, we will separate for the body and sleeves, and continue to work the body through the ribbing. Last, we will work the sleeves and cuff ribbing.
Special Stitches
Puff Stitch: Yarn over and insert your hook into the stitch/space. Yarn over again and pull up a long loop. (Yarn over and insert your hook into the same stitch/space. Yarn over again and pull up a long loop) two more times (7 loops on the hook). Yarn over and pull through the first 6 loops, yarn over and pull through remaining loops.
Established stitch pattern (est st pattern): *hdc 1 in blo, hdc 1 in flo*; repeat from * to * around increasing by placing two stitches in indicated stitch.
Notes
- A ch 1 at the beginning of a row is not counted as a stitch. Using a stitch marker at the beginning of each round is recommended.
- This sweater is worked in a top-down seamless yoke style. The instructions and stitch counts are given for the smallest size, with the larger sizes in brackets ( ).
- Before you dive into your project, take a moment to identify the stitch and row counts that match the size you’re making. By highlighting or marking them, you’ll save time and effort later on. Trust us, this small step will make a big difference in your crochet journey!
- When there is ‘no increase’ listed in the instructions, work the round without increasing. Where there is a ‘n/a’ listed in the instructions skip these as it’s not applicable to that size.
- This sweater is worked in the round turning at the beginning of each new round, place a stitch marker in the last stitch of the round to help keep track of first and last stitches. When increasing for sizes with two numbers (i.e 7/8), increase in the 7th stitch and then crochet 8 and also increase in the 8th stitch. For sizes Medium, Large, 2x, and 3x there will be extra stitches at the end of the round, finish those stitches in pattern.
This Pattern Uses Standard US Terminology
The downloadable pdf pattern can be purchased on Etsy, Ravelry, or WeCrochet.
Click the box below to unlock this exclusive subscriber content for free. Add your email and create a password. If you are having trouble, reset your password or log in to the Grow Portal.
I’m thrilled to share this amazing crochet pattern with you! Please don’t copy, paste, or distribute this pattern. Prefer an ad-free experience? Purchase a digital PDF file for a small fee from one of my online stores. I appreciate your support and readership. You are why I can keep doing what I love and sharing it with others. Thank you from the bottom of my heart.
Macchiato Crochet Sweater Written Pattern:
Handy Tip
Are you aware that the tension in our crochet can be influenced by our mood? To achieve optimal garment results, it’s crucial to maintain consistent sizing. A helpful suggestion is to periodically check the gauge every 10-20 rounds and make adjustments as needed.
Sweater Body
Rnd 1: Turn and ch 1, work in est st pattern 112 (114, 128, 146, 160, 168, 180, 194, 206) around body stitches including the chains under the arms, join.
Rnd 2: Turn and ch 1, work in est st pattern 112 (114, 128, 146, 160, 168, 180, 194, 206) around body stitches, join.
Repeat Rnd 2 for a total of 16 (17, 18, 18, 19, 19, 20, 20, 20) body rds. From underarm to bottom before bottom rib measurement in inches is 7.5 (8, 8.5, 8.5, 9, 9, 9.5, 9.5, 9.5). If more length is desired repeat Rnd 2 more times until length minus repeat.
Bottom Body Ribbing
Row 1: Ch 8, in blo slip st in second chain from hook and across to body, sl st 2 sts on the body (these do not count as sts), turn. (7 sts)
Row 2: Skip the two sl st sts from the body, in blo sl st in each st across, turn.
Row 3: Ch 1, in blo sl st in each st across, sl st 2 sts on the body, turn.
Repeat Rows 2-3 around the bottom of the sweater body. Join last row to beginning row by slip stitching through blo of first and last row at the same time with the WS facing.
Sleeves
Rnd 1: With the appropriate RS or WS facing (opposite from the last row worked on yoke), attach yarn to the center st under the arm. Ch 1, work in est st pattern for 50 (52, 54, 56, 56, 60, 60, 64, 64) sleeve stitches around.
Rnd 2: Turn and ch 1, work in est st pattern 50 (52, 54, 56, 56, 60, 60, 64, 64) sleeve stitches around.
Repeat Rnd 2 for a total of 28 (29, 29, 30, 30, 31, 31, 32, 32) sleeve rnds. From underarm to bottom of sleeve (before 3 inches for decrease & cuff rnds) measurement in inches is 13 (13.5, 13.5, 14, 14, 14.5, 14.5, 15, 15). If more length is desired Repeat Rnd 2 more times.
Decrease Rnd: Turn and ch 1, work in est st pattern hdc2tog around, join. 25 (26, 27, 28, 28, 30, 30, 32, 32) sts.
Sleeve Cuff
Row 1: With the RS facing Ch 10, in blo slip st in second chain from hook and across to sleeve body, sl st 2 sts on the sleeve body (these do not count as sts), turn. (9 sts)
Row 2: Skip the two sts from the sleeve body, in blo sl st in each st across, turn.
Row 3: Ch 1, in blo sl st in each st across, sl st 2 sts on the sleeve body, turn.
Repeat Rows 2-3 around the bottom of the sleeve. Join last row to beginning row by slip stitching through blo of first and last row at the same time with the WS facing.
Finishing
Fasten off and weave in all ends. Use yarn and needle to close any holes/gaps under the arm. Lightly block and wear.
To ensure your Macchiato Sweater remains a cherished piece in your wardrobe, a little care goes a long way. Hand wash your creations using a gentle detergent in cold water. Avoid harsh chemicals and machine washing to preserve the integrity of the stitches and maintain the rich texture. After washing, reshape the items and lay them flat to dry, preventing stretching or misshaping, a sweater drying rack can help. Store your sweater folded to maintain its structure, and for the beanie, avoid hanging to retain its shape.
Share your finished projects with the crochet community using #MacchiatoSweater and, and let your yarn choices inspire others on their crafting journeys. And if you want to step up your skills with more top-down sweaters, try out the Pine Crochet Sweater or the Pine Crochet Beanie.
May your handmade creations bring you comfort, style, and countless compliments. Happy crocheting!
Well, That Was Fun! What’s Next?