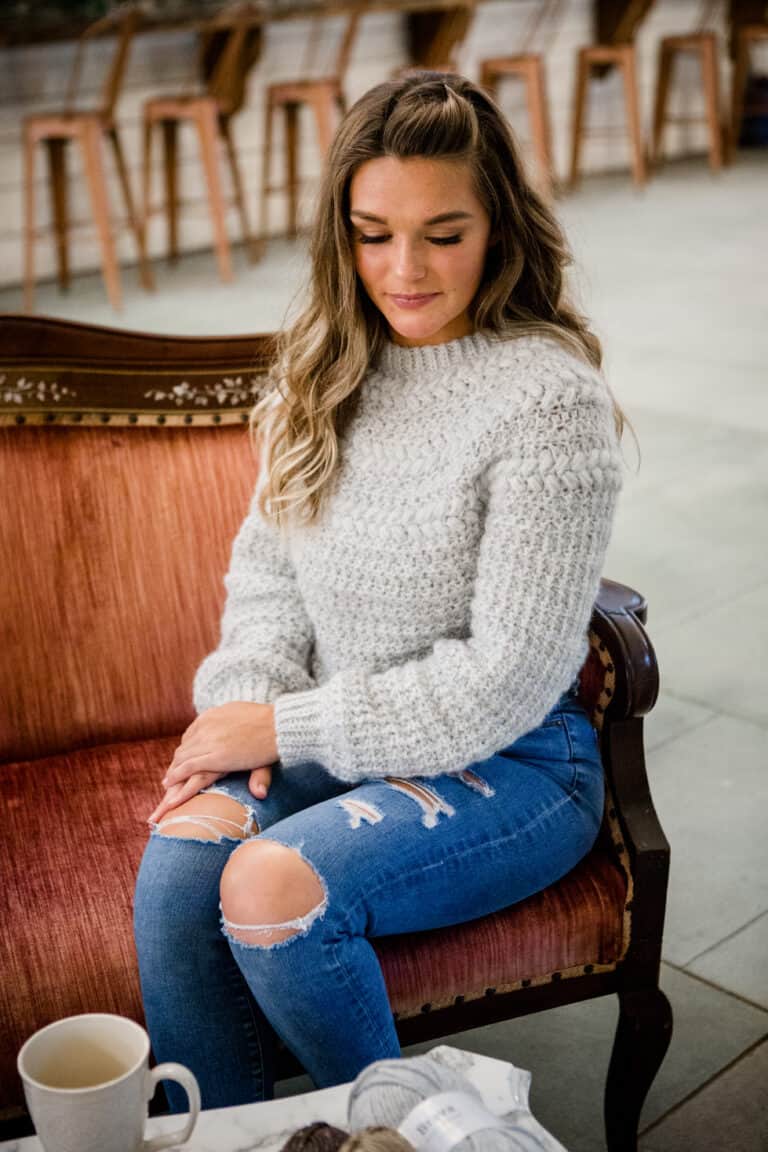

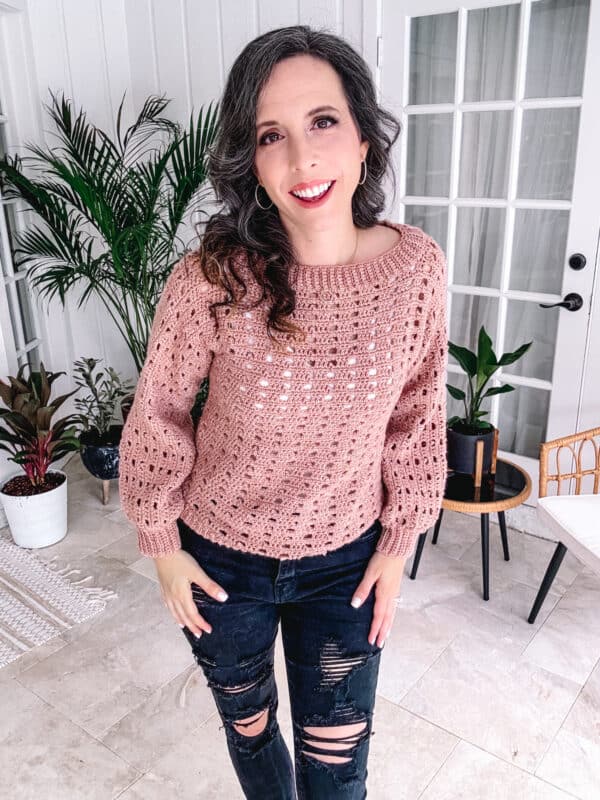
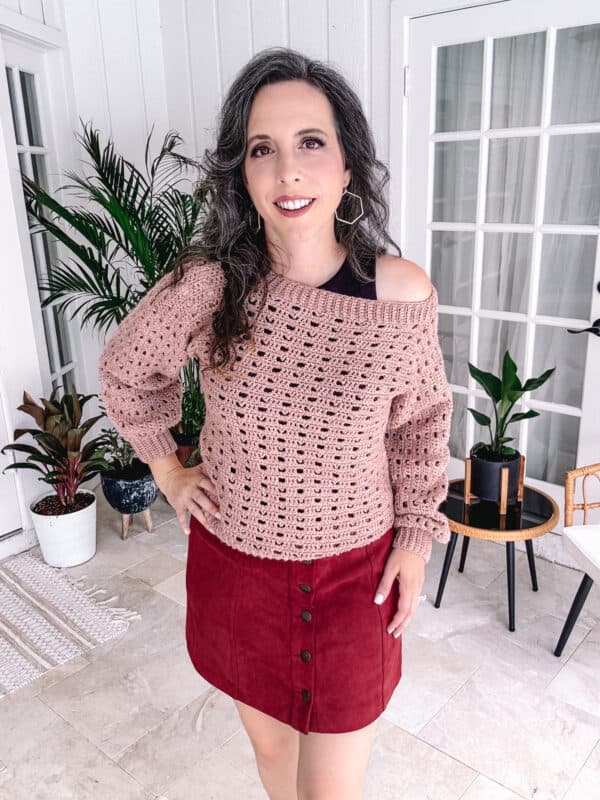
Looking for a lightweight and beginner-friendly crochet sweater? The Sparrow Crochet Sweater Pattern is the perfect blend of simple stitches, two-seam construction, modern texture, and seasonal versatility. Whether you’re new to garment-making or just love effortless, stylish designs, this pattern is made for you.
Disclosure: This post contains affiliate links. Please read my disclosure for more info.
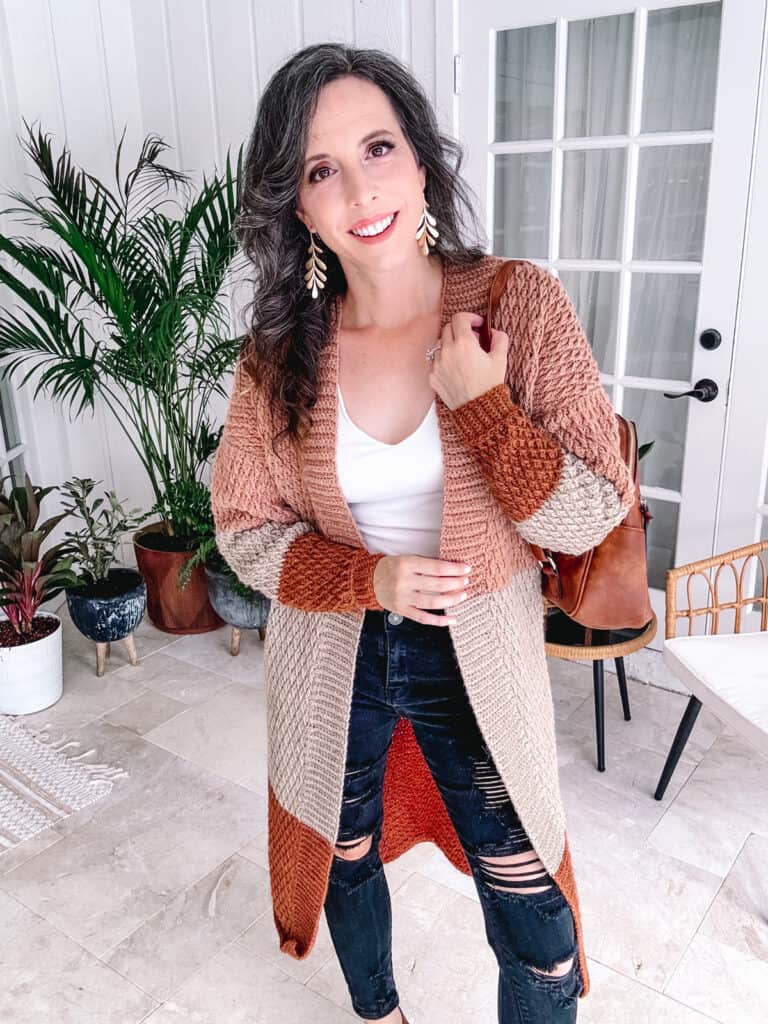
Its breathable fabric makes it ideal for layering during autumn and spring, while still being cool enough for warmer days. If you like the look of the stitch pattern in this free pattern, check out the Hummingbird Cardigan! Plus, if you’re a fan of versatile crochet sweaters, don’t miss the Macchiato Crochet Sweater or the Easy Crochet Sweater Pattern — both are beginner favorites!
What you’ll love about this beginner-friendly adult sweater pattern.
? 2 Easy Seams – This crochet sweater is made as one flat piece with only two seams.
? Adjustable Length – Crochet this sweater as a crop top or as a dress; adjusting the length is easy.
? Fun Stitch Repeat – The texture of this stitch keeps the crochet fabric light, so it can be worn in any season.
? Size-Inclusive – The Adult-size crochet pattern is available in sizes x-small to plus size 5x.
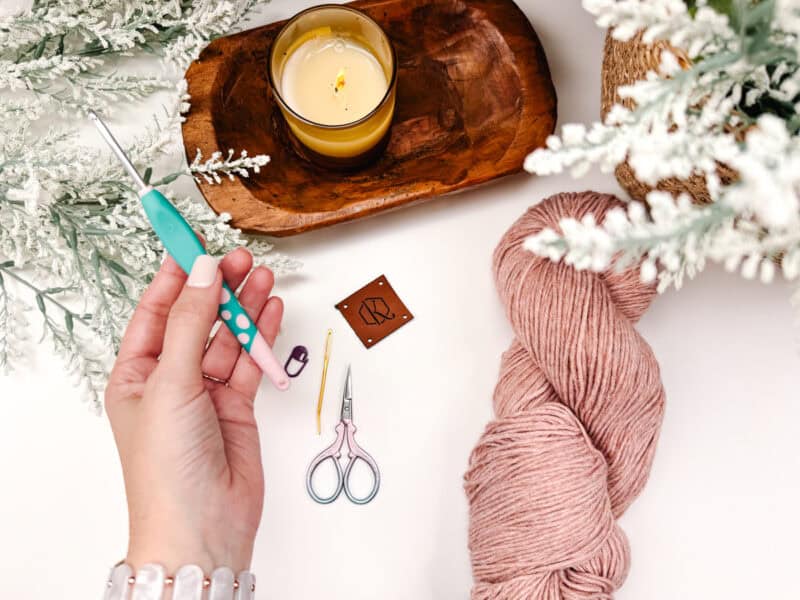
Sparrow Crochet Sweater Supplies
Yarn
WeCrochet Heatherly Sport
80% Acrylic, 20% Merino Wool, 328yds/100g
Yarn Quantities
900 (1100, 1200, 1400, 1600) (1750, 1900, 2050, 2200) yards
3 (4, 4, 5, 5) (6, 6, 7, 7) balls
Yarn Substitutions
Brava Sport
100% Premium Acrylic, 340yds/100g
Shine Sport
60% Pima Cotton, 40% Modal Natural Beech Wood Fiber 110yds/50g
Galileo
50% Merino Wool, 50% Viscose from Bamboo, 131yds/50g
Remember always to check the gauge and drape when substituting yarns.
Crochet Hook
Size US G (4.0mm) Crochet Hook or hook to obtain gauge.
Notions
Scissors
Yarn Needle
Removable Stitch Marker
Skill Level
Advanced Beginner
Sizing
XS (S, M, L, 1X) (2X, 3X, 4X, 5X)
To fit chest:
33 (35.25, 40, 42.25, 47) (51.75, 56.5, 58.75,
63.5)” finished bust measurement; the garment is meant to be worn with 1-4” of positive ease.
The model is wearing the garment with 4” positive ease.
Abbreviations
blo – back loop only
ch – chain
DC – double crochet
picot – see notes
rem – remaining
SC – single crochet
sl st – slip stitch
st(s) – stitch(es)
Stsc – Stacked Single Crochet
Gauge
17 sts and 12 rows = 4″ by 4″ unblocked, in pattern repeat.
How to Crochet A Gauge Swatch
Working a gauge swatch will let you know if you will have the correct sizing for this pattern. It will also help you practice the stitches used in this project and improve your stitch work for a flawless look.
Are you struggling to match the gauge? Check out the blog post on What is Crochet Gauge and How To Fix It
Gauge Swatch Instructions:
Start by chaining 30 sts; follow the Chart for Size XS (or the written instructions) for a total of 14 rows. Use a tape measure or gauge tool to determine the stitches per width and rows per height of the swatch. Adjust as needed.
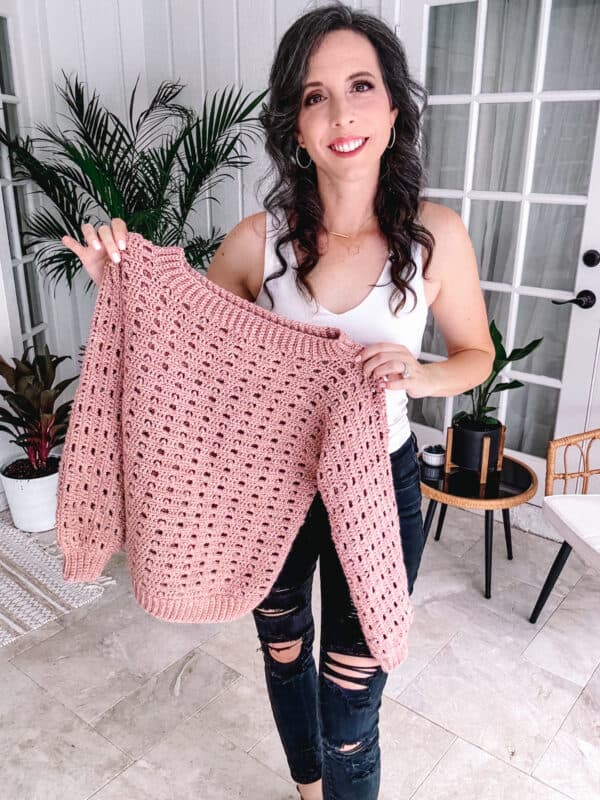
Construction
This rustic lace crochet sweater is worked flat in two panels, making it approachable even if you’re new to garments. It’s seamed along the sides and sleeves, then finished with simple ribbing at the neckline, cuffs, and hem.
You’ll use basic stitches to build beautiful texture — no complicated shaping or advanced techniques required.
Love this style of Construction? You might also enjoy the Finch V-Neck Crochet Cardi Pattern or the Autumn Wheat Beginner Crochet Cardigan.
Special Stitches
Stacked Single Crochet (Stsc): Do NOT chain, insert hook into next stitch, yo, pull up a loop, yo and pull through both loops, insert hook in the vertical bar below, yo, pull up a loop, yo and pull through both loops on the hook.
Picot: Ch 3, insert the hook into the first chain, YO and draw the yarn through the stitch and the loop on the hook.
Pattern Notes
- This pattern substitutes a traditional chain 2 on the edges for a Stacked Single Crochet.
A ch 1 at the beginning of a single crochet row is unnecessary.
- Using a stitch marker at the beginning of each row is recommended.
- The instructions and stitch counts are given for the smallest size, with the larger sizes in brackets ( ).
- Before you dive into your project, take a moment to identify the stitch and row counts that match the size you’re making. By highlighting or marking them, you’ll save time and effort later on. Trust us, this small step will make a big difference in your crochet journey!
- Picot sts do not count as st.
❓ FAQ – Sparrow Crochet Sweater Pattern
Can a beginner crochet this sweater?
Yes! The pattern uses basic stitches, simple seaming, and no complex shaping — ideal for newer crocheters.
How long does it take to crochet?
On average, beginners complete this sweater in 2–3 weekends, depending on your pace and desired length.
Can I make it longer or cropped?
Absolutely! You can adjust the length by adding or subtracting rows before shaping.
Can I make the sleeves shorter?
Yes. Simply chain fewer stitches when creating the armhole space to shorten the sleeve length.
Relax & Crochet
Upgrade to the Printable PDF
Beautifully formatted to print and relax while crocheting. The paid pattern includes:
The Ad-Free PDF can be purchased on Etsy or Ravelry.
Click the box below to unlock this exclusive subscriber content for free. Add your email and create a password. If you are having trouble, reset your password or log in to the Grow Portal.
I’m thrilled to share this amazing crochet pattern with you! Please don’t copy, paste, or distribute this pattern. Prefer an ad-free experience? Purchase a digital PDF file for a small fee from one of my online stores. I appreciate your support and readership. You are why I can keep doing what I love and sharing it with others. Thank you from the bottom of my heart.
Written Crochet Sweater Pattern Instructions
All Sizes
Rows 5-32:
Rep Rows 1-4 of relevant size, or work until desired length (less 1.5″ for ribbing).
Fasten off.
Note:
Work more or fewer rows to adjust length.
How to Adjust the Length of Your Crochet Sweater:
To make your sweater longer or shorter, simply add or subtract rows in increments of 4. Be sure to write down how many rows you crochet on the front so you can match it on the back later for an even fit.
Sleeves & Front
Note: Sleeves are added to the body.
Row 1 (RS):
Ch 70, with RS facing join ch to body, work in established patt across 70 (75, 85, 90, 100) (110, 120, 125, 135) body sts, ch 70, turn. | 210 (215, 225, 230, 240) (250, 260, 265, 275) sts.
Rows 2- 20 (20, 20, 20, 24) (24, 28, 28, 32):
Rep Rows 1-4 in established patt, ending with Row 4.
Sleeve Style
You can customize the Sparrow Crochet Sweater with:
- ✨ Chic puff sleeves (short & stylish)
- ☀️ Mid-arm length sleeves (perfect for warmer weather)
To make shorter sleeves, just reduce the number of stitches chained at the sides when shaping. This allows you to personalize your sweater for the season or your style!
Left Neck Shaping
Row 1 (RS):
Work first 85 (85, 90, 95, 100) (105, 110, 110, 115) sts in patt, turn leaving rem sts unworked. | 85 (85, 90, 95, 100) (105, 110, 110, 115) sts.
Rows 2-8:
Work in st patt for 8 rows, ending on Row 4.
Fasten off.
How to Adjust the Neckline and Armhole Depth of Your Crochet Sweater
Want to adjust the neckline and armhole depth? Add fewer or more rows in the neck shaping area in even multiples.
Right Neck Shaping
Row 1 (RS):
Sk 40 (45, 45, 40, 40) (40, 40, 45, 45) sts (center Neck), join with sl st in next st, work 85 (85, 90, 95, 100) (105, 110, 110, 115) sts in patt, turn. | 85 (85, 90, 95, 100) (105, 110, 110, 115) sts.
Rows 2-8:
Work in st patt for 8 rows, ending on Row 4.
Fasten off.
Sleeves & Back
Row 1 (RS):
With RS face, beg at left edge of Left Front, work first 85 (85, 90, 95, 100) (105, 110, 110, 115) sts in patt, ch 40 (45, 45, 40, 40) (40, 40, 45, 45), sk center 40 (45, 45, 40, 40) (40, 40, 45, 45) sts, work next 85 (85, 90, 95, 100) (105, 110, 110, 115) sts in patt, turn. | 210 (215, 225, 230, 240) (250, 260, 265, 275) sts.
Row 2:
Work all sts in established patt, turn.
Rows 3 – 20 (20, 20, 20, 24) (24, 28, 28, 32):
Rep Rows 1-4 in patt, ending with Row 4.
Fasten off.
Join The Kindest Community
Join our vibrant community of crafters on Facebook today. Whether you enjoy crafting with others or simply have burning questions, we’ve got you covered – join us now!
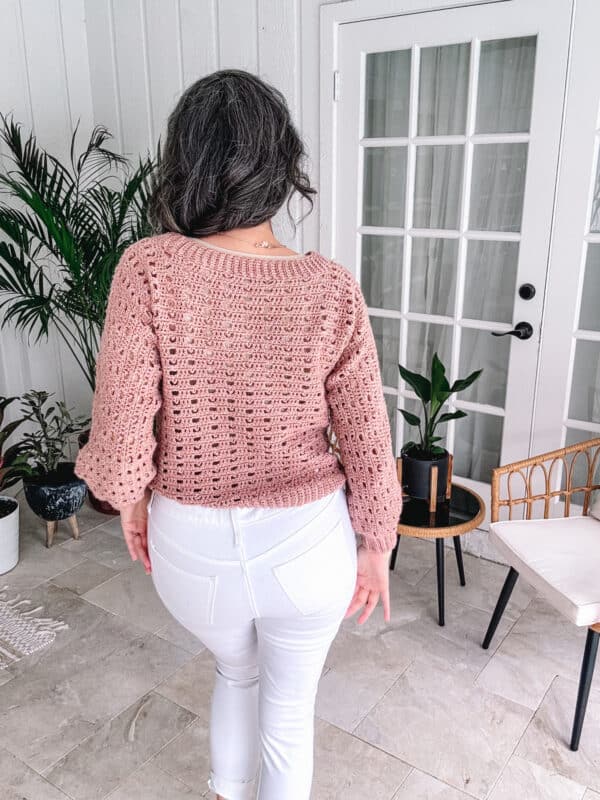
Back Body
Row 1 (RS):
Sk first 70 sts, join with sl st in next st, work 70 (75, 85, 90, 100) (110, 120, 125, 135) sts in patt, turn. | 70 (75, 85, 90, 100) (110, 120, 125, 135) sts.
Rows 2-34:
Rep Rows 1-4, or work until desired length (less 1.5″ for ribbing).
Fasten off.
Note: If you adjusted the length on the front of the sweater, crochet the same number of rows for the Back to match.
Seaming
Block to measurements. Fold the sweater in half with RS facing out and WS together. With the preferred seaming method, sew front to back at the side seam, beg at the bottom hem, working to underarm, then seam across the sleeve in one continuous seam. Rep for the other side.
Hem Ribbing
Row 1:
Join with sl st in side seam, ch 8, SC in 2nd ch from hook and across back towards body edge, sl st in next 2 sts on bottom edge of Body, turn. | 7 SC, 2 sl sts.
Row 2:
Sk 2 sl sts, SC Blp in next 7 sts, turn. | 7 SC.
Row 3:
Ch 1 (does not count as a st here and throughout), SC Blp in next 7 sts, sl st in next 2 sts on body, turn. | 7 SC, 2 sl sts.
Rep Rows 2-3 around the bottom of the body.
Last Row:
Join edges together, with yarn needle seam beg and last rows of ribbing together, or working in Blp of st in first and last rnd, SC both sts together.
Fasten off.
Cuff Ribbing
Row 1:
Join with sl st in sleeve seam, ch 12, SC in the 2nd ch from hook and across back towards Sleeve edge, sl st 2 sts per 3 edge rows on the Sleeve, turn. | 11 SC, 2 sl sts.
Row 2:
Sk 2 sl sts, SC Blp in next 11 sts, turn. | 11 SC.
Row 3:
Ch 1, SC Blp in next 11 sts, sl st in next 2 sts on Sleeve, turn.
Rep Rows 2-3 for ribbing around Sleeve.
Last Row:
Join edges together, with yarn needle seam beg and last rows of ribbing together, or working in Blp of st in first and last rnd, SC both sts together.
Fasten off.
Neck Ribbing
Row 1:
Join with sl st in side of Neck, ch 8, SC in 2nd ch from hook and across, sl st in next 2 sts on Neck edge, turn. | 7 SC, 2 sl sts.
Note: When working sl sts around the neck, sl st 1 st per SC row, and 2 sl sts per DC row.
Row 2:
Sk 2 sl sts, SC Blp in next 7 sts, turn. | 7 SC.
Row 3:
Ch 1, SC Blp in next 7 sts, sl st in next 2 Neck sts, turn.
Rep Rows 2-3 for ribbing around the Neck.
Last Row:
Join edges together, with yarn needle seam beg and last rows of ribbing together, or working in Blp of st in first and last rnd, SC both sts together.
Fasten off.
Finishing
Weave in all ends, wash, and lightly block to measurements.
Now that your Sparrow Crochet Sweater is finished, it’s time to wear it with pride. Dress it up with trousers and flats for a breezy office look, or opt for casual wear with jeans and sandals on the weekend. However you style it, this handmade piece is sure to become a wardrobe favourite!
Care Tip: To preserve the shape, gently hand-wash in cool water with a mild detergent, and lay flat to dry.
? Looking for your next project?
Try one of these chic and easy accessories to match your new sweater:
? Just A Crochet Rectangle Bag
Well, That Was Fun! What’s Next?