In this tutorial, I show you how to crochet herringbone stitch (hsc). This is a texture-rich stitch designed to mimic a similar stitch in knitting. The result is a beautiful repeating design that you might be surprised you can craft so easily in crochet. I’ve included written and video instructions for the herringbone crochet stitch to make it easy for you to learn this fun technique.
Disclosure: This post contains affiliate links. Please read my disclosure for more info.
What Is Herringbone Stitch?
Piecework Magazine explains that herringbone is originally an embroidery stitch, although it’s now used in both knitting and crochet. In embroidery, you might also find it called a variety of other names including Mossoul stitch, Russian or Persian stitch, and even fishnet stitch or plaited stitch. These names give you a sense of the stitch’s origins, as well as a little idea of what the design looks like.
Herringbone, the name, possibly comes from the natural design of the spine of the herring fish. If you can try to picture the organic shape of the fish bones coming off of the spine, then you can picture the basic herringbone design. We are naturally drawn to organic shapes, so it’s no wonder we like this design. You’ll see it used in fabric patterns and even in wood flooring.
Herringbone, the stitch pattern, is worked in parallel lines. You effectively create a repeating v-shape. This allows the eye to travel vertically along a piece. It’s a very beautiful design that has both a classic and contemporary feel to it.
About the Herringbone Crochet Stitch
I have always loved the herringbone stitch in knitting. Therefore, when I recently learned it in crochet, of course, I wanted to share it with you. I love it because it’s a knit-mimic design. The repeating v-shape lends itself well to a texture we typically associate with knitting. If you don’t know how to knit … or if you do, but you’re just in the mood to crochet, then the herringbone crochet stitch is a great way to get that texture.
Do you already know how to do the crochet herringbone stitch (hsc)? Keep reading to learn or even just to get a refresher.
Note that this is an HSC so it’s a herringbone single crochet stitch. There are other variations, such as crochet herringbone stitch worked in double crochet. However, the HSC is a popular choice for its knit-like texture.
In this tutorial, the herringbone crochet stitch is created back and forth in rows. The unique component is how the wrong side of the stitch is crocheted using a reverse stitch. That’s what really separates the hsc stitch from other crochet stitch types.
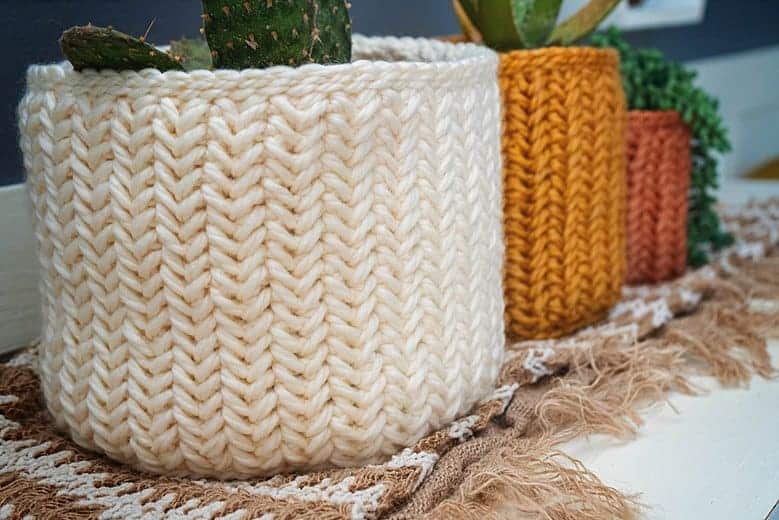
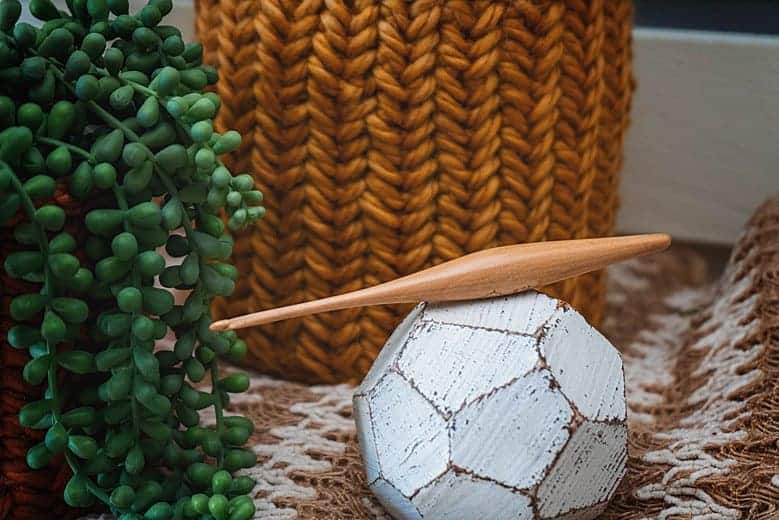
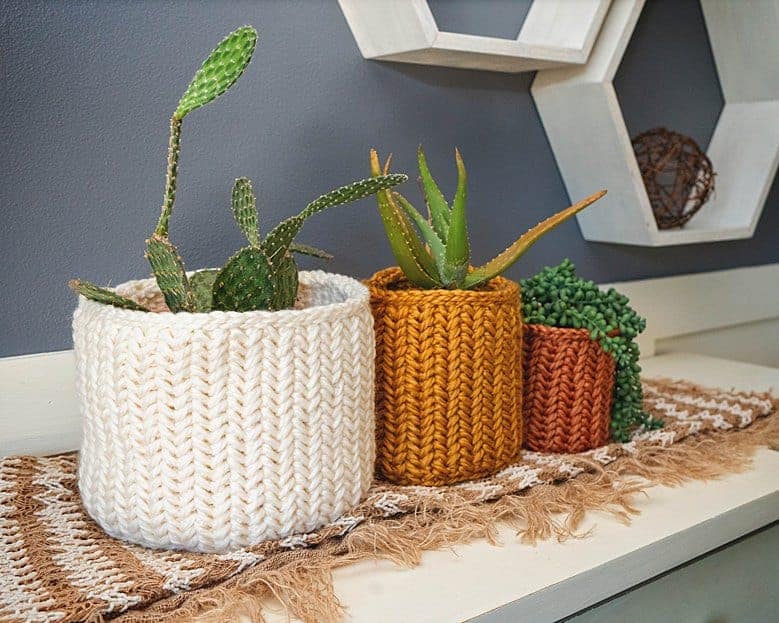
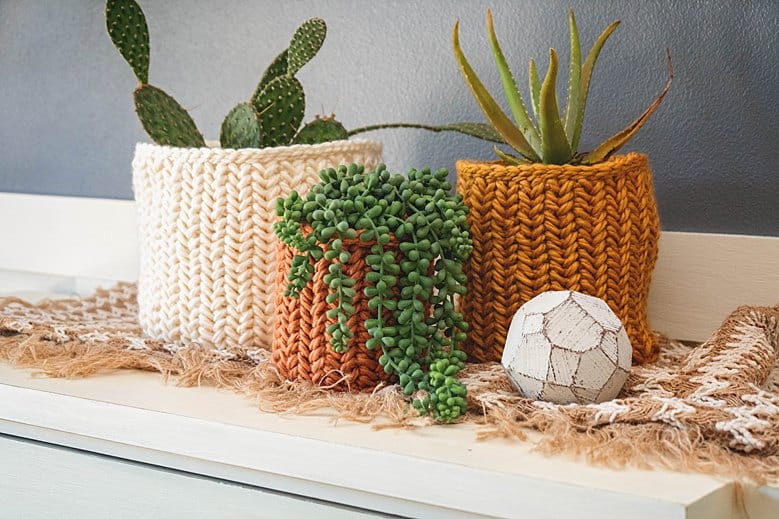
Of course, it is possible to crochet this stitch in the round. The stitch pattern appears rotated from what you see in the basket images. It’s a fun technique to work with!
With a fantastic knit-mimic and beautiful texture, the herringbone stitch can create a variety of items from home decor to garments.

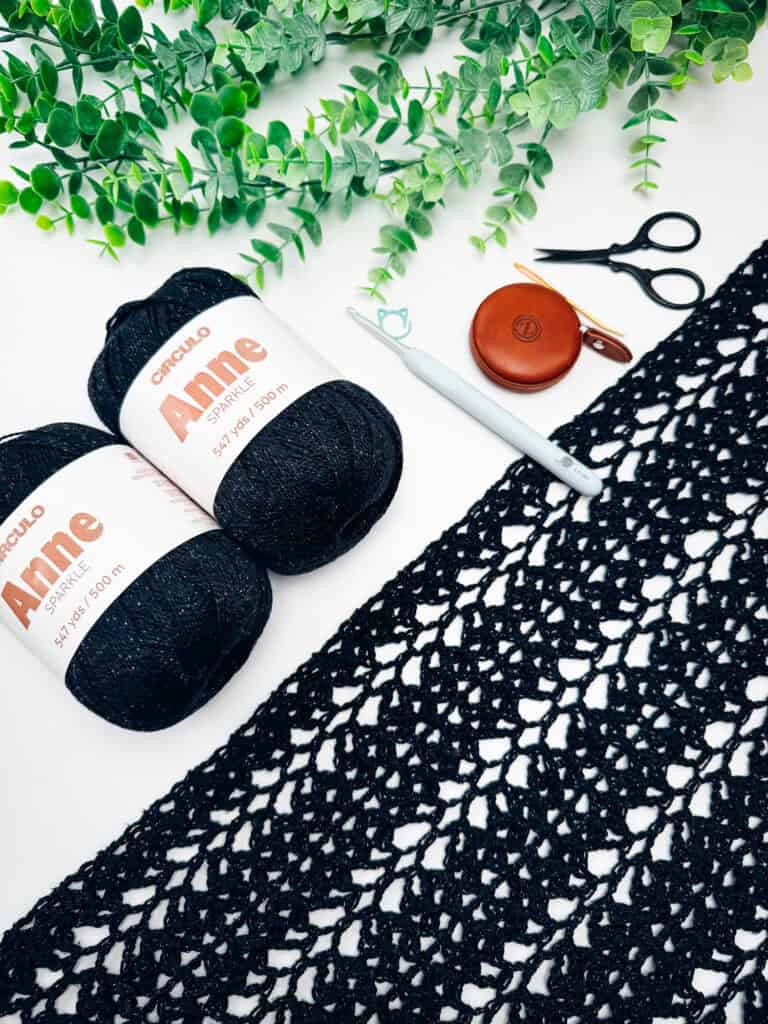
About the Hook For This HSC Tutorial
Feel free to work this hsc stitch with any weight of yarn. However, note that it needs a little bit of space to breathe, so use a hook that is a little bit larger than recommended for the size of yarn and be sure to experiment. I highly recommend hooks over at Furls Crochet.


Crochet Herringbone Stitch Notes
The chain 1 at the beginning of each row does not count as a stitch.
Hsc (herringbone single crochet): insert the hook through the vertical bar of the previous single crochet stitch, insert into the next stitch and pull up a loop, yarn over and pull through all three loops on the hook.
Reverse sc: bring the working yarn towards the front of your work insert the crochet hook into the first stitch from the back to the front (working in reverse), yarn over, pull up a loop to the back, yarn over and pull through both loops on the hook.
Reverse Hsc: insert the hook through the vertical strand on the backside of work from right to left, insert the hook into the next stitch from back to front (working in reverse), yarn over, pull up a loop to the back, yarn over and pull through all three loops on the hook.
Herringbone Crochet Stitch (HSC) Video Tutorial

How to Crochet Herringbone Stitch Fabric
This will create a flat fabric that is 15 stitches wide. The herringbone crochet stitch is a 2-row repeat.
Row 1 (RS):
Ch 16, sc in the second chain from hook (working in the back hump of the stitch), Hsc in each remaining stitch across, turn. (15 sts)
Row 2 (WS):
Ch 1, reverse sc in first, reverse Hsc in each remaining stitch across, turn. (15 sts)
Row 3:
Ch 1, sc the first stitch, Hsc in each stitch until the end, turn. (15 sts)
Repeat Rows 2 & 3 to continue creating the HSC fabric.
Joining the Herringbone (HSC) Flat Fabric Video:

Working in the Round for HSC:
To work the crochet herringbone stitch in the round, simply join and turn, following the same instructions as above.
How to Increase or Decrease HSC Stitch:
If you would like to increase the Hsc simply place the second Hsc into the same stitch, using the verticle strand of the first stitch.
When decreasing, first insert your hook into the vertical strand of the previous stitch, then complete a sc2tog and pulling through all the stitches on the hook to finish the decrease.
Come Make the Crochet Herringbone Stitch Basket!
Are you ready to create a home decor item with this stitch? Click on the image below or head on over to the Crochet Herringbone Basket Pattern.
Well, That Was Fun! What’s Next?