Enchanted Crochet Hat – Free Pattern
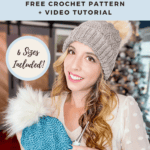
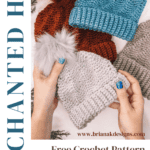
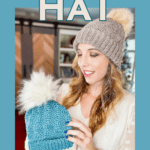
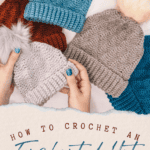
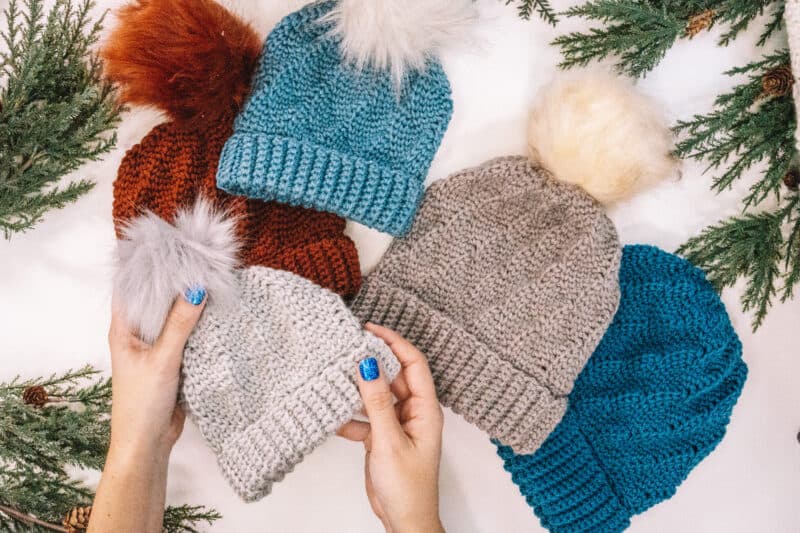
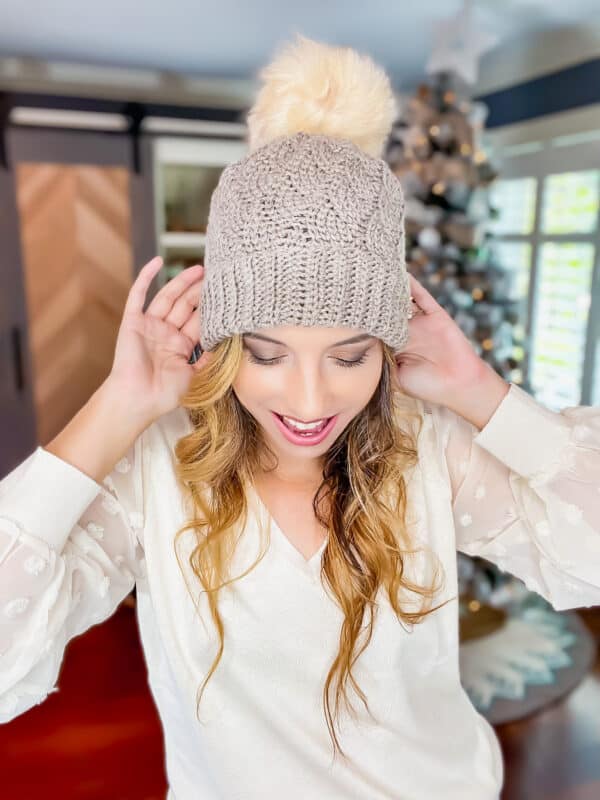
The Enchanted Crochet Hat has simple knit look-alike stitches that give it a mock cable. While you might be familiar with this stitch in knitting, I’ve managed to decode and replicate it effortlessly in crochet after numerous experiments. The way these stitches slant evokes the enchanting image of flowing ocean waves, inspiring the name of this hat. This pattern uses the same cable pattern used in other Magical Stitches designs like the Journey Under The Sea Crochet Bag, the Happily Ever After Clutch, and Cinderella’s Pumpkin. You can also whip up a coordinating Enchanted Poncho to complete your look!
Disclosure: This post contains affiliate links. Please read my disclosure for more info.
The Enchanted Hat is worked from the bottom up, starting with a simple ribbed brim. We will join the short edges of the brim and continue to work the rest of the hat in continuous rounds. To finish our hat, we’ll decrease the top, cinch it shut to close, and add a pompom (if desired). Simple and elegant! And if you like making bottom-up hats, try the Diamond Granny Stitch Hat, the Mellow Texture Cozy Beanie, and the Houndstooth Beanie!
The Ad-Free Magical Stitches Enchanted Crochet Hat pattern PDF is now available for purchase outside the Holiday Magical Stitches course on Ravelry & Etsy.
Are Crochet Hats Comfortable?
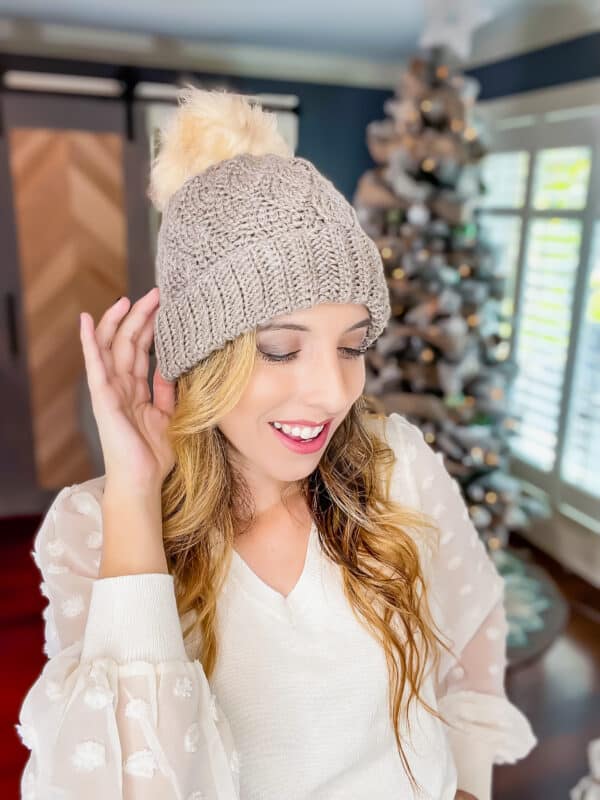
Crochet hats can be very comfortable to wear. Using the Magical Stitches and the WeCrochet Swish yarn in the design, this crochet hat has a cozy feel that can rival even the most expensive store-bought knitted hats. With careful construction and well-chosen materials, you can create a hat that fits perfectly and feels great! Plus, with this unique design option available can make a hat that’s as stylish as it is comfortable.
Want to see more magical stitch patterns? Check out the course.
*This course does not contain the Enchanted Hat Pattern.
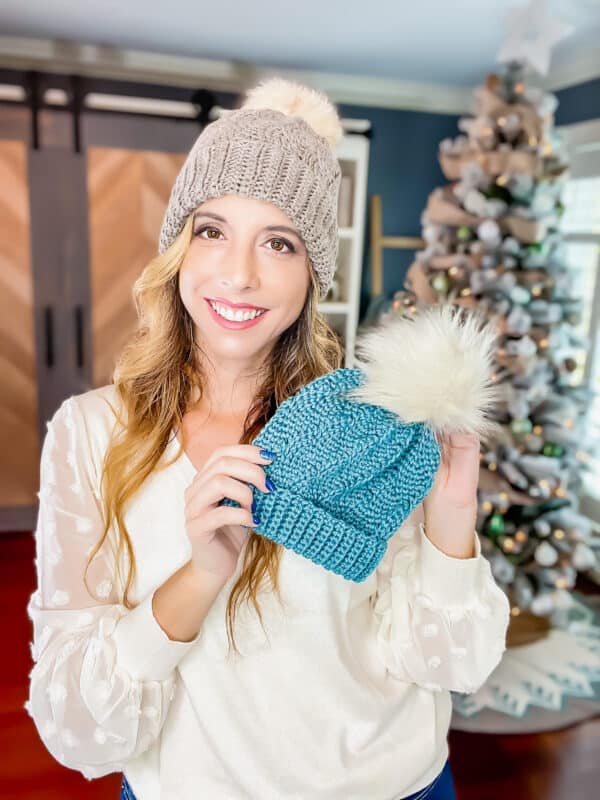
This enchanted hat is part of the Magical Crochet Stitches Course. And don’t worry, this is nothing tricky!
The Magical Crochet Stitches Course will teach you to:
- Go Beyond the Split Single Crochet Stitch.
- Create Mock Knit-Look Cables in Crochet.
- Confidently Steek Your Fabric & Block.
- Transform Fabric To New Levels.
- Strategic & Intentional Increasing & Decreasing.
- Enjoy Learning On Your Own Time.
What Makes This Crochet Hat Unique?
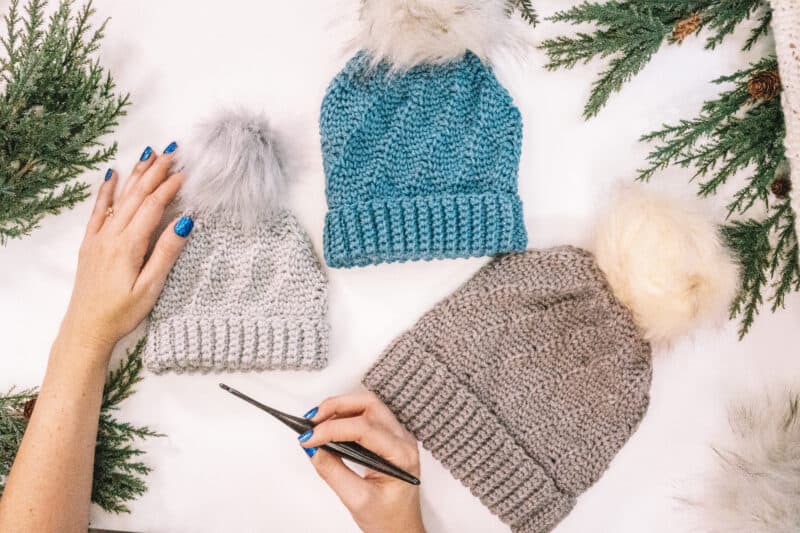
The Magical Stitches crochet hat is unique because of the stitch pattern. This particular stitch creates a texture like little waves, giving the hat an exciting look and feel. The WeCrochet Swish yarn has a beautiful blend of softness and warmth, making it perfect for this type of project. With its smooth sheen, this yarn adds to the unique look of the hat and adds subtle shimmering detail. Finally, this one-of-a-kind design provides a fun addition to any winter wardrobe!
Enchanted Hat Supplies:
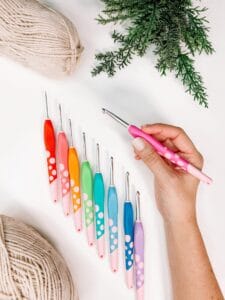
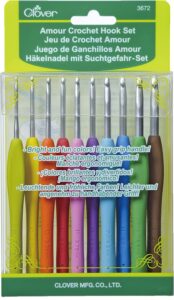
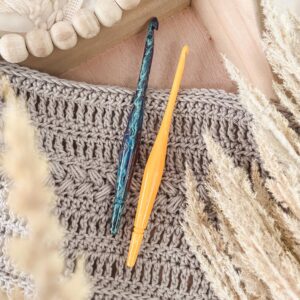
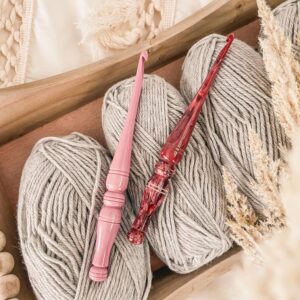
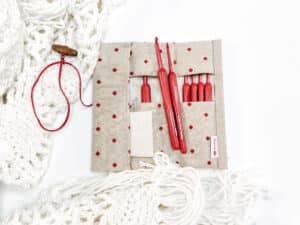
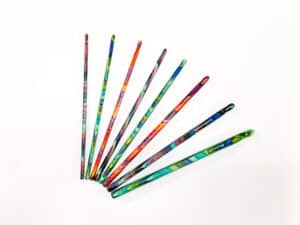
Crochet Hook:
Notions:
2 Removable stitch markers
Yarn needle to weave in ends
Scissors
Faux fur pompom
Yarn:
WeCrochet Swish
Worsted Weight, 100% Superwash
Merino Wool, 110 yds/100m, 50g
OR – this yarn can match gauge:
Mary Maxim Mellowspun DK
100% Acrylic, 284 yds/100g
Crochet Hat Yardage:
Newborn: 105 yds (1 skein)
Baby: 150 yds (2 skeins)
Toddler: 175 yds (2 skeins)
Child/Small Adult: 200 yds (2 skeins
Adult: 250 yds (3 skeins)
Large Adult: 275 yds (3 skeins)
Sizes:
To Fit Head Circumference:
Newborn: 13-14” (33-36 cm)
Baby: 16-17” (41-43 cm)
Toddler: 18-19” (46-48 cm)
Child: 20-21” (51-53 cm)
Adult: 22-23” (56-58 cm)
Large Adult: 24-25 (61-64 cm)
Abbreviations/Stitches:
blo – back loop only
ch – chain
rnd – round
sc – single crochet
ssc – split single crochet
sl st – slip stitch
st(s) – stitch(es)
Gauge:
Working a gauge swatch will let you know if you will have the correct sizing for this pattern. It will also help you practice the stitches used in this project and improve your stitch work for a flawless look.
Are you struggling to match the gauge? Check out the blog post on What is Crochet Gauge and How To Fix It
16 sts x 18 rows = 4×4 inches in established stitch pattern
Skill Level:
Intermediate
Enchanted Crochet Hat Notes:
The Enchanted Crochet Hat is worked from the bottom up. This has a simple 5-round repeat to create a unique fabric. The body of the hat is worked in continuous rounds and decreased at the top. This style of hat can also be made as a bun hat by stopping at Rnd 7 of the decrease and sc around an elastic in the last round. Sizes are written as newborn (baby, toddler) (child, adult, large adult)
I have included two styles of charts, one being a knitter-style chart for those who understand knit charts. The charts will be worked from right to left for each round and repeated until the end of the round.
The chain spaces count as 1 stitch, whether it’s a ch 2 or ch 1 space.
Subscribe & Like
Special Stitches:
Split Single Crochet (ssc): also known as the waistcoat stitch. This stitch is worked as single crochet but where the hook is inserted is the only difference. The hook will be inserted between the ‘V’ of the stitch.
Insert hook between the legs of the stitch (on the back of the work, the hook should be under the horizontal bar and between the upside-down ‘V’ shape as well), yarn over, pull up a loop to the height of a single crochet, yarn over, pull through both loops on hook. Keep your hands loose and comfortable. If your hands are starting to hurt, then the tension of the stitch is too tight. When entering the stitch, pull up the loop a bit more than you normally would; it will give the ‘V’ more space for the next round and make working the ssc comfortable. Video tutorial: https://brianakdesigns.com/split-single-crochet-round-flat/
Relax & Crochet
Upgrade to the Printable PDF
Beautifully formatted to print and relax while crocheting. The paid pattern includes:
Written Crochet Pattern Instructions & Videos
Ribbed Brim of Hat
With G (4.0mm) Hook
Row 1:
Ch 15 (17,19) (21, 23, 23), sc in the second chain from hook and in each across, turn. 14 (16, 18) (20, 22, 22) sts
Row 2:
Working in the blo, sc in each st across, turn.
Repeats:
Repeat Row 2 for a total of 54 (60, 66), (72, 78, 84) rows. Slip Stitch Row 1 with the current Row together by working through the blo of the current row and the loop from the first row.
The brim band should measure approx. 10 1/2 (13, 14) (16, 17 1/2, 19 1/2) inches wide by 3 (3 1/2, 3 3/4) (4, 4 1/2, 4 1/2) inches tall.
Working Around the Brim
Set Up: Working around one edge of the brim ribbing, loosely sl st one stitch per row, do not join, the rest of the pattern will be worked in continuous rnds. 54 (60, 66) (72, 78, 84) sts
Rnd 1:
In the blo, ssc in each stitch around. Please note: working these stitches as a ssc st where we pull the second loop up a bit higher, will create the correct style of stitch needed for the next rnd. 54 (60, 66) (72, 78, 84) sts
Body of the Enchanted Hat
With H (5.0mm) Hook
Rnd 4:
*Ch 2, sc in ch space, ssc in each of the next 3 sts, skip next st, ssc in next; repeat from * to * until the end of the rnd.
Rnd 5:
*Ch 2, sc in ch space, ssc in each of the next 4 sts, skip next st; repeat from * to * until the end of the rnd.
Repeats:
Repeat Rnds 1-5 for 2 (3, 3) (4, 4, 4) total repeats. Or 10 (15, 15) (20, 20, 20) total rnds.
Enchanted Hat Decreasing
Rnd 1:
*Ch 2, sc in ch space, skip the next 2 sts, ssc in next 3 sts; repeat from * to * until the end of the rnd. 45 (50, 55) (60, 65, 70) sts
Rnd 2:
*Ch 2, sc in ch space, ssc in next, skip next st, ssc in next 2 sts; repeat from * to * until the end of the rnd. 45 (50, 55) (60, 65, 70) sts
Rnd 3:
*Ch 1, skip the ch space, ssc in the next 2 sts, skip the next st, ssc in next; repeat from * to * until the end of the rnd. 36 (40, 44) (48, 52, 56) sts
Rnd 4:
*Ch 1, ssc in ch space, ssc in next 2, skip next; repeat from * to * until the end of the rnd.
Rnd 5:
*Ch 1, sc in ch space, skip the next, ssc in next 2; repeat from * to * until the end of the rnd.
Rnd 6:
*Ch 1, sc in ch space, ssc in next, skip the next 2 sts; repeat from * to * until the end of the rnd. 27 (30, 33) (36, 39, 42) sts
Rnd 7:
Ssc in each st around skipping the ch spaces. 18 (20, 22) (24, 26, 28) sts
Rnd 8:
Skip first st, ssc in next; repeat from * to * until the end of the rnd. 9 (10, 11) (12, 13, 14) sts
Rnd 9:
Ssc in each st around.
Closing the Top
Fasten off, leaving a 12-15 inch tail. With a yarn needle, weave through the front loop of every ssc stitch around the hat. Pull the opening closed and weave in the end.
Finishing
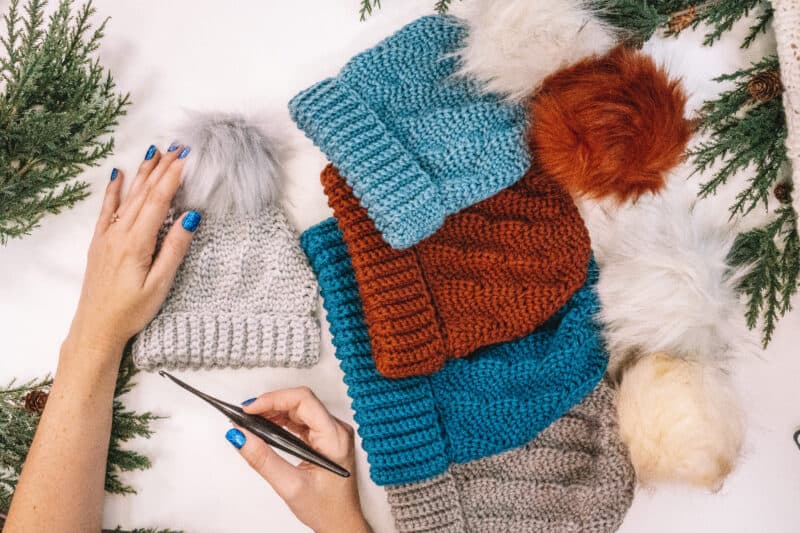
Fasten off and weave in ends. Attach a pompom to the top if desired and wear.
The Enchanted Crochet Hat is a crochet pattern perfect for crocheters at all skill levels who want to make something special that they can wear proudly.
Not only will you create a beautiful hat, but you’ll also learn valuable skills that can be applied to other projects! Happy Crocheting!
You can now buy a bundle of all the patterns from
the Magical Stitches Course on Etsy, Click here!
- Swirls on the Water Crochet Bag
- If The Slipper Fits Crochet Floor Pouf
- Cinderella’s Knit-Look Crochet Pumpkin Pattern
- Happily Ever After Crochet Clutch Pattern
- Journey Under The Sea Crochet Bag
- All Cabled Up In Sunshine Socks
- Royal Antler Crochet Mock Cable Bag
- Enchanted Crochet Hat
Well That Was Fun! What’s Next?
📌 PIN THIS POST – Don’t lose this project; save it to your Pinterest crochet board so you can quickly come back to it again.
💌 SHARE – Share your yarn choice, in-progress, or finished projects on Facebook or Instagram and use the hashtag #brianakdesigns
🥂 JOIN – Join the kindest crafters in the Briana K Designs Community Group on Facebook. We love yarny friends!
🔗 RAVELRY LINK -Link and share your project on Ravelry. Having inspirational photos can help crafters.
