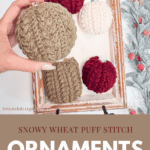
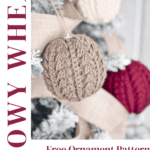
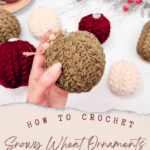
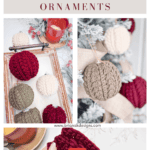
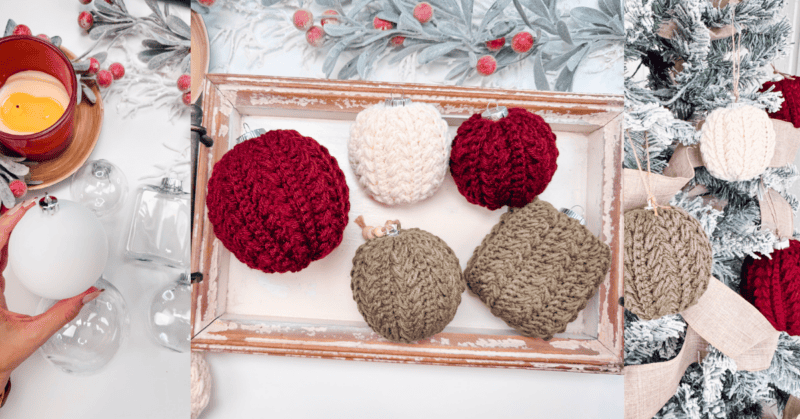
Snowy Wheat Crochet Ornament
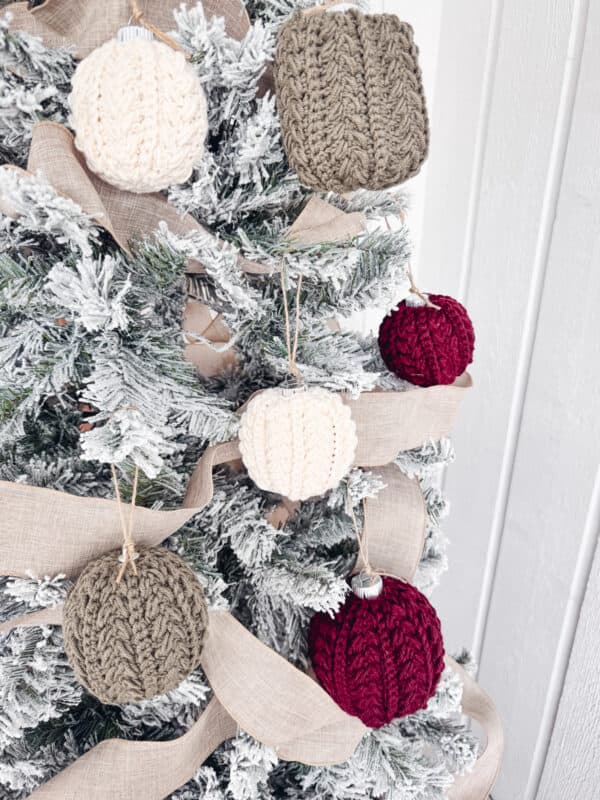
The Snowy Wheat Crochet Ornament is a perfect blend of creativity and heartwarming charm! If you’re looking for a delightful crochet project that’s as fun to make as it is beautiful, this bauble is for you! Add extra color and charm to your tree with coordinating Autumn Wheat Baubles or Granny All the Way Ornaments! You might also love the Festive Wheat Stocking - the delicate puff stitches really pop!
Disclosure: This post contains affiliate links. Please read my disclosure for more info.
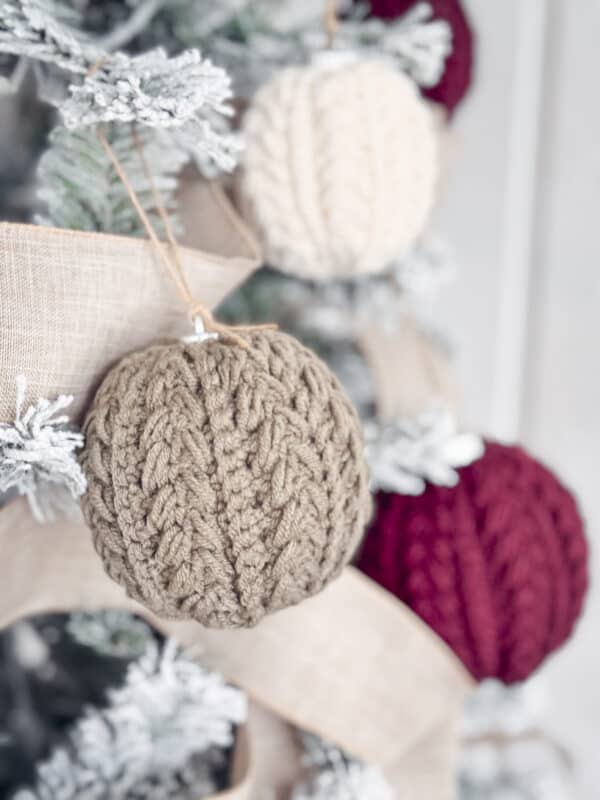
With its soft, textured puff Wheat Stitches, this ornament brings cozy charm to any tree or garland. Each ornament is worked as a flat piece in rows, then seamed to create the ornament cover. Even beginners can whip these up quickly, making them a fantastic option for handmade gifts straight from the heart.
Crochet Supplies
Yarn
Lion Brand Color Theory
100% Acrylic Worsted, 246yds/100g
Or
Brava Worsted
100% Premium Acrylic, 218yds/100g
Yarn Quantities
Approximately 40-75 yds total per ornament.
Yarn Substitutions
Mighty Stitch
80% Acrylic, 20% Superwash Wool; 208yds/100g
Swish DK
100% Fine Superwash Merino Wool 110yds/50g
Heatherly Sport
80% Acrylic, 20% Merino Wool, 328yds/100g
Remember always to check the gauge and drape when substituting yarns.
Size US G+/7 (4.5mm) Crochet Hook or hook to obtain gauge.
Notions
Scissors
Yarn Needle
Removable Stitch Marker
Flattened Round: 3.15 in
Small Round: 2.36 in
Medium Round: 3.15 in
Large Round: 3.94 in
Square Shape: 3.94 in
Skill Level
Advanced Beginner
What you'll love about this pattern.
🩶 Easy-Peasy - This ornament works up quickly and is a great way to use up your leftover balls of yarn!
🩶 Simple Stitch Repeat - The beautiful puff stitches and back loop single crochets are worked in a simple and easy-to-remember stitch pattern. Once you start making these, you won't want to stop!
🩶 Customizable - Add tassels, beads, bells, or any other festive embellishment to make these ornaments your own.
Size Varies
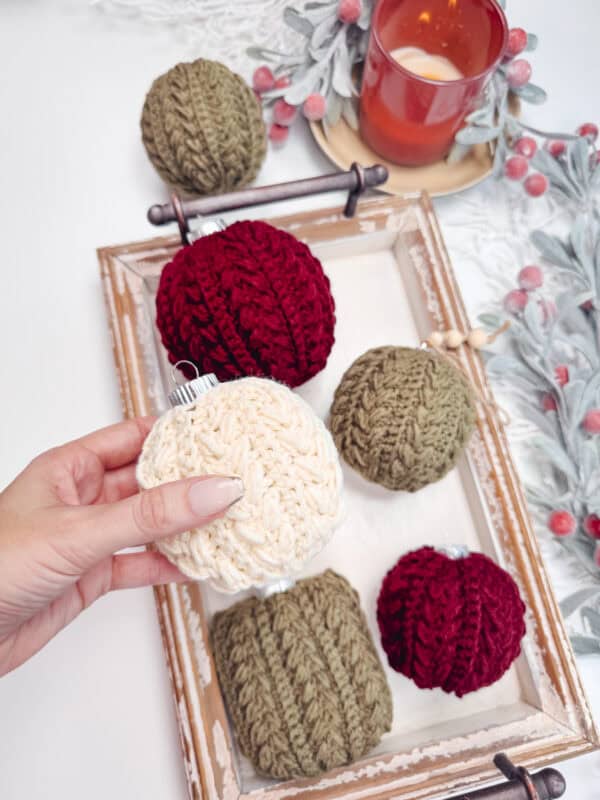
Pattern includes directions for five different ornament diameters - ornaments will vary.
Abbreviations
blo - back loop only
ch - chain
sc - single crochet
sl st - slip stitch
st(s) - stitch(es)
WS - wrong side
Gauge
17 sts and 12 rows = 4" by 4" in st pattern, unblocked.
How to Crochet A Gauge Swatch
Working a gauge swatch will let you know if you will have the correct sizing for this pattern. It will also help you practice the stitches used in this project and improve your stitch work for a flawless look.
Are you struggling to match the gauge? Check out the blog post on What is Crochet Gauge and How To Fix It
Construction
These irresistible ornaments are incredibly quick and easy to create and will bring joy and cheer to your holiday season! First, we will create a textured fabric by crocheting back and forth in rows. Then, we will join our edges to form a tube, insert an ornament, and cinch the bottom and top shut.
For more decorating magic, add a few coordinating Granny Hexagon Stockings and Ornaments, Macchiato Wreaths, or some holiday-colored Wheat Stitch Nesting Baskets!
Special Stitches
Puff Stitch: Yarn over and insert your hook into the stitch/space. Yarn over again and pull up a long loop. Yarn over and insert your hook into the same stitch/space. Yarn over again and pull up a long loop (5 loops on the hook). Yarn over and pull through the first 4 loops, yarn over and pull through remaining loops.
Pattern Notes
- Sizes are written as Flattened Round (Small Round, Medium Round, Large Round, Square Shape).
- A ch 1 at the beginning of a row is not counted as a stitch.
- Using a stitch marker at the beginning of each row is recommended.
- Work the first row of stitches in the back humps of the starting chain.
Subscribe & Like
Video Tutorial for the Snowy Wheat Ornament
Relax & Crochet
Upgrade to the Printable PDF
Beautifully formatted to print and relax while holiday crocheting. The paid pattern includes:
The Ad-Free PDF can be purchased on Etsy or Ravelry.

Click the box below to unlock this exclusive subscriber content for free. Add your email and create a password. If you are having trouble, reset your password or login to the Grow Portal.
I'm thrilled to share this amazing crochet pattern with you! Please don't copy, paste, or distribute this pattern. Prefer an ad-free experience? Purchase a digital PDF file for a small fee from one of my online stores. I appreciate your support and readership. You are why I can keep doing what I love and sharing it with others. Thank you from the bottom of my heart.
Written Crochet Pattern Instructions
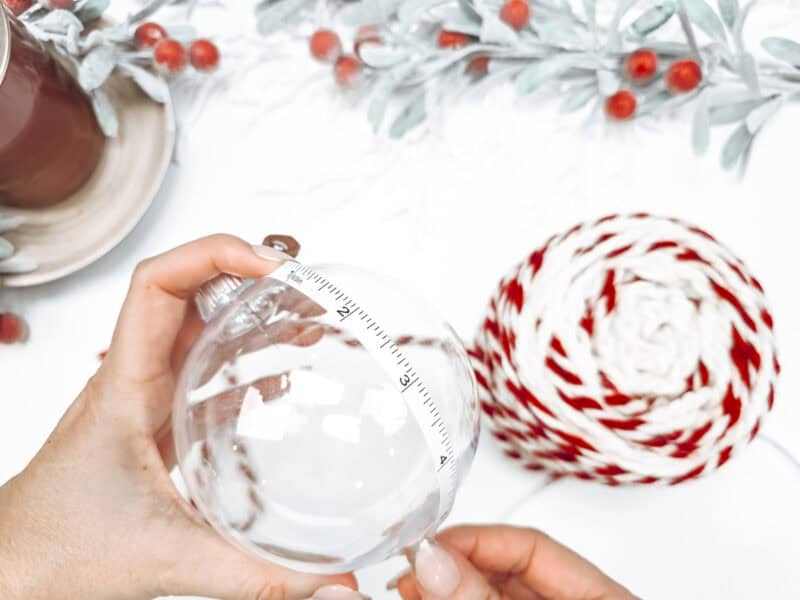
Check the final measurement of the crochet piece by wrapping it around the ornament, add or remove rows as needed.
Join The Kindest Community
Join our vibrant community of crafters on Facebook today. Whether you enjoy crafting with others or simply have burning questions, we've got you covered - join us now!
Seaming
With WS facing out, fold the fabric to make the seam (the first row with the last row worked).
Insert your hook through the first stitch closest to you and in the stitch of the side farthest from you. Yarn over and sl st to join. Continue working down the row until all sts are joined.
Fasten off leaving a long tail. You will weave this tail end to the other end of the fabric tube, so give yourself plenty of length.
Now flip your ornament fabric so the RS is facing out.
Subscribe to my youtube channel
Finishing
Using the long tail and your yarn needle, loop through each point (every two rows) of the ornament bottom around and cinch. Place your ornament inside, weave the tail to the top, and repeat to close the fabric. Fasten off any ends, and add twine and beads if desired.
Hang on your tree or gift to a loved one!
Create a show-stopping holiday centerpiece by filling a basket with some Snowy Wheat Ornaments to perfectly complement a gorgeous table cover, like the Falalalala Table Runner! Arrange the ornaments with a few sprigs of greenery, fairy lights, and maybe even a few adorable Amigurumi Deer Dolls, and you’ll have a centerpiece that feels straight out of a winter wonderland.
It’s a quick and easy way to tie your holiday décor together, adding warmth and joy to your gatherings and wowing your guests with your festive creativity!
Cheers, and happy crocheting!
Get the Ad-free PDF for the Any Yarn + Any Ornament Sizing Guide.
Well That Was Fun! What's Next?
📌 PIN THIS POST - Don't lose this project; save it to your Pinterest crochet board so you can quickly come back to it again.
💌 SHARE - Share your yarn choice, in-progress, or finished projects on Facebook or Instagram and use the hashtag #brianakdesigns
🥂 JOIN - Join the kindest crafters in the Briana K Designs Community Group on Facebook. We love yarny friends!
🔗 RAVELRY LINK -Link and share your project on Ravelry. Having inspirational photos can help crafters.
