How to Knit Cable Stitches
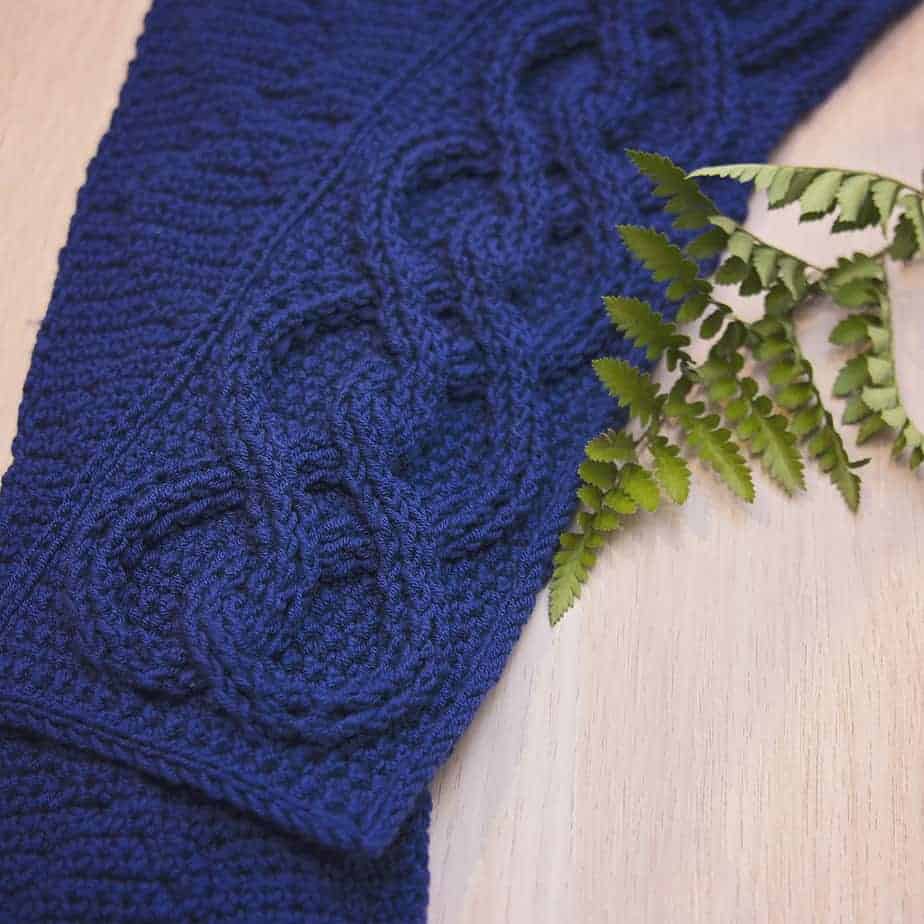
Knit cable stitches are my passion! I love how much they transform a knit piece with some simple stitch manipulations. In this post, we will learn a variety of ways on how to knit cable stitches.

Disclosure: This post contains affiliate links. Please read my disclosure for more info.
Cable Stitches In This Post
Some Cable Tips
- Cable Without A Cable Needle
- How to Count Rows When Cabling
Supplies
Knit Right Cross (RC) and Left Cross (LC)
Right Cross:
Step 1:
Slip the next stitch to a cable needle and hold in back.
Step 2:
Knit the next stitch.
Step 3:
Knit the stitch from the cable needle.
Left Cross:
Step 1:
Slip the next stitch to a cable needle and hold in front.
Step 2:
Knit the next stitch.
Step 3:
Knit the stitch from the cable needle.
⅓ Left and Right Cross:
⅓ Left Cross:
Step 1:
Slip next stitch to a cable needle, and hold in front of your work.
Step 2:
Knit three stitches from the left needle.
Step 3:
Knit one stitch from the cable needle.
⅓ Right Cross:
Step 1:
Slip the next 3 stitch to a cable needle, and hold in back of your work.
Step 2:
Knit one stitch from the left needle.
Step 3:
Knit the three stitches from the cable needle.
Cable Tips
Cable Without A Cable Needle
Counting Rows Between Cable Crossovers
I hope you enjoyed this tutorial. Check out my other knit tutorials for even more knitting tips and methods.
Well That Was Fun! What's Next?
📌 PIN THIS POST - Don't lose this project; save it to your Pinterest crochet board so you can quickly come back to it again.
💌 SHARE - Share your yarn choice, in-progress, or finished projects on Facebook or Instagram and use the hashtag #brianakdesigns
🥂 JOIN - Join the kindest crafters in the Briana K Designs Community Group on Facebook. We love yarny friends!
🔗 RAVELRY LINK -Link and share your project on Ravelry. Having inspirational photos can help crafters.

