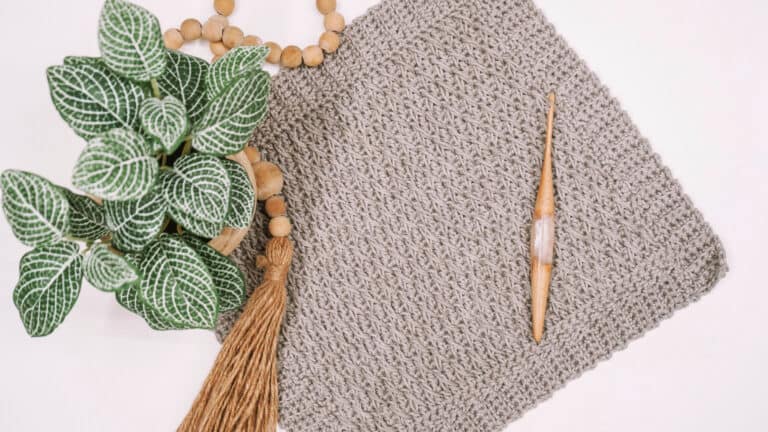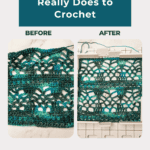
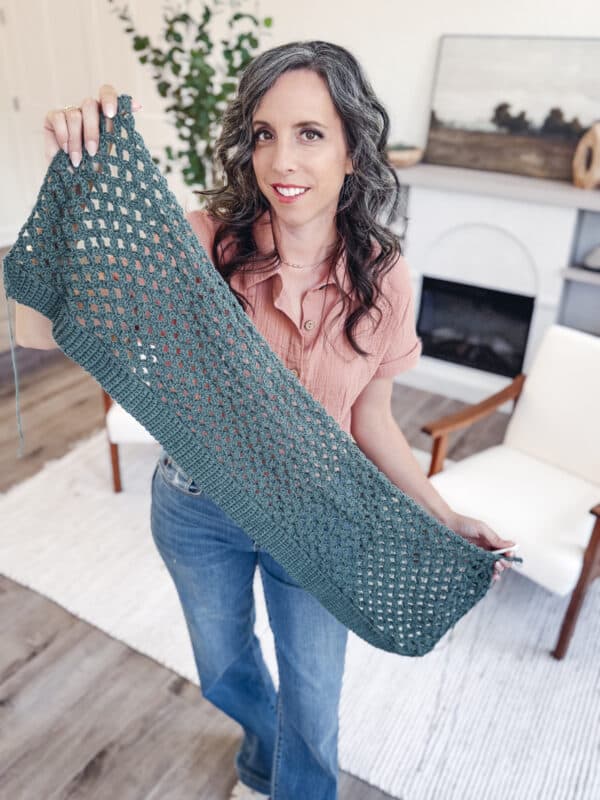
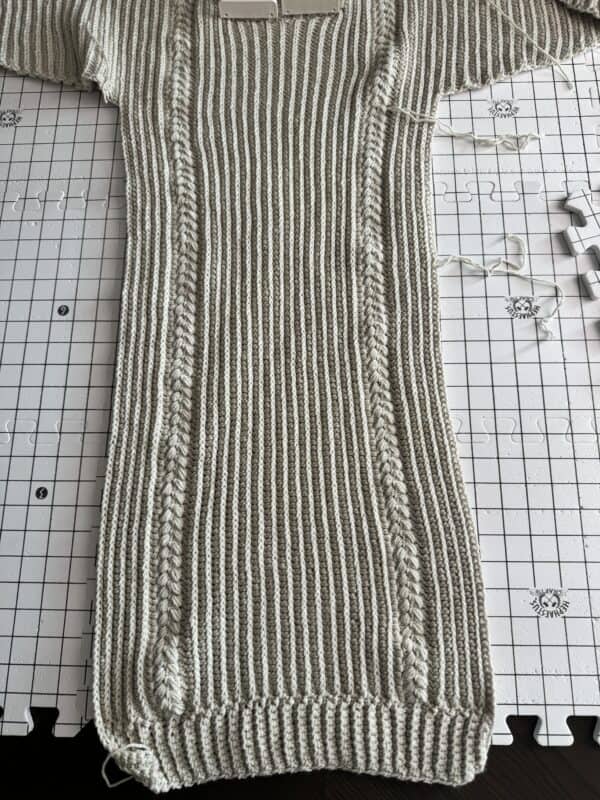
Blocking is one of those finishing steps that can feel like extra effort — until you see what it actually does to your work. I’ve used it on everything from delicate lace shawls like the Willow Mesh Wrap to chunkier garments like the Granny Square Cardigan, and the difference between a blocked and unblocked piece is never subtle. Stitches even out, edges relax, and the whole thing just looks intentional. If you’ve been skipping it, this guide will change that.
In this post, I’m walking you through every blocking method I actually use — wet, steam, and spray — which fibers they work best on, the tools you really need, and when it’s honestly okay to skip it altogether. Whether you’re finishing your first shawl or you’ve got a stack of granny squares waiting to be joined, there’s a method here that’ll work for you.
Disclosure: This post contains affiliate links. Please read my disclosure for more info.
What Is Blocking in Crochet?
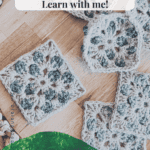
In this beginner-friendly tutorial, we’ll walk through everything you need to know about blocking crochet (and knitting) projects — what it is, why it matters, how to do it, and the tools you’ll need to get started. Whether you’re working with wool, cotton, or acrylic, I’ve broken blocking down by method (wet, steam, and spray) so you can choose what works best for your yarn and project. And of course, I’ve added in some of my favorite tips and tricks to help you block with confidence.

Why should you block your crochet projects?
✔️ Transforms your work – enhances stitch definition and textures.
✔️ Opens up lace or mesh stitch patterns.
✔️ Improves fit and shape – helps pieces meet the correct dimensions for seaming or wearing.
✔️ Adds drape and softness – relaxing the yarn creates a cozy feel.
✔️ Elevates the finished project – makes projects look neat, tidy, and shop-worthy.
Blocking Supplies
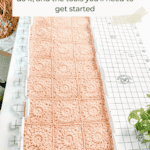
You don’t need a lot to get started with wet blocking, steam blocking, or spray blocking — just a few essential tools will do:
- Blocking mats or a thick towel – to lay your project flat and pin it in place
- Wooden Blocking Board – perfect for small motifs like granny squares
- Rust-proof blocking pins or blocking wires – for securing the shape while it dries
- Spray bottle for water or a steamer – for dampening your project, depending on the method you choose
- Measuring tape – to make sure your piece matches your intended dimensions
- Wool wash – for soaking your project in
What If I Don’t Have Blocking Mats?
You don’t need to buy anything to start blocking. If you’ve never blocked a project before and you’re not sure how much you’ll use it, here’s what works perfectly well with things you likely already have at home.
A thick towel laid flat on a bed or carpet is the most common substitute. You can pin directly into the towel, and the surface underneath will hold the pins just fine. Lay it on a surface you don’t mind leaving undisturbed for several hours while the piece dries.
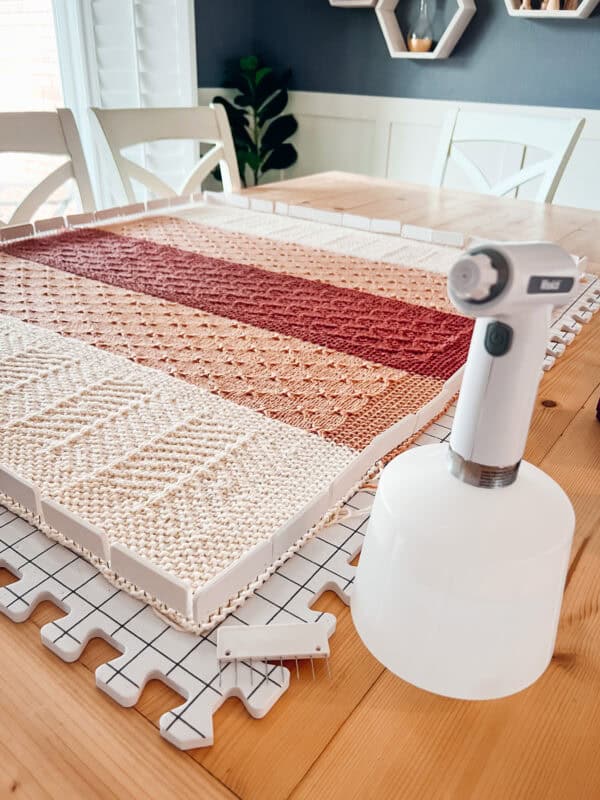
Foam floor tiles — the interlocking kind sold at hardware stores for garage or workshop flooring — are a popular budget alternative and honestly work just as well as purpose-made blocking mats. They’re cheap, they come in large sets, and they have enough give to hold a pin securely. If you end up blocking regularly, these are worth picking up before investing in dedicated mats.
A yoga mat works for smaller projects like granny squares, motifs, or accessories. It won’t give you the grid lines that make sizing consistent across multiple squares, but for a single piece that just needs to be pinned flat, it does the job.
Once you know blocking will be a regular part of your finishing process — and it will be — the blocking mats and blocking pins are worth having. The grid lines make it significantly easier to pin motifs to consistent dimensions, and rust-proof pins won’t leave marks on your yarn. But they’re not where you need to start.
Different Methods for Blocking Crochet
There are three main ways to block your crochet or knitting projects: wet blocking, steam blocking, and spray blocking. Wet blocking means soaking your project in water, gently drying it, and pinning it in place to dry flat — it works best for natural fibres like wool or cotton. Steam blocking uses steam from an iron or steamer to shape your project without getting it fully wet, and it’s great for acrylic yarns. Spray blocking is the easiest method — just lightly spray your project with water, pin it to shape, and let it dry. No matter which method you use, blocking helps your stitches look neater, your edges smoother, and your project more finished and professional.
Blocking Crochet FAQ
🧶 Is blocking crochet permanent?
It depends on the fiber. For wool and most natural animal fibers, blocking is largely permanent — the fibers relax and set in place as they dry, and the shape holds through normal wear and gentle washing. Cotton and linen will hold their blocked shape reasonably well but may need a light re-block after washing, especially if the piece goes through a machine wash cycle. Acrylic is the interesting one: a light steam block is not permanent and can be repeated, but if you’ve killed the acrylic with too much heat, that change is permanent and can’t be reversed. The general rule is that the more heat and moisture involved in the blocking process, the more permanent the result.
🧶 Can you block crochet with a hair dryer?
You can, but it’s not ideal, and you need to be careful. A hair dryer on a low heat setting can speed up drying time after spray or wet blocking, and it can work as a very light steam alternative for small areas that just need a gentle nudge into shape. The problem is that hair dryers concentrate heat in one spot, which makes it easy to overheat acrylic fibers or cause uneven drying in natural fibers. If you use one, keep it moving constantly, use the lowest heat setting, and hold it several inches away from the surface. For anything delicate or a project you’ve put serious time into, skip the hair dryer and let it air dry properly.
🧶 Do I need to block crochet after every wash?
Usually not, but it depends on the fiber and how the piece was washed. Wool and natural fibers that are hand-washed gently will generally hold their blocked shape and just need to be laid flat to dry in the correct dimensions — no re-pinning required. If a piece goes through a machine wash cycle or gets handled roughly while wet, it may need a light re-block to get it back into shape. Cotton pieces that are machine-washed regularly will benefit from an occasional re-block, especially garments where fit matters. The easiest habit is to always dry your blocked pieces flat rather than in a dryer, which preserves the shape between washes without requiring a full re-block every time.
🧶 What do I do if I blocked my project and it’s the wrong size?
If it’s too small, you may be able to rewet it and re-pin it stretched to larger dimensions — natural fibers like wool have more give and can often be coaxed to a larger size with a second wet block. If it’s too big, that’s harder to fix, but wetting it again and allowing it to relax without pinning will let it contract somewhat toward its natural size. Acrylic is the most forgiving for small adjustments since a light steam block isn’t permanent, but if you’ve killed the acrylic, the change can’t be undone. The best prevention is always to measure as you pin — keep a tape measure on your blocking mat and check dimensions before the piece dries, because adjustments are easy while it’s still wet and impossible once it’s set.
🧶 Can you block cotton crochet the same way as wool?
Yes and no. Cotton can be wet blocked just like wool, and it responds well to moisture — soaking it fully and pinning it out works perfectly well for getting cotton pieces to hold their shape and measurements. The difference is that cotton doesn’t have the same memory as wool, so the results aren’t quite as dramatic or long-lasting. Cotton also takes longer to dry than wool because it holds onto moisture more stubbornly. Steam blocking works on cotton, too, though wet blocking tends to give better results for pieces that need significant reshaping. The one thing you don’t have to worry about with cotton that you do with wool is felting — cotton won’t felt, no matter what you do to it, so you can be a little less precious about the soaking and squeezing steps.
🧶 Can you block crochet without blocking mats?
Absolutely. Blocking mats are convenient, and the grid lines are genuinely useful for keeping squares and motifs consistent, but they’re not required. A thick towel laid flat on a bed or carpet works well for most projects — you can pin directly into the towel and the surface underneath. Foam floor tiles, the kind you find at hardware stores for workshop flooring, are a popular budget alternative and work just as well as purpose-made blocking mats. A yoga mat works for smaller pieces. The only real requirement is a surface that’s flat, can get damp without being damaged, and will hold a pin. Whatever you have that meets those three criteria will get the job done.
Get the PDF
In the Circle Leaf Collection
Beautifully formatted to print and relax while crocheting. The paid pattern includes:
The Collection can be purchased on Etsy or Ravelry.
How to Block Crochet: Step-by-Step Guide
How to Wet Block
Wet blocking is a finishing technique where you soak your crochet project in cool water, gently press out the excess (NEVER wring!), and pin it to shape as it dries.
Use for:
Wool, alpaca, cotton, and other animal/plant fibers
Avoid for:
Acrylic (unless you’re killing the acrylic—more on that below)
Step-by-Step Wet Blocking Instructions:
Tips for Wet Blocking
Join The Kindest Community
Join our vibrant community of crafters on Facebook today. Whether you enjoy crafting with others or simply have burning questions, we’ve got you covered – join us now!
Steam Blocking
Steam blocking uses steam from an iron or steamer to relax fibers and shape your crochet (or knit) project without soaking it.
Use for:
Acrylic, blends, or fabric that doesn’t like soaking
Avoid for:
Delicate natural fibers that felt easily
Step-by-Step Steam Blocking Instructions:
Tips for Steam Blocking
Spray Blocking
Spray blocking is a gentle method where you mist your finished project with water and pin it in place to dry.
Use for:
Acrylic, blends, or fabric that doesn’t like soaking
Avoid for:
Projects that need major reshaping or dimension changes
Step-by-Step Spray Blocking Instructions:
Tips for Spray Blocking
Check Your Yarn Label Before You Block
Before you choose a blocking method, check the yarn label. This sounds obvious, but it’s easy to skip — especially if you’ve already wound the yarn and tossed the label. The care symbols on a yarn label will tell you exactly how much heat and moisture the fiber can handle, which is the most important information you need before you start.
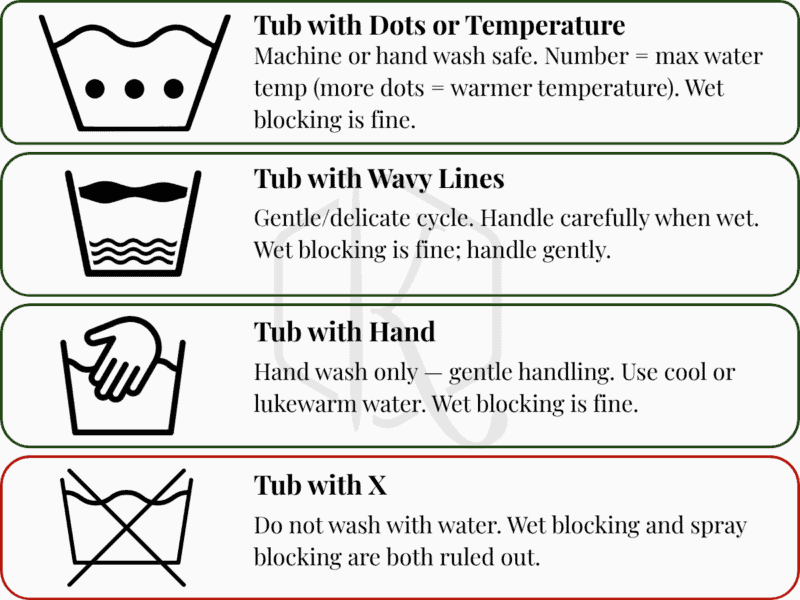
Commonly used symbols for washing:
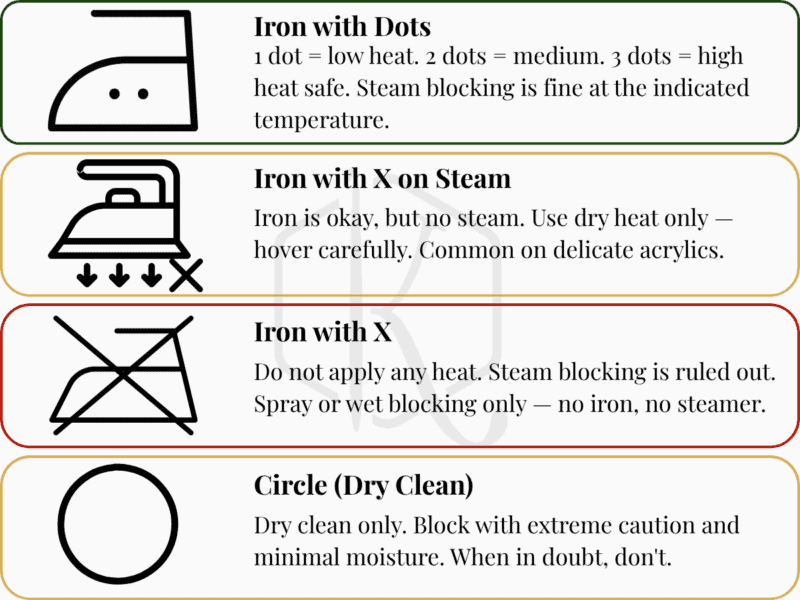
Commonly used symbols for ironing/applying heat:
A tub of water indicates the piece can be wet-blocked. A number inside the tub is the maximum water temperature — stay at or below it. A tub with an X through it means no water at all, which rules out wet and spray blocking entirely.
An iron symbol means steam or heat is safe. A number of dots inside the iron indicates the temperature range — one dot is low heat, two is medium, three is high. An iron with an X through it means no heat, which rules out steam blocking.
A circle means the piece is dry-clean only — block with extreme caution and minimal moisture, if at all.
If you’ve lost the label, look up the yarn online. Most brands publish care instructions on their websites, and it takes less than a minute to find them. It’s worth the check before you commit to a method — especially with a project you’ve spent real time on.
How Long Does Blocking Crochet Take to Dry?
The honest answer is: it depends on the method, the fiber, and where you live. But here are the rough ranges to plan around so you’re not unpinning too early and undoing all your work.
Wet blocking: 8 to 24 hours
Wet blocking takes the longest because the project is fully saturated and needs to dry completely before you unpin it. A lightweight cotton dishcloth might be dry in 8 hours. A chunky wool sweater could take the full 24, sometimes longer. Don’t rush it — unpinning while the center of the fabric is still damp means the piece will relax out of shape as the moisture works its way out.
Spray blocking: 4 to 8 hours
Spray blocking dries faster because you’re only introducing surface moisture, not soaking the fiber through. Most lightweight projects will be ready in 4 to 6 hours. Heavier pieces or thicker yarns will be closer to 8. The same rule applies — wait until it’s completely dry before you unpin.
Steam blocking: 1 to 2 hours
Steam blocking has the shortest dry time because it uses heat rather than soaking the fiber in water. The piece needs time to cool and set completely — usually 1 to 2 hours, depending on the yarn’s weight. Don’t unpin while it’s still warm. The fibers are still setting as they cool, so what the piece looks like when it’s warm isn’t necessarily what it’ll look like once it’s fully cooled and set.
What affects drying time
A few things will push your drying time toward the longer end of these ranges:
Humidity is the biggest factor. If you’re blocking in a humid environment — or during a Florida summer — your pieces will take significantly longer to dry than the same project blocked in a dry climate in the middle of winter. If you’re in a humid area and wet blocking regularly, a fan nearby can help move air across the surface and speed things up without adding heat.
Fiber weight matters too. A fingering-weight lace shawl and a bulky-yarn blanket are not going to dry on the same timeline, even when using the same method. The more yarn there is, and the thicker it is, the longer drying takes.
Season and air temperature also play a role. Blocking in a warm room in summer is faster than blocking in a cool room in winter. If you need a project done quickly, choose a warm, dry spot in your home and give it as much airflow as possible.
The safest approach, regardless of method: block the night before you need it. Give it the full drying window without watching the clock, and it’ll be ready when you come back to it.
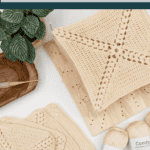
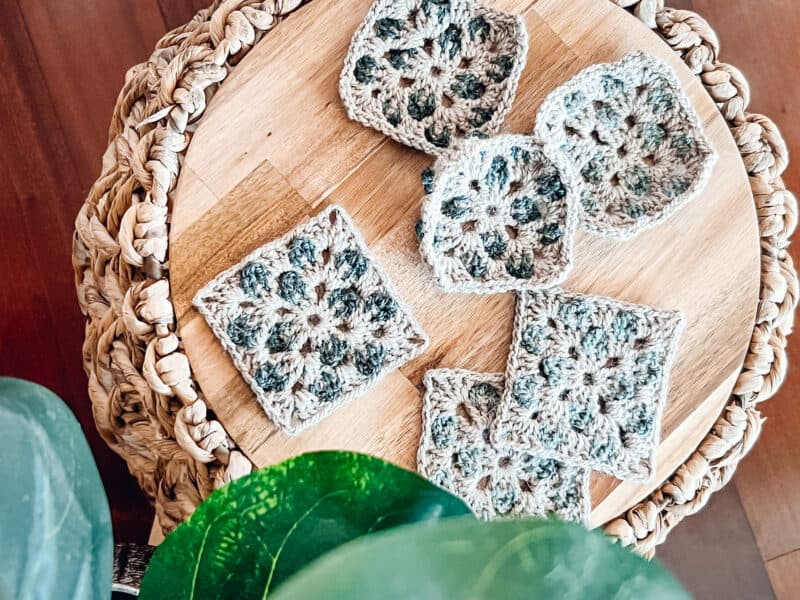
How to Block Crochet Granny Squares (Before You Join Them)
If you’ve ever finished a granny square project and noticed the joins look uneven or the finished piece sits a little wonky, there’s a good chance the squares weren’t blocked before seaming. Blocking your motifs before you join them is one of those steps that feels fussy until you see the difference — and then it becomes non-negotiable.
The goal is simple: get every square to the exact same dimensions before a single join occurs. When all your motifs are the same size and shape going in, the seaming is easier, the joins lie flatter, and the finished piece looks like the squares were made for each other. Which they were — they just needed to be blocked to prove it.
Spray blocking is the right method for motifs
For individual granny squares, spray blocking is usually all you need. You don’t have to soak them — just lay each square flat on your blocking mat, pin it to shape, mist it evenly with water until it’s damp but not dripping, and let it dry completely before unpinning. The spray method gives you enough moisture to relax the fibers and set the shape without the drying time of a full wet block.
If you’re working with wool or another natural fiber that really needs reshaping, wet blocking individual squares works just as well — soak, gently squeeze, pin, then dry. But for most cotton and acrylic motifs, the spray method is faster and gets the same result.
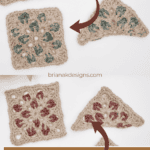
Use a blocking board to keep sizing consistent
The key to blocking granny squares is consistency, not just shape. Every square needs to come out the same size, which means pinning each one to the same dimensions on a gridded blocking board. Measure the first square, note the dimensions, and use those exact measurements for every square that follows. Pin the corners first, then the sides, checking against the grid as you go.
This is where a blocking board earns its place. The grid lines make it easy to verify that each square is the same width and height without measuring every single one by hand. If you’re working on a large project with dozens of motifs, this step will save you a significant amount of frustration at the seaming stage.
Why it makes such a difference for joining
When you seam unblocked squares, you’re constantly compensating — easing in extra fabric here, stretching a short edge there. The joins end up carrying all the tension that blocking would have resolved, and that shows in the finished piece. Blocked squares seem almost effortless by comparison because every edge is already where it’s supposed to be.
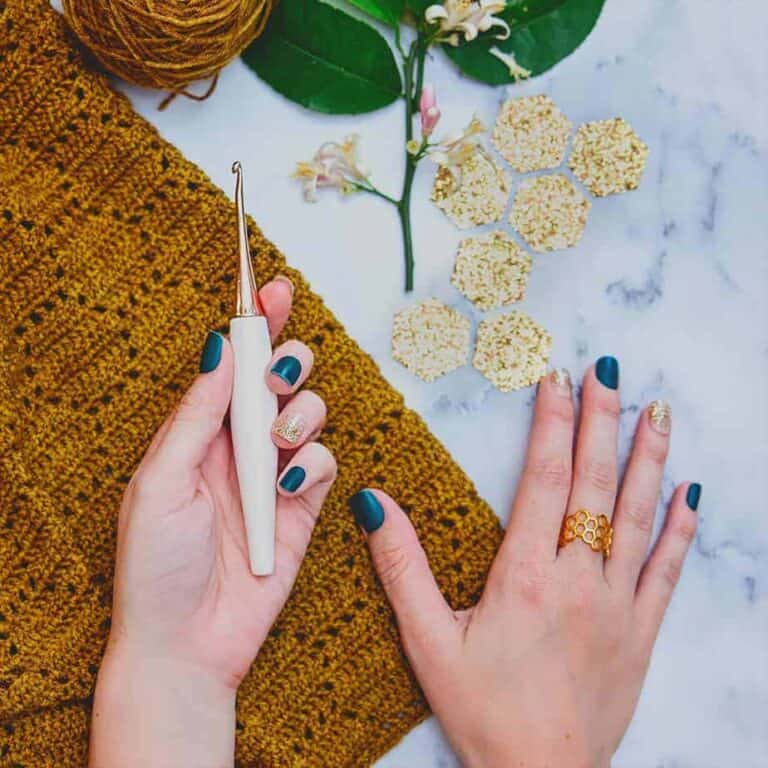
The [Hexagon Granny Square Bag] is a good example of why this matters. A bag needs structure — the sides have to be even, the base has to sit flat, and the joins have to be clean enough for the bag to hold its shape in use. Blocking each hexagon before joining is what makes that possible. Skip it, and the bag will always look a little soft around the edges, no matter how careful your seaming is.
How to Block Acrylic Yarn (the Right Way — Without Ruining It)
Acrylic yarn doesn’t block the same way natural fibers do, and if you treat it like wool, you’re going to have a bad time. Soaking acrylic in water doesn’t relax the fibers the way it does with cotton or merino — the fiber is synthetic, so moisture alone won’t reshape it. What actually works on acrylic is heat, which means steam blocking is your method.
The rule with acrylic and steam is simple: hover, never press. Hold your iron or steamer about an inch above the surface and let the steam do the work. The moment a hot iron touches acrylic directly, you’ve melted the fibers — and that’s permanent. The fabric will go limp, lose its stitch definition, and there’s no coming back from it.
What “killing” acrylic actually means
You’ll hear crocheters talk about “killing” acrylic, and it sounds alarming, but it’s actually a technique — when it’s done on purpose. Killing acrylic means intentionally applying enough heat to permanently relax and flatten the fibers, which gives the finished piece a softer, drapier feel. For a garment or a market bag where you want drape, that can be exactly what you’re going for. For a structured piece where you need the fabric to hold its shape, it’s a disaster.
The difference between a good steam block and accidentally killing your acrylic is mostly a matter of distance and time. Keep the steamer moving, stay at least an inch away, and check the fabric frequently. If it starts to feel limp or look flattened while it’s still warm, stop. Let it cool completely before you unpin it — acrylic sets as it cools, so what it looks like warm is not what it’ll look like dry.
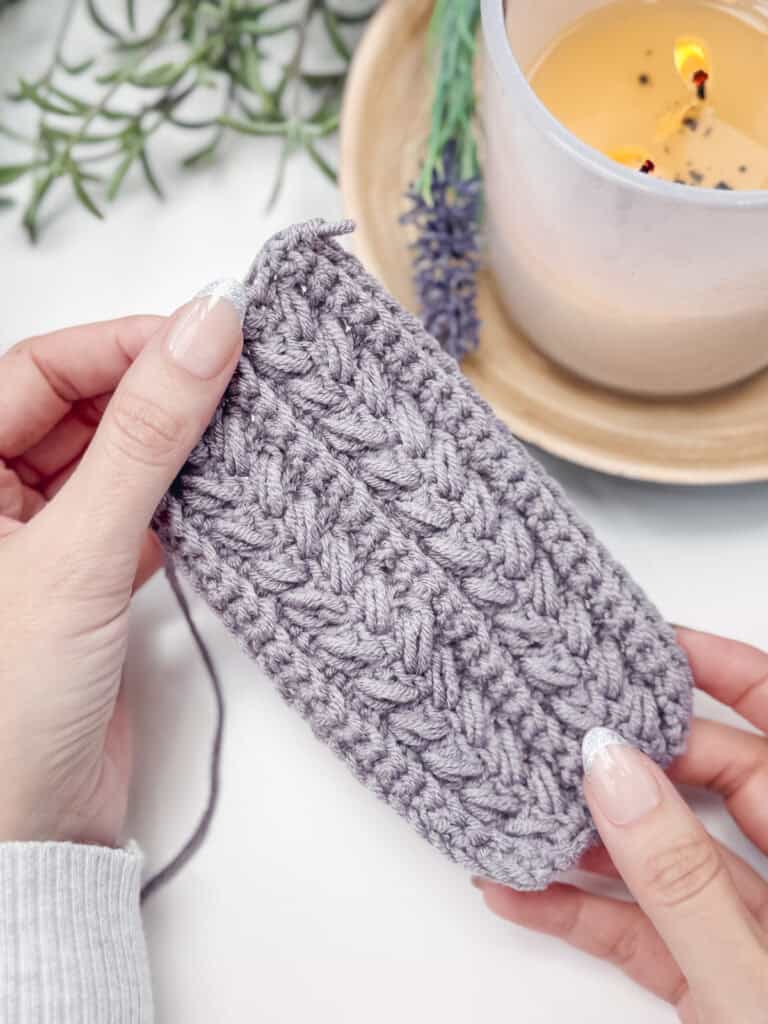
Many Briana K Wheat Stitch patterns are worked in acrylic or acrylic blends, and steam blocking is the finishing step that really sharpens the stitch texture, especially for garments like the Wheat Stitch Cardigan. A light steam pass after finishing will make the individual stitches pop in a way that looks completely different from straight off the hook — without altering the fabric’s structure at all.
How to Block Crochet Lace (And Why Gauge Changes After Blocking)
Unblocked lace swatches usually measure smaller than the final blocked item. When designing or following lace patterns, it’s essential to measure your gauge after blocking to get accurate sizing.
How to Crochet a Gauge Swatch Reminder:
Working a gauge swatch will let you know if you will have the correct sizing for the pattern you’re working on. It will also help you practice the stitches used in your project and improve your stitch work for a flawless look. Check out the blog post on What is Crochet Gauge and How To Fix It
Tips for Blocking Lace
Tips for Working with Delicates
Subscribe to my youtube channel
Do I Really Have to Block? (When Skipping Is Actually Okay)
Technically, no — you never have to block anything. But that answer isn’t very useful, so here’s the more honest version: it depends on what you made and what you’re doing with it.
There are projects where blocking makes a real difference, and projects where it’s genuinely not worth your time. Knowing which is which will save you a lot of effort.
When you can skip it
Dishcloths, washcloths, and kitchen accessories don’t need blocking. They’re going to get washed, used, and thrown in a drawer — any blocking you do will be undone the first time they hit the washing machine anyway. The same goes for amigurumi and stuffed toys. The stuffing holds the shape, the yarn is usually acrylic, and nobody is inspecting the stitch definition on a crocheted dinosaur.
Scarves and cowls in bulky yarns are another category where blocking is optional. If the fabric already looks good straight off the hook and the piece doesn’t need to hit specific measurements, you can leave it. Use your judgment.
When blocking is not optional
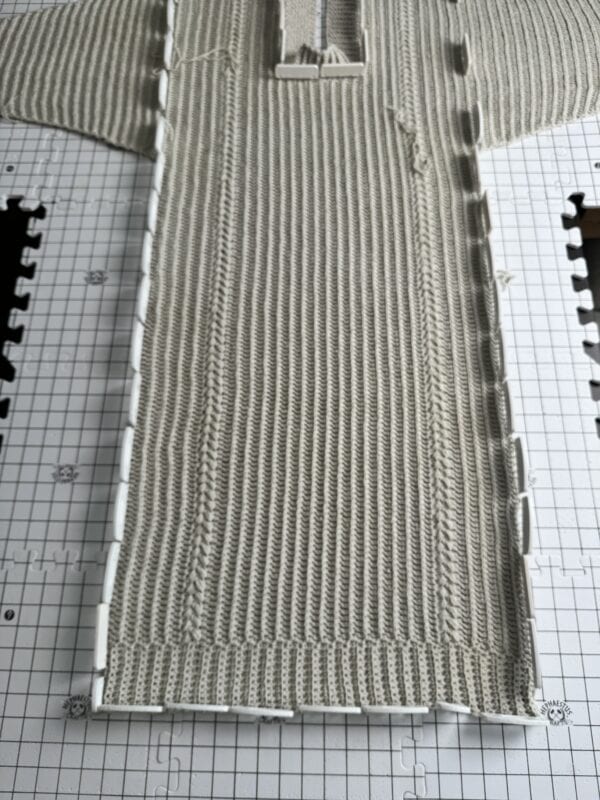
Garments need to be blocked. Full stop. If you’ve crocheted a sweater or a cardigan and you’re skipping the blocking step, you’re leaving work on the table. Blocking is what evens out tension inconsistencies, sets the final measurements, and makes the seams lie flat. The difference between a blocked and unblocked handmade garment is the difference between something that looks handmade and something that looks intentional.
Lace needs to be blocked — this is non-negotiable. Unblocked lace looks like a crumpled mess. The whole point of a lace pattern is the open structure, and that structure only shows up after blocking opens it up and sets it in place. If you’ve put the time into a lace shawl and you’re skipping the block, you’re not seeing the actual finished piece yet.
Granny squares and motifs that will be joined need to be blocked before seaming. Blocking each square to the same dimensions before you join them is what gives a finished blanket or bag that clean, even look. Trying to seam unblocked motifs is fighting against yourself — the joins will never lie as flat, and the finished piece will always look a little off.
The quick decision framework
Ask yourself two questions. First: Does this piece need to hit specific measurements, or does the stitch pattern need to open up to look right? If yes to either, block it. Second: Will this piece be worn or displayed, or is it purely functional? Worn and displayed pieces almost always benefit from blocking. Functional pieces — especially ones that’ll be washed regularly — are usually fine without it.
When in doubt, block it. It takes less time than you think, and you can’t un-skip it once you’ve decided the finished piece doesn’t look quite right.
Blocking Expectations: Garments vs. Accessories
Not every project needs the same level of precision in blocking, and knowing the difference will save you a lot of stress. A sweater and a dishcloth are not the same kind of blocking job.
Garments: measure everything
When you’re blocking a garment — a sweater, a cardigan, a top — you’re working to hit specific finished measurements. The pattern gives you those numbers for a reason. Blocking is how you get there, and precision matters. Have your tape measure out before you pin a single stitch. Check the chest width, body length, sleeve length, and shoulder width as you pin, and adjust them before the piece dries. A garment that dries even half an inch off in the wrong direction will affect the fit in a way you’ll notice every time you wear it.
Seamed garments need each piece blocked flat before assembly. Block the front, back, and sleeves separately according to the schematic measurements, let them dry completely, then seam. Trying to block a finished, assembled garment is harder and less accurate than blocking the pieces first.
Accessories: relax, do not measure
Accessories — dishcloths, washcloths, scarves, cowls, bags — are a different story. The goal here is usually to even out the stitches, open up the fabric, and get the piece lying flat rather than hitting exact dimensions. Pin it to a reasonable shape, smooth out the edges, and let it dry. You don’t need a tape measure for a dishcloth.
The exception is anything that needs to match another piece — granny squares being joined, motifs for a blanket, or two mittens that need to be the same size. Those get pinned to consistent measurements every time, accessory or not.
Pro Blocking Tips (What I’ve Learned from Blocking Dozens of Projects)
Be a Blocking Pro
Blocking might feel like an extra step — but it’s one of the easiest ways to elevate your handmade work from “nice” to wow. With just a bit of water, patience, and a few pins, you can completely transform how your crochet (or knit) project looks and feels. Blocking gives your project the clean, professional finish it deserves. Once you start blocking regularly, you’ll never want to skip it again!
Cheers, and happy crocheting!
Well, That Was Fun! What’s Next?