
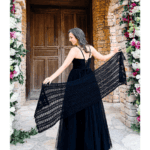
There’s something so satisfying about a crochet project that’s simple, beautiful, and effortlessly wearable, and the Willow Mesh Crochet Wrap checks off all of those boxes.
This Willow Mesh Crochet Wrap is designed to be just that kind of piece. With the airy Willow Mesh Stitch pattern and beautiful drape, it’s a project that feels relaxed to make while still creating a polished, wearable result.
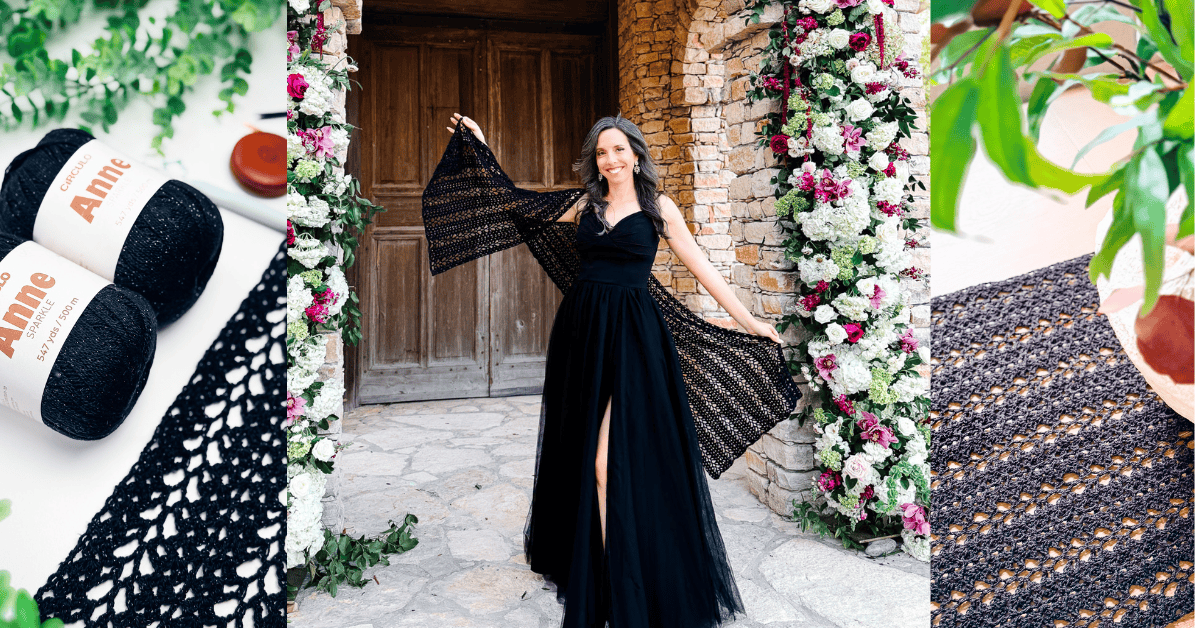
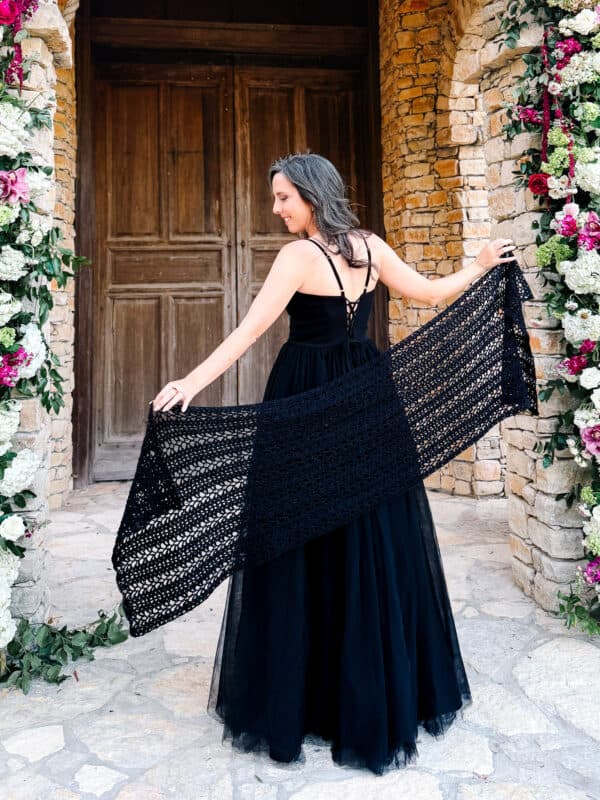
Whether you’re layering it over a dress for a special occasion or tossing it on with your everyday outfit, this is one of those crochet pieces that will become a regular staple in your wardrobe.
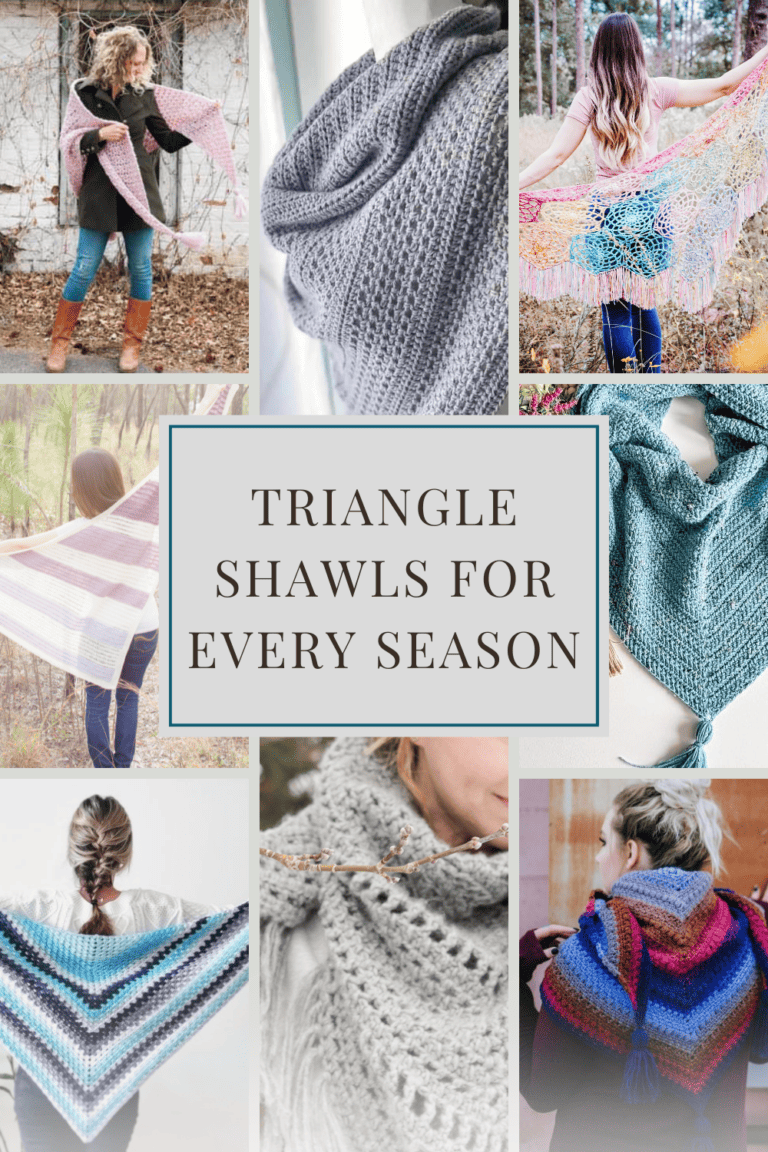
If making wraps and shawls is your jam, I’ve got you covered! Try the Fisherman’s Wharf Shawl, the On The Bias Suzette Shawl, and the Pretty in Pink Triangle Shawl – all three call for lightweight yarns (but could easily be made with something heavier)!
Disclosure: This post contains affiliate links. Please read my disclosure for more info.
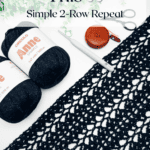
What you’ll love about the Willow Mesh Stitch.
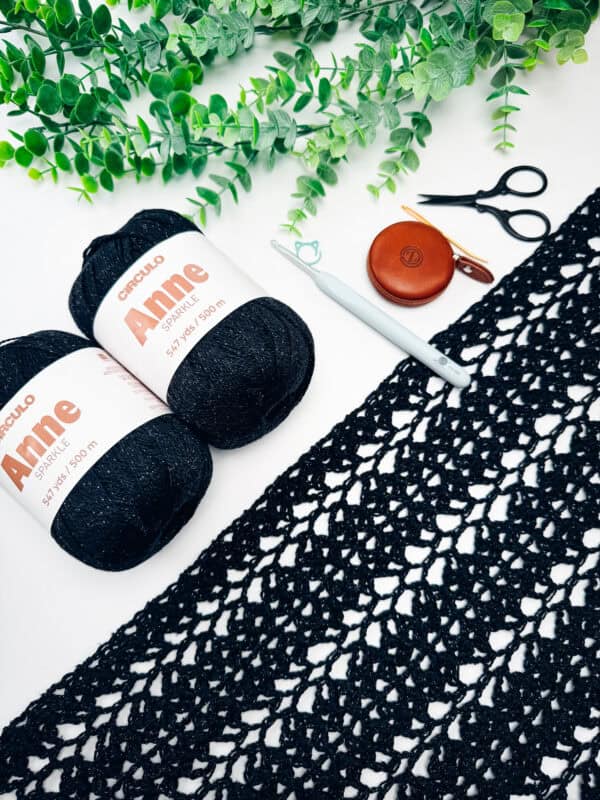
Willow Mesh Crochet Stitch Supplies
Yarn
Circulo Anne Sparkle (in Black)
95.7% Mercerized Brazilian Virgin Cotton/4.3% Metallic Fiber Blend, 575yds/147g
Yarn Quantities
1355 yds – 3 balls
Yarn Substitutions
Lion Brand Mandala String – 100% Acrylic, 350yds/100g
We Crochet Comfy Fingering – 75% Pima Cotton/ 25% Acrylic, 218yds/50g
Aunt Lydia’s Cotton 3 – 100% Mercerized Cotton, 150yds/50g
Cascade Ultra Pima Fine – 100% Pima Cotton, 136yds/50g
Yarn weight is totally up to you, as gauge isn’t critical for this shawl. Use fingering weight for a light, lacy look, or a heavier yarn for a thicker, cozier feel. Just be sure to pair your hook size with your yarn choice (and size up if
needed) to get a drapey fabric you love!
Remember always to check the gauge and drape when substituting yarns.
Crochet Hook
Size US G+/7 (4.5mm) Crochet Hook or hook to obtain gauge.
Notions
Scissors
Yarn Needle
Cat Removable Stitch Marker
Blocking Mat
Blocking Pins
Skill Level
Sizing
Finished Size (after blocking): 78” x 21”
Size is easily adjustable. See Gauge and Setup.
Abbreviations
bpdc – back post double crochet
ch – chain
dc – double crochet
sc – single crochet
st(s) – stitch(es)
Stsc – Stacked Single Crochet
Gauge
25 sts and 9 rows = 4″ by 4″ in stitch pattern repeat before blocking.
16 sts and 7 rows = 4″ by 4″ in stitch pattern repeat after blocking.
Gauge is not critical for this pattern.
How to Crochet A Gauge Swatch
Working a gauge swatch will let you know if you will have the correct sizing for this pattern. It will also help you practice the stitches used in this project and improve your stitch work for a flawless look.
Are you struggling to match the gauge? Check out the blog post on What is Crochet Gauge and How To Fix It
Construction
The design features the Willow Mesh Stitch, a repeating 2-row stitch pattern, forming a lightweight mesh fabric with a balance of openness and structure.
You’ll begin by chaining a multiple of 12 + 1, allowing you to easily adjust the width of your wrap. From there, the stitch pattern is worked back and forth in rows until the desired length is reached. Once complete, a light block is recommended to open up the mesh and enhance the drape. This is the kind of project you pick up for a few rows… and suddenly don’t want to put down.
I’ve got even more shawls to feast your eyes on! The Picot Shawl, Hawthorne Tonal Shawl, and the Boho Pineapple Shawl are all stunning and perfect for gifting (or keeping – because you deserve a present, too)!
Special Stitches
Stacked Single Crochet (Stsc): Do NOT chain, insert hook into next stitch, yo, pull up a loop, yo and pull through both loops, insert hook in the vertical bar below, yo, pull up a loop, yo and pull through both loops on the hook.
Back Post Double Crochet (BPdc): Yo, insert hook from back to front to back around the post of the indicated st, yo, pull up a loop (3 loops on hook), yo, pull through 2 loops, yo, pull through remaining 2 loops.
Pattern Notes
- This pattern substitutes a traditional chain 2 on the edges for a Stacked Single Crochet.
A ch 1 at the beginning of a single crochet row is unnecessary. - Blocking Tips (Lace):
1: Soak your piece in lukewarm water, then gently squeeze out excess, do not wring.
2: Lay flat on a blocking mat and shape to measurements.
3: Use pins to open up the lace and define the stitch pattern.
4: Stretch evenly, focusing on straight edges and clean lines.
5: Allow to dry completely before removing pins. - For helpful hints about blocking, visit this post: All About Blocking.
- This Pattern Uses Standard US Terminology. I use affiliate links and follow GPSR Compliance: privacy & disclosure.
❓ FAQs for the Easy Willow Mesh Crochet Wrap
Is the Willow Mesh Wrap beginner-friendly?
🧶 Yes! The pattern uses a simple 2-row repeat, making it approachable for beginners who are comfortable with basic stitches. Learn all about the Willow Mesh Stitch here!
What yarn is best for a crochet wrap?
🧶 Because gauge isn’t important for this particular design, you can use any yarn you prefer! Lightweight yarns like fingering or sport create a lacy, breathable fabric, while heavier yarns will produce a thicker, cozier wrap.
Do I need to match gauge?
🧶 Nope! Not for this easy shawl! Feel free to experiment with yarn weights and fibers to create the perfect size wrap for yourself.
Is blocking necessary?
🧶 Blocking is key! I highly recommend blocking to open up the stitch pattern and enhance the overall drape and appearance. Even if you’re using a heavier yarn.
I have never heard of blocking – what is it?
🧶 Blocking is basically stretching. It’s just a little more detailed! When you work lacy stitches, they can clump together and not really create the lacy look you’re going for. Blocking can take your finished piece from “just off the hook” to polished and professional. It’s one of those steps that feels optional until you see the difference, and then you never go back. Check out this post for all the information you need: All About Blocking.
Subscribe & Like
Video Tutorial for the Easy Willow Mesh Crochet Wrap
Click the box below to unlock this exclusive subscriber content for free. Add your email and create a password. If you are having trouble, reset your password or log in to the Grow Portal.
I’m thrilled to share this amazing crochet pattern with you! Please don’t copy, paste, or distribute this pattern. Prefer an ad-free experience? Purchase a digital PDF file for a small fee from one of my online stores. I appreciate your support and readership. You are why I can keep doing what I love and sharing it with others. Thank you from the bottom of my heart.
Willow Mesh Wrap Written Crochet Pattern Instructions
Row 3:
Stsc in first, *(2dc, ch 1, 2dc) in the next ch-1 space, ch 2, skip the first ch-2 space and sc in the next ch-2 space, ch 2, skip the ch 2 space, (2dc, ch 1, 2dc) in the next ch-1 space, bpdc in next; repeat from * to last st, dc in last, turn. | 113 sts including chains
Join The Kindest Community
Join our vibrant community of crafters on Facebook today. Whether you enjoy crafting with others or simply have burning questions, we’ve got you covered – join us now!
Rows 4-132:
Repeat Rows 2-3.
The length can easily be adjusted by removing or adding rows.
YARN OPTIONS & CUSTOMIZATION
One of the best things about this wrap is its flexibility.
While the sample is made with fingering-weight yarn for a soft, airy drape, you can easily customize your wrap by choosing a yarn that fits your style:
- Fingering weight → light, elegant, and lacy
- DK weight → everyday wearable
- Worsted weight → cozy and warm
Since gauge isn’t critical, you can focus on creating a fabric you love without worrying about exact measurements.
Row 133:
Note: I don’t ch 1 before my beginning sc st of a row – I just don’t think it’s necessary, and it adds extra bulk to the edge. If you prefer to, feel free to do so.
Sc in first, *ch 2, sc in the next ch-1 space, ch 2, dc in the next, ch 2, sc in the next ch-1 space, ch 2, sc in the next; repeat from * across; turn.
Row 134:
Sc in first, sc in each st (and ch) across; fasten off.
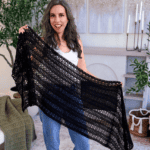
Style Tips
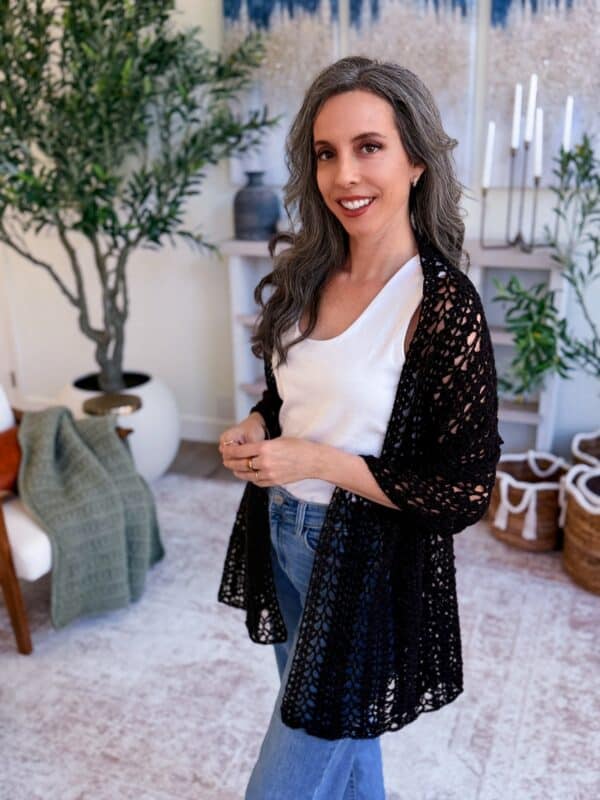
This wrap is designed to be worn and loved. Try styling it:
- Draped over your shoulders for an elegant look
- Wrapped loosely like a scarf
- Layered over everyday outfits
- As a lightweight travel companion
It’s the kind of piece that transitions effortlessly from casual to dressy.
Finishing
Weave in all ends and give your wrap a light block to open up the lace and smooth everything out. This step really brings the stitches to life and gives your wrap that soft, drapey feel.
Now go ahead, wrap yourself up, and admire your work. You just made something effortlessly pretty and practical… we love a multitasker.
The Willow Mesh Crochet Wrap is the perfect combination of simplicity, relaxation, and beautiful wearability, making it a go-to project for any crocheter. Don’t be surprised if it becomes your new favorite “just one more row” project.
Taking a little extra care of your crochet wrap will help it keep its shape, softness, and beautiful drape for years to come.
✨ Washing Tips
- Hand wash when possible. Use cool water and a gentle detergent to protect the fibers and stitch structure.
- Avoid wringing. Instead, gently press out excess water to prevent stretching or distorting the fabric.
- Machine wash with care. If needed, place your wrap in a mesh laundry bag and use a delicate cycle with cold water.
💛 Drying & Blocking
- Lay flat to dry. Always reshape your wrap and lay it flat on a towel to dry—this helps maintain its size and drape.
- Light blocking is your friend. If your wrap starts to lose its shape, a quick block will open up the stitches and refresh the fabric.
- Avoid heat. Skip the dryer, as heat can damage fibers and affect the texture.
🧶 Storage Tips
- Fold, don’t hang. Hanging can stretch out the stitches over time, especially with lightweight or lacy fabrics.
- Store in a breathable space. Cotton bags or bins work well—avoid airtight containers for long-term storage.
- Keep it fresh. Add a sachet or cedar block to help protect natural fibers.
With just a bit of care, your wrap will stay soft, wearable, and ready to reach for whenever you need it!
For more versatile wardrobe staples, check out these patterns:
Petal Loop Stitch Cardigan
Wheat Stitch™ Tank Top
Finch V-Neck Cardigan
Sparrow Sweater
Get Comfy Cardigan
Cheers, and happy crocheting!
Well, That Was Fun! What’s Next?