Tree Tassel Knit & Crochet Pillow Free Pattern
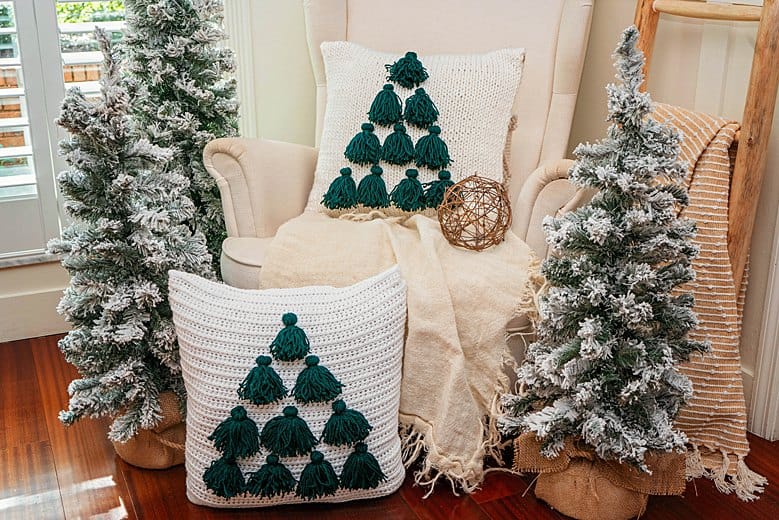
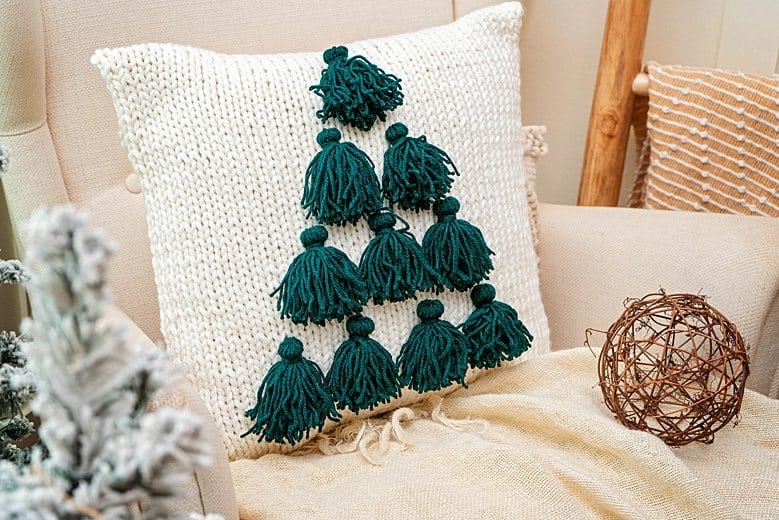
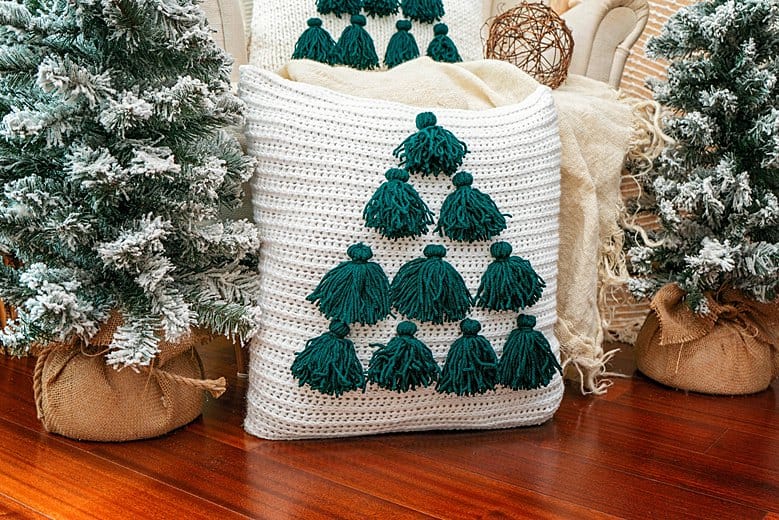
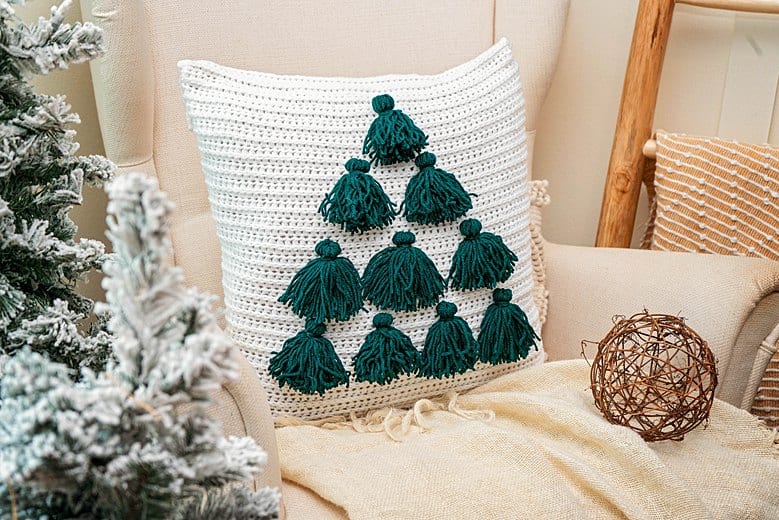
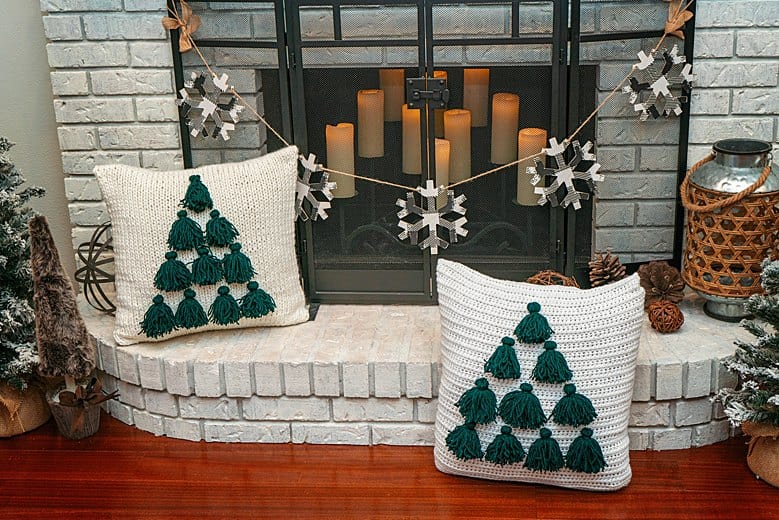
Isn't there something just so cozy about rustic about cabin home decor? While the Tree Tassel Knit & Crochet Pillow Free Pattern designs were inspired by the holidays, I really think they would look great all year round. This is an easy crochet or knit pattern. Instructions for both versions are on this blog post. Most importantly, you'll learn how to make a yarn tassel then use it to create a Christmas tree design.
Want an Ad-Free PDF Download of this pattern?
This pattern is available in my shops:
Quick Beginner-Friendly Project
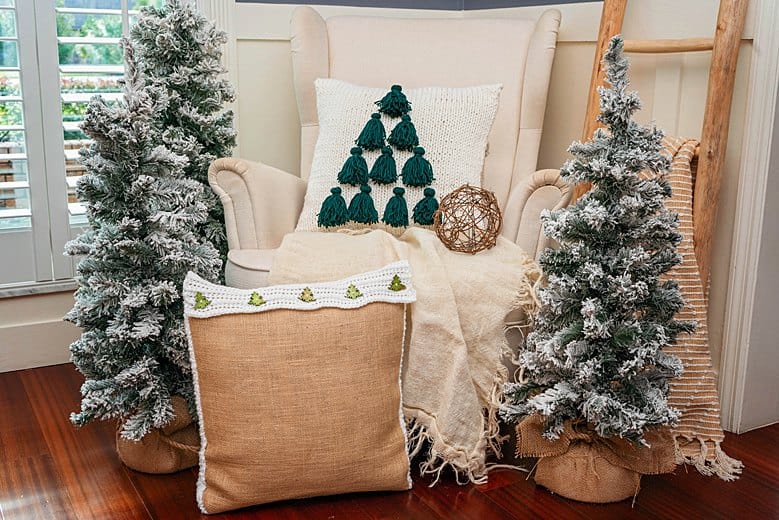
Who doesn't like things that can work up fast? That's exactly what these simple knit and crochet pillows offer. The basic pillow patterns are super simple. Once you learn how to make yarn tassels, that part goes very fast as well. Then you assemble it all together with a burlap backing. This gives you that cabin decor feeling that will make these pillows useful long after the real Christmas tree has been put away.

Disclosure: To cover the cost of publishing my blog and bringing you awesome content, this page may contain affiliate links. Should you choose to make a purchase, at no additional cost to you, I may earn a small percentage of the sale.
Tree Tassel Knit & Crochet Pillow Free Pattern Supplies:
Crochet Hook / Knitting Needle:
Size 11 (8mm) Knitting Needles or
Size H (5mm) Crochet Hook
Notions:
Yarn needle to weave in ends
Scissors
20x20 Pillow Insert
Large Tassel Maker
Burlap Fabric 24x 48 inches (61x122cm)
1" Buttons, 5 needed
Yarn:
WeCrochet Brava Worsted For Crochet
100% Premium Acrylic (218yds/100g)
In colorways:
White - 2 skeins (3 if knitting or crocheting the back)
Tree Tassels for both Crochet & Knit
Dublin Green - 1 skein
WeCrochet Mighty Stitch For Knit
Super Bulky Weight Yarn, 80% Acrylic, 20% Superwash Wool (44yds, 100g)
Yardage:
Crochet: 380 Yards (348 meters)
Knit: 120 Yards (110 meters)
Abbreviations/Stitches:
ch - Chain
K - knit
P - purl
RS - Right Side
sc - Single Crochet
sl st - Slip Stitch
sts - Stitches
WS - Wrong Side
Gauge:
Crochet: 12 sts and 9 rows = 4” [10 cm] in stitch pattern
Knit: 8 sts and 11 rows = 4” [10 cm] in stockinette stitch pattern
Measurements/Sizes:
Front Panels:
Length: 25 inches (63.5 cm)
Width: 20 inches (51 cm)
Skill Level:
Easy Beginner
Many of the supplies can be found at the affiliate links below:
How to Make Yarn Tassels for Knit and Crochet Pillow Free Patterns:
Tree Tassel Knit & Crochet Pillow Notes:
- Please note, matching gauge both horizontal and vertical can be difficult. Extra rows can be added at the top if needed so it is more important to match the stitch gauge versus the row gauge. This pattern also has some ease to fit over a pillow.
- This pattern is worked from the bottom up in rows and in two pieces. The front panel will also work a buttonhole flap to secure the top of the crochet pillow. The front and the back panels will be slip stitched together once completed. A burlap fabric can be used for the back panel.
- How to Make Yarn Tassels Tutorial
- For Crochet: After the end of each row turn and ch 1. The ch 1 does not count as a stitch.
- Please visit Colorwork in Crochet for a full tutorial on colorwork as well as a FREE Sheep Yarn Bobbin Printable to assist you with this project. No one loves tangles.

Tree Tassel Crochet Pillow Free Pattern - Pillow Front Instructions:
| Row | Description | St Count |
| 1 (RS) | With White Yarn, chain 61 and start the first row in the second chain from hook, turn. | 60 |
| 2 (WS) | Ch 1, in each stitch across hdc in the third loop facing you, turn. | 60 |
| 3 | Ch 1, hdc in each stitch across, turn. | 60 |
| 4-53 | Repeat rows 2-3 | 60 |
| 54 | Button hole row: Ch 1, hdc 3, *ch 3, skip 3, hdc 10*; repeat from * to * unitl the last 5 sts, ch 3, skip 3, hdc 2, turn. | 60 |
| 55 | Repeat Row 3 | 60 |
| 56-57 | Repeat rows 2-3. Fasten off and weave in ends. | 60 |
Tree Tassel Pillow Knit Front Instructions:
| Row | Description | St Count |
| 1 (RS) | Using the long tail cast on 42 sts | 42 |
| 2-66 | Work in stockinette stitch (knit Rs rows and purl WS rows). | 42 |
Button Hole Row 67:
Working in white k2, button hole directions below, k4, (button hole, k5) three times, button hole, k2.
Step 1:
Bring yarn to the front of work, slip stitch one stitch purl-wise, take the yarn to the back.

Step 2:
Slip one stitch purl-wise and pass the first slip stitch over.
Repeat this step two more times.

Step 3:
Slip one stitch from right needle back onto the left needle, turn your work (wrong side facing). Take yarn to the back.

Step 4:
Now we will work what is known as a cable cast on.
Insert the needle between two stitches on the left needle, yarn over, and pull up a loop. Place the loop onto the left-hand needle. Repeat this step three more times (4total cable cast-on stitches).

Step 5:
Turn your work (right side facing), take the yarn to the back. Slip one stitch from the left needle to the right needle, pass the slipped stitch over. The buttonhole is now complete.

| Row | Description | St Count |
| 68 | Purl | 42 |
| 69 | *p2, k2*; repeat from * to * until last 2 sts, p2 | 42 |
| 70 | *k2, p2*; repeat from * to * until last 2 sts, k2 | 42 |
| 71 | Bind off in ribbing pattern, fasten off and weave in ends. | 42 |
Tree Tassel Crochet & Knit Pillow Assembly:
Block the pillow front.
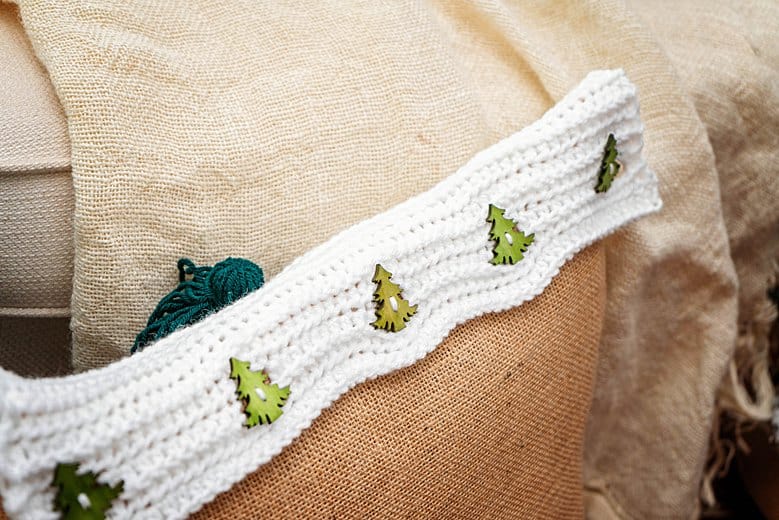
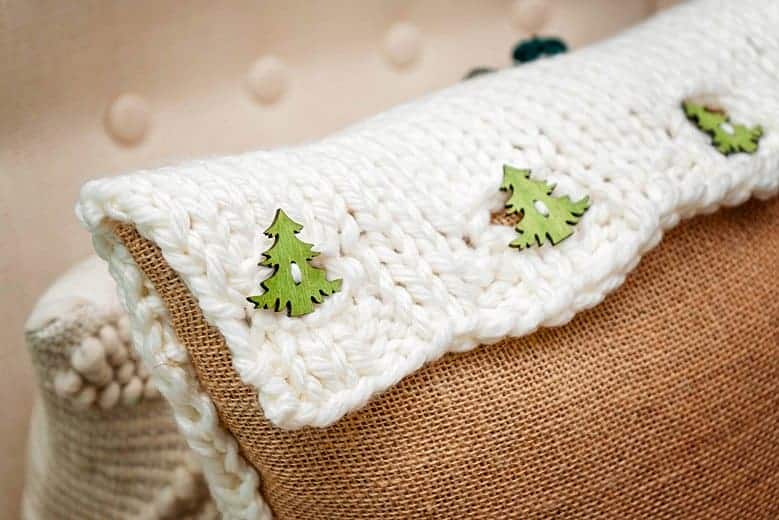
Fold the burlap fabric in half to 24x24 inch dimensions. Place the crochet pillow piece on top of the fabric with RS facing in, lining up the folded edge of the burlap with Row 48 on crochet and 60 on knit. Using a tapestry needle and yarn, hand sew the two pieces together around the sides and bottom of the pillow, leaving the top open. Flip RS out and sew buttons to the burlap fabric spaced at the buttonholes.
Use the Tassel Maker to create 10 tassels. Stitch the tassels to the front of the pillow in a tree shape as shown in the images.
Place the pillow inside and enjoy!
Crochet, Knit & Tag
I hope you loved crafting the Tree Tassel Knit & Crochet Pillow Pattern!
If you have made this, please share it on social media. Above all I love to see the projects created with my patterns and also share your beautiful work.
Please use #brianakdesigns or @brianakdesigns
It is much appreciated and adored!
