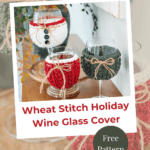
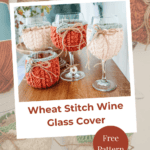
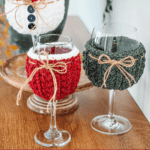
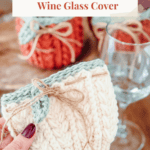
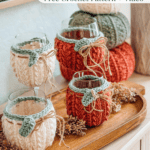
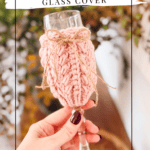
Last fall, I made a Wheat Stitch™ Pumpkin Cup Cozy for my coffee, and I loved it. My mug got to be festive all season long, and my wine glasses never did. That’s why I created this crochet wine glass cover pattern. I wanted something for holiday parties that made the glasses look like they belonged with the rest of the decor, instead of just sitting there plain.
Disclosure: This post contains affiliate links. Please read my disclosure for more info.
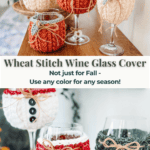
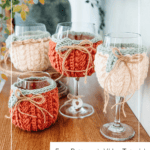
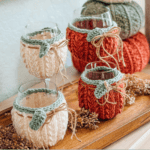
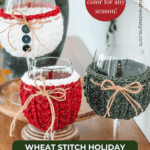
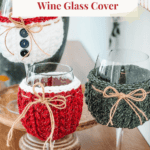
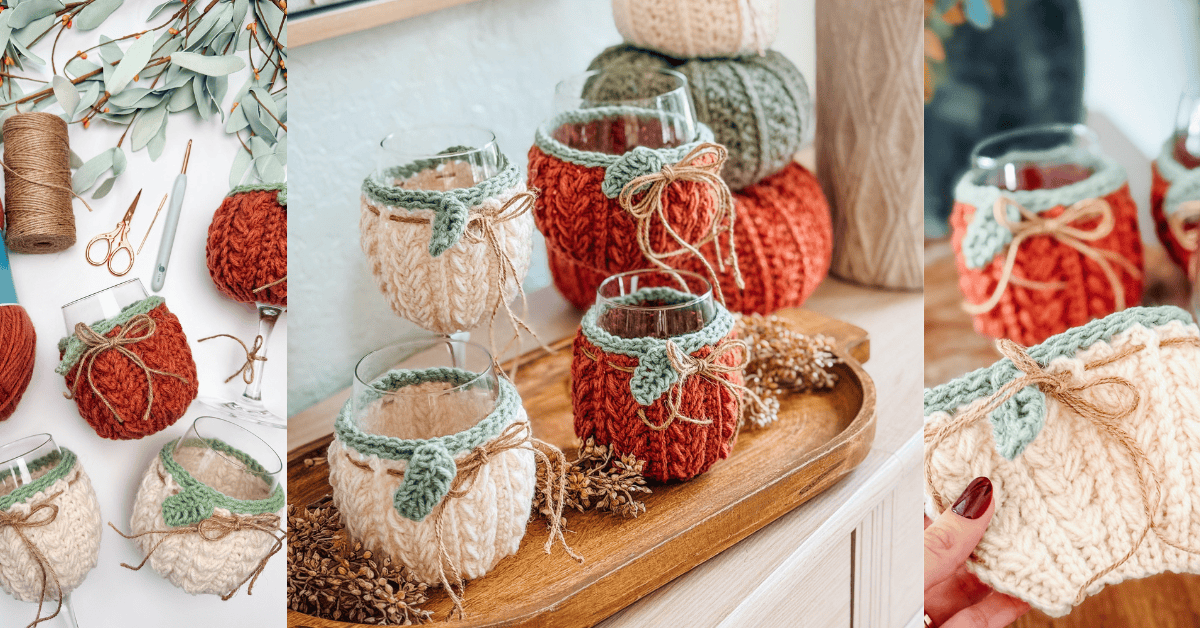
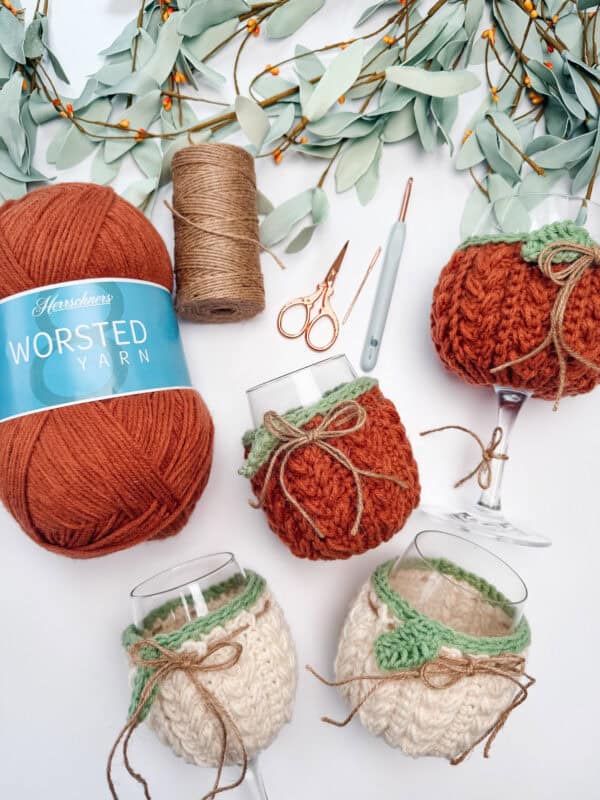
So here’s the Wheat Stitch™ Wine Glass Cover, and it’s all free right here. It includes all four sizes, the full written pattern, and every finishing option. The pumpkin version in the photos is crocheted in Herrschners Worsted 8 in Clay (the body) and Leaf (the green trim and leaf), and the snowman version is done in White with a Sparkle Red trim and three little black buttons down the front.
The wine glass cover is worked flat, side to side, which is the part I’m happiest with. The rows are what wrap around the glass, so every size comes out the same height, and sizing up just means adding 4-row repeats instead of rewriting the whole pattern. It also earns its keep. It keeps your hand off the bowl, so your wine stays cold longer. It catches the condensation that would otherwise run down the stem. And at a party, everyone can tell which glass is theirs.
Before You Hook: Crochet Wine Glass Cover Pattern Details
🧶 Yarn Used: Herrschners Worsted 8 (100% Acrylic, 489yds/226g)
⚖️ Yarn Weight: #4, Medium – Worsted Weight
🧵 Featured Stitch: Wheat Stitch™
🪝 Hook Size: US G+/7 (4.5mm) Crochet Hook, or hook to obtain gauge
📏 Sizes: Four sizes, 8″ to 12″ circumference, all 4″ tall
🩷🩷🩷🤍 Difficulty level: Intermediate
🕐 Approx Crochet Time: About 1.5 to 3 hours per cover, depending on size
🏷️ Project Type: A small intermediate home decor project that works up in an evening, perfect for holiday parties, hostess gifts, and craft fair tables.
Save for Later • Get a Summary • Pick Up Where You Left Off
Why You’ll Love This Wine Glass Cover
- No tiny rounds. It’s worked flat and seamed once.
- All four sizes are here. Full written pattern: seaming, trim, and both finishing options.
- Real sizing, not guesswork. Measure around the widest part of your glass bowl and pick the size closest to 1/2″ smaller. That’s it.
- One body, lots of looks. Pumpkin and snowman finishing are both included, and the colors are entirely yours to change.
- Eyelets are built into the top edge, so weaving twine through and tying a bow takes about a minute and needs no extra rounds.
- It’s a scrap buster. About 40 to 55 yards of worsted weight, both colors combined.
Wheat Stitch Wine Glass Cover Pattern Supplies
Yarn
Herrschners Worsted 8
#4 Worsted Weight
100% Acrylic, 489yds/226g
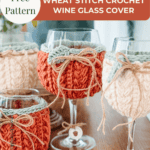
Colors shown are Clay, Leaf, White, and Sparkle Red. The pumpkin uses a Clay body with a Leaf trim and a crochet leaf, and the snowman uses a White body with a Sparkle Red trim.
Acrylic is the right call here. It washes well, holds its stretch, and doesn’t mind a splash of wine.
Yarn Quantities
Size 1: about 40 yds
Size 2: about 45 yds
Size 3: about 50 yds
Size 4: about 55 yds
Those numbers are for both colors combined; the trim and the leaf take only a few yards each.
Crochet Hook
Size US G+/7 (4.5mm) Crochet Hook or hook to obtain gauge.
Notions
Scissors
Yarn Needle
Removable Stitch Marker
Twine for weaving through the eyelets and tying a bow
Three 5/8″ Black Buttons for the snowman version
Be sure to check out the full pattern tips below
Yarn Substitutions
- Brava Worsted: 100% Premium Acrylic, 218yds/100g, #4 Worsted Weight
- Mary Maxim Maximum Value: 100% Acrylic, 474yds/227g, #4 Worsted Weight
- Lion Brand Pound of Love: 100% Acrylic, 1,020yds/454g, #4 Worsted Weight
Remember always to check the gauge and drape when substituting yarns.
Skill Level
You’ll work back-loop-only stitches, puff stitches, and a slip-stitch column, all in a 4-row repeat you’ll memorize fast. If you’ve never worked a puff stitch, the video tutorial walks through it, and the second repeat is usually where it clicks.
How to Choose the Right Size for Your Glass
Wine glasses vary widely, so we include four sizes instead of one. Grab a tape measure and go around the widest part of the bowl, not the rim and not the base. Then pick the size closest to 1/2″ smaller than that measurement. The cover stretches, so a little negative ease helps it stay put.
- Size 1: 8″ circumference, 4″ tall
- Size 2: 9.33″ circumference, 4″ tall
- Size 3: 10.67″ circumference, 4″ tall
- Size 4: 12″ circumference, 4″ tall
Every size is 4″ tall, so the only thing changing between them is the number of rows. If your glasses fall between two sizes, size down. And if none of the four is right, you can add or remove rows yourself, as long as you do it in 4-row repeats. Each 4-row repeat adds or removes about 1.33″ of circumference.
Stemmed or stemless, both work. On a stemmed glass, the cover sits on the bowl and stops above the stem. On a stemless glass, it sits lower and covers more of the middle, which is where your hand goes anyway.
Abbreviations
blo – back loop only
ch – chain
ch-sp – chain space
rep – repeat
RS/WS – Right Side/Wrong Side
sc – single crochet
sl st – slip stitch
sp – space
st(s) – stitch(es)
yo – yarn over
Gauge
16 sts and 12 rows = 4″ (10 cm) over the stitch pattern, unblocked.
Gauge matters more than usual on this one, because the cover has to stretch over the bowl and then grip it. If you’re loose, it’ll slide.
Tips
How to Crochet A Gauge Swatch
- Working a gauge swatch will let you know if you will have the correct sizing for this pattern. It will also help you practice the stitches used in this project and improve your stitch work for a flawless look.
- Are you struggling to match the gauge? Check out the blog post on What is Crochet Gauge and How To Fix It
Special Stitches Used in This Pattern
Wheat Stitch™
The signature texture here is my Wheat Stitch™, a rhythmic repeat that looks braided and works up faster than you’d expect. If it’s new to you, watch the full walkthrough first: How To Crochet The Wheat Stitch.
Puff Stitch
Yarn over and insert your hook into the stitch or space. Yarn over again and pull up a long loop. Yarn over and insert your hook into the same stitch or space. Yarn over again and pull up a long loop (5 loops on the hook). Yarn over and pull through the first 4 loops, yarn over and pull through the remaining 2 loops.
Invisible Join
Cut the yarn and pull the tail through the last loop on your hook. Thread the tail onto a tapestry needle. Skip the first st of the round and insert the needle under both loops of the next st. Pull through, then take the needle back down through the center of the last st you worked. Pull until it matches the tension of the surrounding stitches, then weave in the end.

Important Pattern Notes
How the Wheat Stitch Wine Glass Cover Is Made
One master body, then you pick the outfit.
The cover is worked flat in rows, and the rows are what wrap around the glass. Most drink covers get worked in the round from the bottom up. This one runs sideways on purpose, because changing size never changes the stitch count. You just work more repeats, or fewer.
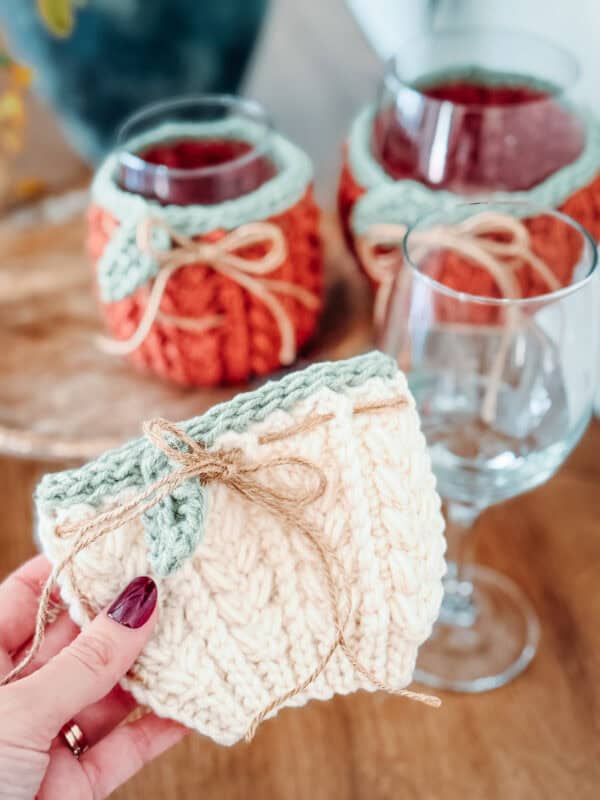
One edge is a dense column of slip stitches that runs the whole length. That edge becomes the bottom of the cover, and it’s what keeps it from flaring out and sliding down the glass. The opposite edge gets a trim round at the very end.
The eyelets for the twine are built into the body as you go, one per 4-row repeat, so they land evenly spaced around the cover once it’s seamed. There’s no extra round to add and nothing to punch through afterward. Every version has them, whether you use them or not.
When the body is long enough, it folds over and seams closed along one edge. The trim goes around the top after that, and from there it’s all finishing: a crochet leaf for the pumpkin, buttons for the snowman, twine woven through and tied off in a bow.
One thing worth doing before you seam: wrap the piece around the glass you actually plan to use and check the fit. It should stop just shy of meeting. That gap is the negative ease, and it’s what makes the cover grip instead of slide.
Pumpkin, Snowman, or Any Color You Want
Two versions are written out in the pattern. The pumpkin is a Clay (orange) body with a Leaf (green) trim and a little crochet leaf sewn to the rim. The snowman is a White body with a Sparkle Red trim and three black buttons down the front, opposite the seam.
But those are starting points, not the whole list. The body stays the same every time, so the version is really just color plus a finishing touch. Swap the body to red with a white trim, and you’ve got a Santa look. Work it into your team colors for game day, soft pinks for a bridal shower, green and gold for St. Patrick’s Day, or whatever two shades happen to match the room you entertain in. There’s no wrong answer here, and a set of four in four different colors doubles as the easiest party favor you’ll ever make.
The twine bow is another easy switch. Ribbon, embroidery floss, thin leather cord, or a sprig of something from the yard all thread through the eyelets the same way.
Printable Wine Charms and Gift Tags in the App
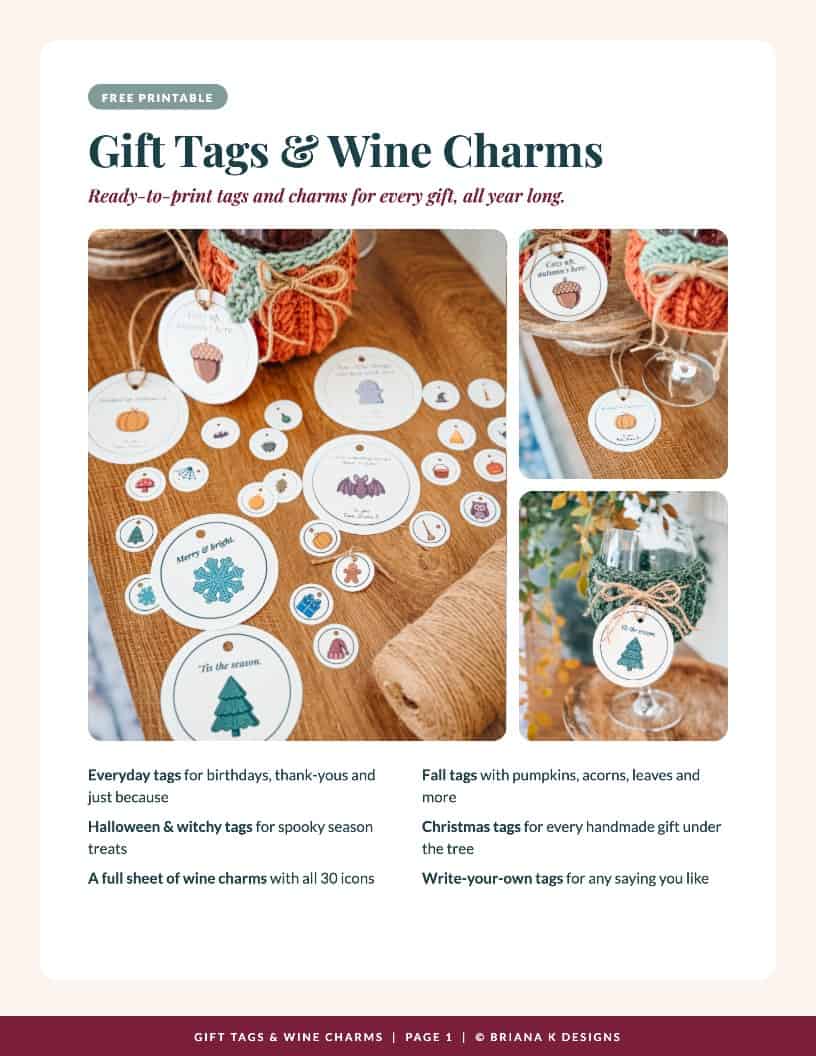
If you’re making a whole set for a party, the Briana K Designs app has one more piece: printable wine charms and tags. Page after page of them, all customizable, so each guest gets a cover and a tag with their name on it. You’ll only find them in the app, and they pair with these covers better than anything else I’ve made for it.
The app also has the Color Plotter, which is where I plan colorways before I buy yarn. If you’re torn between two trims, it’s faster to check on screen than to wind two swatches.
How to Wash and Care for Your Wine Glass Cover
Nobody covers this part, and it’s what decides whether your cover still fits next holiday season. Hand wash in cool water with a little mild soap, or machine wash cold on a gentle cycle. The yarn is acrylic, so it takes washing well.
Lay it flat to dry, and skip the dryer entirely. Heat relaxes acrylic, and once a cover has stretched, it won’t grip the glass anymore. Don’t iron it either, because acrylic melts under direct heat.
Two small habits help. First, pull out the twine before washing, then tie a fresh bow afterward. Second, remove the cover before putting the glass in the dishwasher.
Wine Glass Cover FAQs
What size wine glass cover should I make?
Measure around the widest part of the glass bowl with a soft tape measure, then choose the size closest to 1/2″ smaller than that number. The four sizes cover 8″, 9.33″, 10.67″, and 12″ circumferences, which handle most standard white wine, red wine, and stemless glasses. If you land exactly between two sizes, go with the smaller one. The stitch pattern has plenty of give, and a slightly snug cover stays where you put it instead of sliding down toward the base.
Will this fit a stemless wine glass?
Yes, and it’s one of my favorite ways to use it. Stemless glasses tend to be a little wider through the middle, so most people land in size 3 or size 4. The cover sits lower on a stemless glass and wraps the part you actually hold, which means it does even more work keeping your drink cold. Measure it just like a stemmed glass, around the widest point, and size down by about 1/2″.
Will this fit a champagne glass?
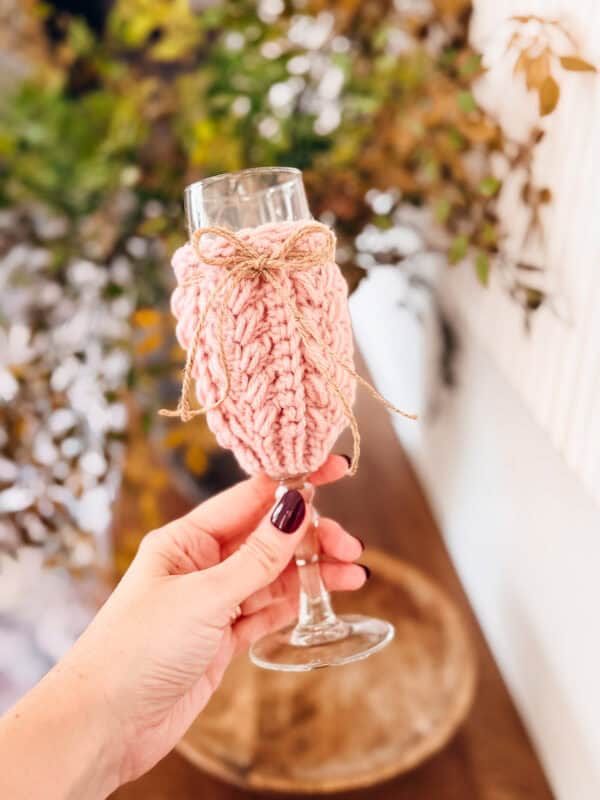
Yep, and I’ve made one. It keeps my bubbly cooler longer, which was reason enough for me. A champagne flute has a much narrower bowl than a wine glass, so it’s a smaller cover, not a different one. Measure around the widest part of the bowl the same way you would for wine, then check it against the sizes above, because flutes vary more than you’d think. If you land under the smallest size, the pattern walks you through taking it in. Isn’t it pretty??
Can you wash a crochet wine glass cover?
You can, and you should, because these live on a table where wine gets spilled. Hand wash in cool water with mild soap, or run it through the machine on cold and gentle. The real rule is the drying: lay it flat and never put it in the dryer. Acrylic relaxes with heat, and once a cover has stretched, it won’t grip the bowl the way it’s supposed to. Pull out the twine first, then tie a new bow once it’s dry.
What yarn is best for a wine glass cover?
I’d reach for worsted-weight acrylic every time, and that’s what the pattern is written in. Acrylic holds its shape, washes easily, and shrugs off spills. Cotton works too, and it gives you crisper stitch definition, but it has less stretch, so check your fit carefully before seaming. What I’d avoid is superwash wool or a loosely spun single, since both tend to grow with wear, and a cover that grows is a cover that slides off.
How long does it take to crochet one wine glass cover?
About 1.5 to 3 hours, depending on your size and how well you know the stitch. The first one takes the longest because you’re learning the 4-row repeat, and after that they fly. It’s a realistic evening project, and if you’re making a set for a party, you can usually get two or three done while a movie plays.
What else can I make with the Wheat Stitch?
Quite a lot, and that’s kind of the point of having a signature stitch. Some of my favorites are the Wheat Stitch™ Trees, which sit on a mantel or a table all winter, the Wheat Stitch™ Wreath, which comes together from two simple rectangles, and the Wheat Stitch™ Acorns, which come in three sizes with no sewing at all and go fast enough to fill a bowl in an afternoon. The texture is the same across every one of them, so once your hands know the repeat, the next project is always easier than the last.
You can find all of my Wheat Stitch patterns here: Wheat Stitch Pattern Library.
Can I sell the wine glass covers I make from this pattern?
Yes. You may sell finished items on a small scale, and credit back to Briana K Designs is always appreciated, even though it’s not required. You can’t copy, share, or resell the pattern itself. These do very well at fall and holiday craft fairs, especially bundled in sets of four.
Can I make this bigger for a tumbler or a mason jar?
You can, as long as you work in 4-row repeats. Each 4-row repeat adds about 1.33″ of circumference, so measure the widest part of whatever you’re covering, subtract 1/2″, and add repeats until you get there. The height stays at 4″ because the stitch count never changes, so a very tall tumbler will be covered through the middle rather than top to bottom
Subscribe, Like & Watch on YouTube
Relax & Crochet with NO Ads
Upgrade to the Printable PDF
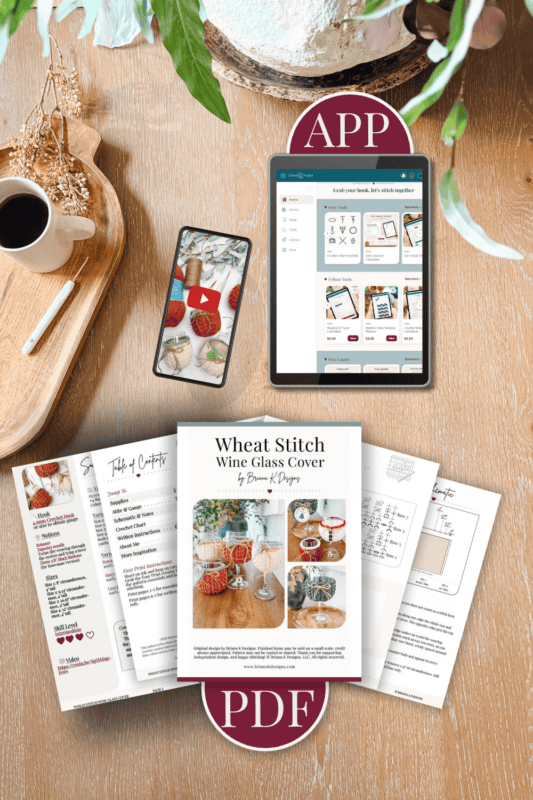
Beautifully formatted to print and take with you anywhere. The paid pattern includes:
Add your email in the box below to unlock this pattern to view on the blog for free. I’m thrilled to share this amazing crochet pattern with you! Please don’t copy, paste, or distribute this pattern. Prefer an ad-free experience? Purchase a digital PDF file for a small fee from one of my online stores. I appreciate your support and readership. You are why I can keep doing what I love and sharing it with others. Thank you from the bottom of my heart.
Printable Version
This pattern is free to read here on the blog. The ad-free printable PDF is available in the Briana K Designs shop on Etsy and Ravelry.
brianakdesigns.com
Wheat Stitch Wine Glass Cover Written Pattern
Row 6: Repeat Row 2. | 16 sts
Rows 7 to 8: Repeat Rows 3 to 4. | 16 sts
Rows 9 and up: Repeat Rows 5 to 8 for your size.
Size 1: Repeat 4 more times, ending on Row 24. About 8″ circumference. | 16 sts
Size 2: Repeat 5 more times, ending on Row 28. About 9.33″ circumference. | 16 sts
Size 3: Repeat 6 more times, ending on Row 32. About 10.67″ circumference. | 16 sts
Size 4: Repeat 7 more times, ending on Row 36. About 12″ circumference. | 16 sts
Join The Kindest Community
Join our vibrant community of crafters on Facebook today. Whether you enjoy crafting with others or simply have burning questions, we’ve got you covered – join us now!
Seaming
First, check to make sure that your cover is going to fit around your intended glass appropriately. It should end about 1/2″ shy of touching.
Fold the piece so Row 1 lines up with the last row, WS facing out.
Insert your hook through the first stitch closest to you, and then in the stitch of the side farthest from you. Yarn over and sl st to join. Continue working all the stitches down the row until they are all joined, stitch for stitch. Fasten off and weave in your ends. Turn the cover RS out.
Style Tips
Making one wine glass cover is easy. Making four that look like they belong on the same table takes about thirty seconds of planning, so here’s how I’d pick the colors. And you already have everything you need in your stash: the yarn scraps, the ribbon, the embroidery floss. This is just where a set of wine glass covers goes from cute to looking like you actually meant it.
Color Tip: The body color does most of the work here, so if you want one set that carries you from October through February, use a neutral body like cream or oatmeal and change only the trim and the tie. Leaf green with a little crochet leaf for fall, Sparkle Red for Christmas, soft pink for Valentine’s. Same four covers, three completely different tables.
Party Tip: Making a set for a party? You don’t need eight colors. Use one shade for every cover and give each guest a different twine tie. It’s the fastest way to tell glasses apart, and it costs you a few yards of twine instead of a whole new skein.
Table Tip: Pull your trim color from something already on the table, like your napkins or your runner, and let the body be the neutral. It’s the difference between the covers looking added on and looking like they belong.
Bow Tip: The twine is the easiest thing to swap. Ribbon, embroidery floss, thin leather cord, or a sprig of something from the yard all thread through the eyelets the same way.
Top Trim
Worked the same on every version. Only the color changes.
With the RS facing and your trim color, join to the top edge of the cover at the seam. This is the edge opposite the slip stitch column.
Fasten off and weave in your ends.
Crochet Leaf for the Pumpkin Version
Leaf (make 1 or 2). With Green (Leaf) Yarn, or the color of your choice, and leaving a long tail, ch 6.
First half: Insert your hook into the 2nd ch from the hook, yo and pull up a loop. [Insert your hook into the next ch, yo and pull up a loop] 4 times, each time pulling the loop a little higher than the one before it (6 loops on the hook). Yo and pull through 1 loop on the hook, [yo and pull through 2 loops on the hook] 5 times. Ch 1.
Second half: Working across the opposite side of the chains, [insert your hook into the next ch, yo and pull up a loop] 5 times, each time pulling the loop a little higher than the one before it (6 loops on the hook). Yo and pull through 1 loop on the hook, [yo and pull through 2 loops on the hook] 5 times.
Fasten off, leaving the tail end long enough to sew with. Use your long tail ends to sew the leaves to the top rim of the cover as desired.
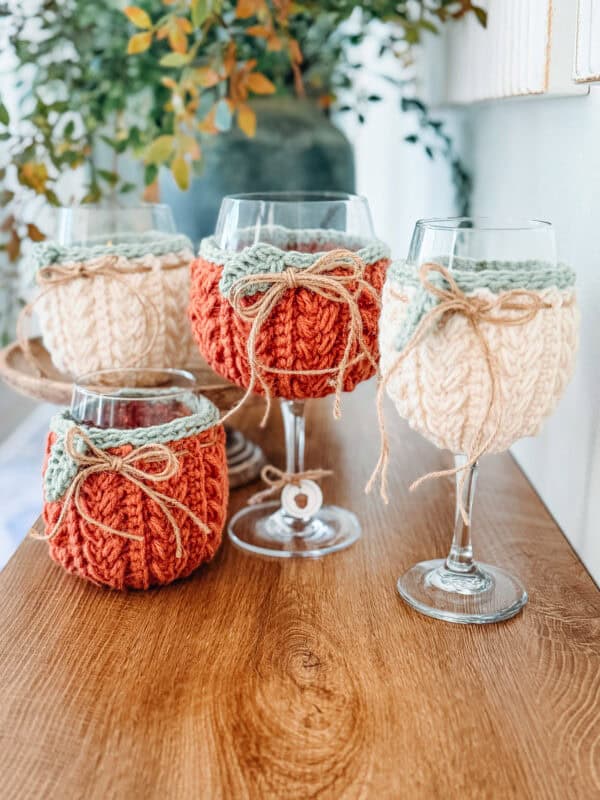
Snowman Version
White body, Sparkle Red top trim.
Sew three black buttons down the front of the body, opposite the seam, evenly spaced.
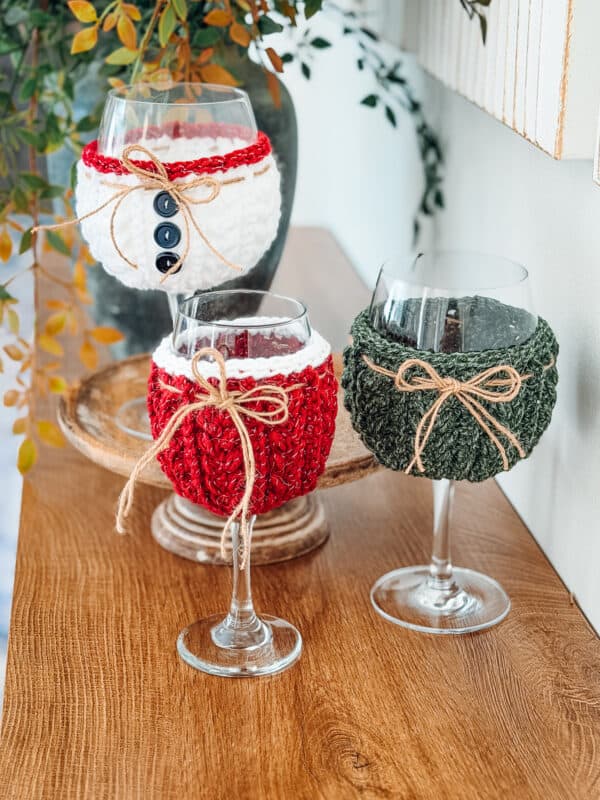
Finishing
Weave twine through the eyelets around the top and tie it off in a little bow.
More Crochet Patterns You’ll Love
If you’re decorating a table this season, these go right alongside it.
🥂 Cheers, and happy crocheting!
Get the Wheat Stitch Wine Glass Cover Pattern
The full pattern is free on this page, every size, forever. If you’d rather have the printable version with no ads, a stitch chart, the sizing schematic, and the code that unlocks the interactive version in the app, here’s where to find it:
Psst: my crochet pattern app keeps your row count and your place for you, plus four free crochet tools. No subscription required.
Hook down? Not so fast…
I’d Love to See Yours!
You made something beautiful. Here’s how to keep it, show it off, and inspire the next maker.
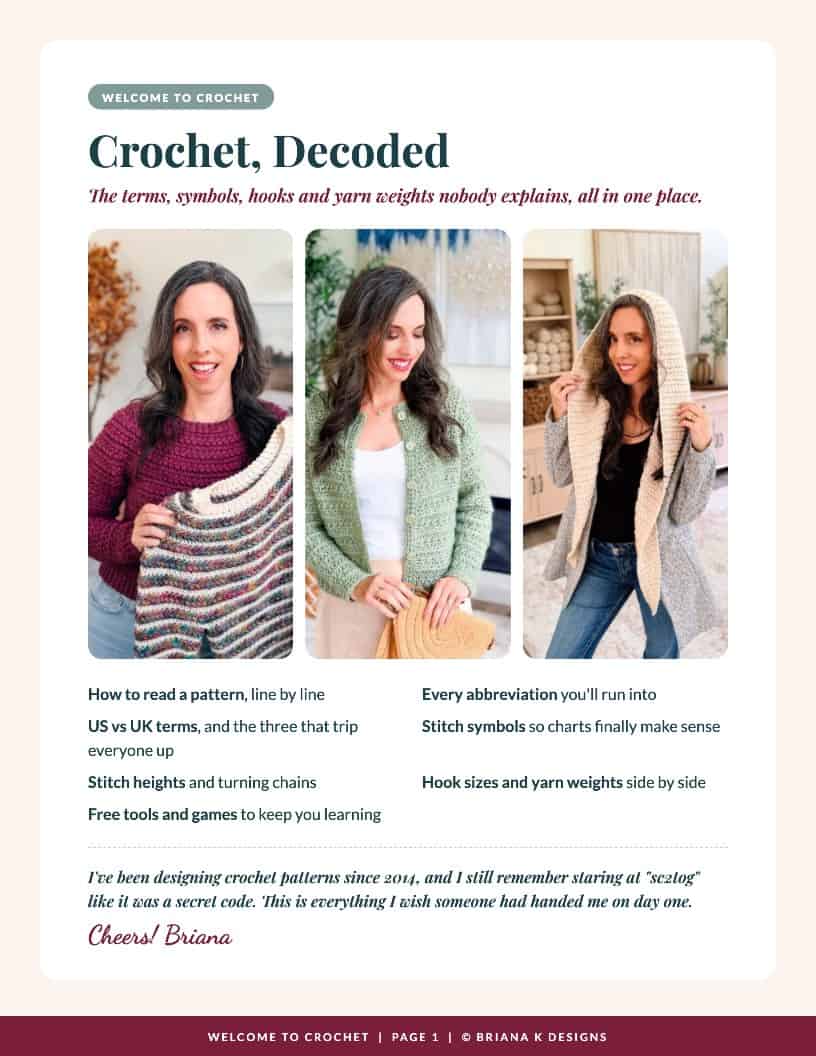
The Crochet Smarter Starter Pack
Crochet smarter.
Rip out less.
Three printables I actually use, free when you join my email list.
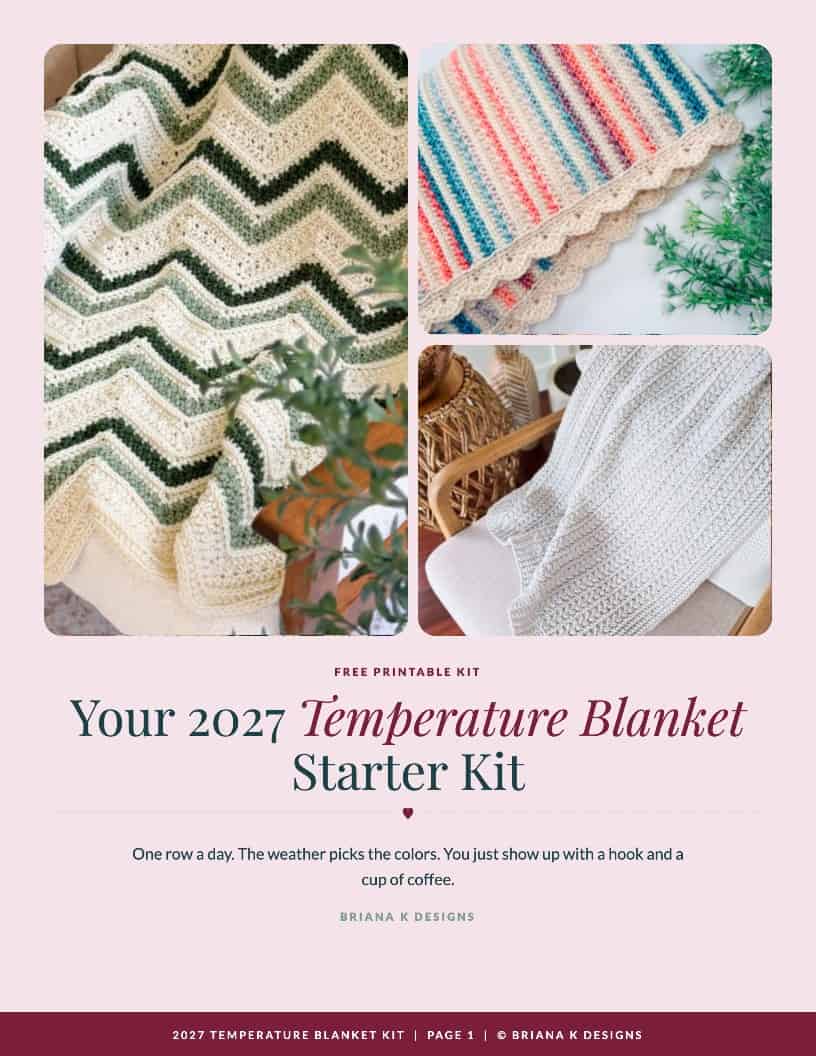
- ✓Temperature Blanket Starter Kit: color key, 2027 and any year trackers, and how to look up the weather.
- ✓Gift Tags & Wine Charms: 30 icons, ready to print, punch and tie.
- ✓Crochet, Decoded: US vs UK terms, stitch symbols, hook sizes, all in one place.
Plus 30% off any two crochet tools in my app, tucked inside. You'll land on my email list too, so we can be pen pals. Bail out whenever you like, no hard feelings. Privacy policy

What should you make next?
Keep the hook movingReaders Are Loving
 Willow Mesh Bag
 Wheatfield Sun Hat
 Stretchy Edging
 Dog Sweater