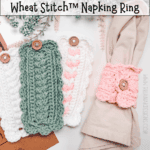
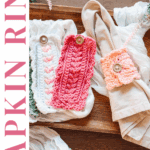
Sometimes it’s the smallest projects that make the biggest difference—and the Wheat Stitch™ Napkin Ring is exactly that kind of crochet win. These little cuties are small, satisfying, and slightly dangerous… because once you make one, you’ll want to make a whole set.

Worked flat in rows using my signature Wheat Stitch™, this pattern gives you rich texture with minimal effort. Finish it off with a clean edging, an easy button closure, and—if you’re feeling extra—the optional scalloped edge for that soft, decorative finish.
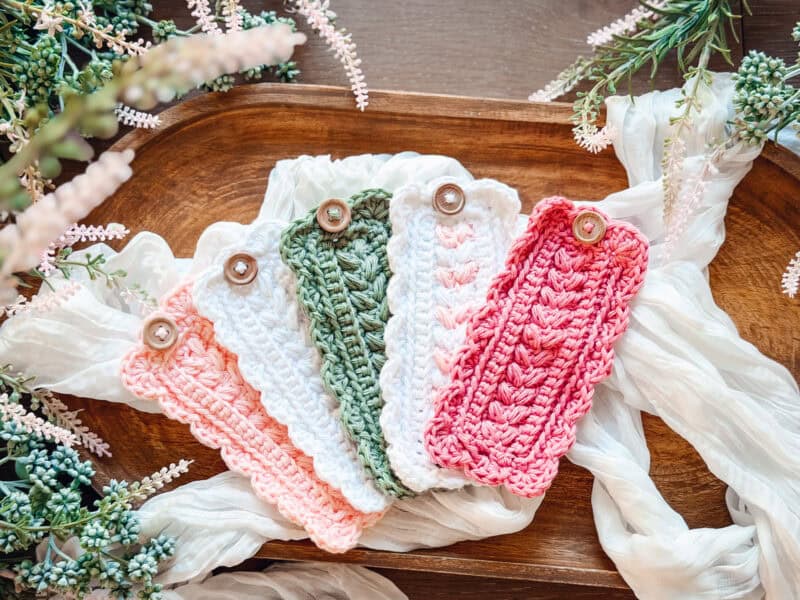
Perfect for holiday hosting, dinner parties, spring brunches, or simply making your Tuesday-night pasta feel a little fancier, these napkin rings add instant handmade charm to your table. They look polished and elevated, yet they’re surprisingly simple to crochet—my favorite combo. Add a Wheat Stitch™ Hotpad, a Wheat Stitch™ Mug Cozy, and a Wheat Stitch™ Dishtowel Holder to your pretty new decor for even more texture!
Disclosure: This post contains affiliate links. Please read my disclosure for more info.
What you’ll love about this napkin ring pattern.
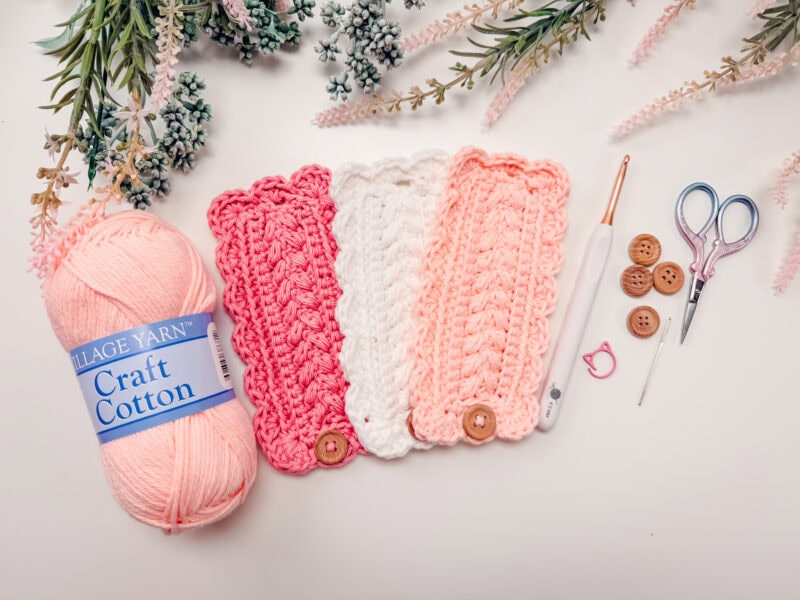
Wheat Stitch™ Napkin Ring Crochet Pattern Supplies
Yarn
Village Yarn Craft Cotton
100% Cotton, Solids 2.5 oz/71g/115 yd/105m ball
Yarn Quantities
With One Color: 15 yards
With Two Colors:
Color A: 10 yards
Color B (Hearts): 5 yards
Yarn Substitutions
WeCrochet Dishie – 100% Cotton, 190yds /100g
Lily Sugar’n Cream Worsted – 100% Cotton, 120yds/70g
Premier Home Cotton Yarn – 85% Recycled Cotton/15% Polyester; 131yds/75g
Remember always to check the gauge and drape when substituting yarns.
Crochet Hook
Size US G (4.0mm) Crochet Hook or hook to obtain gauge.
Notions
Scissors
Yarn Needle
Cat Removable Stitch Marker
Tape Measure
Wooden Buttons
Skill Level
Intermediate
Sizing
One Size
Height: 2.5″; with scallops: 3″
Width: 5.25 (5.75 for hearts)”; with scallops: 6.25 (6.75 with hearts)”
Abbreviations
blo – back loop only
ch – chain
dc – double crochet
RS/WS – right side/wrong side
sc – single crochet
sl st – slip stitch
st(s) – stitch(es)
Stsc – Stacked Single Crochet
Gauge
18 sts and 16 rows = 4″ by 4″ unblocked, in pattern repeat.
How to Crochet A Gauge Swatch
Working a gauge swatch will let you know if you will have the correct sizing for this pattern. It will also help you practice the stitches used in this project and improve your stitch work for a flawless look.
Are you struggling to match the gauge? Check out the blog post on What is Crochet Gauge and How To Fix It
Construction
The Wheat Stitch™ Napkin Ring is worked flat in rows, making it approachable and relaxing to stitch.
- Main Body: You’ll crochet a small rectangle using the Wheat Stitch™, creating a textured fabric that looks far more complicated than it actually is.
- Edging + Buttonhole: Once the body is complete, you’ll crochet a clean edging evenly around the entire piece. The buttonhole space is added as you go, keeping everything neat and functional.
- Optional Scalloped Edge: Finish with a final round of scalloped stitches for a soft, decorative edge—or stop after the clean edge for a more modern look.
Voila! A a reusable, handmade napkin ring that feels thoughtful, polished, and just a little bit fancy. Add some Wheat Stitch™ Trees, Wheat Stitch™ Wreaths, or Wheat Stitch™ Hearts to your tablescape to add more whimsy and texture to your decor.

Special Stitches
Stacked Single Crochet (Stsc): Do NOT chain, insert hook into next stitch, yo, pull up a loop, yo and pull through both loops, insert hook in the vertical bar below, yo, pull up a loop, yo and pull through both loops on the hook.
Puff Stitch: Yarn over and insert your hook into the stitch/space; yarn over again and pull up a long loop; yarn over and insert your hook into the same stitch/space; yarn over again and pull up a long loop (5 loops on the hook); yarn over and pull through the first 4 loops; yarn over and pull through remaining loops.
Pattern Notes
- Test your buttonhole with the actual button before finishing. You want it snug enough that it won’t pop open during use, but not so tight that people struggle every time.
- For striping, work every two sc rows in one color, and every 2 puff st rows in a different color. Change colors by yarning over with the new color when making the last stitch of the row before your new color begins. Keep both colors attached and carry the unused yarn up the back of the napkin ring without fastening off.
- This Pattern Uses Standard US Terminology. I use affiliate links and follow GPSR Compliance: privacy & disclosure policy here.
Frequently Asked Questions
Is this napkin ring beginner-friendly?
🍽️ If you’re comfortable with my signature Wheat Stitch™, you’ll feel right at home. (Not familiar with this stitch? You can find the tutorial here: https://brianakdesigns.com/how-to-crochet-the-wheat-stitch/)
What yarn works best for napkin rings?
🍽️ I chose cotton, but any fiber will work and look amazing! Try different colors and textures to make these napkin rings fit your style.
Can I skip the scalloped edge?
🍽️ Of course! The cozy looks great with a clean edge, but the scallops are there if you want a little extra flair.
How long does it take to make one napkin ring?
🍽️ These are so quick! Most crocheters can make one in under an hour, depending on experience (my friend Courtney made one in 20 minutes!).
Subscribe & Like
Video Tutorial for the Wheat Stitch™ Crochet Napkin Ring
Relax & Crochet
Upgrade to the Printable PDF
Beautifully formatted to print and relax while crocheting. The paid pattern includes:
The Ad-Free PDF can be purchased on Etsy or Ravelry.
Click the box below to unlock this exclusive subscriber content for free. Add your email and create a password. If you are having trouble, reset your password or log in to the Grow Portal.
I’m thrilled to share this amazing crochet pattern with you! Please don’t copy, paste, or distribute this pattern. Prefer an ad-free experience? Purchase a digital PDF file for a small fee from one of my online stores. I appreciate your support and readership. You are why I can keep doing what I love and sharing it with others. Thank you from the bottom of my heart.
Wheat Stitch™ Napkin Ring Written Crochet Pattern Instructions
Join The Kindest Community
Join our vibrant community of crafters on Facebook today. Whether you enjoy crafting with others or simply have burning questions, we’ve got you covered – join us now!
Border
Rnd 1 (RS):
With the RS facing and working along the outer edges of the rectangle, sc along the edges as follows: sc in next stitch, *insert your hook into the left bar of the sc st, then insert into the next row edge space. YO and pull up a loop, then pull through the first loop on the hook. YO and pull through the remaining two loops on the hook. Repeat from * all the way around
working 8 sts on the short row ends; on the second short end, work the buttonhole as follows: sc 3, ch 2, skip the center row spaces, sc 3.
For a step-by-step look at how this simple, straight edge is worked, check out this post: https://brianakdesigns.com/how-to-crochet-a-straight-edge/
For a clean & modern look, stop here and skip the scallop. To add a scalloped edge, continue to Rnd 2.
Rnd 2:
Do not join and sl st in the first edge st, skip the next st, 3dc-shell into the next, *[skip 1, sl st in next, skip 1, 3dc-shell st in next] until next corner st, 5dc-shell st in the corner st (add 6 dc on corners if it’s curling too much for your taste); repeat from *around, until you are back to the first st of the rnd, 2 dc in the same as the first st, join and fasten off.
Finishing
Fasten off and weave in all ends (aka hide your yarn tails like the crochet wizard you are).
Button up your napkin ring, give it a gentle fluff, and admire your handiwork, because
just like that, you turned yarn into table décor. Not too shabby. Now, slide it onto your favorite napkin, set the table, and prepare for compliments. Repeat as needed until your whole table is dressed to impress.
The Wheat Stitch™ Napkin Ring proves that crochet doesn’t have to be big or complicated to be impactful. These small projects are relaxing to stitch, endlessly useful, and a wonderful way to add handmade warmth to your home.
Love home decor? Check out these designs!
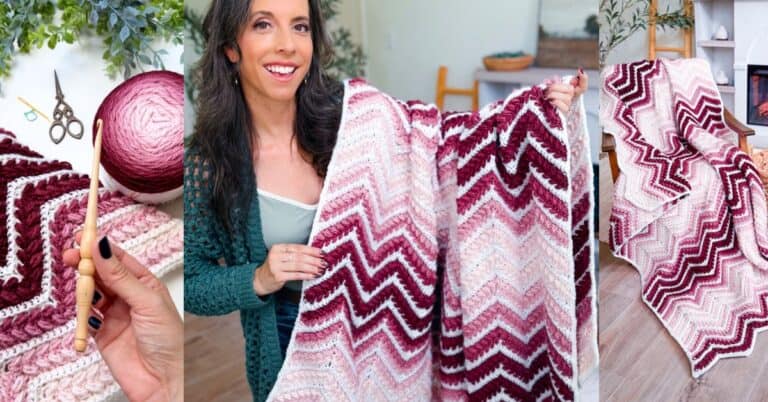
Wheat Stitch™ Chevron Ripple Blanket
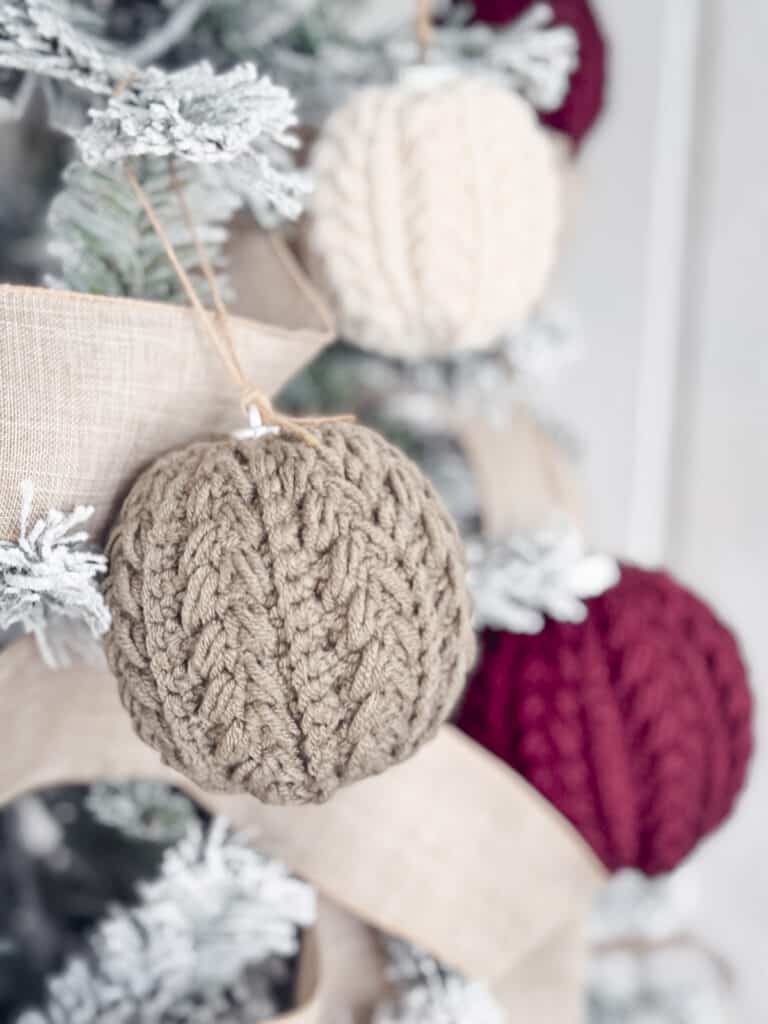
Crochet Knit Purl Pillow
Wheat Stitch™ Tree Skirt
Pumpkin with Leaf Coasters
Hello Sunshine Blanket Pillow
Cheers, and happy crocheting!
Well, That Was Fun! What’s Next?