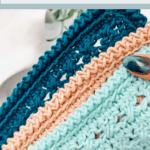
I have made a lot of things over the years that needed a clean finish and didn’t need a fuss. Somewhere in there, I stopped reaching for fancy scalloped borders on every project and started using the same simple crochet edging again and again, because it does the one thing I actually want a border to do. It tidies up the edge and disappears into the project instead of fighting it.
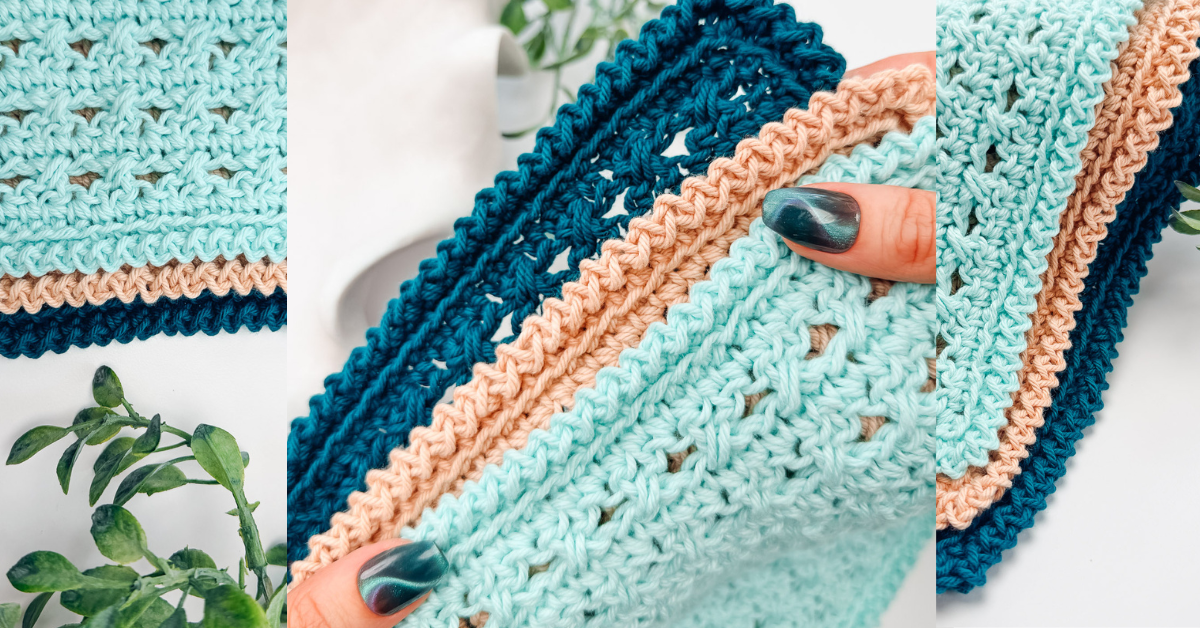
This is that edging. It’s a slip stitch worked with a chain between each one, and I keep coming back to it because it’s stretchy, forgiving, and finished-looking without looking frilly. I’ll show you exactly how I work it, where I use it, and the one tension trick that makes it look good even on a rough day.
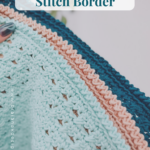
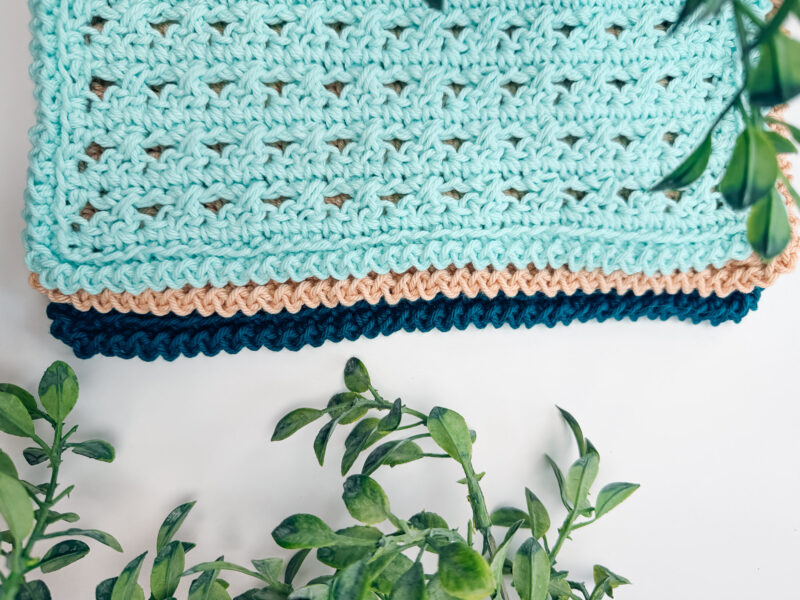
If you’re new to finishing edges, this is a great first border to learn on. It uses two stitches you almost certainly already know, and it’s far kinder to uneven tension than a plain slip stitch edge. I taught it on my Reed Crossover Washcloth, but it works on just about anything with an edge.
You can find the Reed Crossover Stitch Washcloth in my Etsy and Ravelry shops! There’s also a full tutorial on my YouTube channel.
You can find the step-by-step stitch tutorial here: How to Crochet the Reed Crossover Stitch.
Disclosure: This post contains affiliate links. Please read my disclosure for more info.
Before You Hook: Crochet Pattern Details
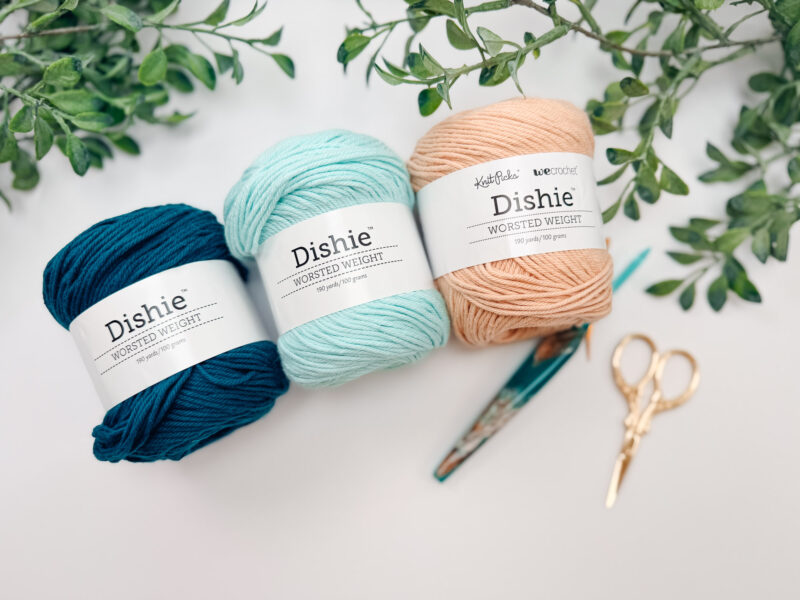
🧶 Yarn Used: WeCrochet Dishie (100% Cotton, 190yds/100g)
⚖️ Yarn Weight: Any weight will work
🧵 Featured Stitch: Reed Crossover (two-row repeat of crossovers and single crochet)
🪝 Hook Size: US H (5.0mm) Crochet Hook, or hook to obtain gauge
Save for Later • Get a Summary • Pick Up Where You Left Off
Why This Is My Go-To Simple Crochet Edging
Most border tutorials hand you a list of ten options and let you sort it out. I want to do the opposite here and make the case for one. This edging earns its spot for a few honest reasons.
- It’s stretchy. The chain between each slip stitch gives the edge room to move, so it works on necklines, cuffs, and anything that needs to stretch instead of pull tight.
- It hides messy tension. A plain slip stitch edge punishes you for pulling too tight. The chain adds enough give that small tension wobbles practically vanish.
- It’s low bulk. It finishes the edge without adding a thick rim or excessive length, so it won’t distort the shape of your piece.
- It’s fast. One pass around. No counting stitch multiples, no chart, no second round unless you want one.
Simple Crochet Edging Supplies
Yarn
WeCrochet Dishie
100% Cotton, 190yds/100g
Yarn Quantities
Yardage will depend on the project you’re adding a border to.
For this tutorial, we need less than 100yds.
Crochet Hook
Size US H (5.0mm) Crochet Hook or hook to obtain gauge.
Notions
Scissors
Yarn Needle
Removable Stitch Marker
Be sure to check out the full pattern tips below
Yarn Substitutions
For this simple crochet edging tutorial, you can use any yarn weight and fiber of your choosing. I find that worsted-weight cotton creates a lovely fabric with excellent stitch definition, so I chose it.
Yarn substitutions that work well with this stitch:
Village Yarn Craft Cotton — 100% Cotton, 115 yards/71g
Herrschners Cottage Cotton — 60% Cotton/40% Acrylic, 207 yards/100g
Premier Home Cotton — 85% Recycled Cotton/15% Polyester, 131 yards/75g
Lily Sugar’n Cream — 100% Cotton, 120 yards/70g
Remember always to check the gauge and drape when substituting yarns.
Skill Level
Truly beginner-friendly. If you can make a slip stitch and a chain, you can make this border. There are no special stitches and nothing to memorize.
Sizing & Finished Measurements
Because this edging is worked directly onto your finished piece, there’s no set finished size — it’ll match whatever project you’re adding it to. The good news is the (slip stitch, chain 1) repeat adds minimal extra width and length, so it won’t noticeably change your finished dimensions.
Abbreviations
ch – chain
RS/WS – Right Side/Wrong Side
sc – single crochet
sl st – slip stitch
st(s) – stitch(es)
Gauge
Gauge is not critical for this edging — focus on matching the gauge of your main project instead, and the border will behave accordingly.
Tips
How to Crochet A Gauge Swatch
- Working a gauge swatch will let you know if you will have the correct sizing for this pattern. It will also help you practice the stitches used in this project and improve your stitch work for a flawless look.
- Are you struggling to match the gauge? Check out the blog post on What is Crochet Gauge and How To Fix It
Special Stitches Used in This simple Crochet Edging Tutorial
Clean sc: Insert your hook into the left bar of the sc st, then insert into the next row edge space. YO and pull up a loop, then pull through the first loop on the hook. YO and pull through the remaining two loops on the hook.
For more information about this stitch, visit this blog post: How to Crochet a Straight Edge.
Crochet Edging vs. Crochet Border: What’s the Difference?
People use these two words interchangeably, and honestly, most of the time it doesn’t matter. If you want the quick version: an edging is usually the simple, narrow finish worked directly around the raw edge, while a border tends to be wider or more decorative, sometimes several rounds deep.
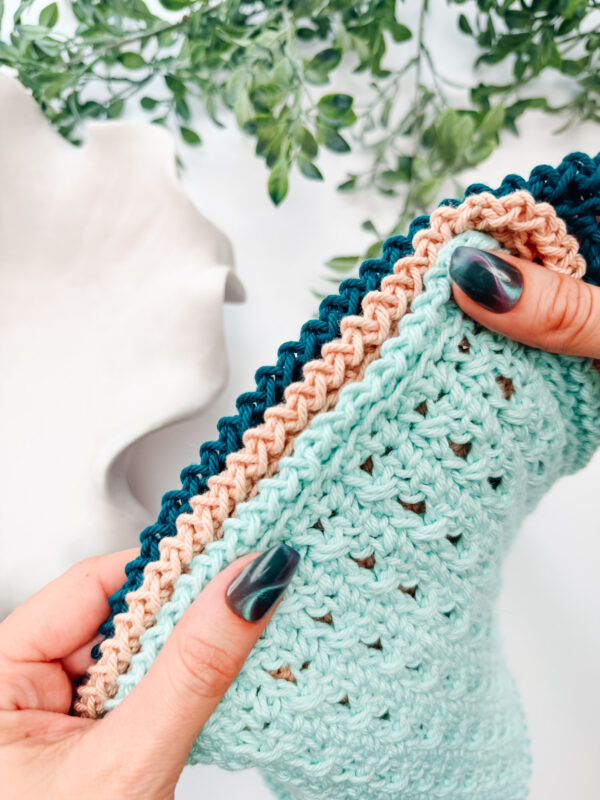
The simple edging in this post is exactly that — a single, simple round that cleans up the edge. You can absolutely use it as the first round of a deeper border too, with a row of single crochet underneath it as a base. So if you came here searching for either of those words, you’re in the right place. In fact, we love pairing this slip stitch edging with our Clean Single Crochet edging — the clean sc goes on first to even out the raw edge, and this border finishes it off beautifully.

Important Pattern Notes
What Projects This Simple Crochet Edging Works Best On
Because it’s stretchy and low bulk, this edging shines anywhere a stiff border would cause problems. A few places I reach for it:
- Necklines, cuffs, and sweater hems that need to stretch.
- Baby items, where you want a soft, simple, not-frilly finish.
- Washcloths, dishcloths, and kitchen pieces.
- Blankets, as a quick one-round finish.
And if you’re building out your stitch toolkit, the Wheat Stitch tutorial is a great next stop. It’s the textured stitch I use across a whole family of my patterns.
Title
Text
Simple Crochet Edging FAQs
What is the easiest crochet edging for beginners?
This one, honestly. A slip stitch worked with a chain between each stitch is about as simple as a finished edge gets. It uses only two basic stitches, doesn’t require a specific stitch count, and the chain hides uneven tension — which is exactly what beginners worry about most.
What’s the difference between a slip stitch edging and this one?
A plain slip-stitch edging works a slip stitch into every stitch, with nothing in between. It’s tidy, but it can come out tight and stiff, and it’s easy to pull too far. Adding a chain between each slip stitch makes the edge much stretchier and far more forgiving, so it’s a better choice for ribbing, necklines, and anything that needs to move.
How do I keep my crochet border from curling or puckering?
A plain slip-stitch edging works a slip stitch into every stitch, with nothing in between. It’s tidy, but it can come out tight and stiff, and it’s easy to pull too far. Adding a chain between each slip stitch makes the edge much stretchier and far more forgiving, so it’s a better choice for ribbing, necklines, and anything that needs to move.
Can I use this edging on a blanket?
Absolutely. It’s lovely as a quick single-round finish on a blanket, especially in a contrasting color. If you want something with more presence, work a round of single crochet first, then this edging on top, and you’ve got a clean two-round border with no extra learning curve.
Do I need a special stitch multiple for this border?
No, and that’s part of why I love it. You work the (slip stitch, chain 1) repeat into each stitch around regardless of how many stitches you have. The only spots that take a little attention are the corners, where you add an extra chain or stitch to let the edge turn.
What yarn and hook should I use for the edging?
Use the same yarn weight as your main project so the border behaves the same way in the wash. For the hook, match your project hook or drop down one size if you want a slightly snugger edge. A contrasting color makes the chain detail pop, which is a nice way to frame a simple project.
Subscribe, Like & Watch on YouTube
Click the box below to unlock this exclusive subscriber content for free. Add your email and create a password. If you are having trouble, reset your password or log in to the Grow Portal.
I’m thrilled to share this amazing crochet pattern with you! Please don’t copy, paste, or distribute this pattern. Prefer an ad-free experience? Purchase a digital PDF file for a small fee from one of my online stores. I appreciate your support and readership. You are why I can keep doing what I love and sharing it with others. Thank you from the bottom of my heart.
How to Crochet the Simple Slip-Stitch Edging
Step 2 — The (slip stitch, chain 1) repeat
- Insert your hook into the first stitch and make a slip stitch.
- Chain 1.
- Slip stitch into the next stitch.
- Chain 1.
- Repeat (slip stitch, chain 1) in each stitch all the way around. That’s the entire pattern.
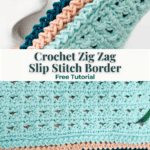
As you go, you’ll see those little chains fold in between the slip stitches and create a soft, twisty line, almost a fine zig zag. That’s the look, and it’s what gives the edge its stretch
Step 3 — Turning the corners
When you reach a corner, work (slip stitch, chain 1, slip stitch) into the corner stitch to give it enough room to turn without cupping. On a piece with sharp 90-degree corners, you can add an extra (sl st, ch 1) in the corner if it’s pulling. (So you would do sl, ch 1, sl, ch 1 all in the same corner stitch.)
Step 4 — Joining and finishing
When you come back to where you started, join with a slip stitch into the first slip stitch of the round. I prefer to use an invisible join, as shown in the video.
Fasten off and weave in your ends. Done. One round, finished edge.
Join The Kindest Community
Join our vibrant community of crafters on Facebook today. Whether you enjoy crafting with others or simply have burning questions, we’ve got you covered – join us now!
Tips for a Clean, Even Edge
- Don’t death-grip your slip stitches. The number one reason a slip stitch edge looks stiff is tension that’s too tight. Keep your slip stitches relaxed and let the chains do their job.
- Swatch the corner first. If you’re working on something important, do a quick test on a small square, so you know how many stitches your corner wants before you commit.
- Match your yarn care. If you switch yarns for a contrasting border, make sure it has the same care requirements as the main piece so nothing shrinks or stretches differently in the wash.
- Block it. A light blocking opens up the chains and evens everything out. It’s a small step that makes a handmade edge look polished.
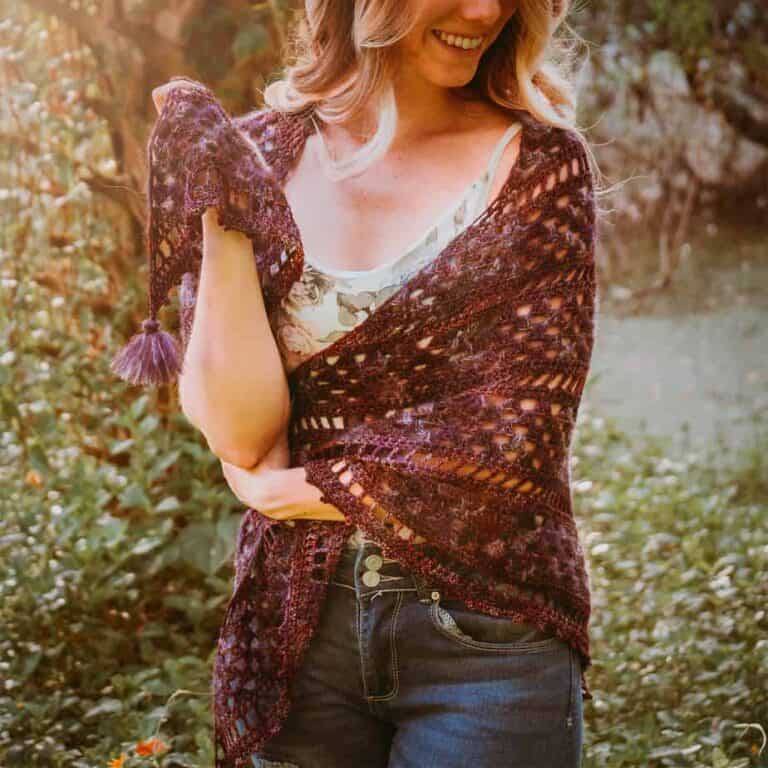
If you want more finishing techniques in your back pocket, my twisted fringe tutorial pairs beautifully with this edging on scarves and wraps, and my how to block crochet tutorial is the perfect next step for getting your finished edges to lay flat and look polished.
More Crochet Tutorials You’ll Love
If you enjoyed this pattern, here are a few more from the Briana K Designs studio that coordinate beautifully with a summer wardrobe:
🥂 Cheers, and happy crocheting!
Well, That Was Fun! What’s Next?